Migrate your Classic pipeline to YAML
Azure DevOps Services
Get started with Azure Pipelines by converting your existing Classic pipeline to use YAML. With a YAML-based pipeline, you can implement your CI/CD strategy as code and see its history, compare versions, blame, annotate, and so on.
When you convert your Classic pipeline, the end product is two pipelines. You'll have one new YAML pipeline and a Classic pipeline that can be retired. Your Classic pipeline's run history remains in the Classic pipeline.
Prerequisites
Make sure you have the following items before you begin.
- An Azure account with an active subscription. Create an account for free.
- An active Azure DevOps organization. Sign up for Azure Pipelines.
- A working pipeline that uses the Classic user interface (UI) editor.
- A sample YAML pipeline file in your code. Create a sample YAML pipeline in the following section.
Create a sample YAML pipeline
Do the following steps to create a sample YAML pipeline, which you'll update later with your exported code from the Classic UI editor.
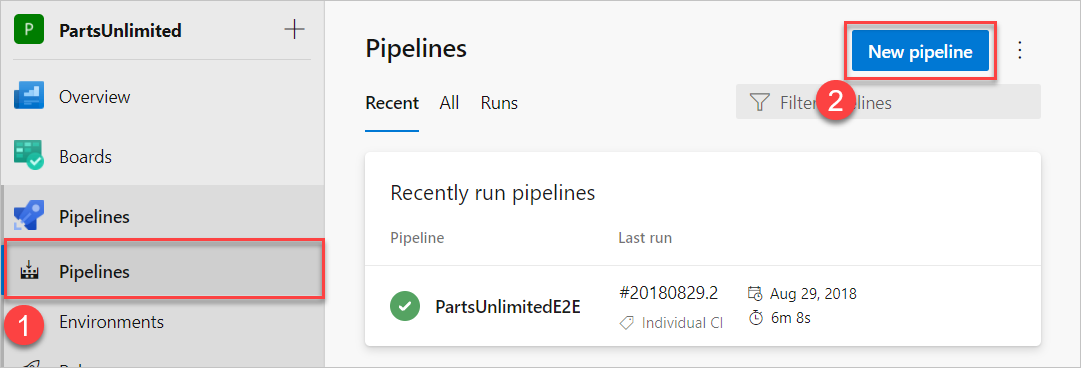
Sign in to your organization (
https://dev.azure.com/{yourorganization}) and select your project.Select Pipelines, and then New pipeline.
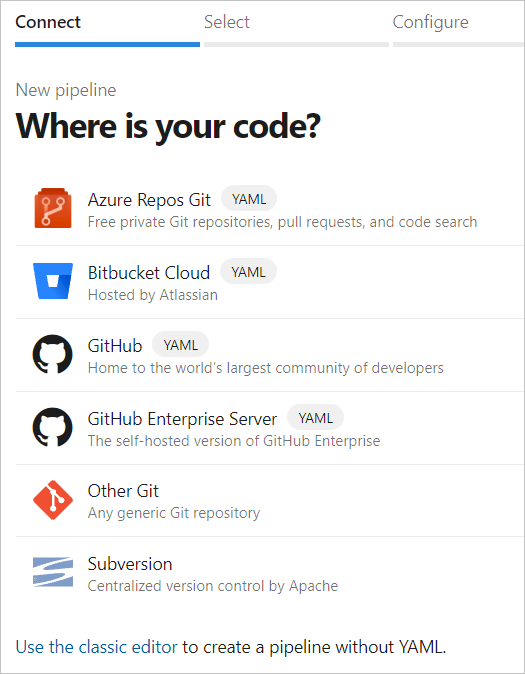
Select the location for your source code as either GitHub or Azure Repos Git.
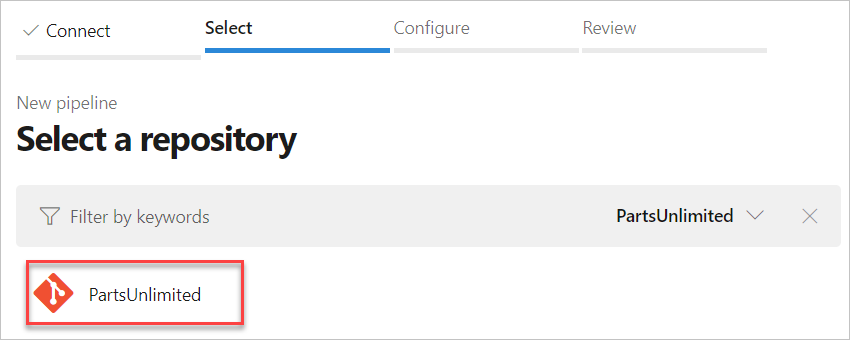
Select a repository.
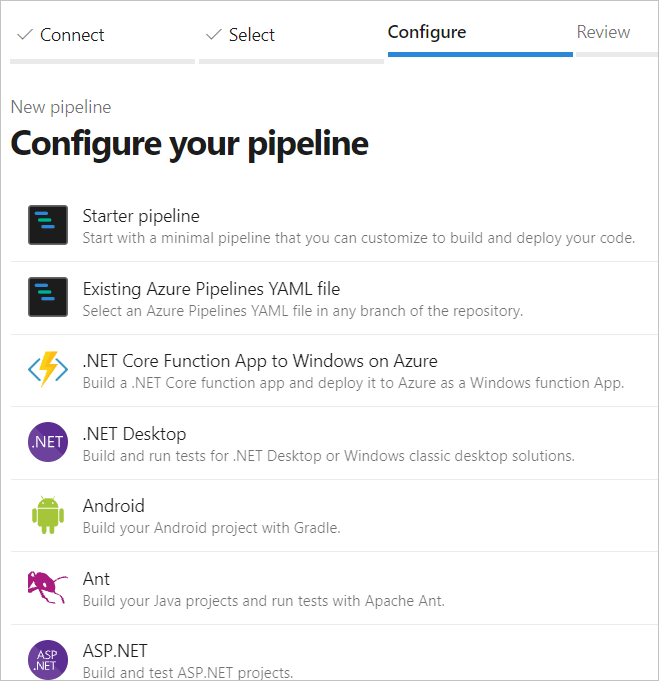
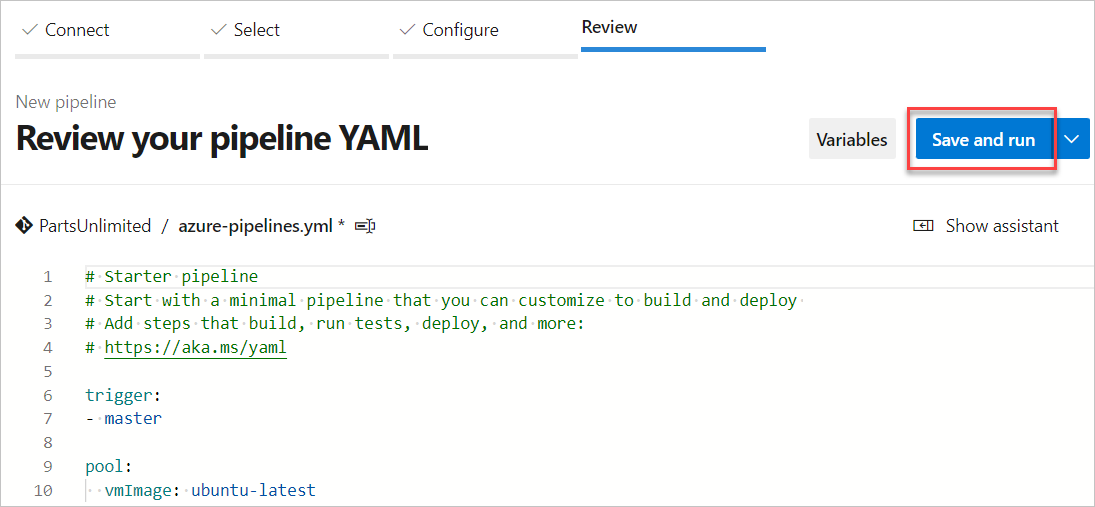
On the Configure your pipeline page, select Starter pipeline.
Select Save and run.
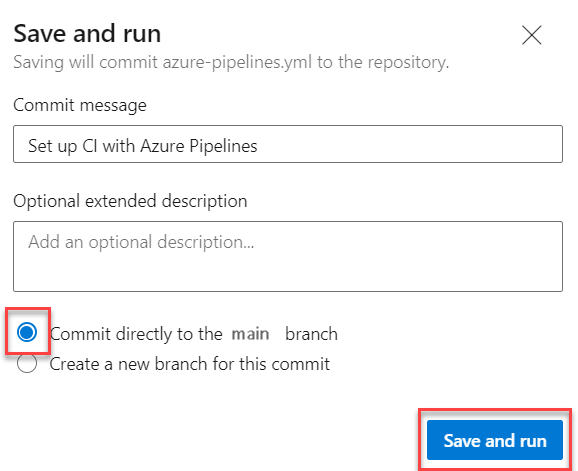
Enter your commit message, select Commit directly to the main branch, and then choose Save and run again. A new run starts and it's committed to the repository. Wait for the run to finish.
Export your Classic pipeline
Do the following steps to export your Classic pipeline to a YAML file that you can use in the editor.
Go to Pipelines > Pipelines.
Open your Classic pipeline in the classic build designer.
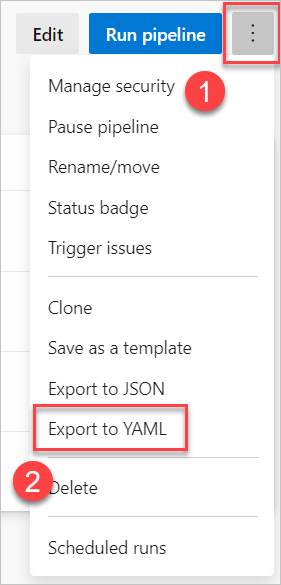
Select the ellipses (...), and then select Export to YAML.
Open the downloaded YAML file in your code editor.
If your YAML pipeline includes variables defined in the Classic UI, define the variables again in your pipeline settings UI or in your YAML file. For more information, see Define variables.
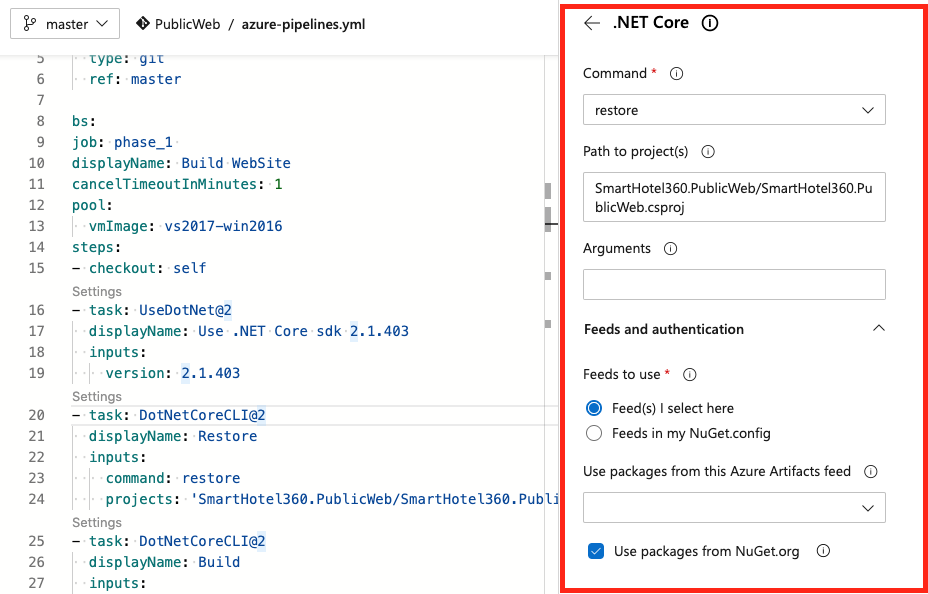
Review any
cronschedules in your YAML file. By default,cronschedules in YAML are in UTC. In Classic pipelines, they are in the organization's timezone. For more information, see Configure schedules for pipelines.Use the Task Assistant to make any other changes to the YAML file. The Task Assistant is a pane on the right side of the screen, which helps you correctly create and modify YAML steps.
Save and run your pipeline.
Clean up resources
If you're not going to use this sample pipeline anymore, delete it from your project. Deletion is permanent and includes all builds and associated artifacts.
Select the ellipses (...) and select Delete.
Enter the name of your pipeline to permanently delete it, and then select Delete.
FAQ
Is there a task in YAML pipelines to create work items when there's a build failure?
YAML pipelines don't have a Create work item on failure setting like classic build pipelines. You have a couple of options for creating this functionality yourself.
- You can use a script or PowerShell task and call the REST API.
- You can use Azure CLI to call az boards work-item create in your pipeline. See an example of using the CLI to create a bug on failure.
Next steps
Learn about the feature differences between YAML and Classic pipelines.
Related articles
Feedback
Coming soon: Throughout 2024 we will be phasing out GitHub Issues as the feedback mechanism for content and replacing it with a new feedback system. For more information see: https://aka.ms/ContentUserFeedback.
Submit and view feedback for