Add a virtual network in Azure DevTest Labs
In this article, you learn how to add a virtual network to a lab, and configure it for creating lab virtual machines (VMs).
Azure DevTest Labs creates a new virtual network for each lab. If you have another virtual network, such as one configured with Azure ExpressRoute or site-to-site virtual private network (VPN), you can add it to your lab. You can then create lab VMs in that virtual network.
Add a virtual network to a lab
To add a configured virtual network and subnet to a lab, take the following steps:
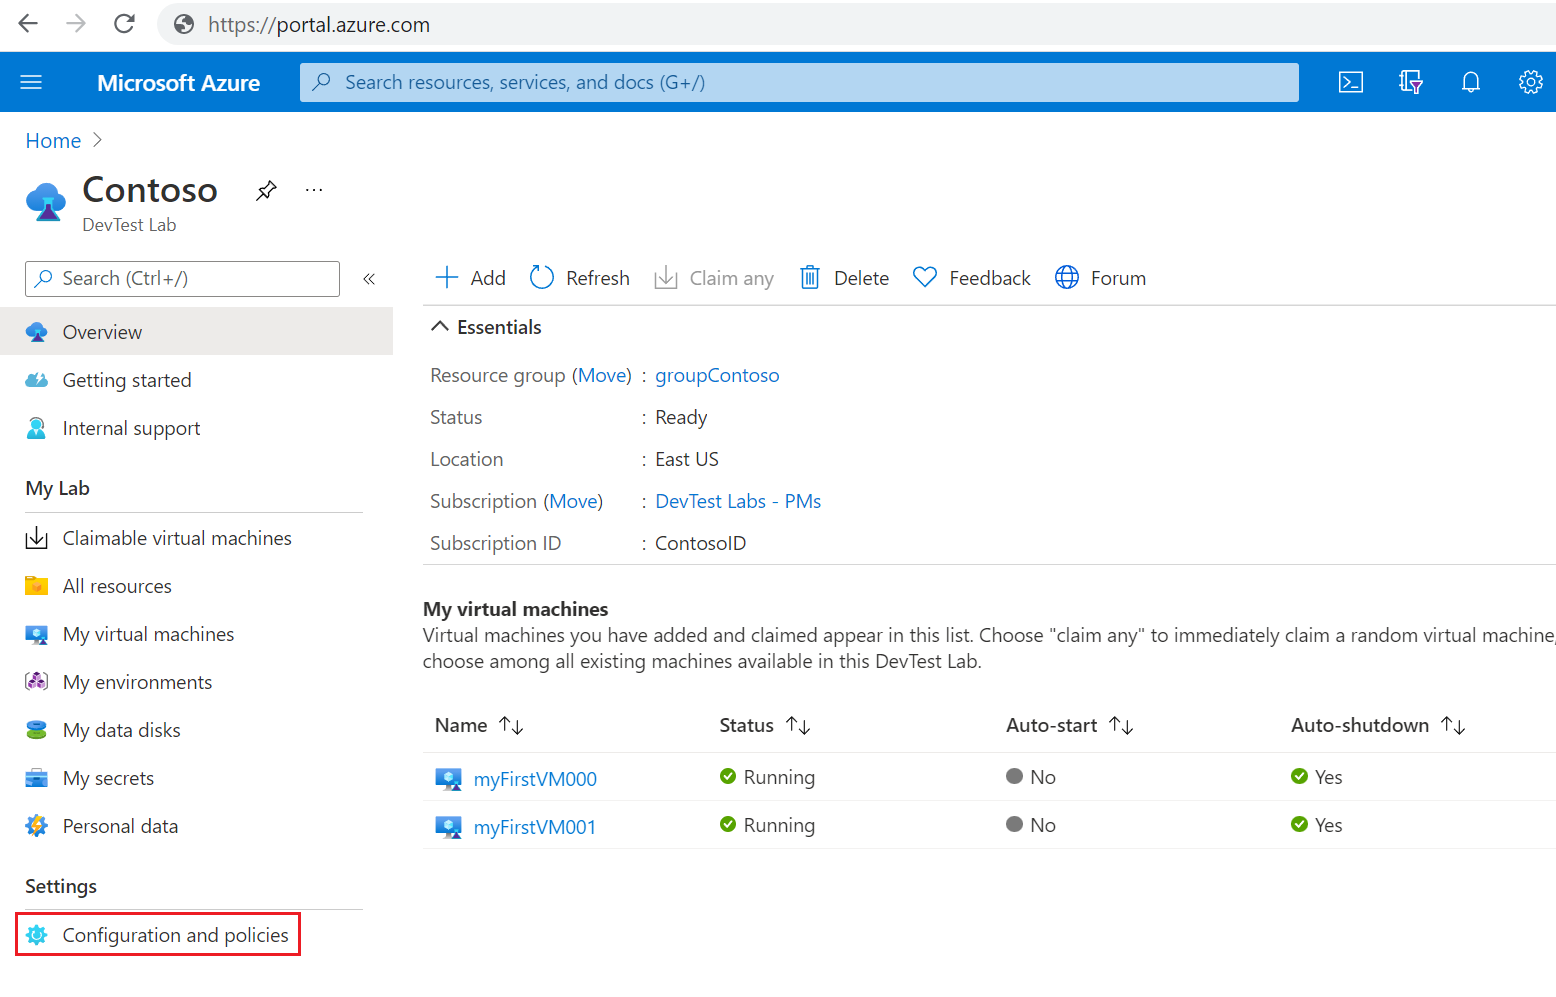
In the Azure portal, on the Overview page for your lab, select Configuration and policies from the left navigation.
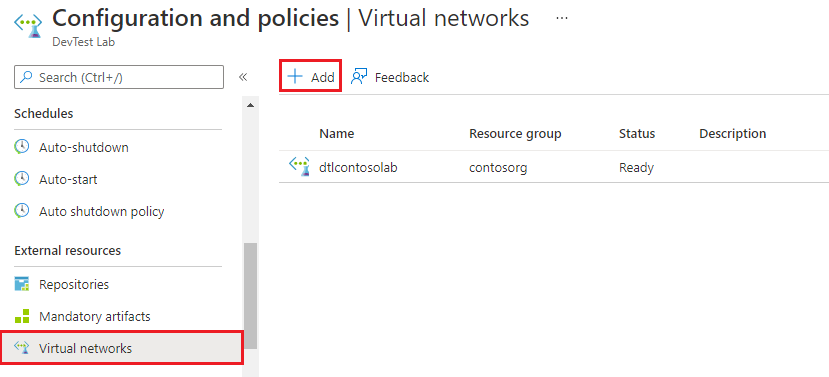
On the Configuration and policies page, in the left navigation under External resources, select Virtual networks.
The Virtual networks page shows the lab's current virtual networks. Select Add.
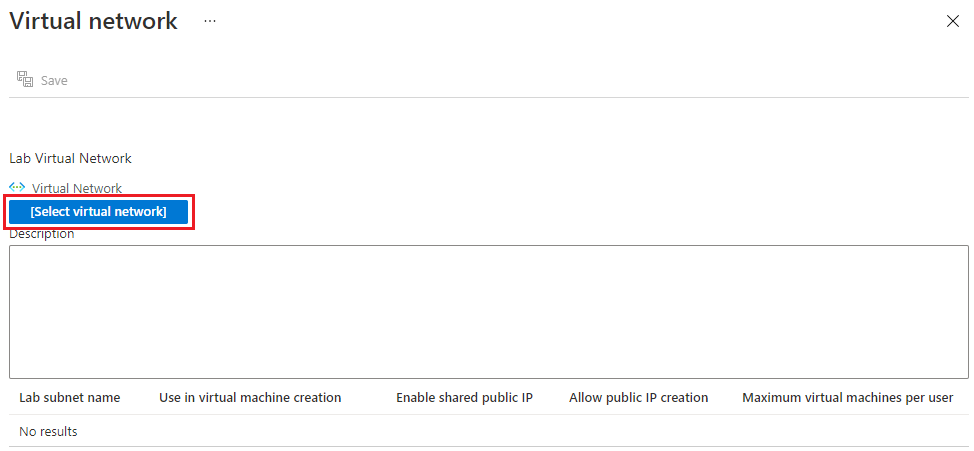
On the Virtual network page, select Select virtual network.
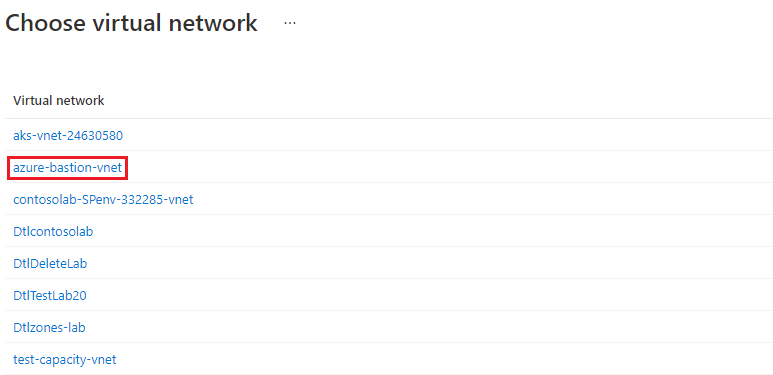
The Choose virtual network page appears, showing all virtual networks in the subscription that are in the same region as the lab. Select the virtual network you want to add.
The virtual network you chose shows on the Virtual network page. Select Save.
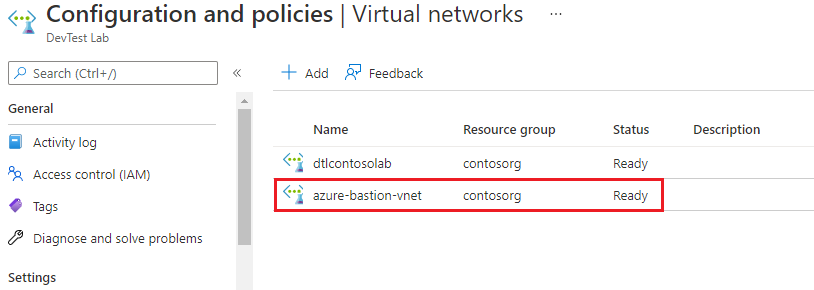
The virtual network appears in the list on the lab's Virtual networks page. When the Status shows as Ready, select the new virtual network.
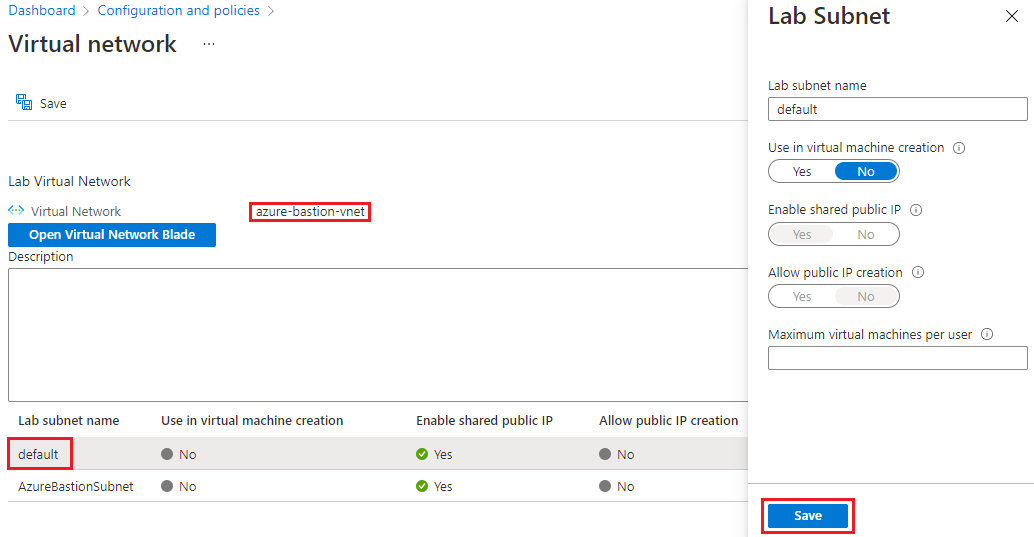
The Virtual network page shows the subnets for the virtual network. Select a subnet to configure.
On the Lab Subnet pane, select Yes or No under the following options:
- Use in virtual machine creation to allow or disallow VM creation in the subnet.
- Enable shared public IP to enable or disable a shared public IP address.
- Allow public IP creation to allow or disallow creating public IP addresses in the subnet.
Under Maximum virtual machines per user, enter the maximum number of VMs each user can create in the subnet. If you don't want to restrict the number of VMs, leave this field blank.
Select Save.
On the Virtual network page, select Save again.
Create VMs in a virtual network
If you allowed VM creation in one of the subnets, you can now create lab VMs in the added virtual network.
- Follow the instructions at Create and add virtual machines to add a lab VM and select a VM base.
- On the Create lab resource screen, select the Advanced settings tab.
- Select the drop-down arrow in the Virtual network field, and select the virtual network you added.
- If necessary, select the drop-down arrow in the Subnet Selector field, and select the subnet you want.
- Proceed with VM creation.
Next steps
- For more information about how to set up, use, and manage virtual networks, see the Azure virtual network documentation.
- You can deploy Azure Bastion in a new or existing virtual network to enable browser connection to your lab VMs. For more information, see Enable browser connection to DevTest Labs VMs with Azure Bastion.
Feedback
Coming soon: Throughout 2024 we will be phasing out GitHub Issues as the feedback mechanism for content and replacing it with a new feedback system. For more information see: https://aka.ms/ContentUserFeedback.
Submit and view feedback for