Note
Access to this page requires authorization. You can try signing in or changing directories.
Access to this page requires authorization. You can try changing directories.
In this tutorial, you use DocumentDB as a local development database in a Docker container, build a TypeScript application with the MongoDB driver, and then migrate to Azure DocumentDB by swapping your connection string.
In this tutorial, you:
- Start DocumentDB in a Docker container
- Create a TypeScript application
- Connect the application to the local database
- Create an Azure DocumentDB cluster
- Deploy the application to Azure DocumentDB
Prerequisites
- Node.js 18 or newer
- Docker Desktop
- Azure CLI
- An Azure subscription. If you don't have an Azure subscription, create a free account before you begin.
Start the container
Use the Docker container image for DocumentDB to create a local development database.
Pull the DocumentDB container image.
docker pull ghcr.io/documentdb/documentdb/documentdb-local:latestStart the container with a username and password.
docker run --detach --publish 10260:10260 --name documentdb ghcr.io/documentdb/documentdb/documentdb-local:latest --username <admin-username> --password <admin-password>Important
Replace
<admin-username>and<admin-password>with your own credentials.Verify the container is running.
docker ps --filter "name=documentdb"Important
The DocumentDB gateway endpoint is available on port
10260. Use the following connection string format to connect:mongodb://<admin-username>:<admin-password>@localhost:10260/?tls=true&tlsAllowInvalidCertificates=trueSetting Value Endpoint https://localhost:10260Username <admin-username>Password <admin-password>TLS trueTLS Allow Invalid Certificates trueReplace
<admin-username>and<admin-password>with your own credentials.
Create the application
Create a Next.js application and connect it to the local database.
Create a new Next.js application in an empty folder.
npx create-next-app .Install the Node.js MongoDB driver.
npm install --save mongodbCreate a new file named
app/data.tsxwith the following code. This file contains the server actions that interact with the database."use server"; import { MongoClient, ObjectId } from "mongodb"; import { revalidatePath } from "next/cache"; const connectionString = "<documentdb-connection-string>"; const client = new MongoClient(connectionString); const db = client.db("work-management"); const collection = db.collection("tasks"); export type Todo = { id: string; title: string; completed: boolean; }; export async function getTodos(): Promise<Todo[]> { const docs = await collection.find().sort({ _id: -1 }).toArray(); return docs.map((doc) => ({ id: doc._id.toString(), title: doc.title, completed: doc.completed, })); } export async function addTodo(formData: FormData) { const title = formData.get("title") as string; if (!title?.trim()) return; await collection.insertOne({ title: title.trim(), completed: false }); revalidatePath("/"); } export async function toggleTodo(formData: FormData) { const id = formData.get("id") as string; const doc = await collection.findOne({ _id: new ObjectId(id) }); if (doc) { await collection.updateOne( { _id: new ObjectId(id) }, { $set: { completed: !doc.completed } } ); } revalidatePath("/"); } export async function deleteTodo(formData: FormData) { const id = formData.get("id") as string; await collection.deleteOne({ _id: new ObjectId(id) }); revalidatePath("/"); }Important
Replace the connection string placeholder with the credentials specified earlier in this tutorial when starting the container.
Delete the existing
app/page.tsxfile and replace it with the following code.import { getTodos, addTodo, toggleTodo, deleteTodo } from "./data"; export default async function Home() { const todos = await getTodos(); return ( <div className="min-h-screen bg-black text-zinc-50 font-sans"> <main className="max-w-lg mx-auto py-16 px-8"> <h1 className="text-2xl font-semibold tracking-tight mb-8">Todo App</h1> <form action={addTodo} className="flex gap-2 mb-8"> <input name="title" placeholder="Add a todo..." required className="flex-1 rounded-md border border-zinc-700 bg-zinc-900 px-3 py-2 text-sm text-zinc-100 placeholder:text-zinc-500 focus:outline-none focus:ring-2 focus:ring-zinc-600" /> <button type="submit" className="rounded-md bg-zinc-100 px-4 py-2 text-sm font-medium text-zinc-900 hover:bg-zinc-300 transition-colors"> Add </button> </form> <ul className="space-y-2"> {todos.map((todo) => ( <li key={todo.id} className="flex items-center gap-3 rounded-md border border-zinc-800 bg-zinc-900 px-3 py-2"> <form action={toggleTodo}> <input type="hidden" name="id" value={todo.id} /> <button type="submit" className="text-lg leading-none">{todo.completed ? "✅" : "⬜"}</button> </form> <span className={`flex-1 text-sm ${todo.completed ? "line-through text-zinc-500" : "text-zinc-100"}`}>{todo.title}</span> <form action={deleteTodo}> <input type="hidden" name="id" value={todo.id} /> <button type="submit" className="text-sm text-red-400 hover:text-red-300 transition-colors">✕</button> </form> </li> ))} </ul> {todos.length === 0 && <p className="text-center text-sm text-zinc-500 mt-4">No todos yet.</p>} </main> </div> ); }Run the application locally.
npm run devOpen
http://localhost:3000in your browser to verify the application is running and connected to the local database.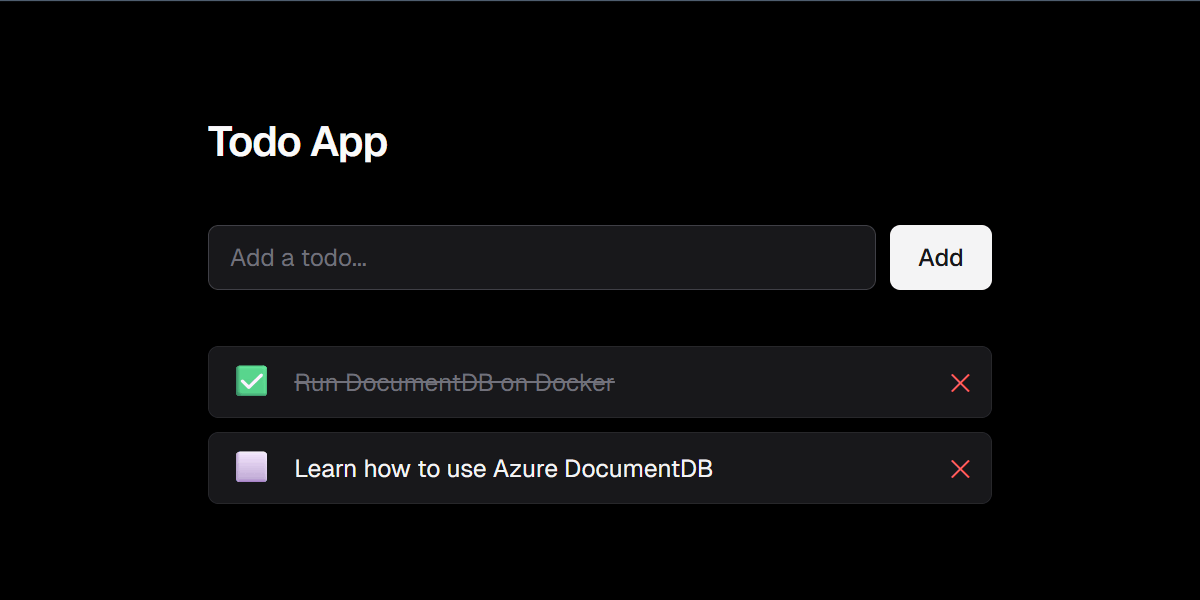
Tip
You can view the data this application creates by connecting to the DocumentDB container with the DocumentDB extension for Visual Studio Code. The database is named
work-managementand the collection is namedtasks.Stop the application.

Create an Azure DocumentDB cluster
Create an Azure DocumentDB cluster to host your application data in the cloud.
Create variables for the cluster name and target resource group name.
RESOURCE_GROUP_NAME="<resource-group-name>"
CLUSTER_NAME="<cluster-name>"
ADMIN_USERNAME="<admin-username>"
ADMIN_PASSWORD="<admin-password>"
Important
Replace the placeholder values with your own values. The cluster name must be globally unique.
Create an Azure DocumentDB cluster.
az cosmosdb mongocluster create \
  --resource-group $RESOURCE_GROUP_NAME \
  --cluster-name $CLUSTER_NAME \
  --location "eastus" \
  --administrator-login $ADMIN_USERNAME \
  --administrator-login-password $ADMIN_PASSWORD \
  --server-version "8.0" \
  --shard-node-tier "M30" \
  --shard-node-ha false \
  --shard-node-disk-size-gb 128 \
  --shard-node-count 1
Create a firewall rule to allow access from your current IP address.
MY_IP=$(curl -s ifconfig.me)

az cosmosdb mongocluster firewall rule create \
  --resource-group $RESOURCE_GROUP_NAME \
  --cluster-name $CLUSTER_NAME \
  --rule-name "allow-my-ip" \
  --start-ip-address $MY_IP \
  --end-ip-address $MY_IP
Get the connection string for the cluster.
az cosmosdb mongocluster show \
  --resource-group $RESOURCE_GROUP_NAME \
  --cluster-name $CLUSTER_NAME \
  --query "connectionString" \
  --output tsv
Record the connection string value. You use it in the next step.
Connect the application to Azure DocumentDB
Update the application to connect to Azure DocumentDB instead of the local container.
In
app/data.tsx, replace the local connection string with the Azure DocumentDB connection string.const connectionString = "<azure-documentdb-connection-string>";Important
Replace
<azure-documentdb-connection-string>with the connection string you recorded in the previous step. The connection string from the portal doesn't include the password. Replace the<password>placeholder in the connection string with the password you specified when creating the cluster.Start the application again.
npm run devOpen
http://localhost:3000in your browser. The application now reads and writes data to your Azure DocumentDB cluster.
Clean up resources
When you no longer need the resources created in this tutorial, delete them to avoid incurring charges.
Delete the Azure DocumentDB cluster.
az cosmosdb mongocluster delete \
  --resource-group $RESOURCE_GROUP_NAME \
  --cluster-name $CLUSTER_NAME \
  --yes
Stop and remove the DocumentDB container.
docker stop documentdb
docker rm documentdb