Create a custom Tenant and Billing Profile for Azure Classroom
This article is meant for IT Admins utilizing Azure Classroom (subject to regional availability). When signing up for this offer, you should already have a tenant and billing profile created, but this article is meant to help walk you through how to create a custom tenant and billing profile and associate them with an educator.
Prerequisites
- Be signed up for Azure Classroom
Create a new tenant
This section walks you through how to create a new tenant and associate it with your university tenant using multitenant.
- Go to the Azure portal and search for "Microsoft Entra ID"
- Create a new tenant in the "Manage tenants" tab
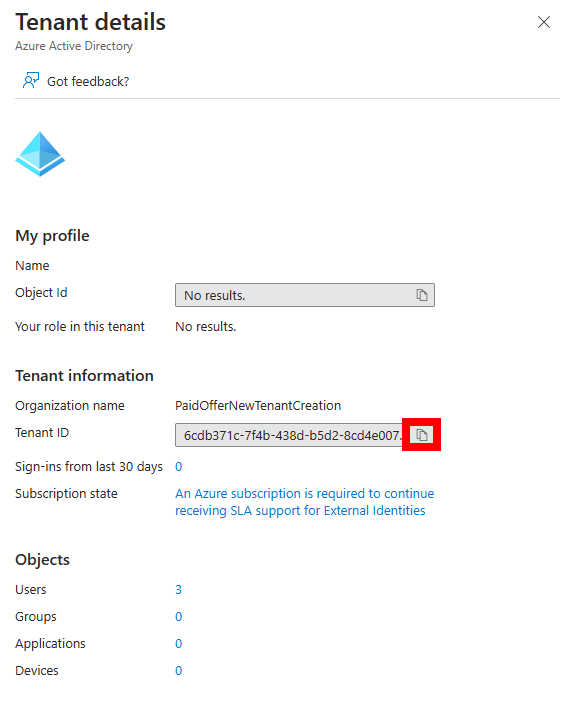
- Fill in and Finalize Tenant information
- Copy the Tenant ID of the newly created tenant
Associate new tenant with university tenant
- Go to "Cost Management" and click on "Access control (IAM)
- Click on "Associated billing tenants"
- Click "Add" and add the Tenant ID of the newly created tenant
- Check the box for Billing management
- Click "Add" to finalize the association between the newly created tenant and university tenant
Invite Educator to the newly created tenant
This section walks through how to add an Educator to the newly created tenant.
- Switch tenants to the newly created tenant
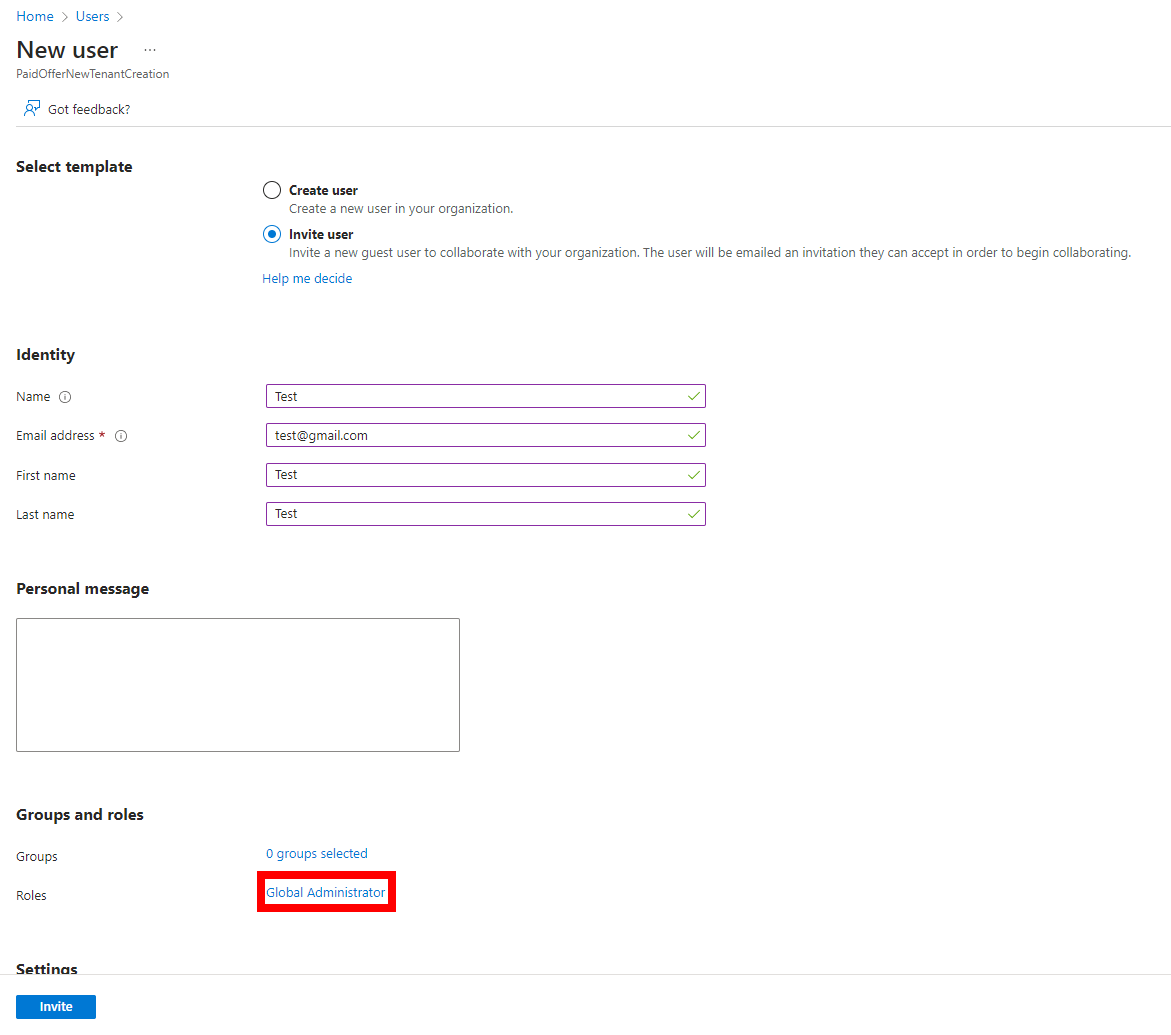
- Go to "Users" in the new tenant
- Invite a user to this tenant
- Change the role to "Global administrator"
- Tell the Educator to accept the invitation to this tenant
- After the Educator has joined the tenant, go into the tenant properties and click Yes under the Access management for Azure resources
Now that you've created a custom Tenant, you can go into Education Hub and begin distributing credit to Educators to use in labs.
Next steps
Feedback
Coming soon: Throughout 2024 we will be phasing out GitHub Issues as the feedback mechanism for content and replacing it with a new feedback system. For more information see: https://aka.ms/ContentUserFeedback.
Submit and view feedback for