Note
Access to this page requires authorization. You can try signing in or changing directories.
Access to this page requires authorization. You can try changing directories.
Workloads are logical groupings that help you organize Azure resources inside an Azure Enclave enclave. Each workload is associated with one or more workload resource groups where you deploy resources in later tutorials.
In this tutorial, part three of eight, you create workloads inside an enclave. You learn how to:
- Create frontend and backend workloads in an enclave.
- Associate each workload with a workload resource group.
- View workloads in the Azure portal.
Before you begin
Complete Tutorial 1-2: Create enclaves in a community. This tutorial assumes that you have:
- An Azure account with an active subscription.
- An Azure Enclave community named
fabrikam. - An enclave named
Enclave-WebApp. - Permissions to create Azure Enclave workload resources and resource groups in the subscription.
Create workloads using Azure Enclave
Before creating Azure resources in an enclave, create the Azure Enclave workload resources and associate them with workload resource groups. Azure Enclave applies enclave policy, guardrail, deny-assignment, and RBAC configuration to workload resource groups during creation.
Important
This tutorial uses sample names such as wl-webapp-frontend, wl-webapp-backend, rg-webapp-frontend, and rg-webapp-backend. If you use different names, update the later tutorials to match your environment.
In the Azure portal, go to
Azure Enclave.In the left menu, select
Enclaves.On the
Enclavespage for thecmt-fabrikamcommunity, select theve-Enclave-WebAppenclave that you created in Tutorial 1-2: Create enclaves in a community.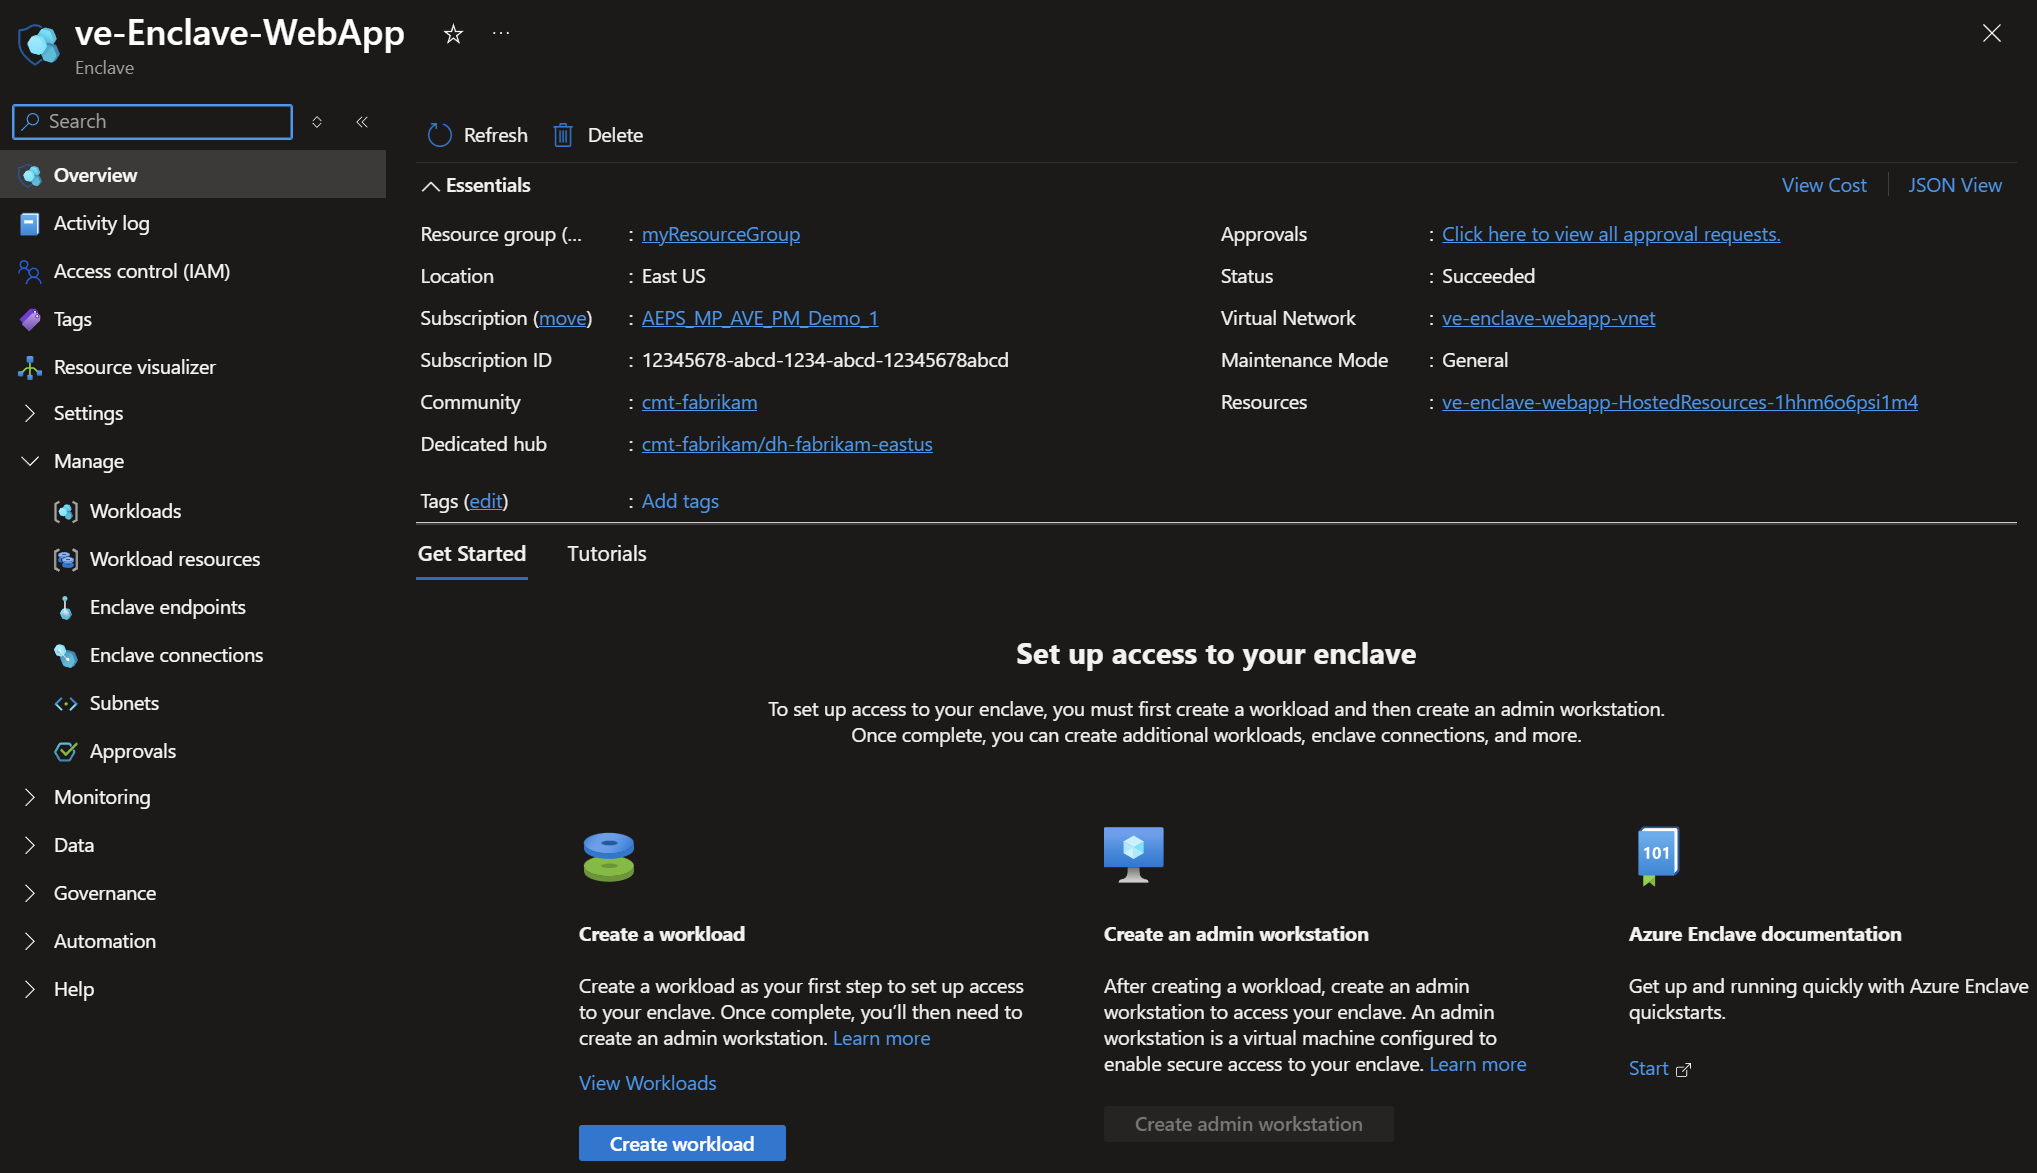
Under
Manage, selectWorkloads.On the
Workloadspage, selectCreate.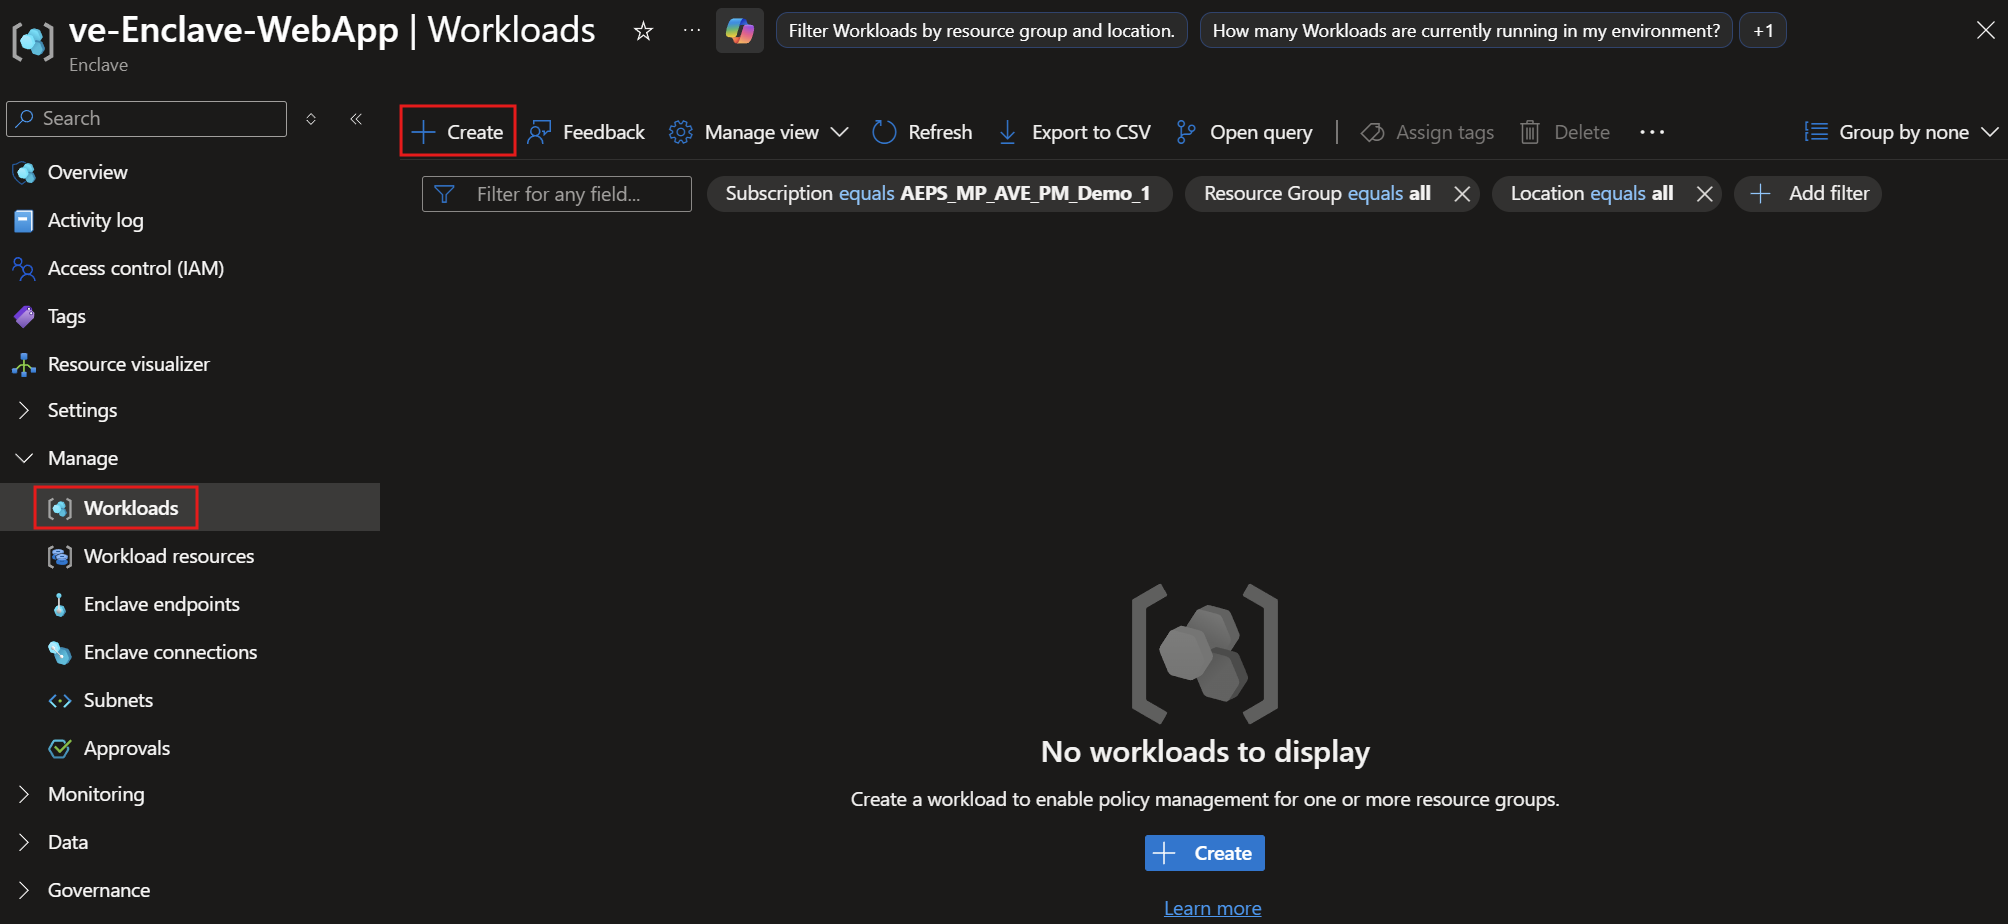
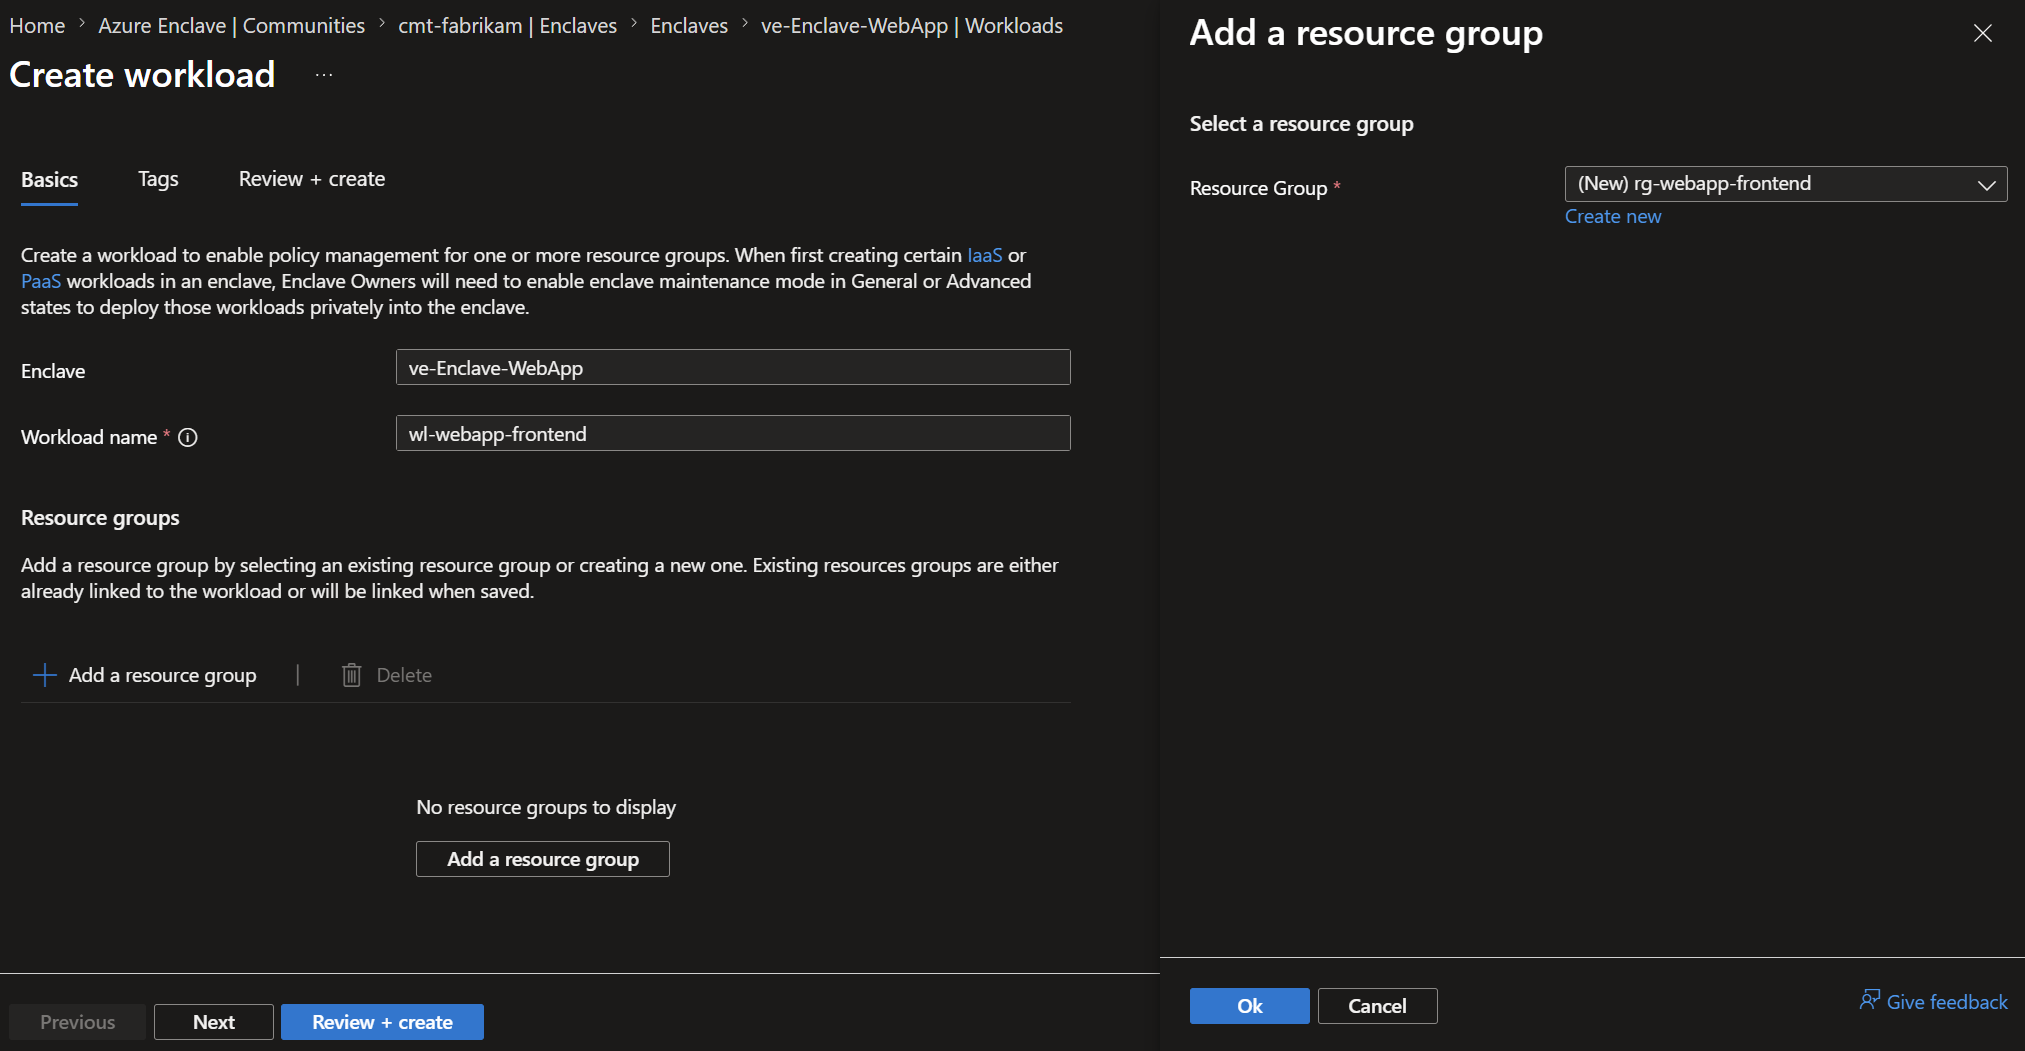
On the
Basicstab, enter the following values for the frontend workload:Enclave: Confirm thatve-Enclave-WebAppis selected.Workload name: Enterwl-webapp-frontend.Resource groups: SelectAdd.Create new: Enterrg-webapp-frontend, and then selectOK.
Note
Choose workload and resource group names that match your organization's naming convention. For guidance, see Define your naming convention.
Select
Review + create, confirm the workload details, and then selectCreate.To create the backend workload, repeat the previous steps with these values:
Enclave: Confirm thatve-Enclave-WebAppis selected.Workload name: Enterwl-webapp-backend.Resource groups: SelectAdd.Create new: Enterrg-webapp-backend, and then selectOK.
Select
Review + create, confirm the workload details, and then selectCreate.


Validate the workloads
After both deployments complete, return to the Workloads page for Enclave-WebApp.

Confirm that:
wl-webapp-frontendappears in the workload list.wl-webapp-backendappears in the workload list.- Each workload is associated with the expected workload resource group.
Clean up resources
If you plan to continue the tutorial series, keep these workloads. Tutorial 1-4 uses them to deploy Azure resources from the service catalog.
If you need to remove the workloads created in this tutorial, first delete any resources in the associated workload resource groups. Workload deletion can fail when associated resource groups aren't empty.
After the workload resource groups are empty, delete the wl-webapp-frontend and wl-webapp-backend workload resources from the Azure portal.
Next steps
In this tutorial, you created sample workloads in an enclave by using the Azure portal. In the next tutorial, you deploy Azure resources into those workloads by using the service catalog.