Note
Access to this page requires authorization. You can try signing in or changing directories.
Access to this page requires authorization. You can try changing directories.
This article shows how to create a custom topic or a domain in Azure Event Grid.
Prerequisites
If you're new to Azure Event Grid, read through Event Grid overview before starting this tutorial.
Register the Event Grid resource provider
Unless you've used Event Grid before, you'll need to register the Event Grid resource provider. If you’ve used Event Grid before, skip to the next section.
In the Azure portal, do the following steps:
On the left menu, select Subscriptions.
Select the subscription you want to use for Event Grid from the subscription list.
On the Subscription page, select Resource providers under Settings on the left menu.
Search for Microsoft.EventGrid, and confirm that the Status is Not Registered.
Select Microsoft.EventGrid in the provider list.
Select Register on the command bar.
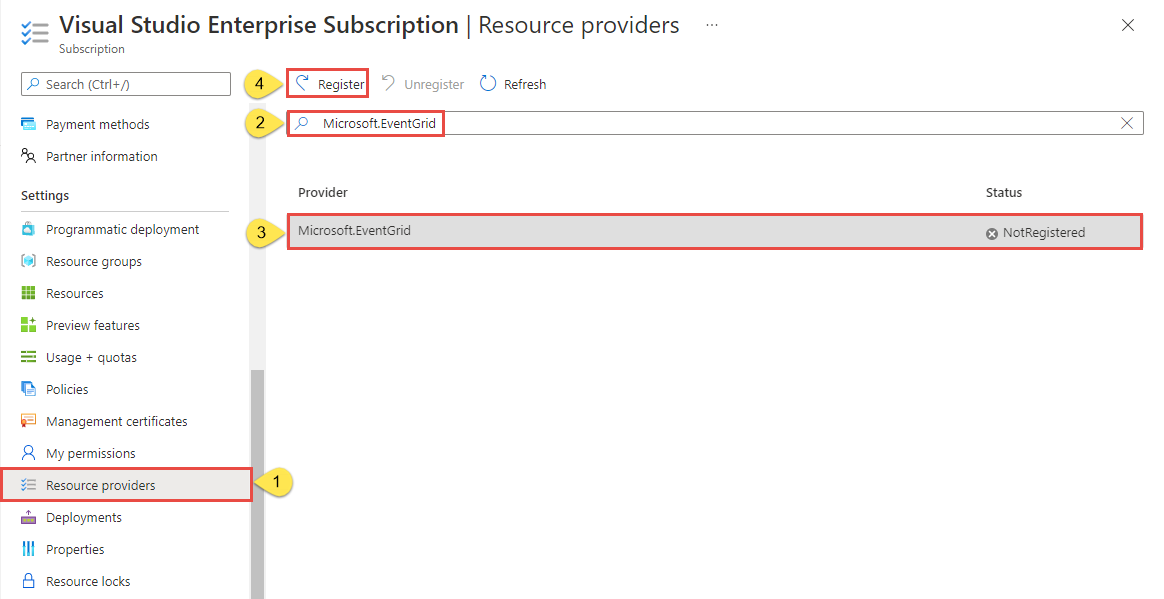
Refresh to make sure the status of Microsoft.EventGrid is changed to Registered.

Create a custom topic or domain
An Event Grid topic provides a user-defined endpoint that you post your events to.
Sign in to Azure portal.
In the search bar at the top, type Event Grid Topics, and then select Event Grid Topics from the drop-down list. To create a domain, search for Event Grid Domains.

On the Event Grid Topics or Event Grid Domains page, select + Create on the toolbar.


Basics page
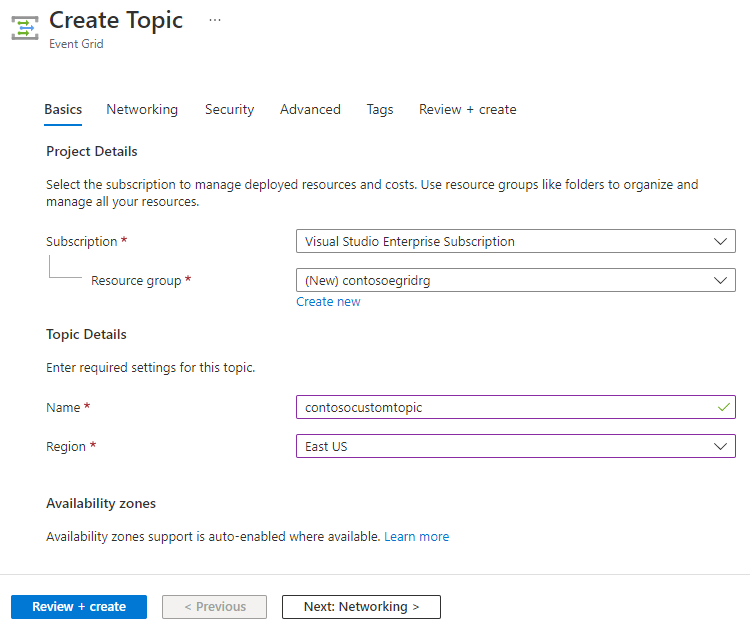
On the Basics page of Create Topic or Create Event Grid Domain wizard, follow these steps:
Select your Azure subscription.
Select an existing resource group or select Create new, and enter a name for the resource group.
Provide a unique name for the custom topic or domain. The name must be unique because it's represented by a Domain Name System (DNS) entry. Don't use the name shown in the image. Instead, create your own name - it must be between 3-50 characters and contain only values a-z, A-Z, 0-9, and "-".
Select a location for the Event Grid topic or domain.
Select Next: Networking at the bottom of the page to switch to the Networking page.
Networking page
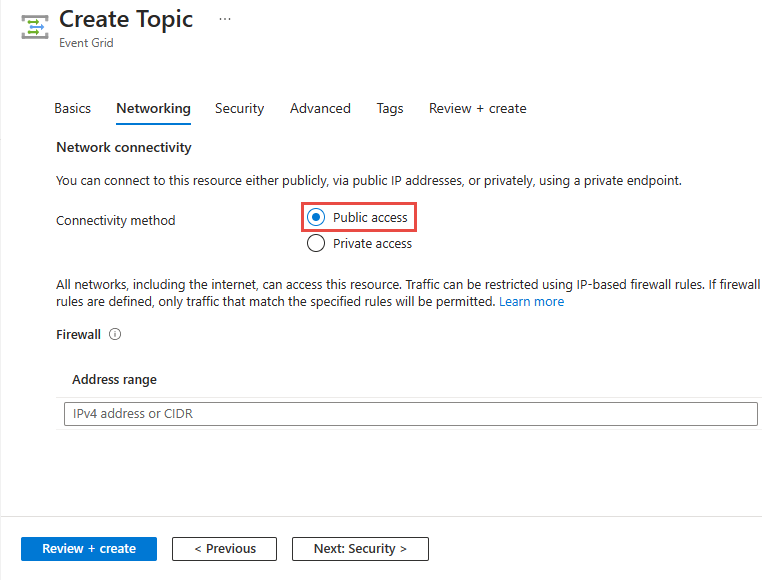
On the Networking page of the Create Topic or Create Event Grid Domain wizard, follow these steps:
If you want to allow clients to connect to the topic or domain endpoint via a public IP address, keep the Public access option selected. You can restrict the access to specific IP addresses or IP address range.
To allow access to the topic or domain via a private endpoint, select the Private access option.
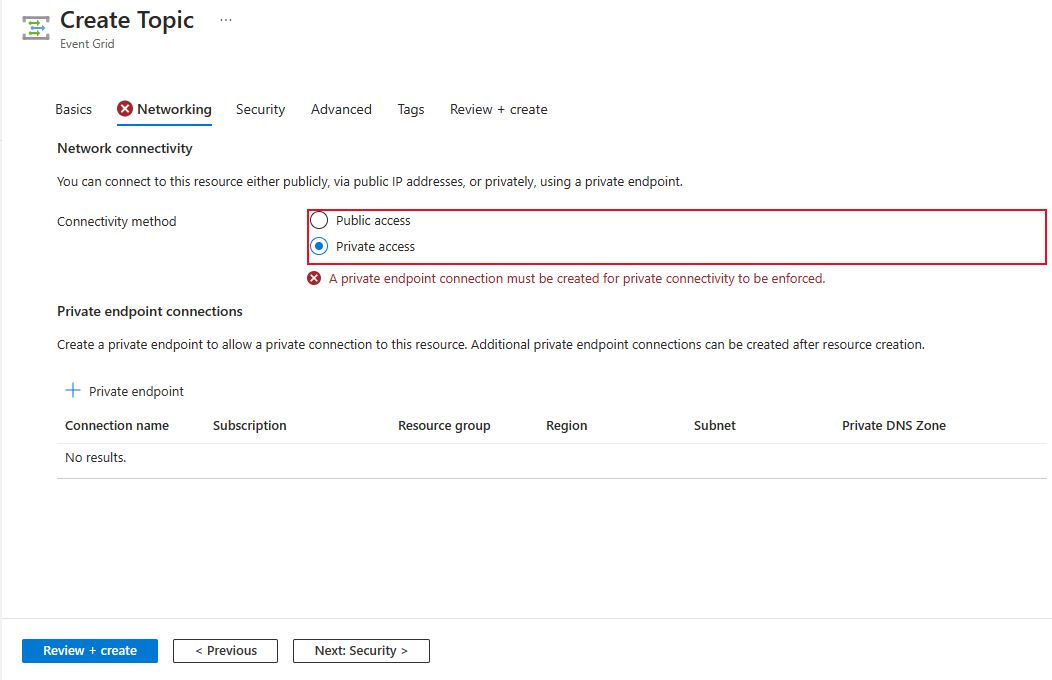
Follow instructions in the Add a private endpoint using Azure portal section to create a private endpoint.
Select Next: Security at the bottom of the page to switch to the Security page.
Security page
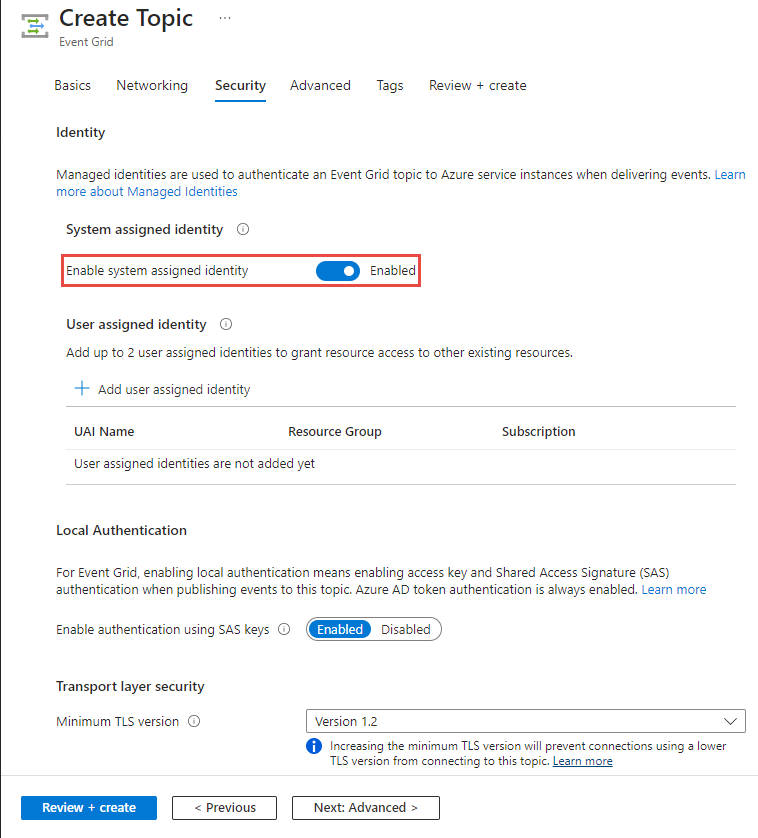
On the Security page of the Create Topic or Create Event Grid Domain wizard, follow these steps:
To assign a system-assigned managed identity to your topic or domain, select Enable system assigned identity.
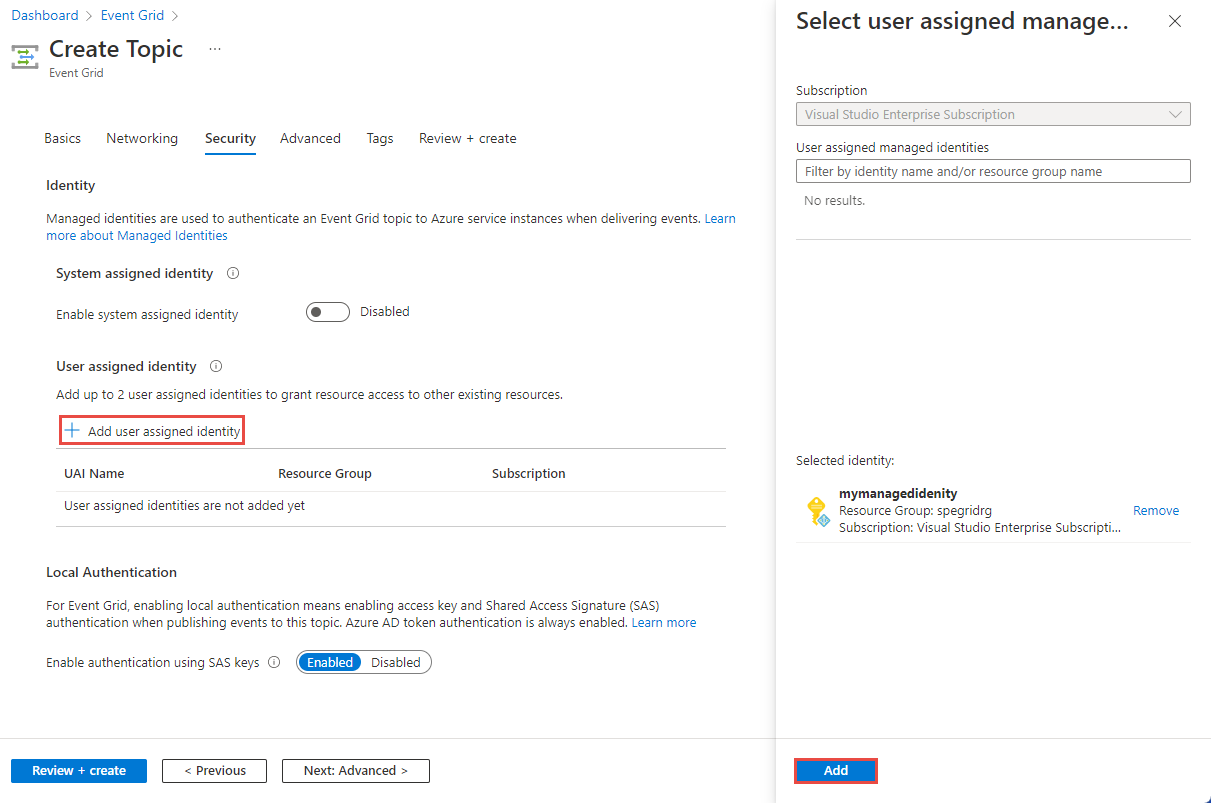
To assign a user-assigned identity, select Add user assigned identity in the User assigned identity section of the page.
In the Select user assigned identity window, select the subscription that has the user-assigned identity, select the user-assigned identity, and then click Select.
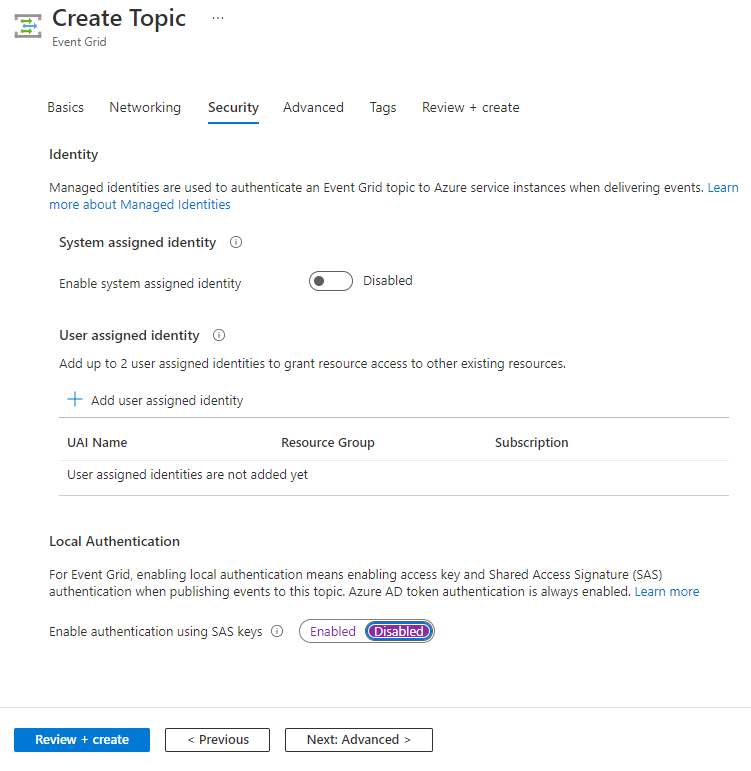
To disable local authentication, select Disabled. When you do it, the topic or domain can't be accessed using accesskey and SAS authentication, but only via Microsoft Entra authentication.
Configure the minimum required Transport Layer Security (TLS) version. For more information, see Configure minimum TLS version.

Select Advanced at the bottom of the page to switch to the Advanced page.

Advanced page
On the Advanced page of the Create Topic or Create Event Grid Domain wizard, select the schema for events that will be published to this topic.

For Data residency, select whether you don't want any data to be replicated to another region (Regional) or you want the metadata to be replicated to a predefined secondary region (Cross-Geo).
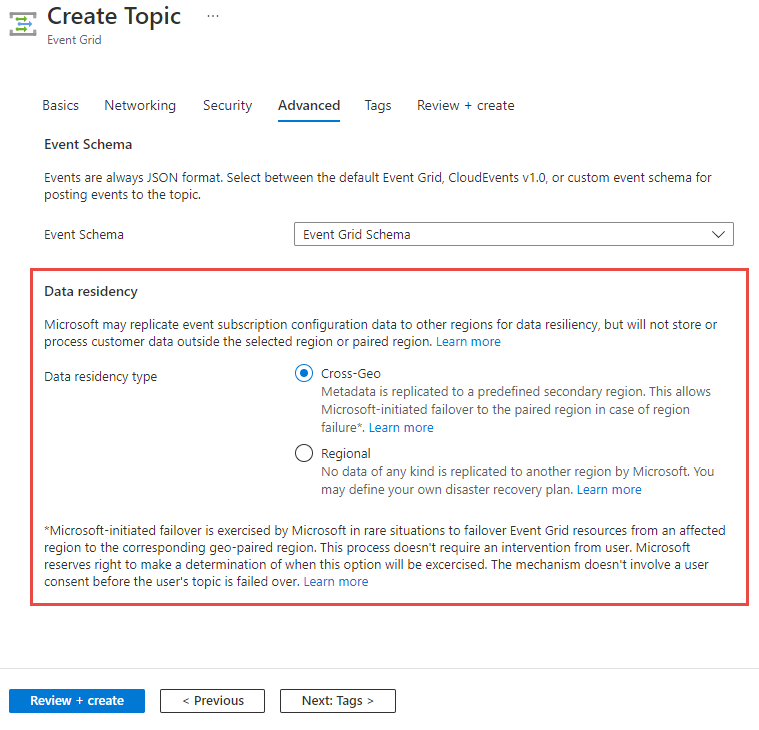
The Cross-Geo option allows Microsoft-initiated failover to the paired region when there's a region failure. For more information, see Server-side geo disaster recovery in Azure Event Grid. Microsoft-initiated failover is exercised by Microsoft in rare situations to fail over Event Grid resources from an affected region to the corresponding geo-paired region. This process doesn't require an intervention from user. Microsoft reserves right to make a determination of when this path will be taken. The mechanism doesn't involve a user consent before the user's topic or domain is failed over. For more information, see How do I recover from a failover?.
If you select the Regional option, you can define your own disaster recovery plan.
Select Next: Tags to move to the Tags page.
Tags page
The Tags page has no fields that are specific to Event Grid. You can assign a tag (name-value pair) as you do for any other Azure resource. Select Next: Review + create to switch to the Review + create page.
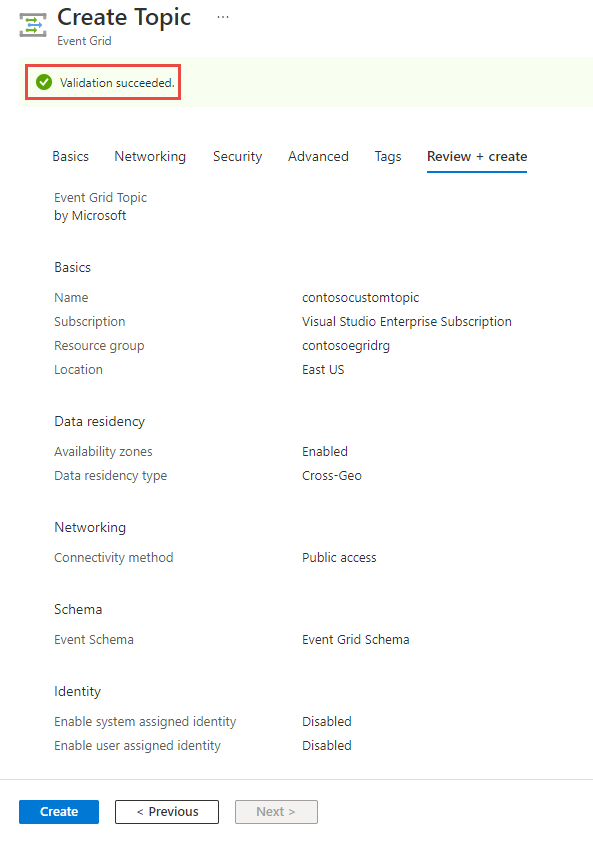
Review + create page
On the Review + create page, review all your settings, confirm the validation succeeded, and then select Create to create the topic or the domain.
Next steps
Now that you know how to create custom topics or domains, learn more about what Event Grid can help you do:
- Route custom events to web endpoint with the Azure portal and Event Grid
- About Event Grid
- Event handlers
See the following samples to learn about publishing events to and consuming events from Event Grid using different programming languages.