Note
Access to this page requires authorization. You can try signing in or changing directories.
Access to this page requires authorization. You can try changing directories.
This article shows you how to create ExpressRoute Direct using the Azure portal. ExpressRoute Direct allows you to connect directly to Microsoft's global network at strategically distributed peering locations worldwide. For more information, see About ExpressRoute Direct.
Before you begin
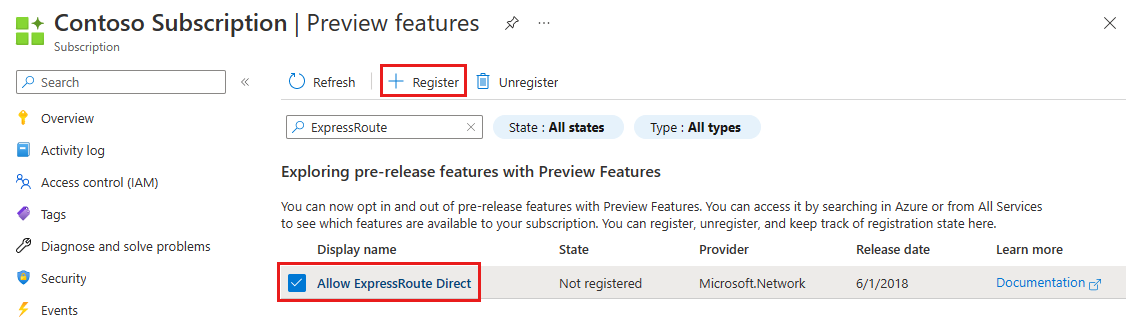
Before using ExpressRoute Direct, you must enroll your subscription. To enroll, register the Allow ExpressRoute Direct feature to your subscription:
Sign in to the Azure portal and select the subscription you wish to enroll.
Select Preview features under Settings in the left side menu. Enter ExpressRoute into the search box.
Select the checkbox next to Allow ExpressRoute Direct, then select the + Register button at the top of the page.
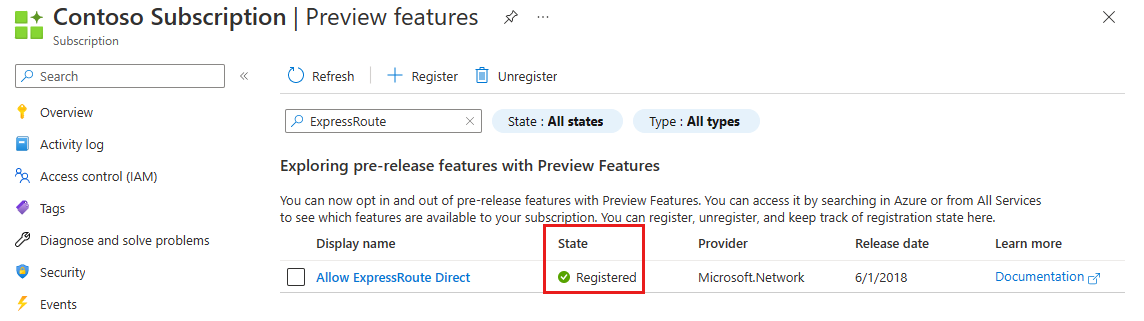
Confirm Allow ExpressRoute Direct shows Registered under the State column.
Create ExpressRoute Direct
In the Azure portal, select + Create a resource.
On the Create a resource page, enter ExpressRoute Direct into the Search services and marketplace box.
From the results, select ExpressRoute Direct.
On the ExpressRoute Direct page, select Create to open the Create ExpressRoute Direct page.
Complete the fields on the Basics page.
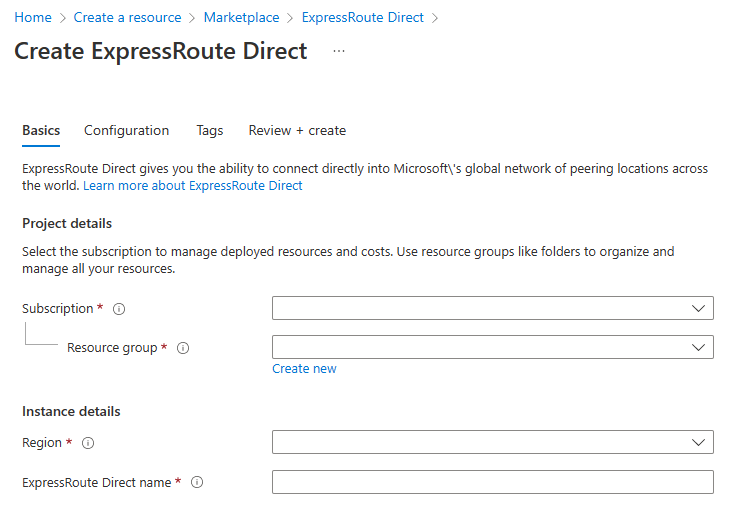
- Subscription: The Azure subscription you want to use to create a new ExpressRoute Direct. The ExpressRoute Direct resource and ExpressRoute circuits created in a later step must be in the same subscription.
- Resource group: The Azure resource group in which the new ExpressRoute Direct resource is created. If you don't have an existing resource group, you can create a new one.
- Region: The Azure public region where the resource is created.
- ExpressRoute Direct name: The name of the new ExpressRoute Direct resource.
Complete the fields on the Configuration page.
- Peering Location: The peering location where you connect to the ExpressRoute Direct resource. For more information about peering locations, review ExpressRoute Locations.
- Bandwidth: The port pair bandwidth that you want to reserve. ExpressRoute Direct supports both 10 Gb and 100-Gb bandwidth options. If your desired bandwidth isn't available at the specified peering location, open a Support Request in the Azure portal.
- Encapsulation: ExpressRoute Direct supports both QinQ and Dot1Q encapsulation.
- If QinQ is selected, each ExpressRoute circuit is dynamically assigned an S-Tag and is unique throughout the ExpressRoute Direct resource.
- Each C-Tag on the circuit must be unique on the circuit, but not across the ExpressRoute Direct.
- If Dot1Q encapsulation is selected, you must manage the uniqueness of the C-Tag (VLAN) across the entire ExpressRoute Direct resource.
Important
ExpressRoute Direct can only be one encapsulation type. Encapsulation can't be changed after ExpressRoute Direct creation.
Specify any resource tags, then select Review + create to validate the ExpressRoute Direct resource settings.
Select Create once validation passes. You see a message letting you know that your deployment is underway. A status displays on this page when your ExpressRoute Direct resource is created.
Generate the letter of authorization (LOA)
Go to the overview page of the ExpressRoute Direct resource and select Generate Letter of Authorization.
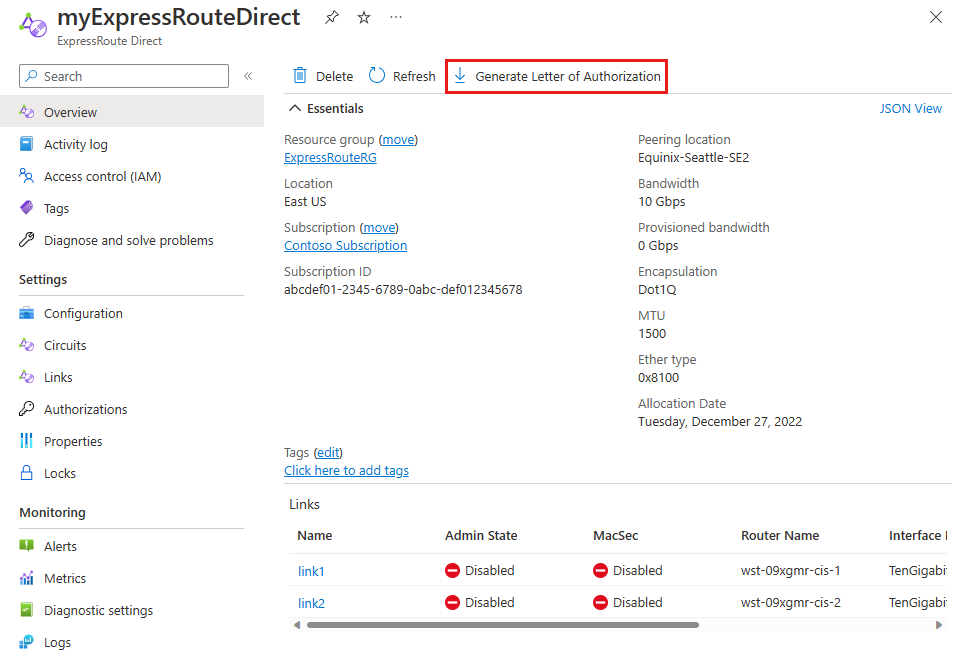
Enter your company name and select Download to generate the letter.
Change Admin State of links
This process should be used to conduct a Layer 1 test, ensuring that each cross-connection is properly patched into each router for primary and secondary.
From the ExpressRoute Direct resource, select Links under Settings in the left side menu. Toggle the Admin State to Enabled and select Save for Link 1.
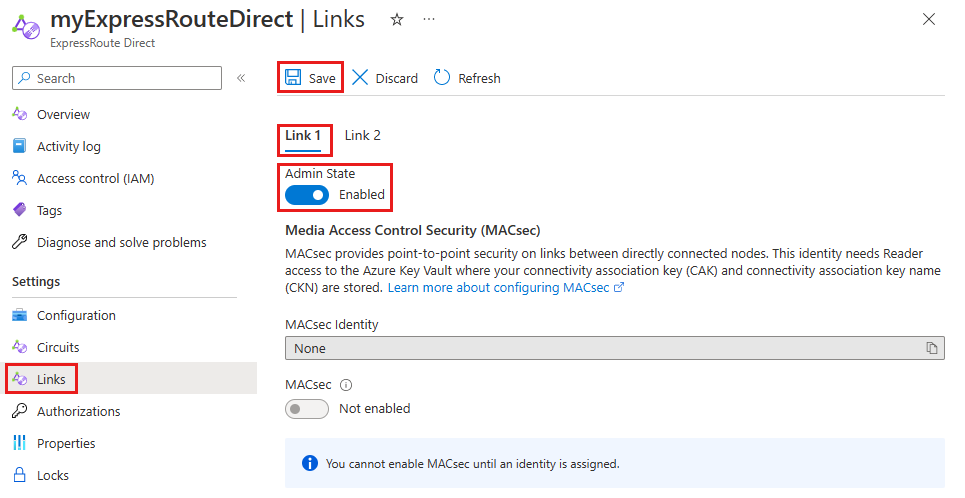
Select the Link 2 tab. Toggle the Admin State to Enabled and select Save for Link 2.
Important
Billing begins when admin state is enabled on either link.
Create a circuit
By default, you can create 10 circuits in the subscription where the ExpressRoute Direct resource is. You can increase this number by contacting support. You're responsible for tracking both Provisioned and Utilized Bandwidth. Provisioned bandwidth is the sum of bandwidth of all circuits on the ExpressRoute Direct resource. Utilized bandwidth is the physical usage of the underlying physical interfaces.
- There are more circuit bandwidths that can be utilized on ExpressRoute Direct only to support the scenarios outlined. These bandwidths are: 40 Gbps and 100 Gbps.
SkuTiercan be Local, Standard, or Premium.SkuFamilymust be MeteredData only. Unlimited isn't supported on ExpressRoute Direct.
The following steps help you create an ExpressRoute circuit from the ExpressRoute Direct workflow. If you prefer, you can also create a circuit using the regular circuit workflow, although there's no advantage in using the regular circuit workflow steps for this configuration. For more information, see Create and modify an ExpressRoute circuit.
From the ExpressRoute Direct resource, select Circuits under Settings in the left side menu, and then select + Add.
Complete the fields on the Basics page.
- Subscription: The Azure subscription you want to use to create a new ExpressRoute circuit. The ExpressRoute circuit has to be in the same subscription as the ExpressRoute Direct resource.
- Resource group: The Azure resource group in which the new ExpressRoute circuit resource is created. If you don't have an existing resource group, you can create a new one.
- Region: The Azure public region where the resource is created. The region must be the same as the ExpressRoute Direct resource.
- Name: The name of the new ExpressRoute circuit resource.
Complete the fields on the Configuration page.
- Port type: Select Direct as the port type to create a circuit with ExpressRoute Direct.
- ExpressRoute Direct resource: Select the ExpressRoute Direct resource you created in the previous section.
- Circuit bandwidth: Select the bandwidth for the circuit. Ensure to keep track of the bandwidth utilization for the ExpressRoute Direct port.
- SKU: Select the SKU type for the ExpressRoute circuit that best suits your environment.
- Billing model: Only Metered billing model circuits are supported with ExpressRoute Direct at creation.
Note
You can change from Metered to Unlimited after the creation of the circuit. This change is irreversible once completed. To change the billing model, go to the configuration page of the ExpressRoute Direct circuit.
Specify any resource tags, then select Review + Create to validate the settings before creating the resource.
Select Create once validation passes. You see a message letting you know that your deployment is underway. A status displays on this page when your ExpressRoute circuit resource is created.
Enable ExpressRoute Direct and circuits in a different subscription
Go to the ExpressRoute Direct resource and select Authorizations under Settings in the left side menu. Enter a name for a new authorization and select Save.
Create a new ExpressRoute circuit in a different subscription or Microsoft Entra tenant.
Select Direct as the port type and check the box for Redeem authorization. Enter the resource URI of the ExpressRoute Direct resource and enter the authorization key generated in step 2.
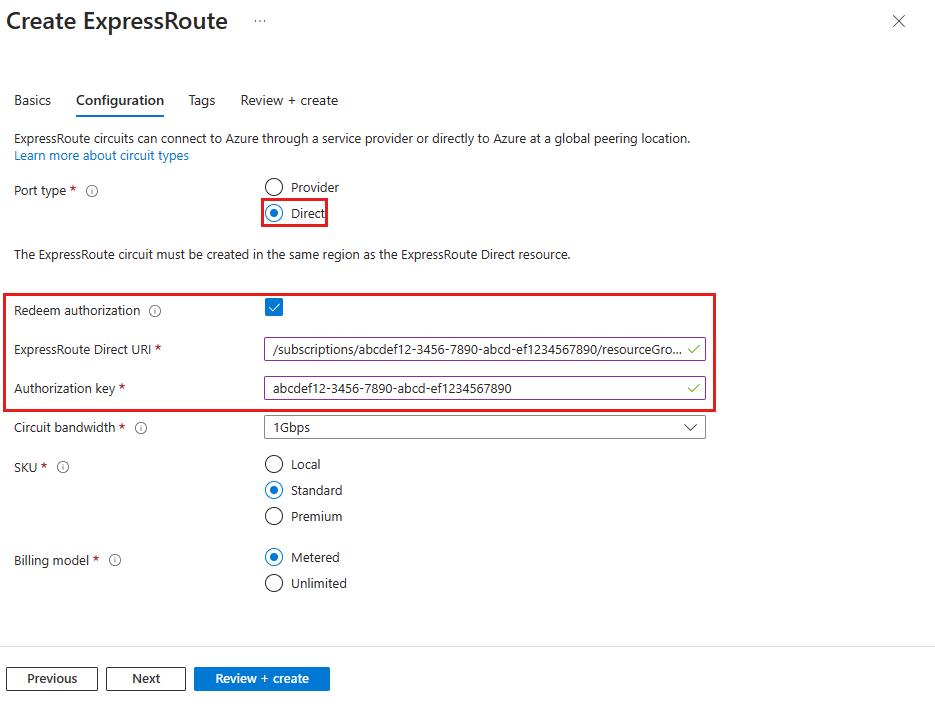
Select Review + Create to validate the settings before creating the resource. Then select Create to deploy the new ExpressRoute circuit.
Next steps
After you create the ExpressRoute circuit, you can link virtual networks to your ExpressRoute circuit.