Note
Access to this page requires authorization. You can try signing in or changing directories.
Access to this page requires authorization. You can try changing directories.
This article explains how to create a Microsoft Defender External Attack Surface Management (Defender EASM) Azure resource by using the Azure portal. Users can begin their usage of Defender EASM with a 30-day free trial. Once the trial is nearing expiration, you will be notified via banners and push notifications.
Creating the Defender EASM Azure resource involves two steps:
- Create a resource group.
- Create a Defender EASM resource in the resource group.
Prerequisites
Before you create a Defender EASM resource group, become familiar with how to access and use the Azure portal. Also read the Defender EASM Overview article for key context on the product. You need:
- A valid Azure subscription or free Defender EASM trial account. If you don’t have an Azure subscription, create a free Azure account before you begin.
- A Contributor role assigned for you to create a resource. To get this role assigned to your account, follow the steps in the Assign roles documentation. Or you can contact your administrator.
Create a resource group
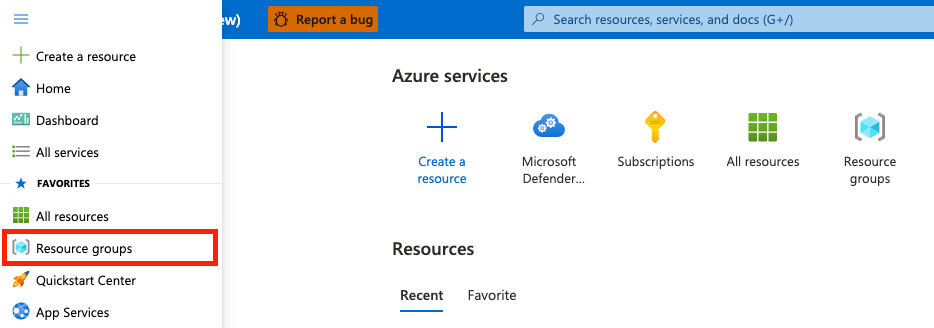
To create a new resource group, select Resource groups in the Azure portal.
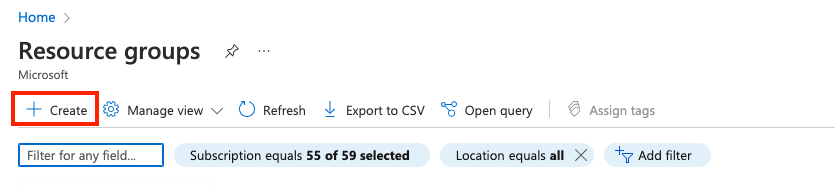
Under Resource groups, select Create.
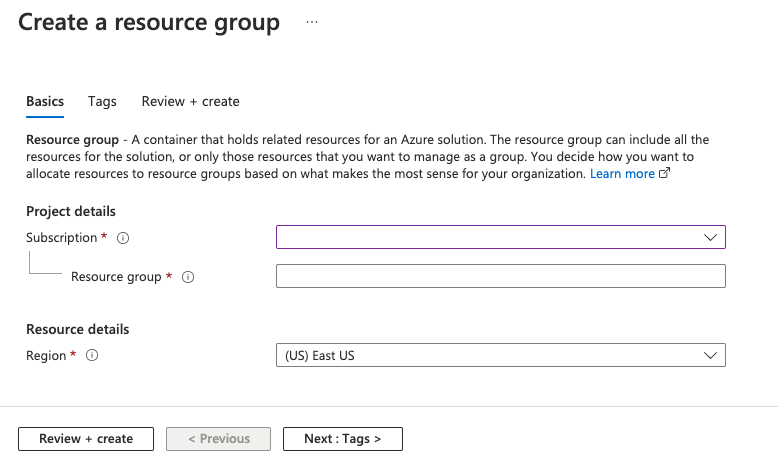
Select or enter the following property values:
- Subscription: Select an Azure subscription.
- Resource group: Give the resource group a name.
- Region: Specify an Azure location. This location is where the resource group stores metadata about the resource. For compliance reasons, you might want to specify where that metadata is stored. In general, we recommend that you specify a location where most of your resources will be. Using the same location can simplify your template. The following regions are supported:
- southcentralus
- eastus
- australiaeast
- westus3
- swedencentral
- eastasia
- japaneast
- westeurope
- northeurope
- switzerlandnorth
- canadacentral
- centralus
- norwayeast
- francecentral
Select Review + create.
Review the values and select Create.
Select Refresh to view the new resource group in the list.
Create resources in a resource group
After you create a resource group, you can create Defender EASM resources in the group by searching for Defender EASM in the Azure portal.
In the search box, enter Microsoft Defender EASM and select Enter.
Select Create to create a Defender EASM resource.

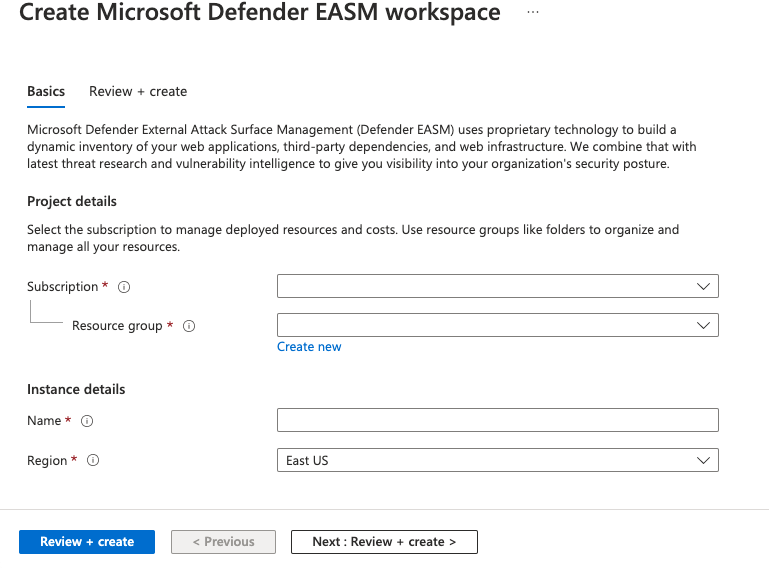
Select or enter the following property values:
- Subscription: Select an Azure subscription.
- Resource group: Select the resource group created in the earlier step. You can also create a new one as part of the process of creating this resource.
- Name: Give the Defender EASM workspace a name.
- Region: Select an Azure location. See the supported regions listed in the preceding section.
Select Review + create.
Review the values and select Create.
Select Refresh to see the status of the resource creation. Now you can go to the resource to get started.