Configure Role Based Access Control
Important
This feature is currently in preview. The Supplemental Terms of Use for Microsoft Azure Previews include more legal terms that apply to Azure features that are in beta, in preview, or otherwise not yet released into general availability. For information about this specific preview, see Azure HDInsight on AKS preview information. For questions or feature suggestions, please submit a request on AskHDInsight with the details and follow us for more updates on Azure HDInsight Community.
This article describes how to provide Role Based Access Control and auto assign users to Apache Superset roles. This Role Based Access Control enables you to manage user groups in Microsoft Entra ID but configure access permissions in Superset.
For example, if you have a security group called datateam, you can propagate membership of this group to Superset, which means Superset can automatically deny access if a user is removed from this security group.
Create a role that forbids access to Superset.
Create a
NoAccessrole in Superset that prevents users from running queries or performing any operations. This role is the default role that users get assigned to if they don't belong to any other group.In Superset, select "Settings" (on the top right) and choose "List Roles."
Select the plus symbol to add a new role.
Give the following details for the new role. Name: NoAccess Permissions:
[can this form get on UserInfoEditView]Select “Save.”
Configure Superset to automatically assign roles.
Replace the
automatic registration of userssection in the Helm chart with the following example:# **** Automatic registration of users # Map Authlib roles to superset roles # Will allow user self-registration, allowing to create Flask users from Authorized User AUTH_USER_REGISTRATION = True # The default user self-registration role AUTH_USER_REGISTRATION_ROLE = "NoAccess" AUTH_ROLES_SYNC_AT_LOGIN = True # The role names here are the roles that are auto created by Superset. # You may have different requirements. AUTH_ROLES_MAPPING = { "Alpha": ["Admin"], "Public": ["Public"], "Alpha": ["Alpha"], "Gamma": ["Gamma"], "granter": ["granter"], "sqllab": ["sql_lab"], } # **** End automatic registration of users
Redeploy Superset
helm repo update
helm upgrade --install --values values.yaml superset superset/superset
Modify Microsoft Entra App Registration.
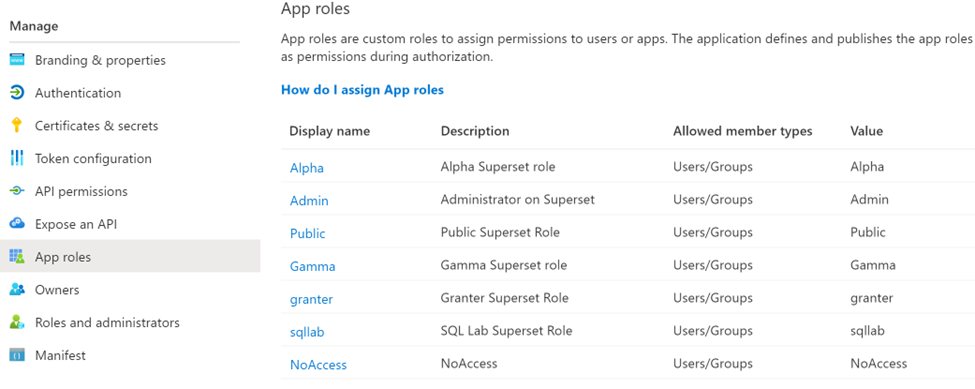
Search for your application in Microsoft Entra ID and select your app under the "app registration" heading. Edit your app registration's roles by selecting "App roles" from the left navigation, and add all of the Superset roles you would like to use. It's recommended you add at least the Admin and Public roles.
Value Display Name Description Allowed Member Types Admin Admin Superset administrator Users/Groups Public Public Superset user Users/Groups Example:
Assign User Roles in Enterprise App Registration.
Search for your application again in Microsoft Entra ID but this time, select your application under the heading "enterprise applications."
Select "Users and groups" from the left navigation and add yourself to the admin role, and any other groups or users you want to assign at this time.
Open Superset and verify login.
Log out of Superset and log in again.
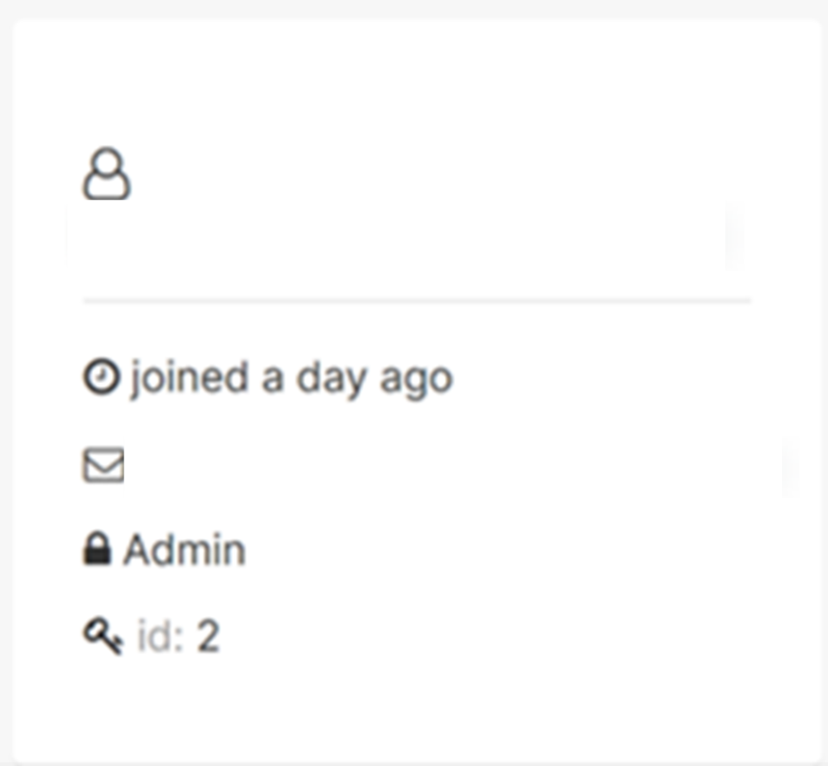
Select "Settings" in the top right and choose "Profile."
Verify you have the Admin role.
Next steps
Feedback
Coming soon: Throughout 2024 we will be phasing out GitHub Issues as the feedback mechanism for content and replacing it with a new feedback system. For more information see: https://aka.ms/ContentUserFeedback.
Submit and view feedback for