Note
Access to this page requires authorization. You can try signing in or changing directories.
Access to this page requires authorization. You can try changing directories.
This Quickstart guide walks you through creating your first healthcare agent service.
At the end of this guide you'll be able to access a white-labeled bot instance that can be embedded within your app or website. You can customize the built-in functionality and extend to introduce your own business flows through simple and intuitive visual editing tools
Important
An Azure account is required to complete these steps. If you don't have an Azure subscription, create a free account before you begin.
Once you have an Azure account, sign-in to the Azure portal.
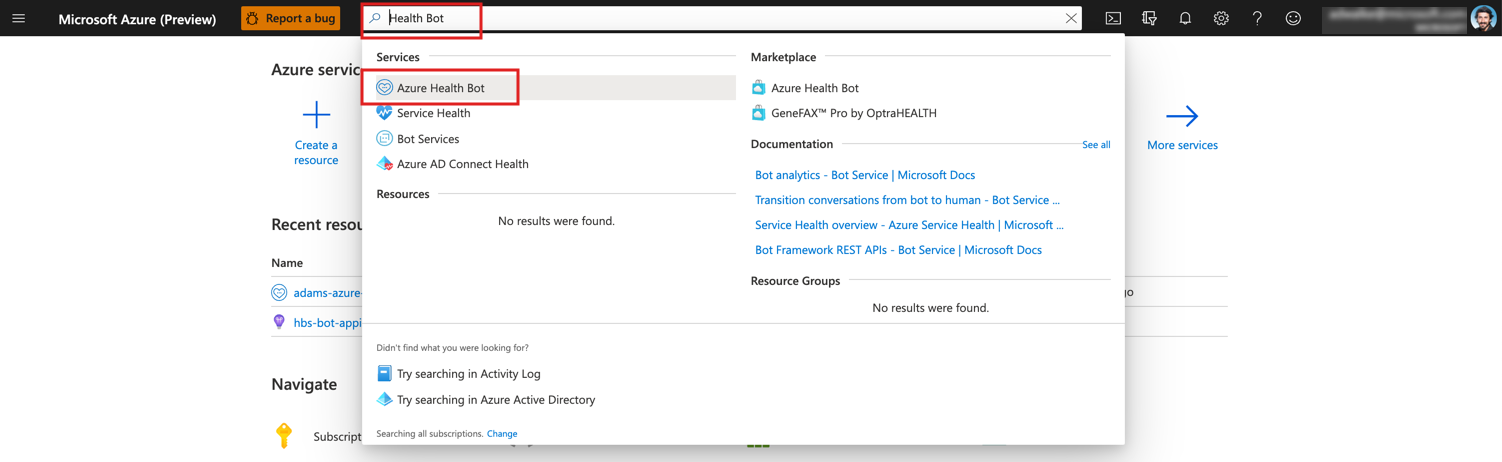
In the global search look for "healthcare agent service"
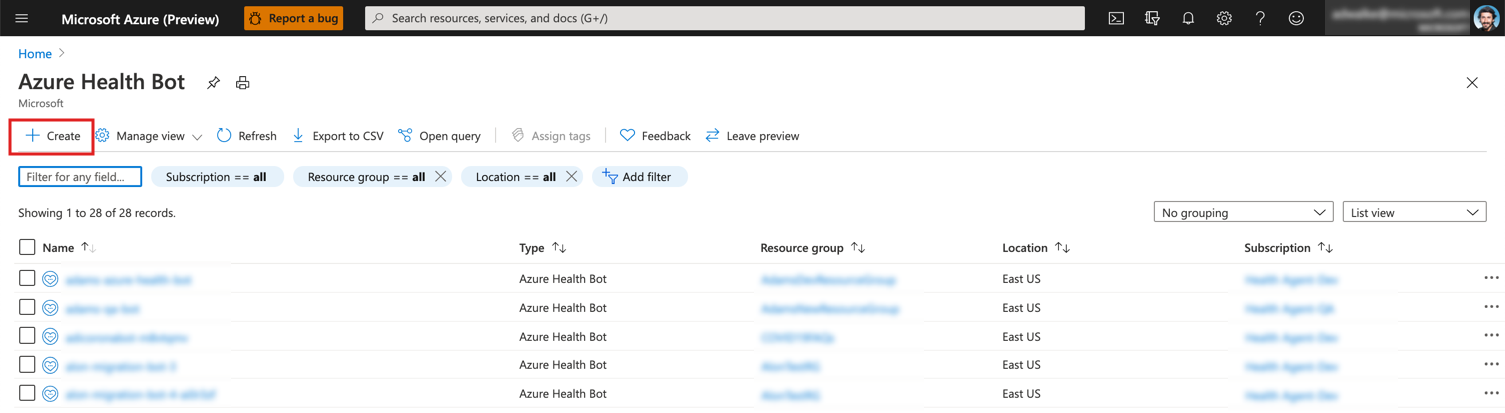
- In the healthcare agent service management blade, select "Create" to create a new healthcare agent service instance
- Follow the steps in the resource creation wizard and provide the required details for your new healthcare agent service resource
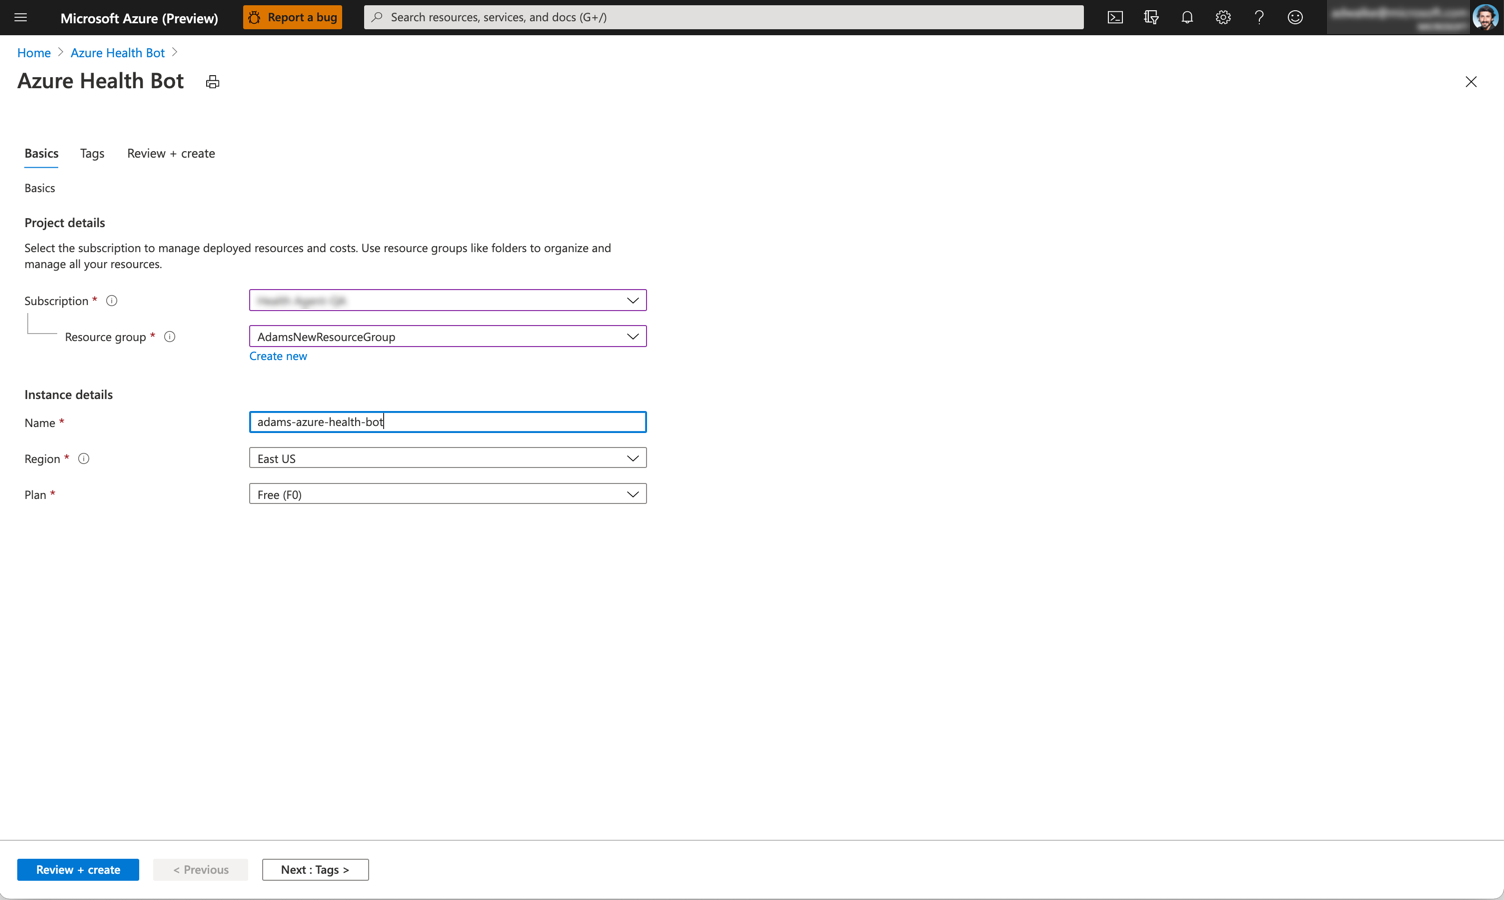
- Subscription: The Azure subscription that is charged if you use a paid version of healthcare agent service
- Resource group: Create a new group or use an existing group to organize your healthcare agent service instances
- Name: Name for the bot that appears in the conversations. The name can only use lowercase letters and hyphens (-). The name must start with a letter and can't end with a hyphen (-) and must be between 2 and 30 characters in length.
- Region: Determine the location of the deployment data center for your instance. Note that the it's best to choose a location closest to your customer. The location can't be changed once the bot is created.
- Plan: Choose between the free and standard paid plans.
You can optionally add tags to the resource or complete the creation by clicking "Review + create".
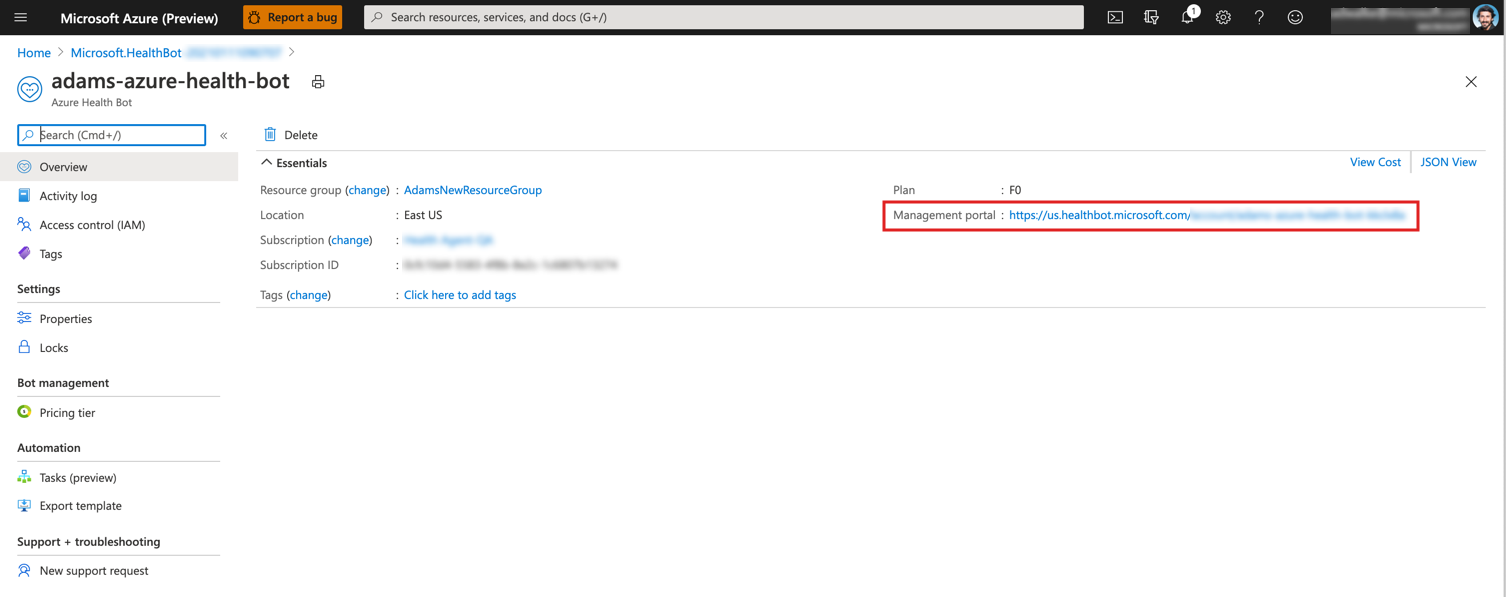
Start the creation process and wait a few minutes for the deployment process to complete. Once the resource is available, select "Go to resource"
Add yourself as Healthcare Agent Admin role as detailed in User Management
Explore the resource details in the resource overview page. You can now navigate to "healthcare agent service Management Portal" to discover the available functionality and start authoring custom scenarios for your bot.