Create new group
A Group is a key feature in the Community Training platform. It enables you to delegate user management and drive learner engagement to the grassroots-level.
Groups make user management easy via automatic enrollment, bulk user onboarding, course assignments, announcements and monitoring learner progress.
Note
If your platform is setup with Microsoft Entra ID (Azure AD) as login identity and Microsoft Teams as an end point, you won't be allowed to create groups from the management portal. All the user management activities have to be performed inside Microsoft Teams.
Permissions Level
The Community Training portal provides role-based permision level. The table below shows which administrative roles can create a new group on the portal.
| Access Level | Create a new Group |
|---|---|
| Global Administrator | Yes |
| Organization Administrator | Yes |
| Learning Path Administrator | No |
| Category Administrator | No |
| Course Administrator | No |
| Group Administrator | Yes |
Steps to create a new group
Log on to the Community Training portal and swtich to administrator view then select Users from the left navigation panel.
To add a new group, Select New Group on the bottom-left of the page.

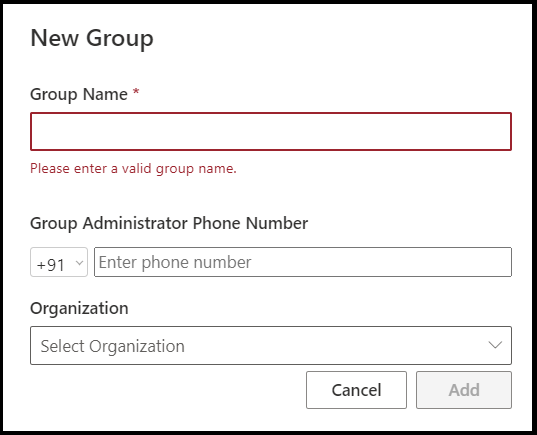
Enter the group name, group administrator information (optional), Organization (optional) then select Add to confirm the details entered.
Note
When a group is created, by default, the user who created the group will be the group administrator.
Note
If Organizations are NOT defined on the training platform, the Organization field in Group creation will be disabled. However, if the Organizations are defined, the Organization field in Group creation will be mandatory.
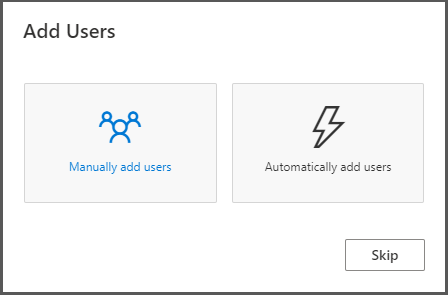
From Add Users pop-up, you can choose Manually add users or Automatically add users to add users at the time of group creation and follow the instructions shown.
Important
The option to Automatically add users will be available only to Global administrators and Organization administrators.
Select Skip during step 4 if you want to add users to the group later.
Manually add users to group during creation time
Select Manually add users then choose between the following two methods:
- Add Single User – Use this option to add one user at a time. Select Add Single User, enter the phone number then select Add to confirm.
- Bulk Upload Users – This option is used to add multiple users at once. For detailed steps, see how to structure the csv file and bulk upload users on the portal
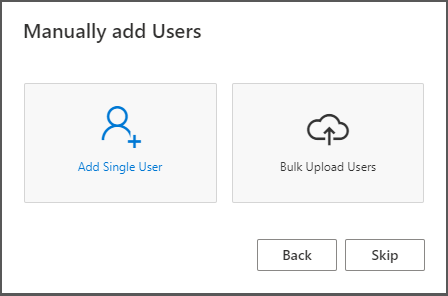
Click on Skip if you want to add users to the group later
Important
If your platform is setup with the login identity Social Account or Azure Active Directory then you will need to enter email address in the above step.
Automatically add users to group during creation
Select Automatically add users.
To add users automatically, you need to setup rules. See the detailed steps here.
Feedback
Coming soon: Throughout 2024 we will be phasing out GitHub Issues as the feedback mechanism for content and replacing it with a new feedback system. For more information see: https://aka.ms/ContentUserFeedback.
Submit and view feedback for