Tutorial: Deploy and review the continuous patient monitoring application template
In the healthcare IoT space, continuous patient monitoring is a key enabler for reducing the risk of readmissions, managing chronic diseases more effectively, and improving patient outcomes. Continuous patient monitoring can be split into two categories:
- In-patient monitoring: Care teams use medical wearables and other devices to monitor patient vital signs and medical conditions without having to send a nurse to check up on a patient multiple times a day. Care teams can receive notifications when a patient needs critical attention and prioritize their time effectively.
- Remote patient monitoring: Care teams use medical wearables to monitor patients outside of the hospital to lower the risk of readmission. Data collected from chronic disease patients and rehabilitation patients can help to ensure that patients are adhering to care plans and that alerts of patient deterioration are surfaced to care teams before they become critical.
The application template enables you to:
- Seamlessly connect different kinds of medical wearables to an IoT Central instance.
- Monitor and manage the devices to ensure they remain healthy.
- Create custom rules that use device data to trigger alerts.
- Export your patient health data to the Azure API for FHIR, a compliant data store.
- Export the aggregated insights into existing or new business applications.

Bluetooth Low Energy (BLE) medical devices (1)
Many medical wearables used in healthcare IoT solutions are BLE devices. These devices can't communicate directly to the cloud and require a gateway to exchange data with your cloud solution. This architecture uses a mobile phone application as the gateway.
Mobile phone gateway (2)
The primary function of the mobile phone application is to collect BLE data from medical devices and send it to IoT Central. The application also guides patients through device setup and lets them view their personal health data. Other solutions could use a tablet gateway or a static gateway in a hospital room. An open-source sample mobile application is available for Android and iOS to use as a starting point for your application development. To learn more, see the Continuous patient monitoring sample mobile app on GitHub.
Export to Azure API for FHIR® (3)
Azure IoT Central is HIPAA-compliant and HITRUST® certified. You can send patient health data to other services using the Azure API for FHIR. Azure API for FHIR is a standards-based API for clinical health data. The Azure IoT connector for FHIR lets you use the Azure API for FHIR as a continuous data export destination from IoT Central.
Machine learning (4)
Use machine learning models with your FHIR data to generate insights and support decision making by your care team. To learn more, see the Azure Machine Learning documentation.
Provider dashboard (5)
Use the Azure API for FHIR data to build a patient insights dashboard or integrate it directly into an electronic medical record used by care teams. Care teams can use the dashboard to assist patients and identify early warning signs of deterioration.
In this tutorial, you learn how to:
- Create an application template
- Walk through the application template
Prerequisites
An active Azure subscription. If you don't have an Azure subscription, create a free account before you begin.
Create application
To create your IoT Central application:
Navigate to the Create IoT Central Application page in the Azure portal. If prompted, sign in with your Azure account.
Enter the following information:
Field Description Subscription The Azure subscription you want to use. Resource group The resource group you want to use. You can create a new resource group or use an existing one. Resource name A valid Azure resource name. Application URL The URL subdomain for your application. The URL for an IoT Central application looks like https://yoursubdomain.azureiotcentral.com.Template Continuous Patient Monitoring Region The Azure region you want to use. Pricing plan The pricing plan you want to use. Select Review + create. Then select Create.
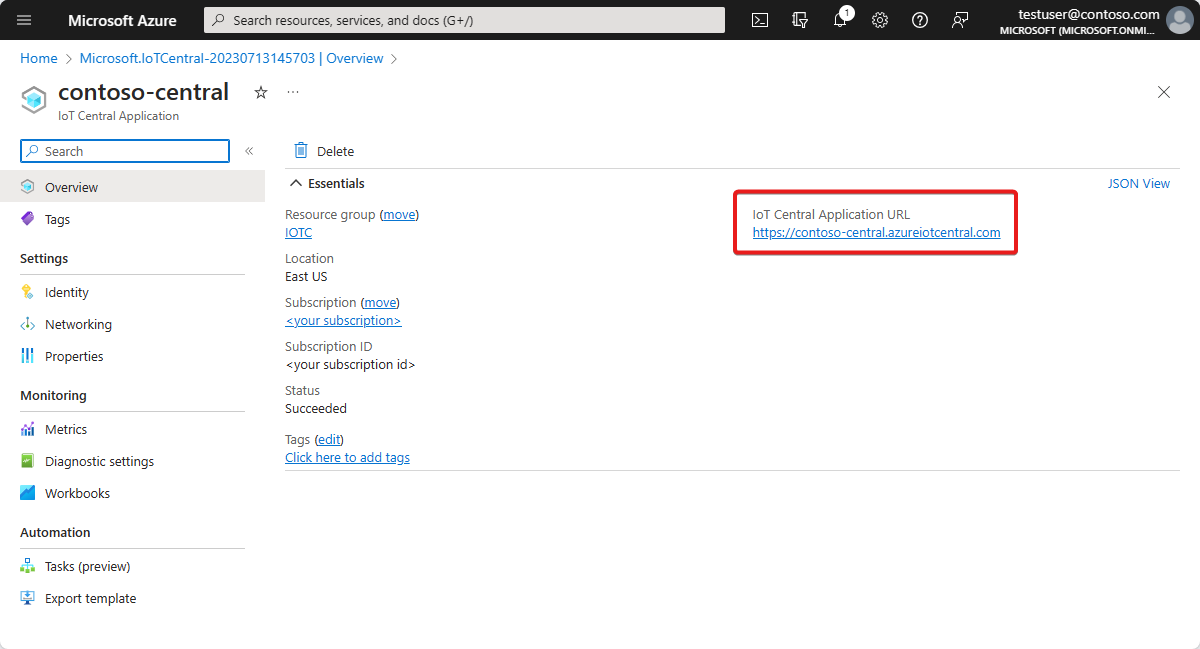
When the app is ready, you can navigate to it from the Azure portal:
To learn more, see Create an Azure IoT Central application.
Walk through the application
The following sections walk you through the key features of the application:
Dashboards
After you deploy the application template, navigate to the Dashboards. There are two dashboards. On the Lamna in-patient monitoring dashboard for the Woodgrove hospital, you can:
See device telemetry and properties such as the battery level of your device or its connectivity status.
View the floor plan and location of the Smart Vitals Patch device.
Reprovision the Smart Vitals Patch for a new patient.
See an example of a provider dashboard that a hospital care team might see to track their patients.
Change the patient status of your device to indicate if the device is being used for an in-patient or remote scenario.
On the Lamna remote patient monitoring dashboard for the Burkville hospital, you can see a similar set of actions, telemetry, and information. You can also see multiple devices in use and choose to update the firmware on each.

Device templates
Navigate to Device templates to see the two device types in the application template:
Smart Vitals Patch: This device represents a patch that measures various vital signs. It's used for monitoring patients in and outside the hospital. The patch sends both device data such as battery level and device temperature, and patient health data such as respiratory rate and blood pressure.
Smart Knee Brace: This device represents a knee brace that patients use when recovering from a knee replacement surgery. The knee brace sends device data such as range of motion and acceleration.

Device groups
Use device groups to logically group a set of devices and then run bulk queries or operations on them.
Navigate to Device groups to see the default device groups for each device template. There are also two more device groups called Provisioned devices and Devices with outdated firmware. The Jobs in the application use these device groups to run operations on sets of devices.
Rules
Navigate to Rules to see the three rules in the application template:
Brace temperature high: This rule triggers when the device temperature of the smart knee brace is greater than 95°F over a 5-minute window. Use this rule to alert the patient and care team, and cool the device down remotely.
Fall detected: This rule is triggers if a patient fall is detected. Use this rule to configure an action to deploy an operational team to assist the patient who has fallen.
Patch battery low: This rule is triggers when the battery level on the device goes below 10%. Use this rule to trigger a notification to the patient to charge their device.

Jobs
Use jobs to run bulk operations on a set of devices, using device groups to select the devices. The application template has two sample jobs that an operator can run:
Update knee brace firmware: This job finds devices in the device group Devices with outdated firmware and runs a command to update those devices to the latest firmware version. This sample job assumes that the devices can handle an update command and then fetch the firmware files from the cloud.
Re-provision devices: You have a set of devices that have recently been returned to the hospital. This job finds devices in the device group Provisioned devices and runs a command to reprovision them for the next set of patients.
Devices
Navigate to Devices and then select a Smart Knee Brace instance. There are three views to explore information about the particular device that you've selected. These views are created and published when you build the device template for your device. These views are consistent across all the devices of that type.
The Dashboard view gives an overview of operator-oriented telemetry and properties from the device.
The Properties tab lets you edit cloud properties and read/write device properties.
The Commands tab lets you run commands on the device.

Clean up resources
If you don't plan to continue using this application, you can delete it:
- In your Azure IoT Central application, go to Application > Management.
- Select Delete, and then confirm your action.
Next steps
A suggested next step is to learn more about integrating IoT Central with other services:
Feedback
Coming soon: Throughout 2024 we will be phasing out GitHub Issues as the feedback mechanism for content and replacing it with a new feedback system. For more information see: https://aka.ms/ContentUserFeedback.
Submit and view feedback for