Note
Access to this page requires authorization. You can try signing in or changing directories.
Access to this page requires authorization. You can try changing directories.
This article shows you how to create the Device Update for Azure IoT Hub agent in Eclipse ThreadX NetX Duo. It also provides simple APIs for developers to integrate the Device Update capability in their application. Explore samples of key semiconductors evaluation boards that include the get-started guides to learn how to configure, build, and deploy over-the-air updates to the devices.
If you don't have an Azure subscription, create a free account before you begin.
Prerequisites
- Access to an IoT Hub instance. We recommend that you use an S1 (Standard) tier or higher.
- A Device Update instance and account linked to your IoT hub. Follow the guide to create and link a device update account if you haven't done so previously.
Get started
Each board-specific sample Eclipse ThreadX real-time operating system project contains code and documentation on how to use Device Update for IoT Hub on it. You will:
- Download the board-specific sample files from Eclipse ThreadX and Device Update samples.
- Find the docs folder from the downloaded sample.
- From the docs, follow the steps for how to prepare Azure resources and an account and register IoT devices to it.
- Follow the docs to build a new firmware image and import manifest for your board.
- Publish the firmware image and manifest to Device Update for IoT Hub.
- Download and run the project on your device.
Learn more about Eclipse ThreadX.
Tag your device
Keep the device application running from the previous step.
Sign in to the Azure portal and go to the IoT hub.
On the left pane, select Devices. Find your IoT device and go to the device twin.
In the device twin, delete any existing Device Update tag values by setting them to null.
Add a new Device Update tag value to the root JSON object, as shown:
    "tags": {
            "ADUGroup": "<CustomTagValue>"
            }
View device groups
Device Update uses groups to organize devices. Device Update automatically sorts devices into groups based on their assigned tags and compatibility properties. Each device belongs to only one group, but groups can have multiple subgroups to sort different device classes.
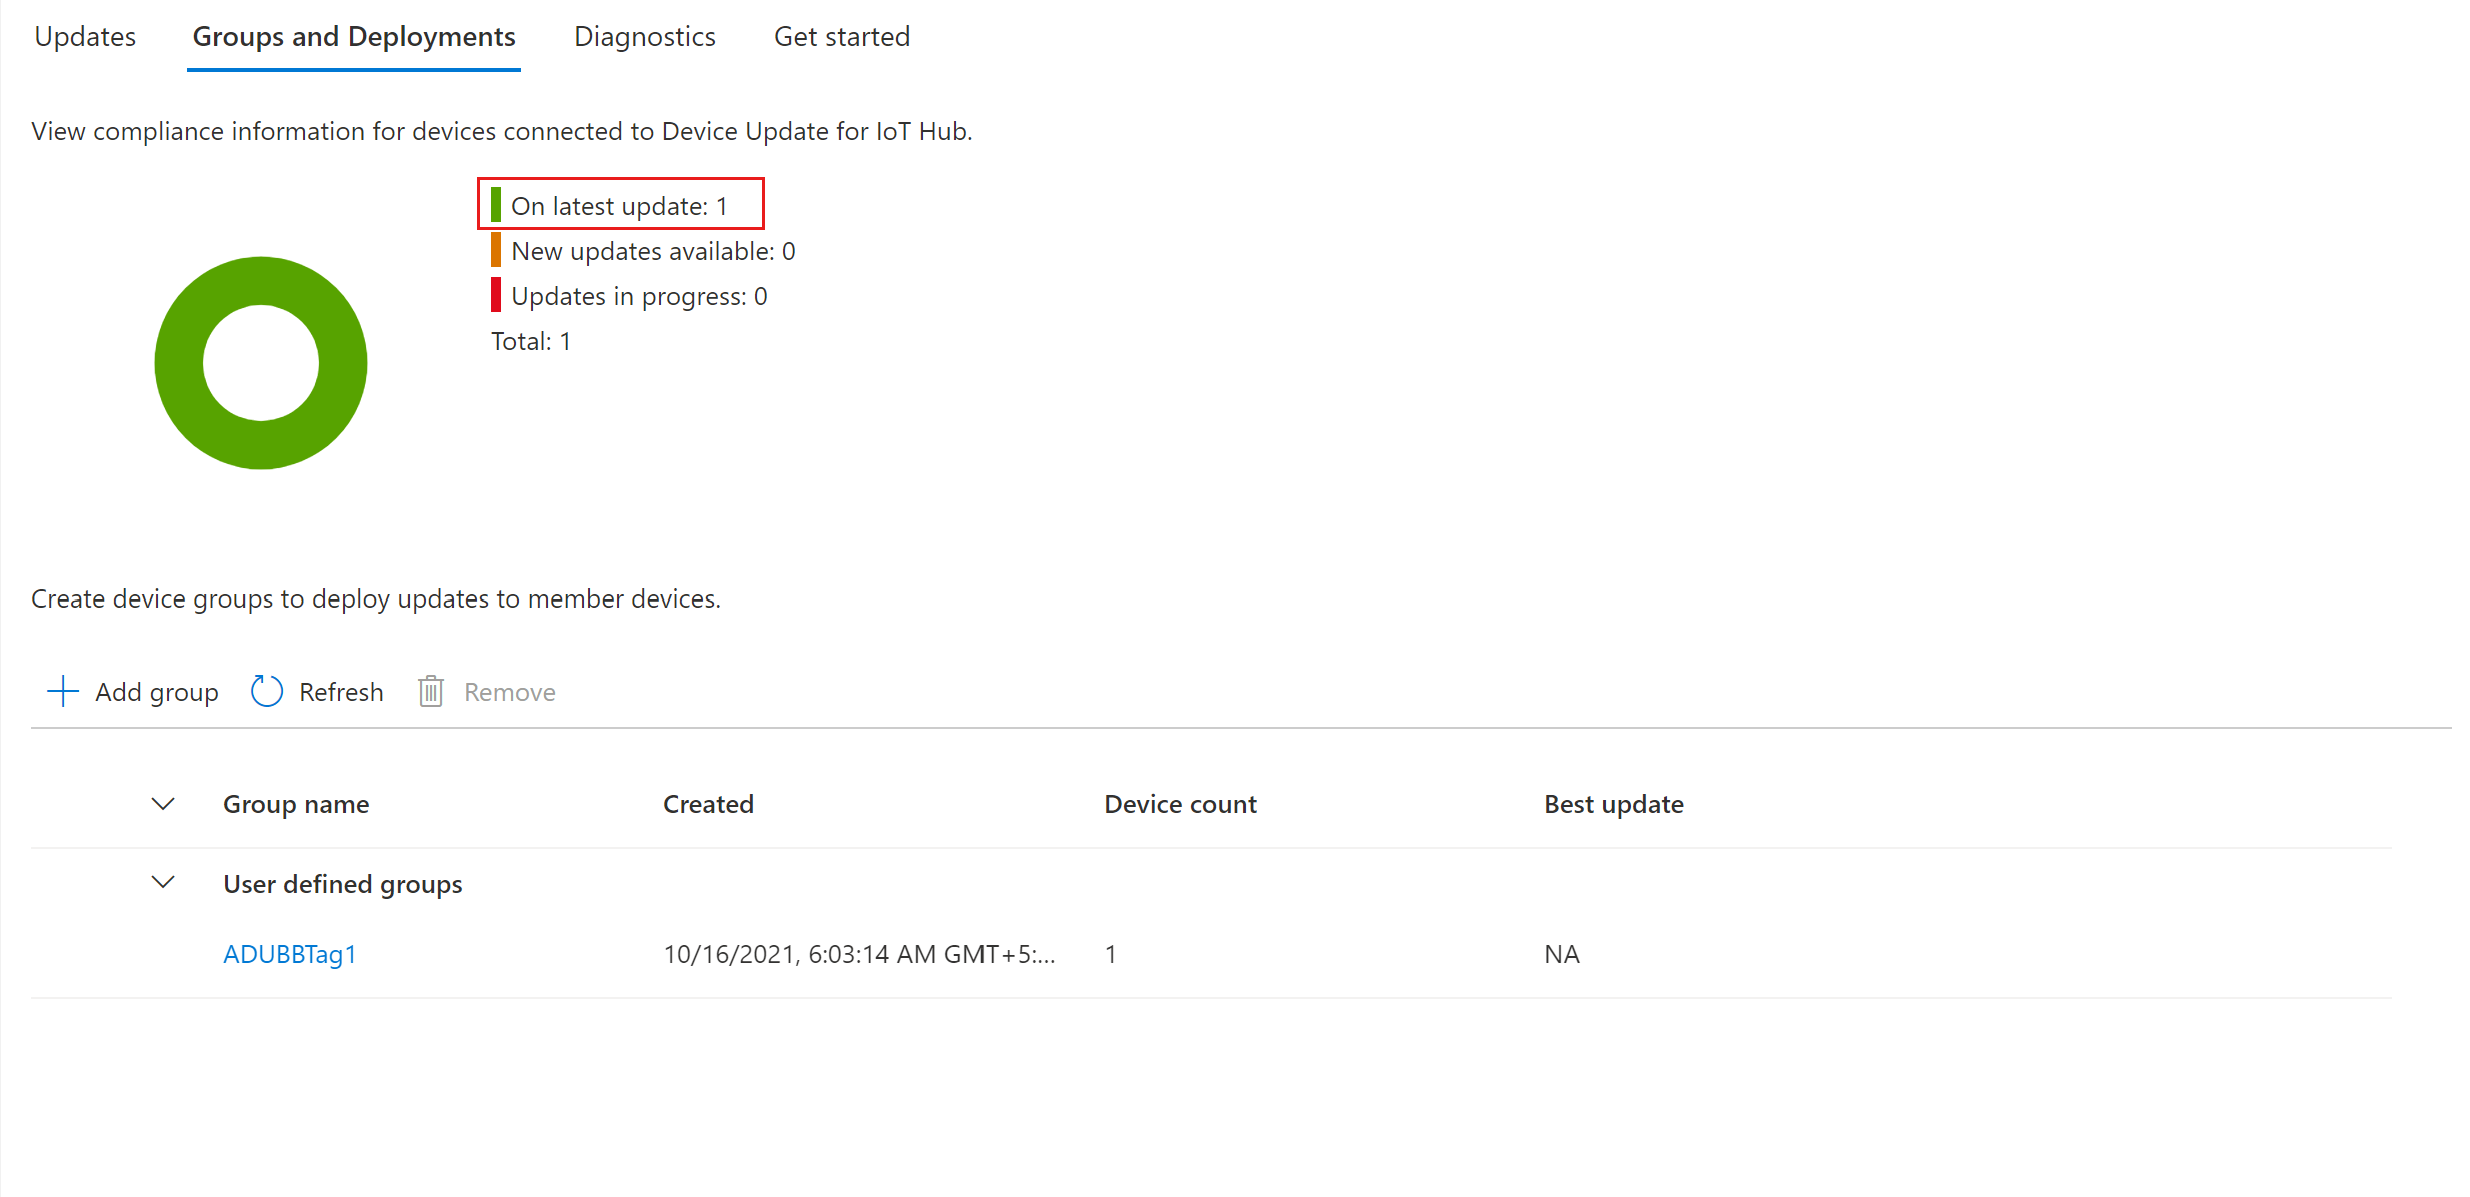
Go to the Groups and Deployments tab at the top of the page.
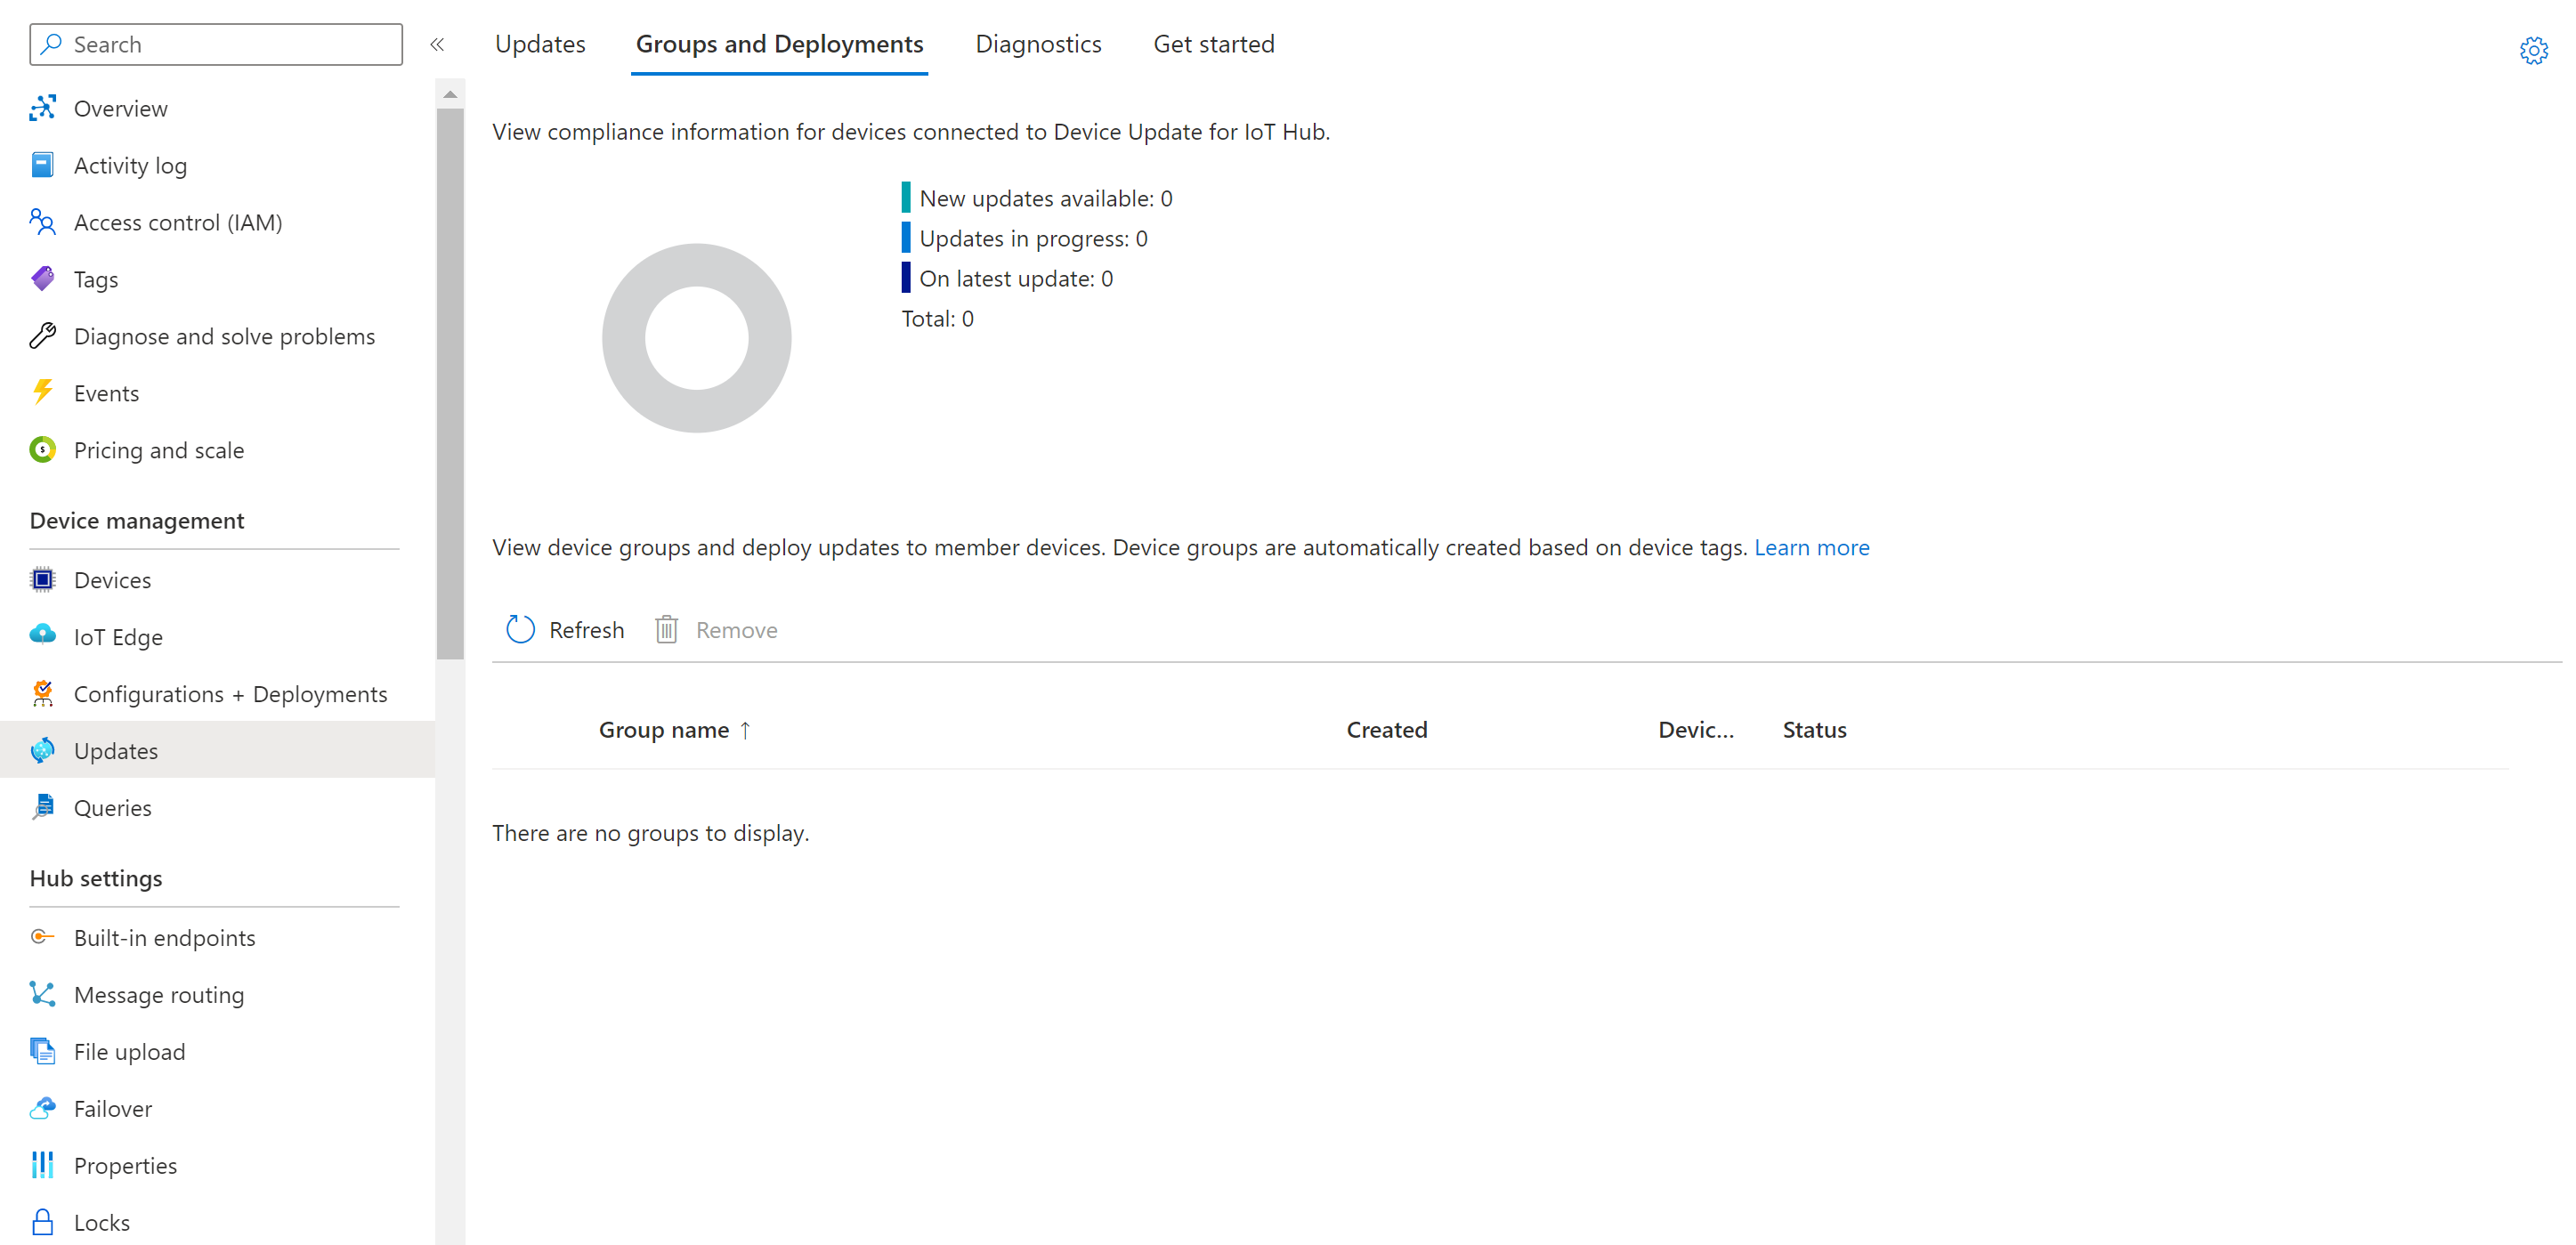
View the list of groups and the update compliance chart. The update compliance chart shows the count of devices in various states of compliance: On latest update, New updates available, and Updates in progress. Learn about update compliance.
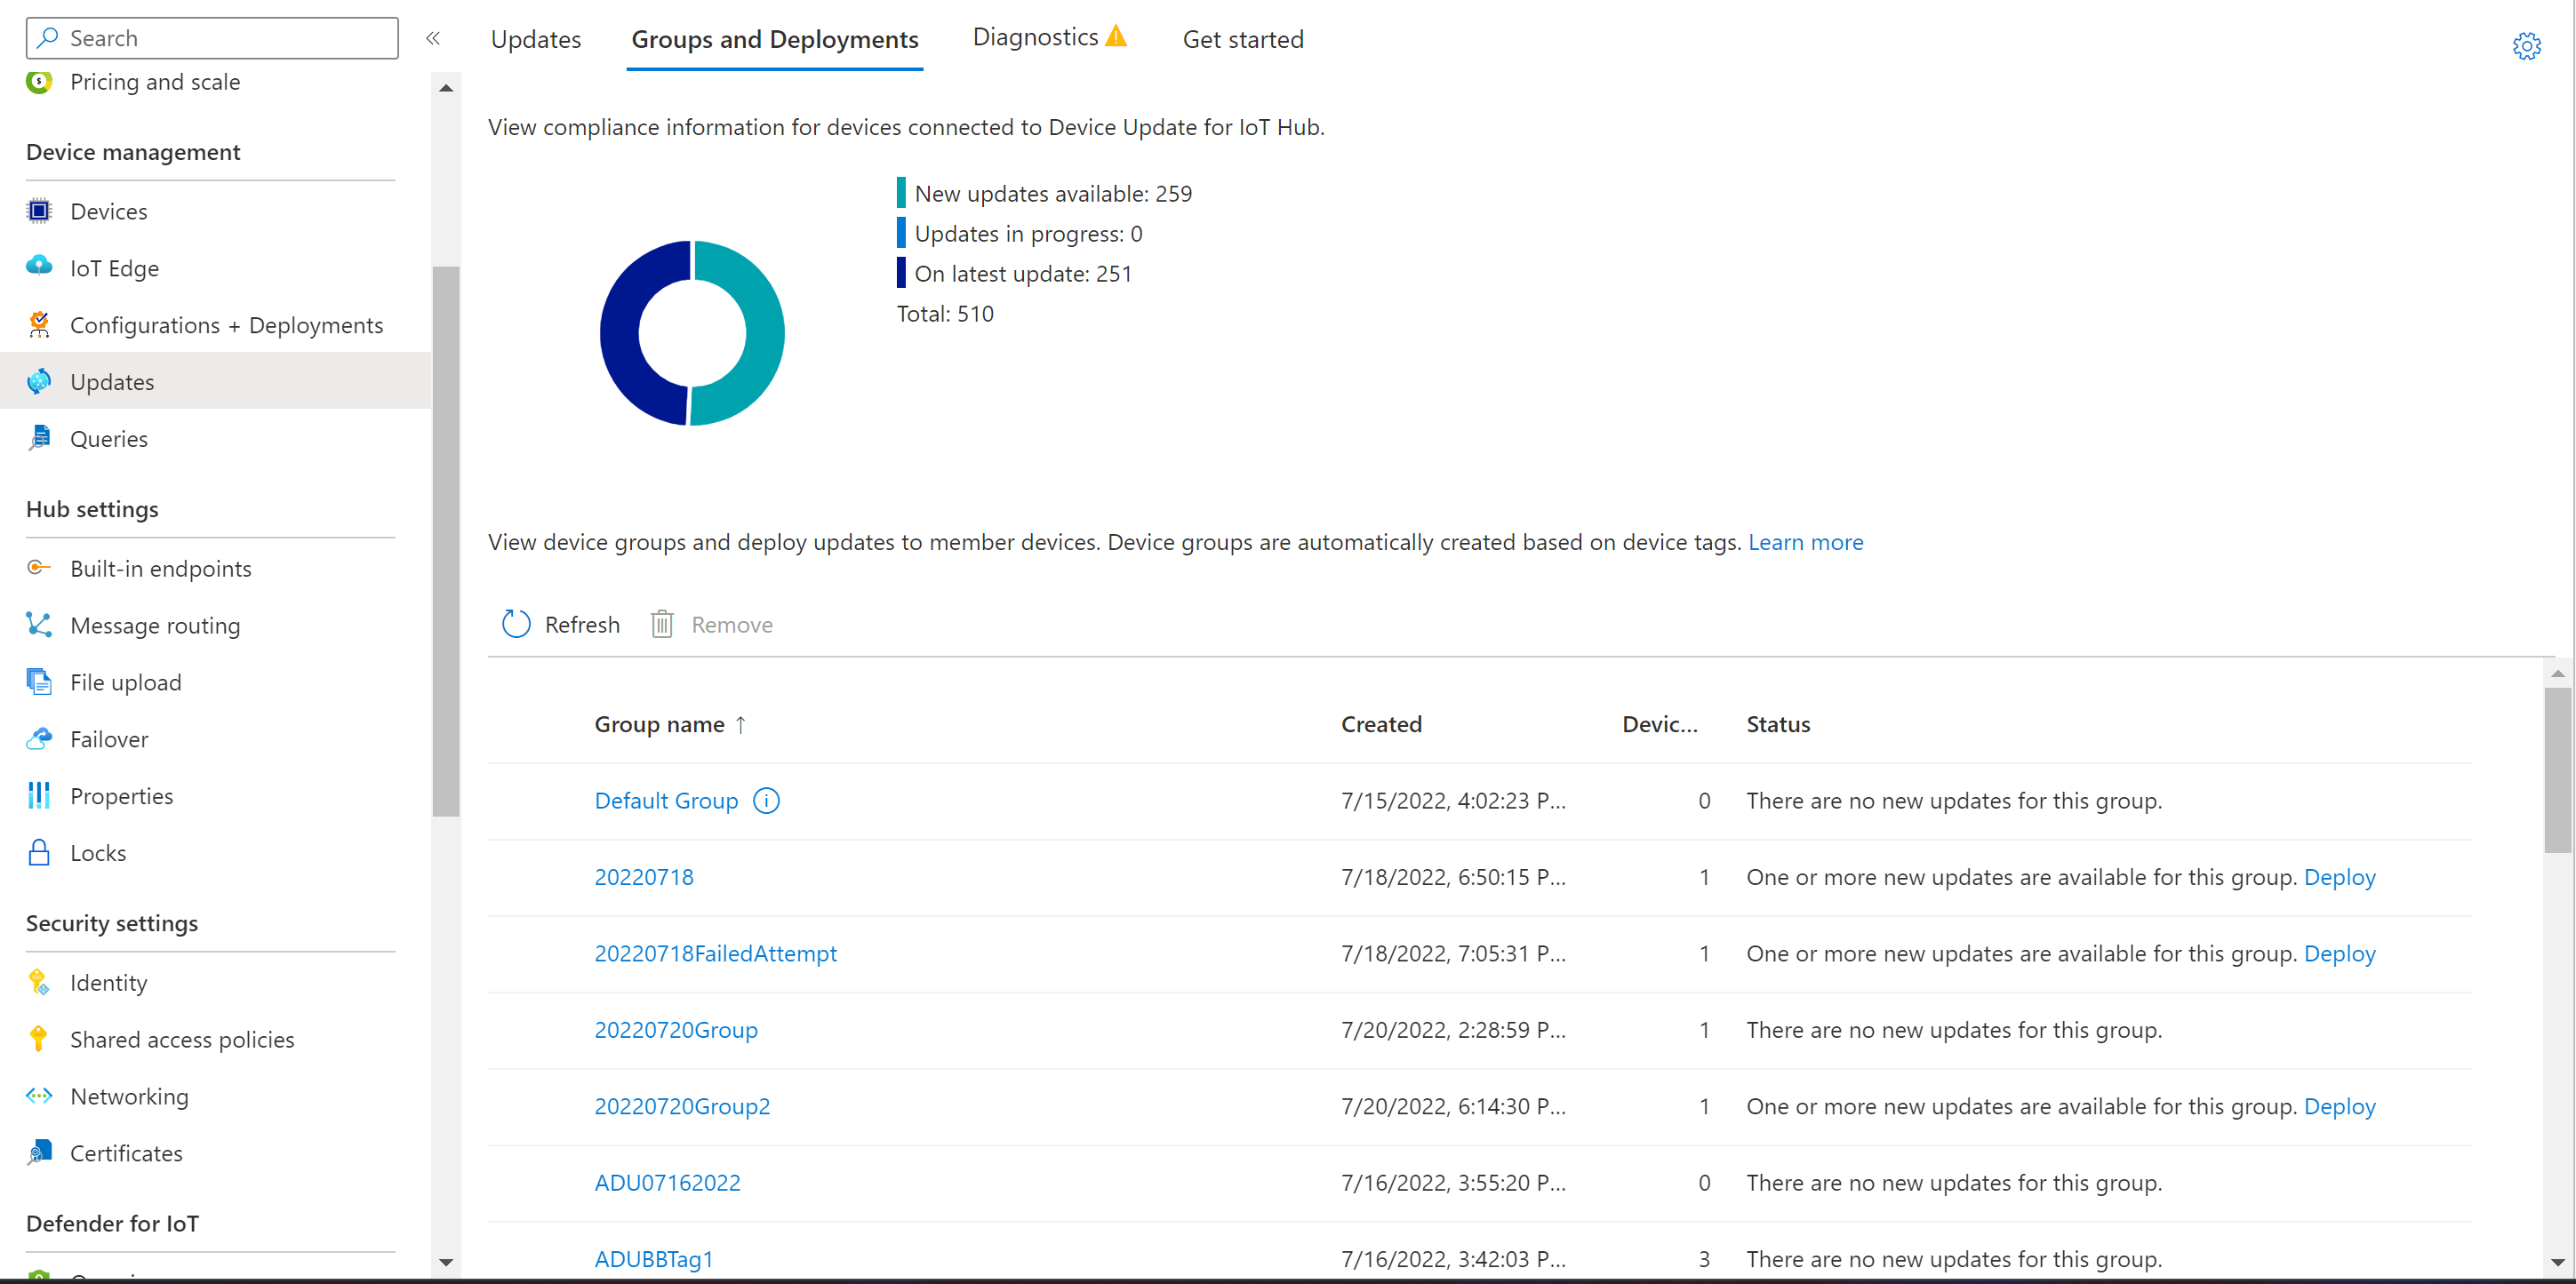
You should see a device group that contains the simulated device you set up in this tutorial along with any available updates for the devices in the new group. If there are devices that don't meet the device class requirements of the group, they'll show up in a corresponding invalid group. To deploy the best available update to the new user-defined group from this view, select Deploy next to the group.


For more information about tags and groups, see Manage device groups.
Deploy new firmware
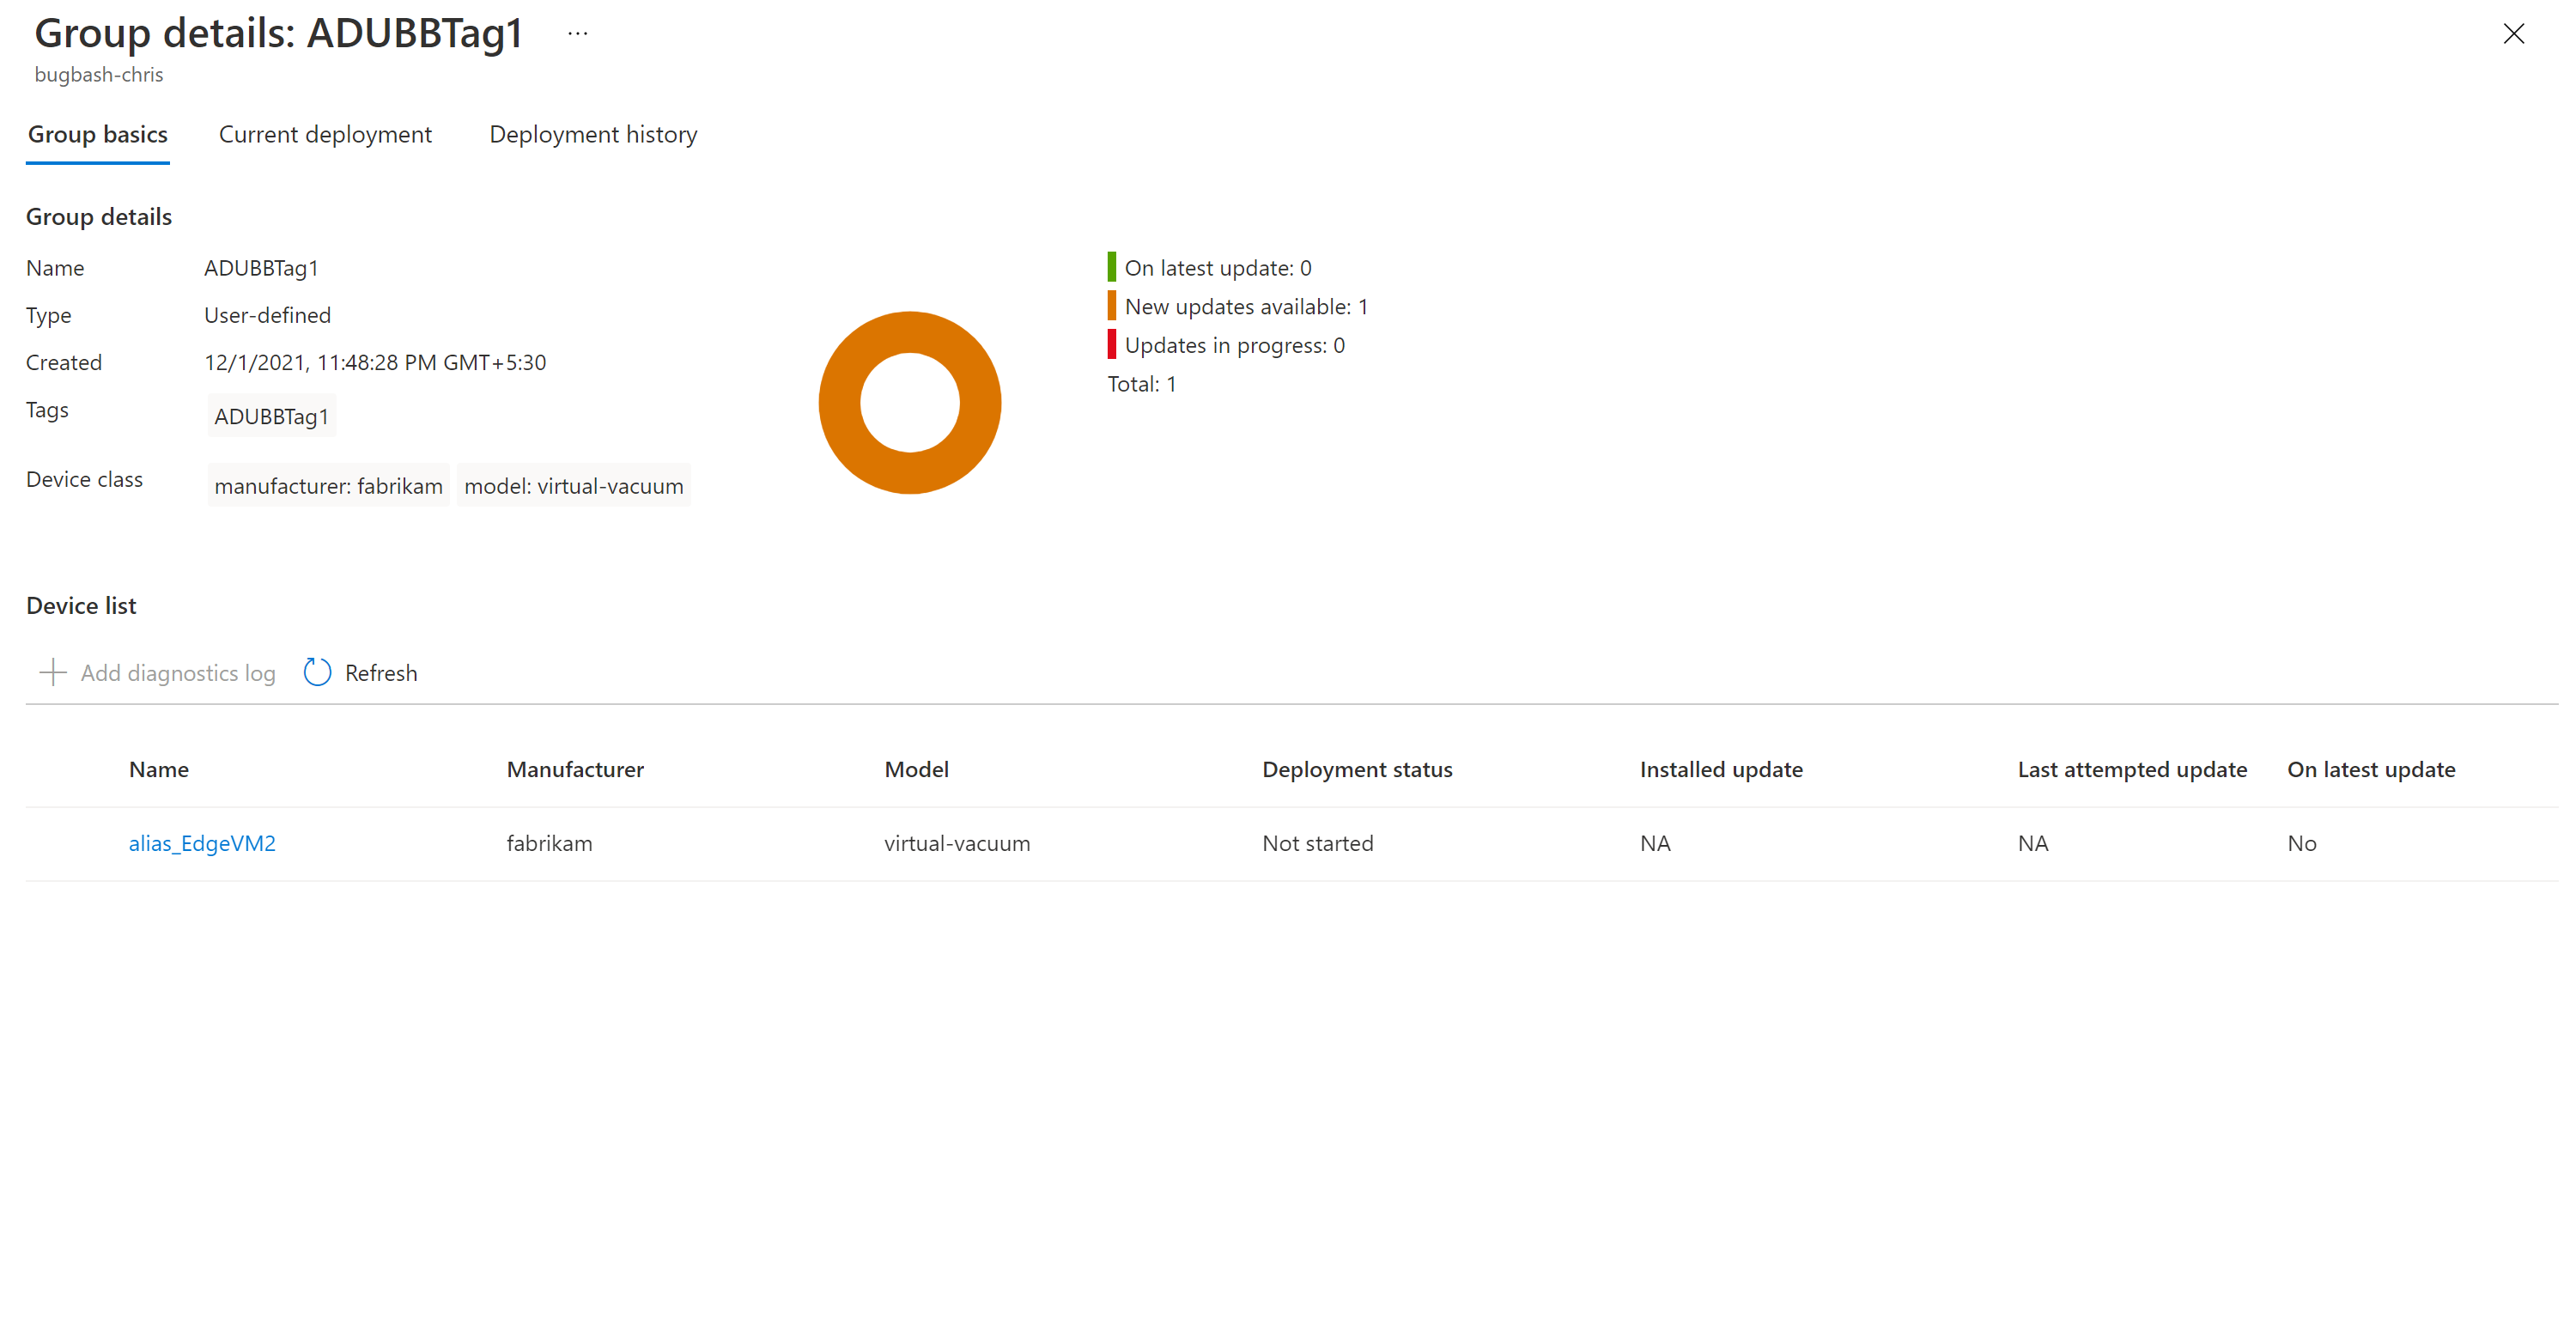
After the group is created, you should see a new update available for your device group with a link to the update under Best update. You might need to refresh once. Learn more about update compliance.
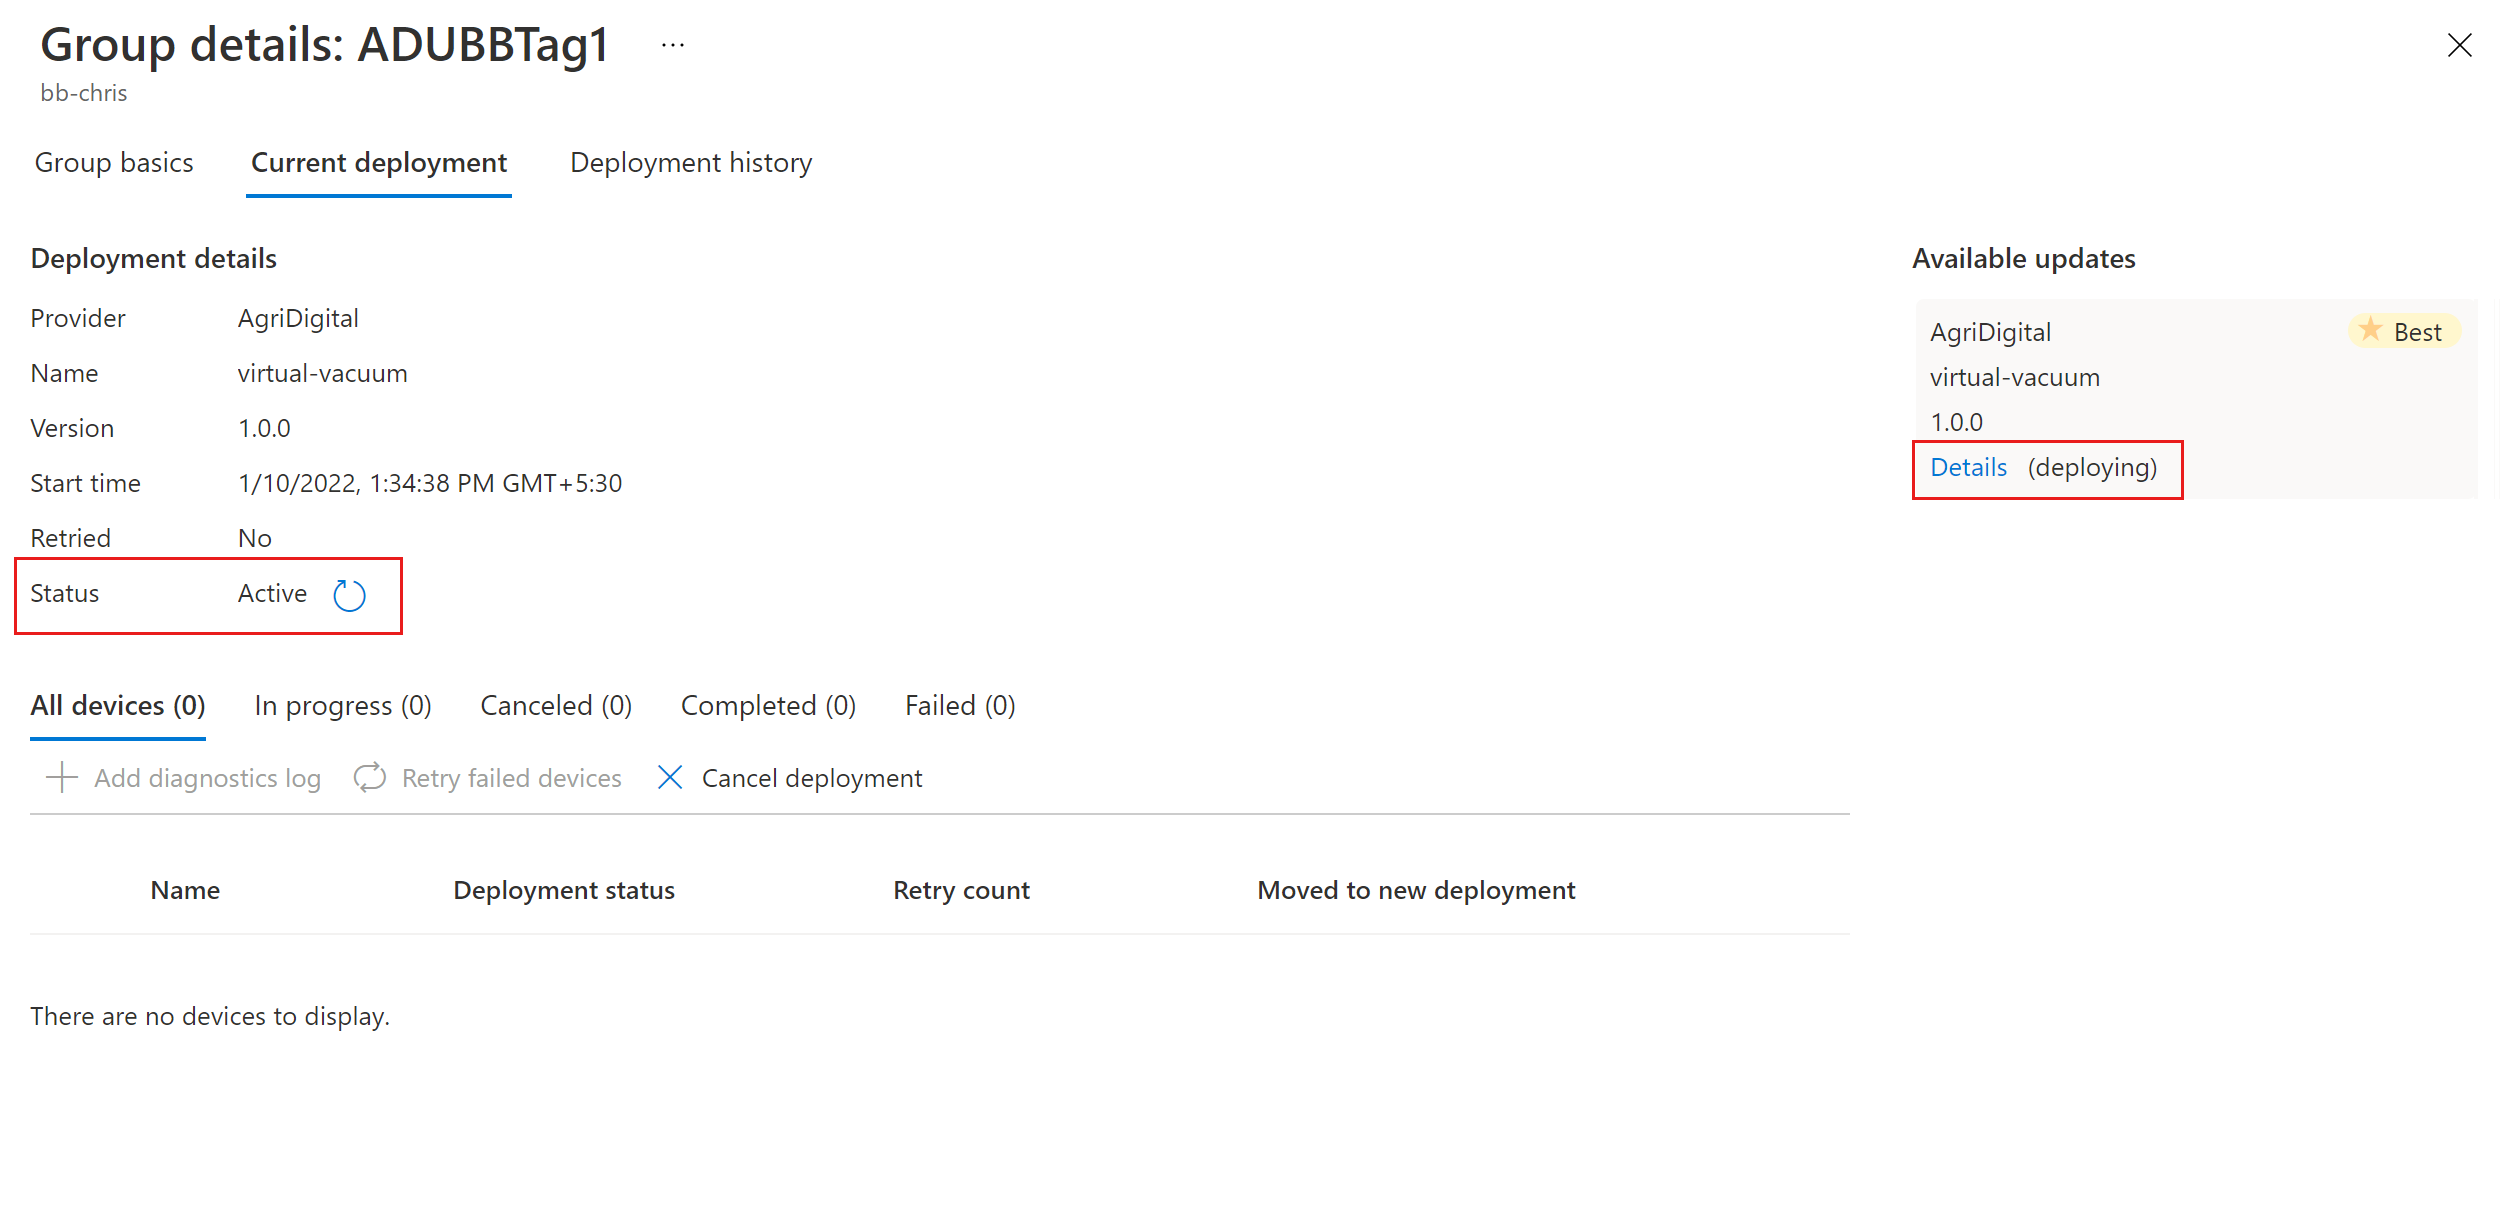
Select the target group by selecting the group name. You're directed to the group details under Group basics.
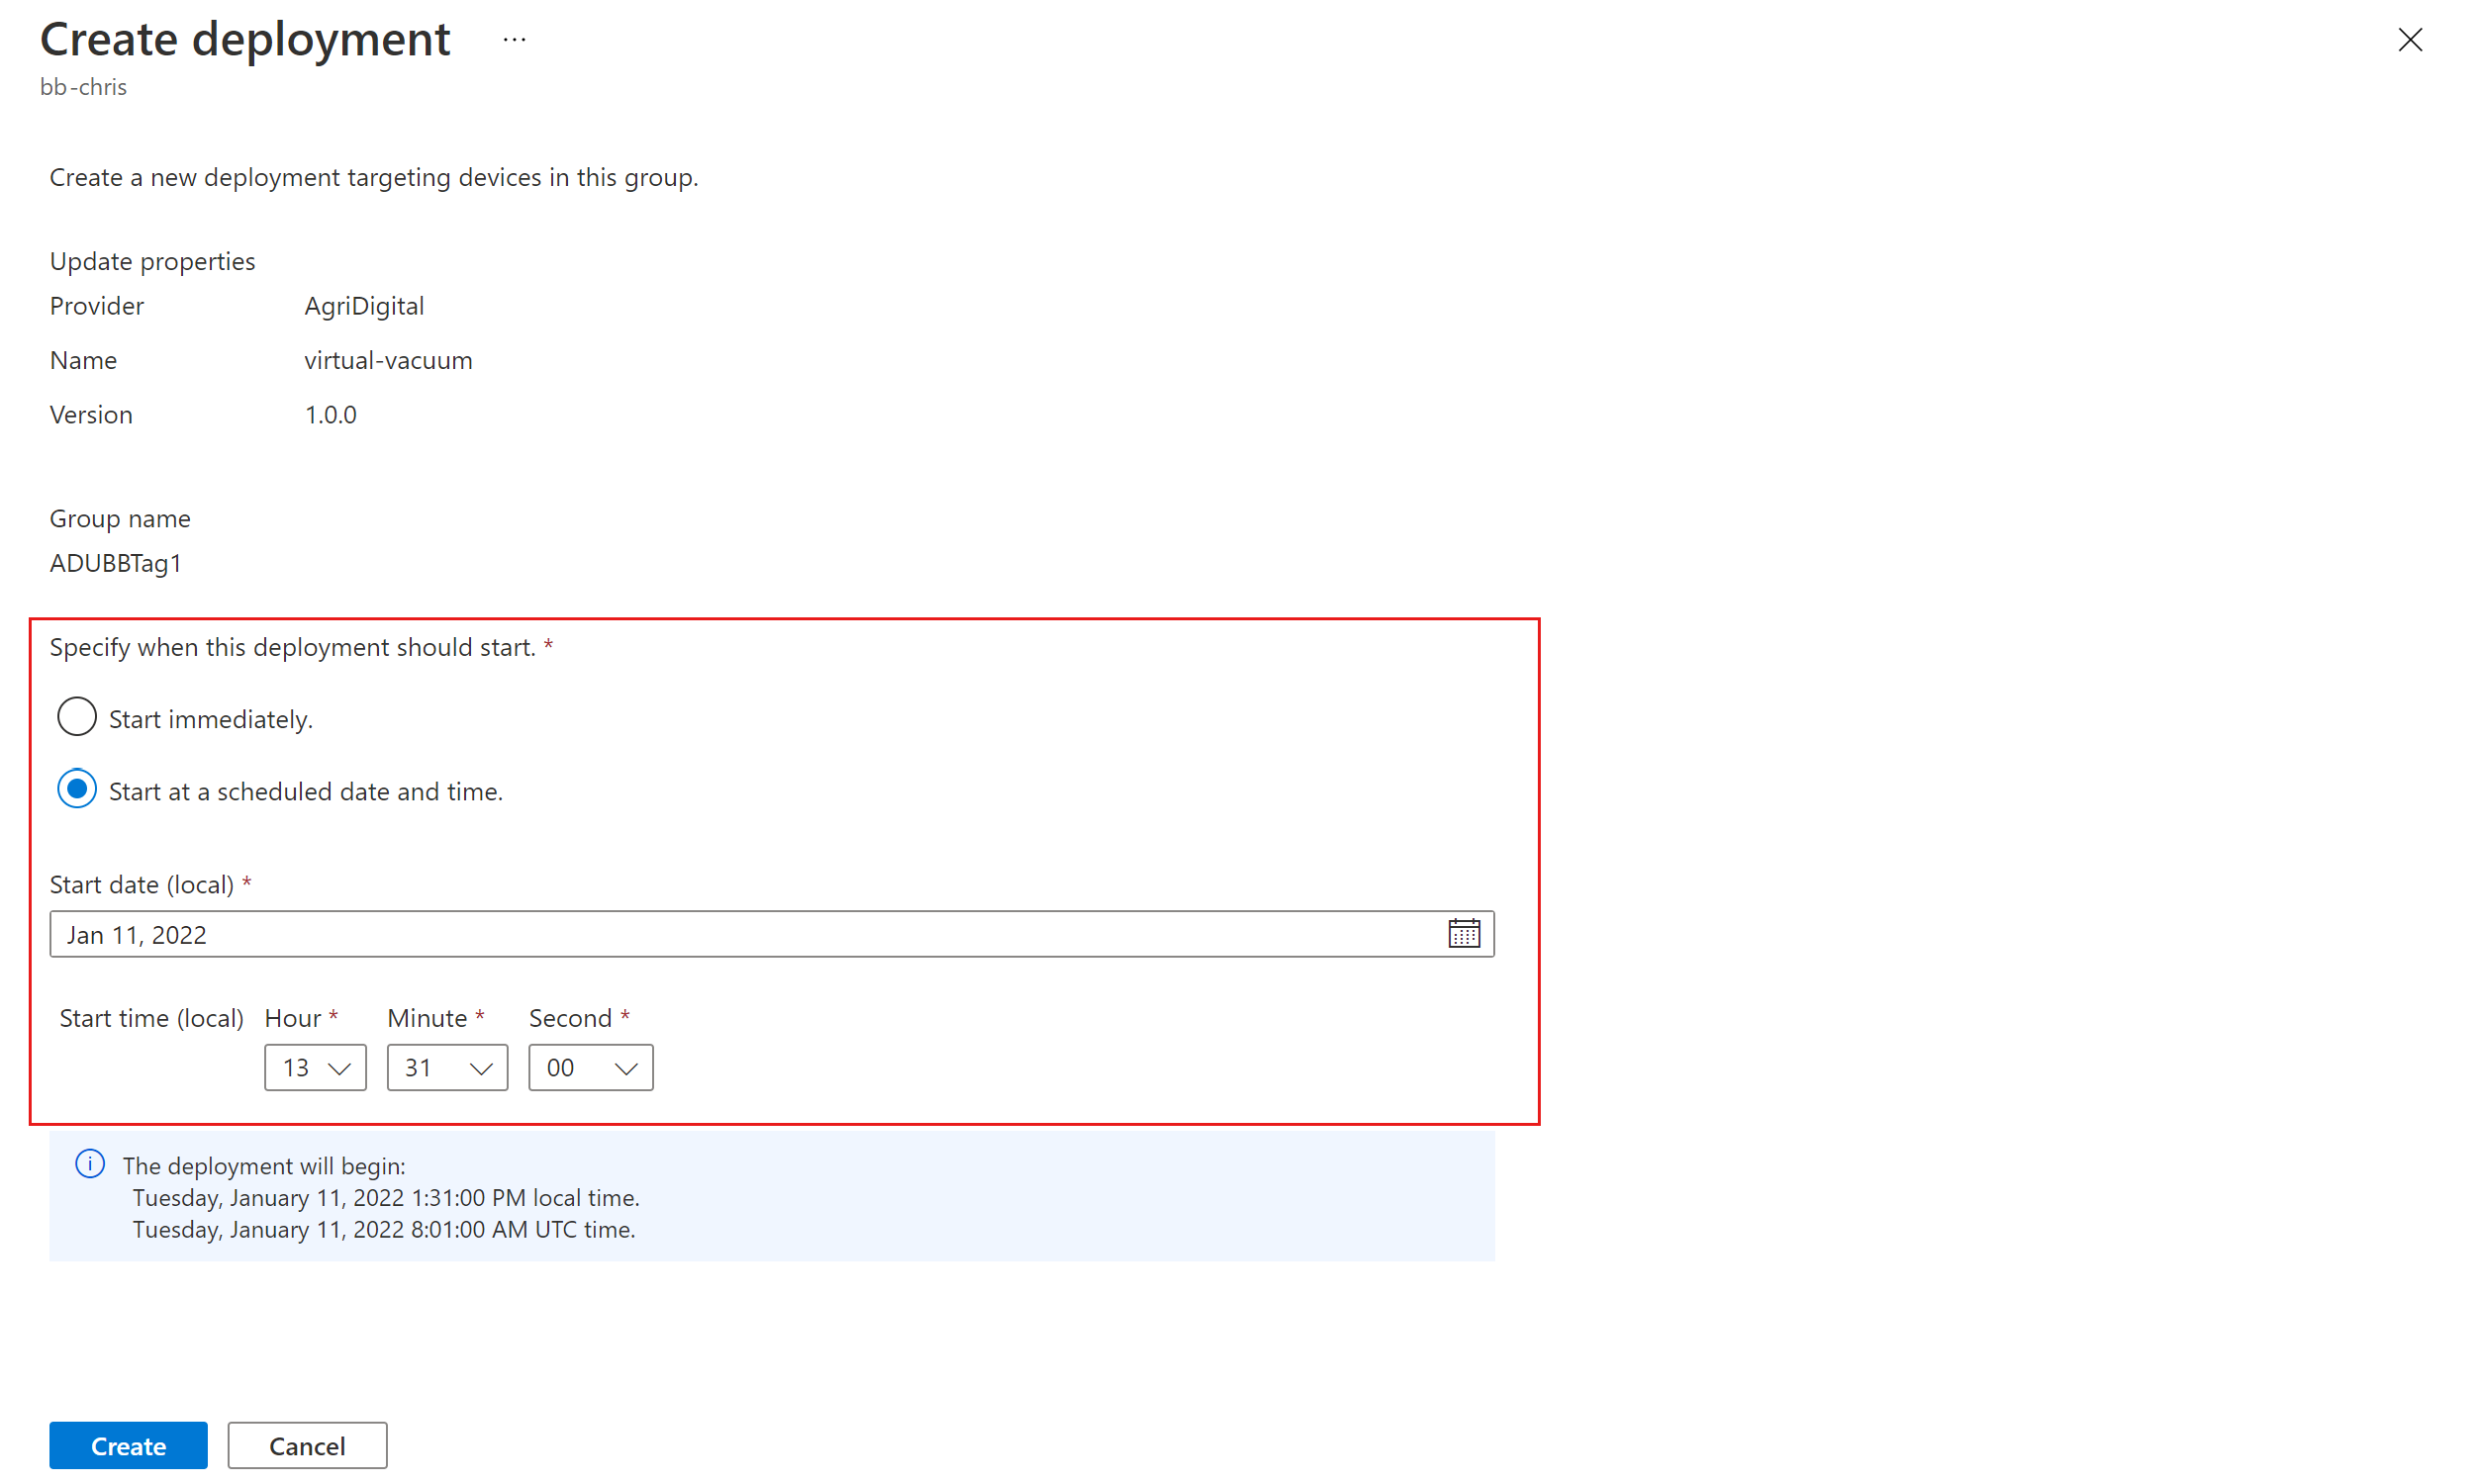
To start the deployment, go to the Current deployment tab. Select the deploy link next to the desired update from the Available updates section. The best available update for a given group is denoted with a Best highlight.

Schedule your deployment to start immediately or in the future. Then select Create.
Tip
By default, the Start date and time is 24 hours from your current time. Be sure to select a different date and time if you want the deployment to begin earlier.
Under Deployment details, Status turns to Active. The deployed update is marked with (deploying).
View the compliance chart to see that the update is now in progress.
After your device is successfully updated, you see that your compliance chart and deployment details updated to reflect the same.


Monitor the update deployment
Select the Deployment history tab at the top of the page.
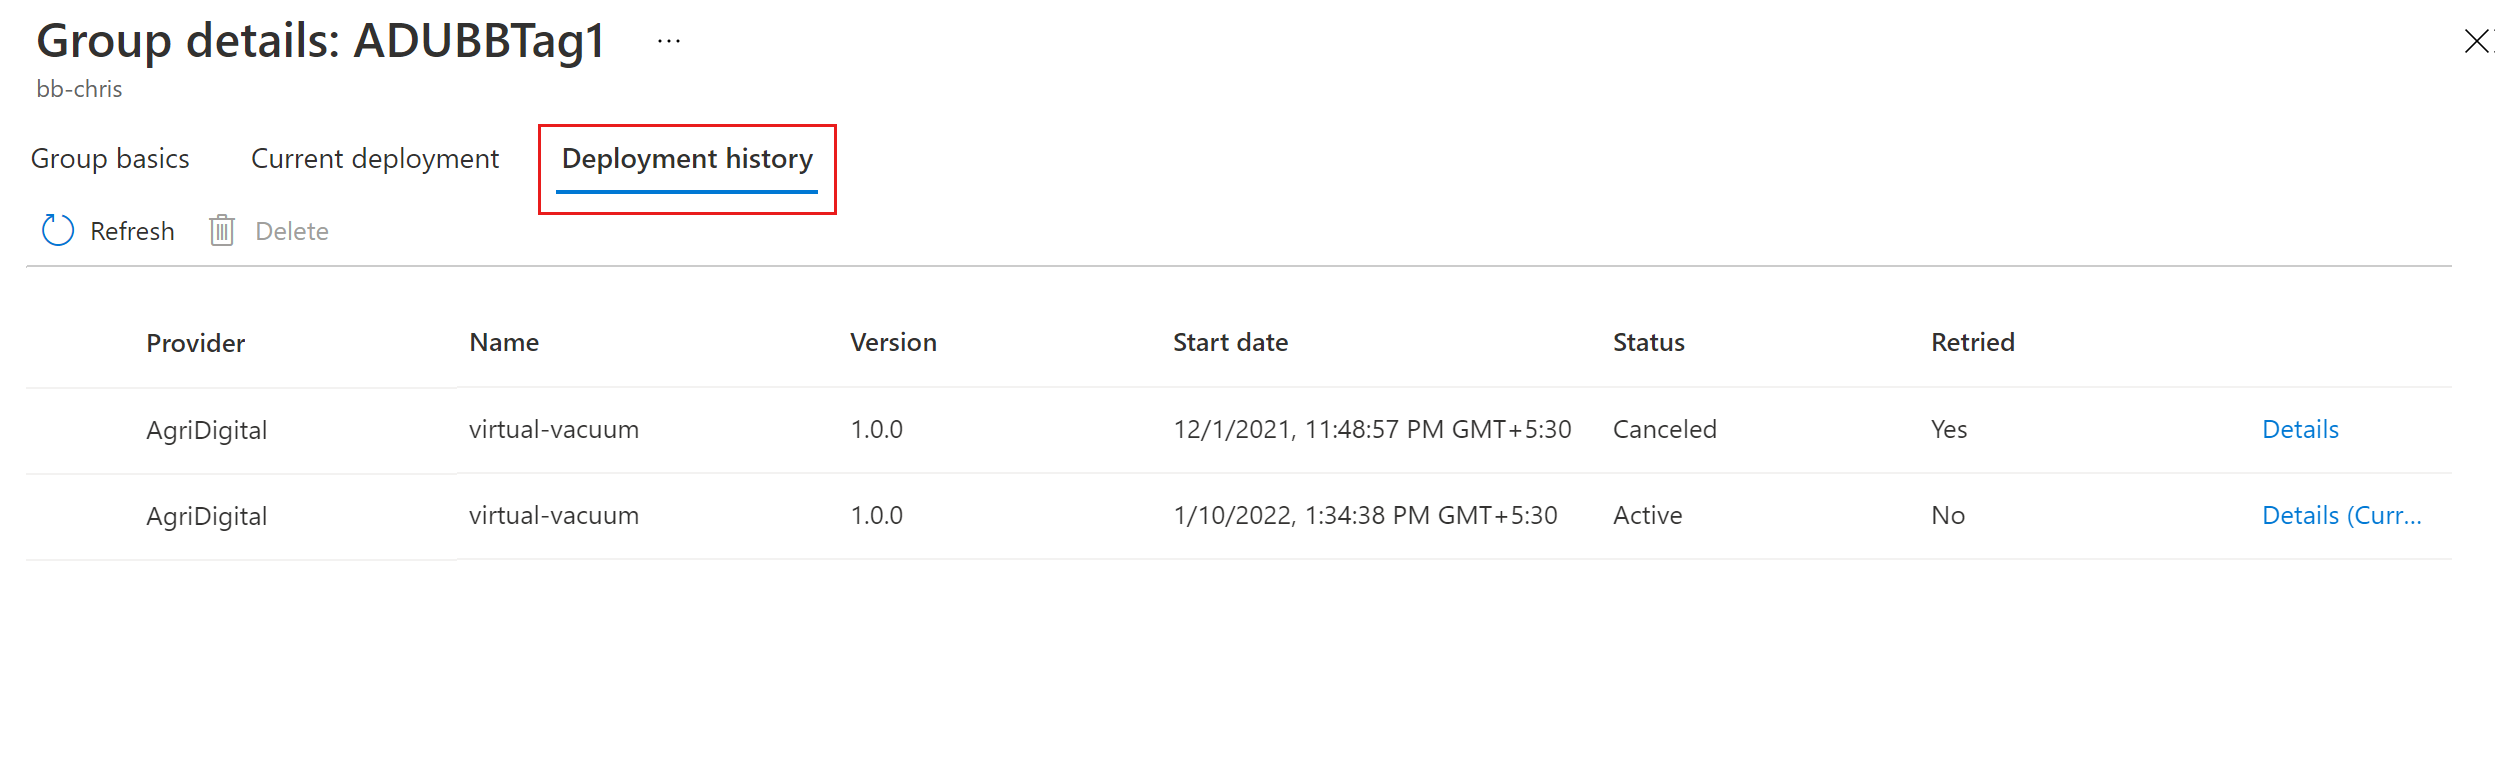
Select Details next to the deployment you created.
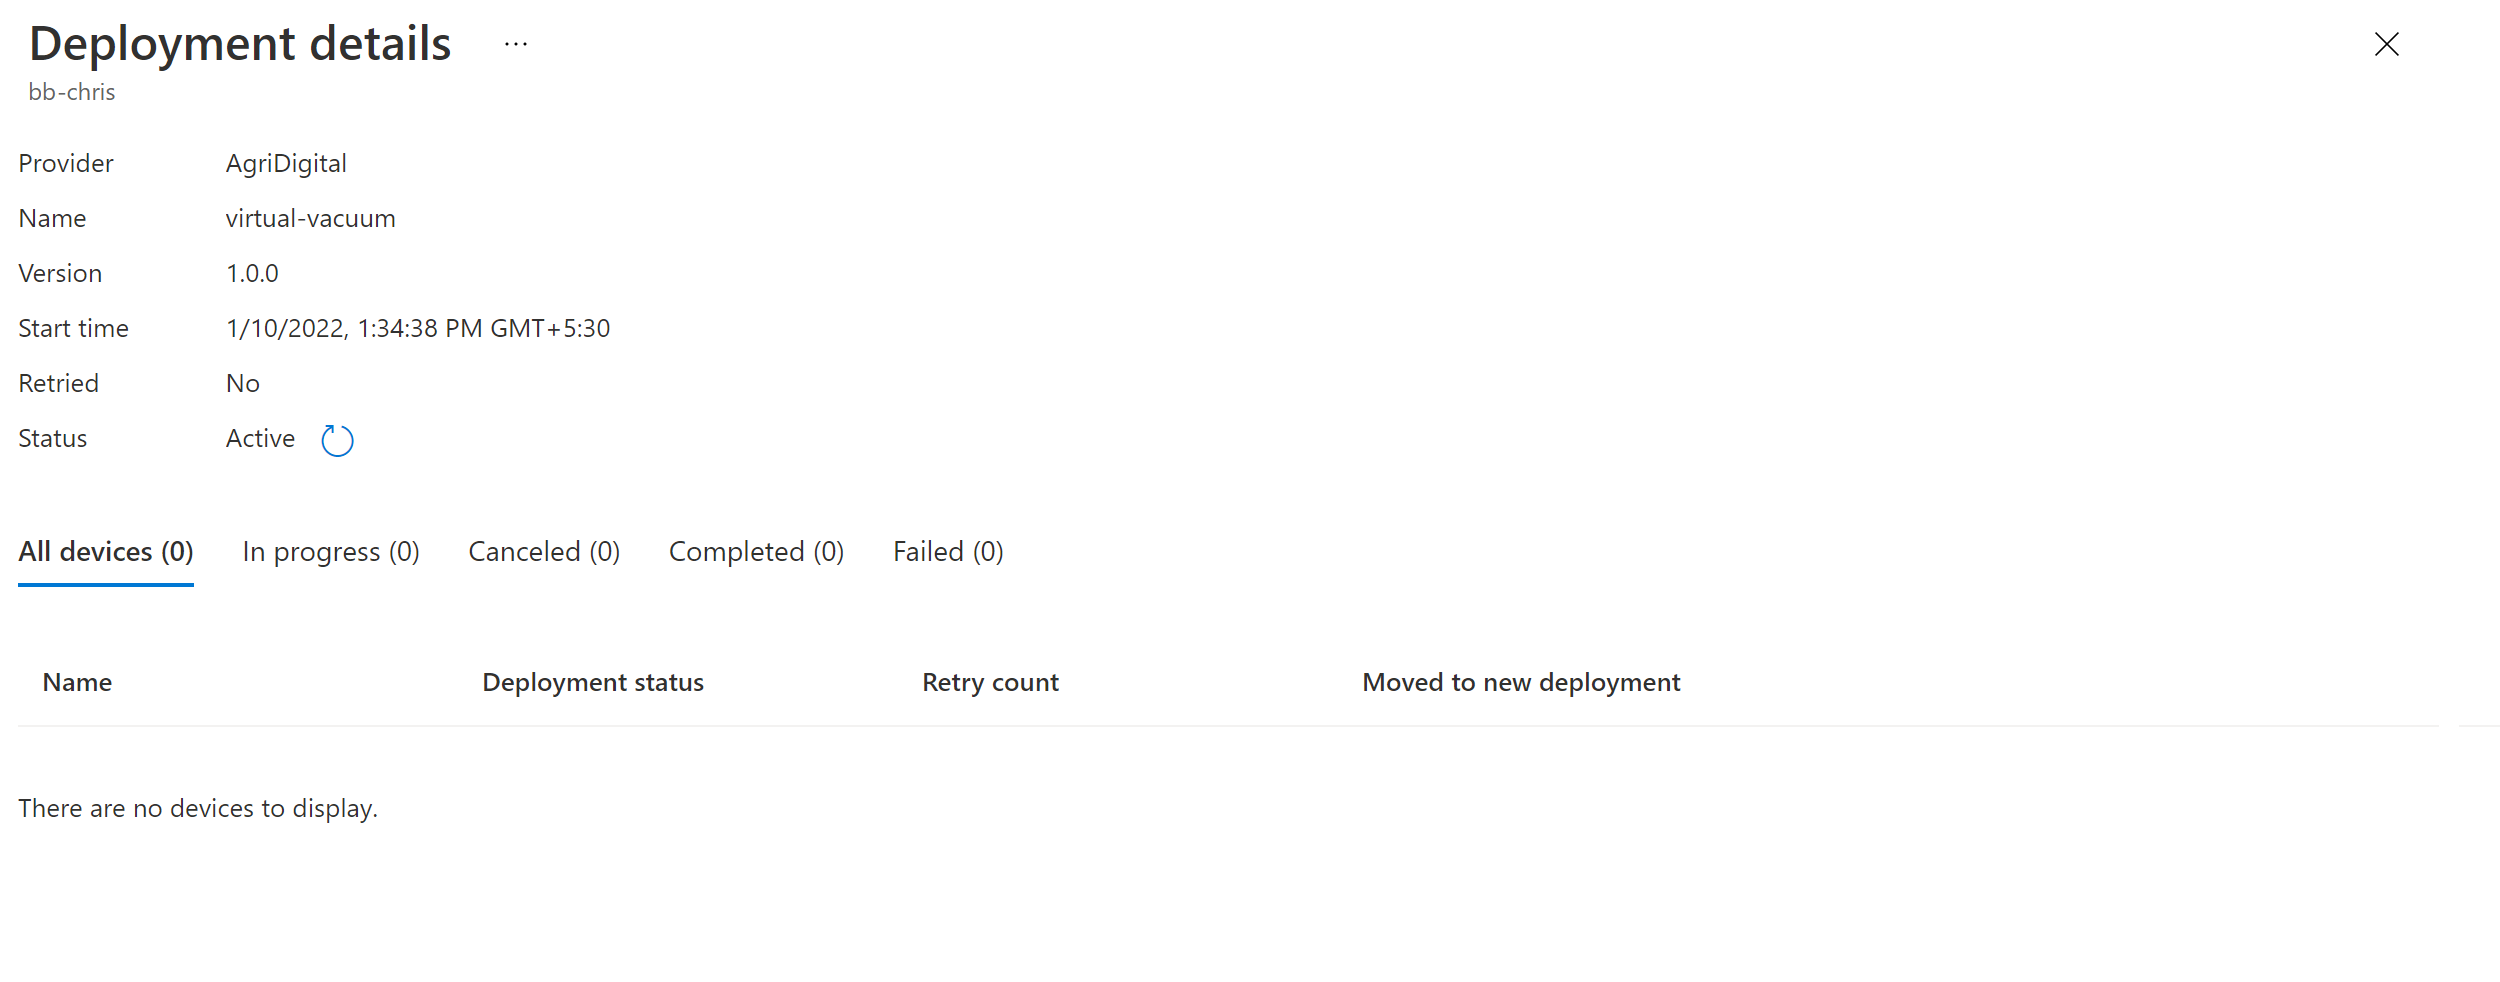
Select Refresh to view the latest status details.


You've now completed a successful end-to-end image update by using Device Update for IoT Hub on an Eclipse ThreadX embedded device.
Next steps
To learn more about Eclipse ThreadX and how it works with IoT Hub, see Eclipse ThreadX.