Note
Access to this page requires authorization. You can try signing in or changing directories.
Access to this page requires authorization. You can try changing directories.
Use the Azure portal and Azure CLI to manage devices through device twins and module twins. This article focuses on device twins for simplicity, but all of the concepts and processes work in a similar way for module twins.
This article describes device twin management tasks available in the Azure portal or Azure CLI to manage device twins remotely. For information about developing device applications to handle device twin changes, see Get started with device twins.
In IoT Hub, a device twin is a JSON document that stores state information. Every device identity is automatically associated with a device twin when it's created. A backend app or user can update two elements of a device twin:
- Desired properties: Desired properties are half of a linked set of state information. A backend app or user can update the desired properties on a twin to communicate a desired state change, while a device can update the reported properties to communicate its current state.
- Tags: You can use device twin tags to organize and manage devices in your IoT solutions. You can set tags for any meaningful category, like device type, location, or function.
For more information, see Understand and use device twins in IoT Hub or Understand and use module twins in IoT Hub.
Note
The features described in this article are available only in the standard tier of IoT Hub. For more information about the basic and standard/free IoT Hub tiers, see Choose the right IoT Hub tier and size for your solution.
Prerequisites
Prepare the following prerequisites before you begin.
An IoT hub in your Azure subscription. If you don't have a hub yet, follow the steps in Create an IoT hub.
A device registered in your IoT hub. If you don't have a device in your IoT hub, follow the steps in Register a device.
Understand tags for device organization
Device twin tags can be used as a powerful tool to help you organize your devices. When you have multiple kinds of devices within your IoT solutions, you can use tags to set types, locations, etc. For example:
{
  "deviceId": "mydevice1",
  "status": "enabled",
  "connectionState": "Connected",
  "cloudToDeviceMessageCount": 0,
  "authenticationType": "sas",
  "tags": {
    "deploymentLocation": {
      "building": "43",
      "floor": "1"
    },
    "deviceType":"HDCamera"
  },
  "properties": {
    ...
  }
}
View and update device twins
Once a device identity is created, a device twin is implicitly created in IoT Hub. You can use the Azure portal or Azure CLI to retrieve the device twin of a given device. You can also add, edit, or remove tags and desired properties.
In the Azure portal, navigate to your IoT hub.
In your IoT hub, select Devices from the Device management section of the navigation menu.
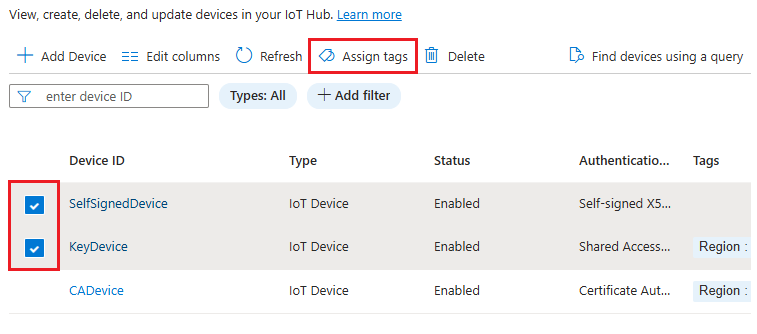
On the Devices page, you see a list of all devices registered in your IoT hub. If any of the devices already have tags in their device twins, those tags are shown in the Tags column.
Select the name of the device that you want to manage.
Tip
If you're updating tags, you can select multiple devices then select Assign tags to manage them as a group.
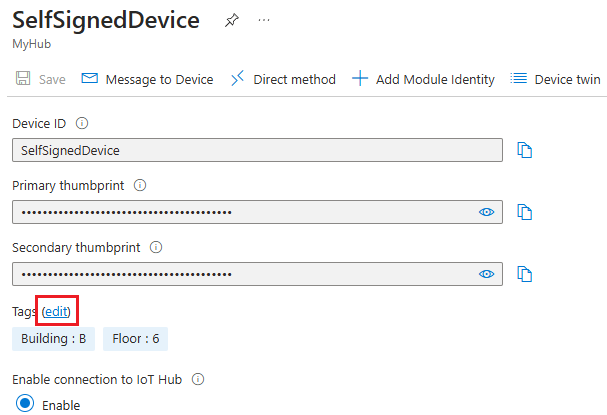
The device details page displays any current tags for the selected device. Select edit next to the Tags parameter to add, update, or remove tags.
Tip
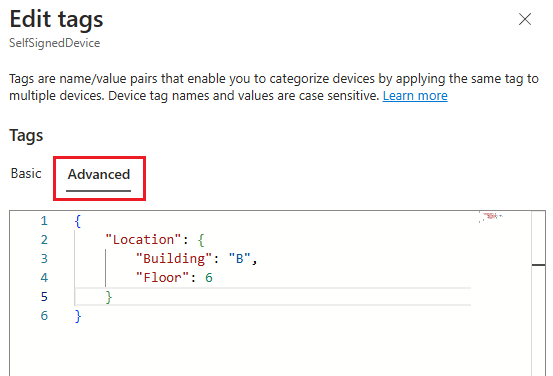
To add or update nested tags, select the Advanced tab and provide the JSON.
Select Device twin to view and update the device twin JSON.
You can type directly in the text box to update tags or desired properties. To remove a tag or desired property, set the value of the item to
null.Select Save to save your changes.
Back on the device details page, select Refresh to update the page to reflect your changes.
If your device has any module identities associated with it, those modules are displayed on the device details page as well. Select a module name, then select Module identity twin to view and update the module twin JSON.
Query for device twins
IoT Hub exposes the device twins for your IoT hub as a document collection called devices. You can query devices based on their device twin values.
This section describes how to run twin queries in the Azure portal and Azure CLI. To learn how to write twin queries, see Queries for IoT Hub device and module twins.
In the Azure portal, navigate to your IoT hub.
In your IoT hub, select Devices from the Device management section of the navigation menu.
You can either use a filter or a query to find devices based on their device twin details:
Find devices using a filter:
Finding devices using a filter is the default view in the Azure portal. If you don't see these fields, select Find devices using a filter.
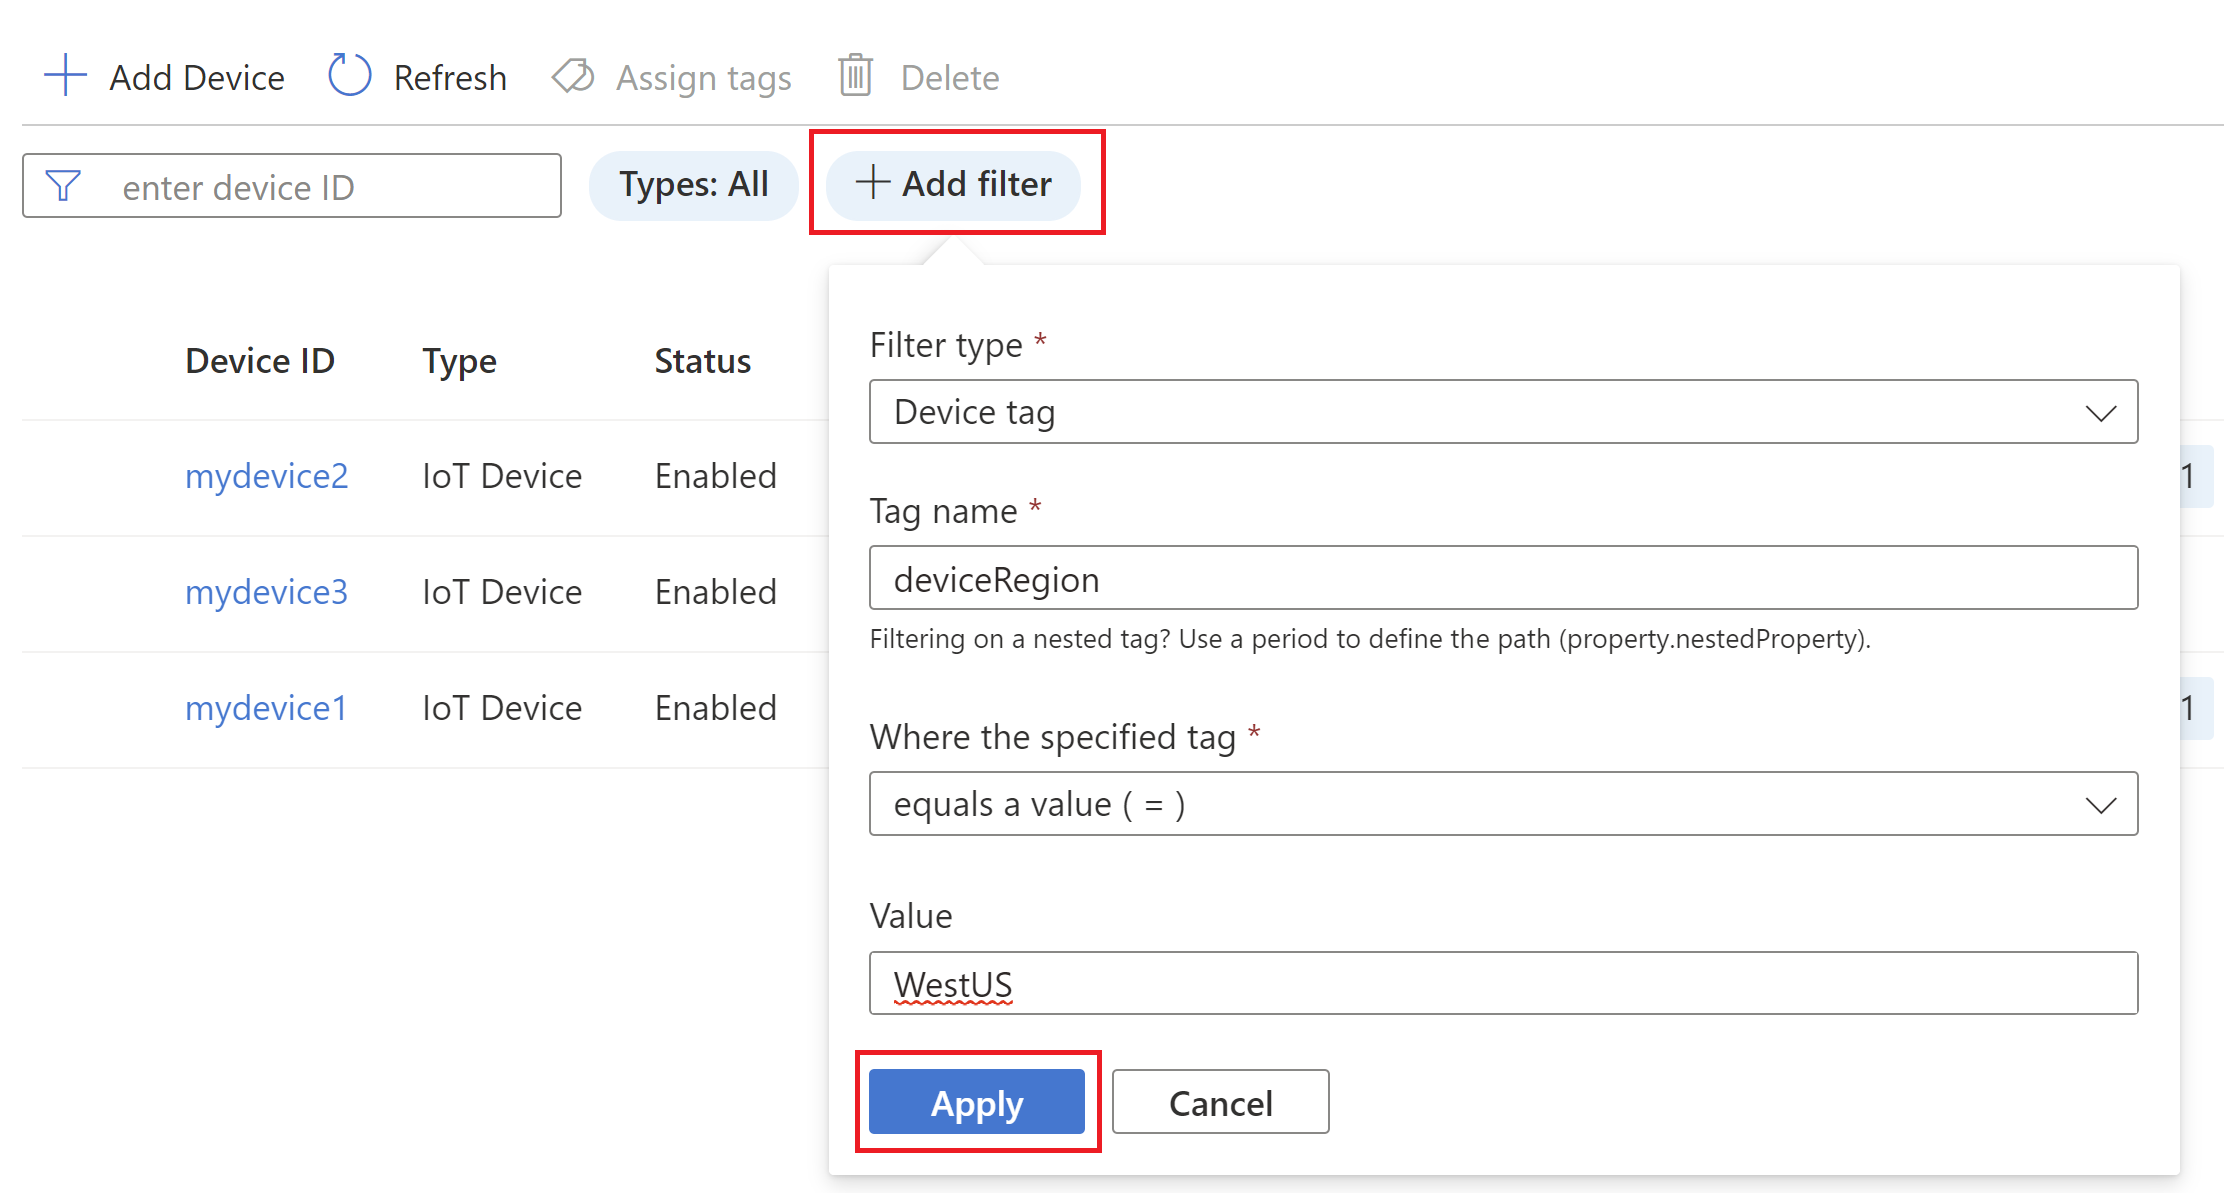
Select Add filter, and then select Device tag as the filter type from the drop-down menu.
Enter the desired tag name and value, select Apply to retrieve the list of devices that matches the criteria.
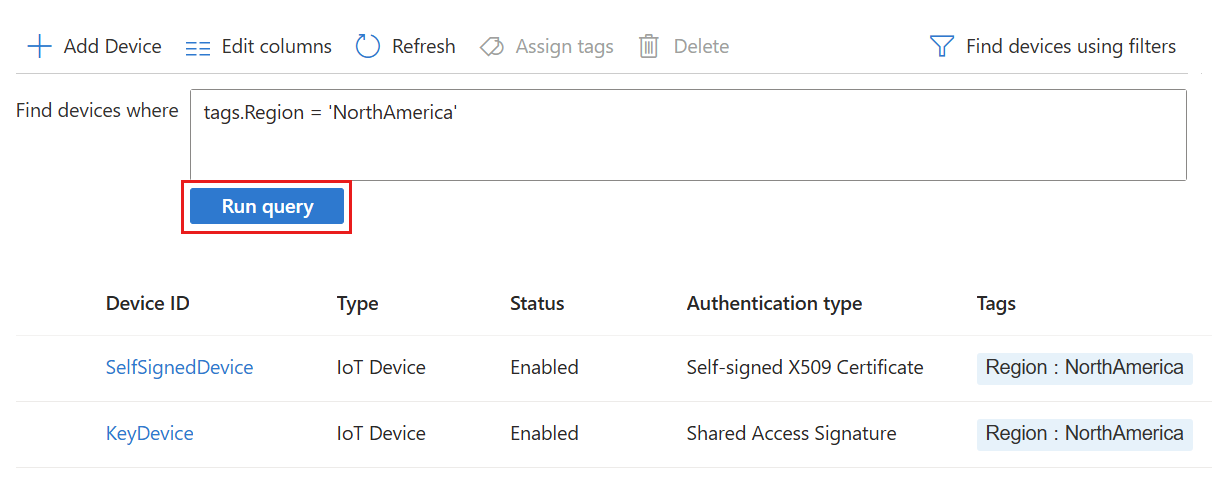
Find devices using a query:
Select Find devices using a query.
Enter your query into the text box, then select Run query.
Update device twins using jobs
The jobs capability can execute device twin updates against a set of devices at a scheduled time. For more information, see Schedule jobs on multiple devices.
Jobs aren't supported in the Azure portal. Instead, use the Azure CLI.