Note
Access to this page requires authorization. You can try signing in or changing directories.
Access to this page requires authorization. You can try changing directories.
In this article, you learn how to automatically discover and configure OPC UA assets connected to your Azure IoT Operations deployment. The automatic discovery process starts when you add an asset endpoint with the Enable discovery option selected.
To learn more, see What is asset discovery (preview)?.
Prerequisites
Enable resource sync rules. A deployed instance of Azure IoT Operations with resource sync rules enabled. To learn more, see Deploy Azure IoT Operations.
Important
By default, the deployment quickstart instructions do not enable resource sync rules. If resource sync rules aren't enabled on your instance, see Enable resource sync rules on an existing instance.
Set permissions on your custom location. The custom location in the resource group where you deployed Azure IoT Operations must have the Azure Kubernetes Service Arc Contributor Role role enabled with K8 Bridge as a member: For example:
Go to the custom location for your Azure IoT Operations instance in the Azure portal.
Select Access control (IAM).
Select Add > Add role assignment.
Search for and select the Azure Kubernetes Service Arc Contributor Role role. Then click Next.
Select Select members. Search for and select K8 Bridge. Then click Review + Assign.
To finish adding the role assignment, select Review + assign again.
Deploy the preview connectors
Currently, discovery is only enabled in the preview version of the connector for OPC UA.
To deploy the preview version of the connectors, you can either enable them when you deploy your Azure IoT Operations instance or enable them after you deploy your instance.
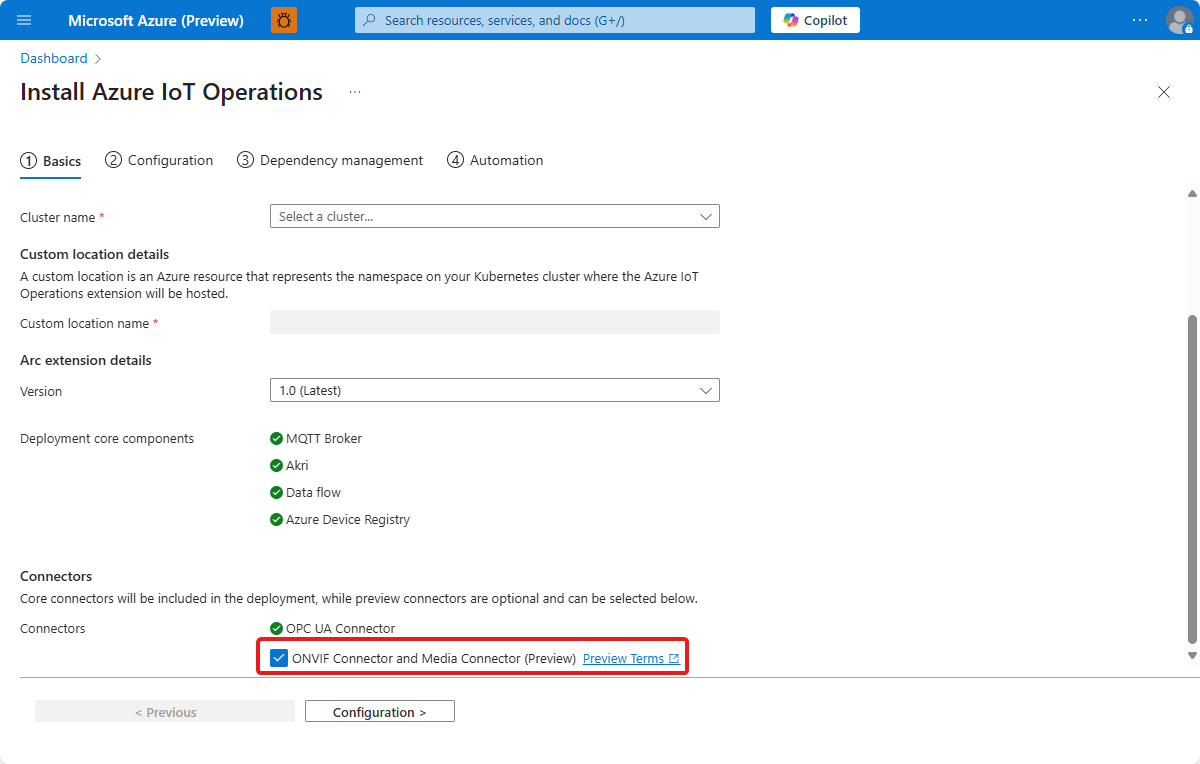
To enable the preview connectors when you deploy your Azure IoT Operations instance:
Select ONVIF Connector and Media Connector (Preview) in the Connectors section of the Install Azure IoT Operations > Basics page:
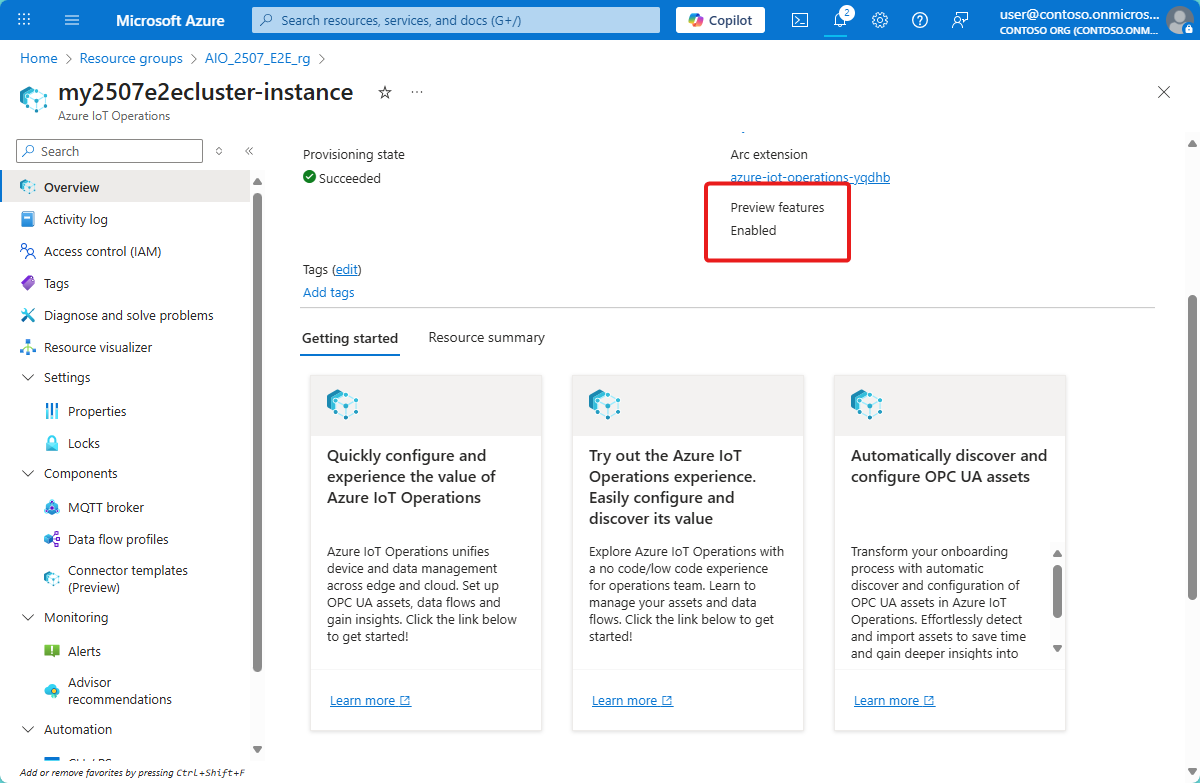
To enable the preview connectors after you deploy your Azure IoT Operations instance:
Go to your Azure IoT Operations instance in the Azure portal.
Enable the preview connectors:
Create an asset endpoint
To create an asset endpoint with discovery enabled:
Go to your Azure IoT Operations instance in the operations experience web UI.
Add a new asset endpoint and select the Enable discovery option:
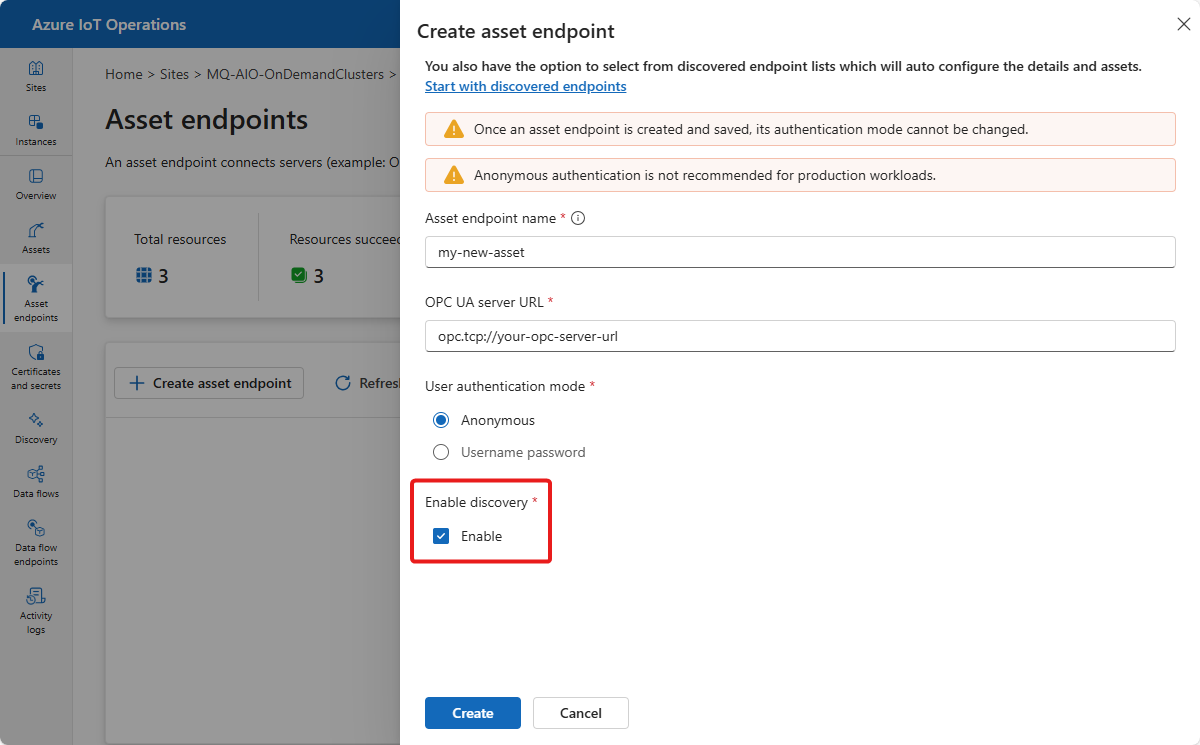
Select Create to create the asset endpoint.
Review the discovered assets
Azure IoT Operations uses the asset endpoint to connect to the OPC UA server and scan for assets. To view the discovered assets:
Go to the Discovery page for your instance in the operations experience:
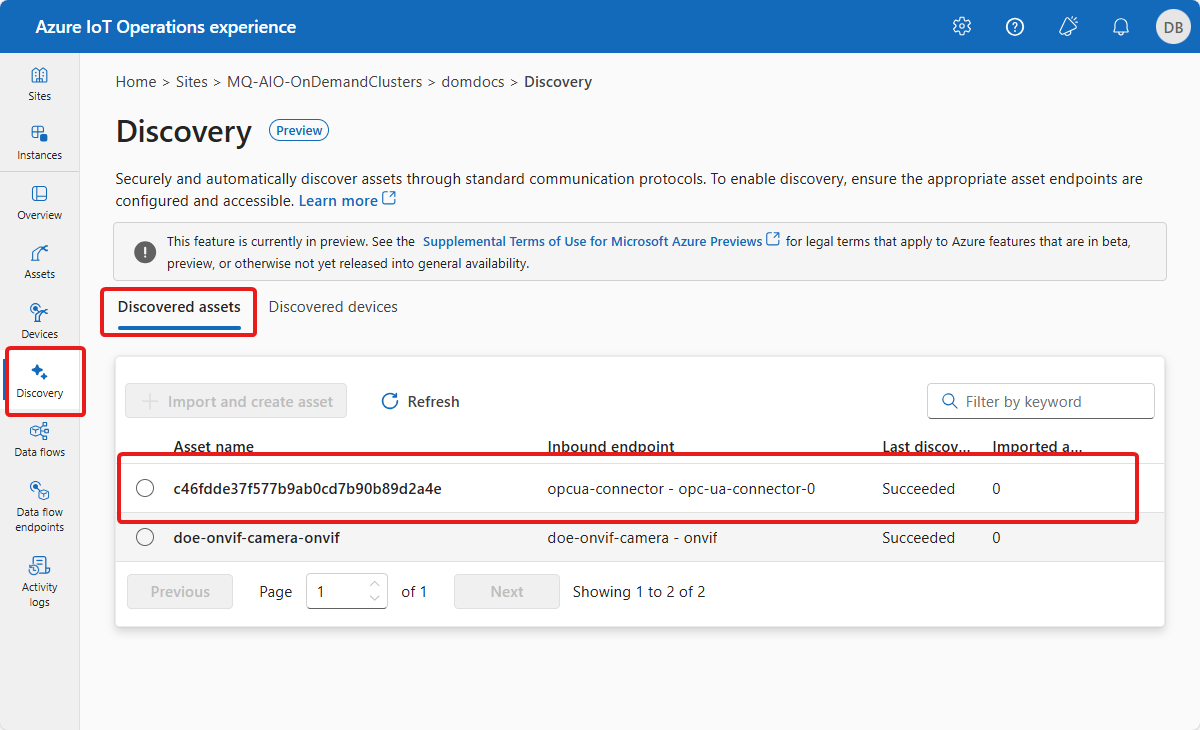
You can filter the list by the asset endpoint name, or by keyword. The list shows the discovered assets and their status.
Import an asset from a discovered asset
From the list of discovered assets, you can import an asset into your Azure IoT Operations instance. To import an asset:
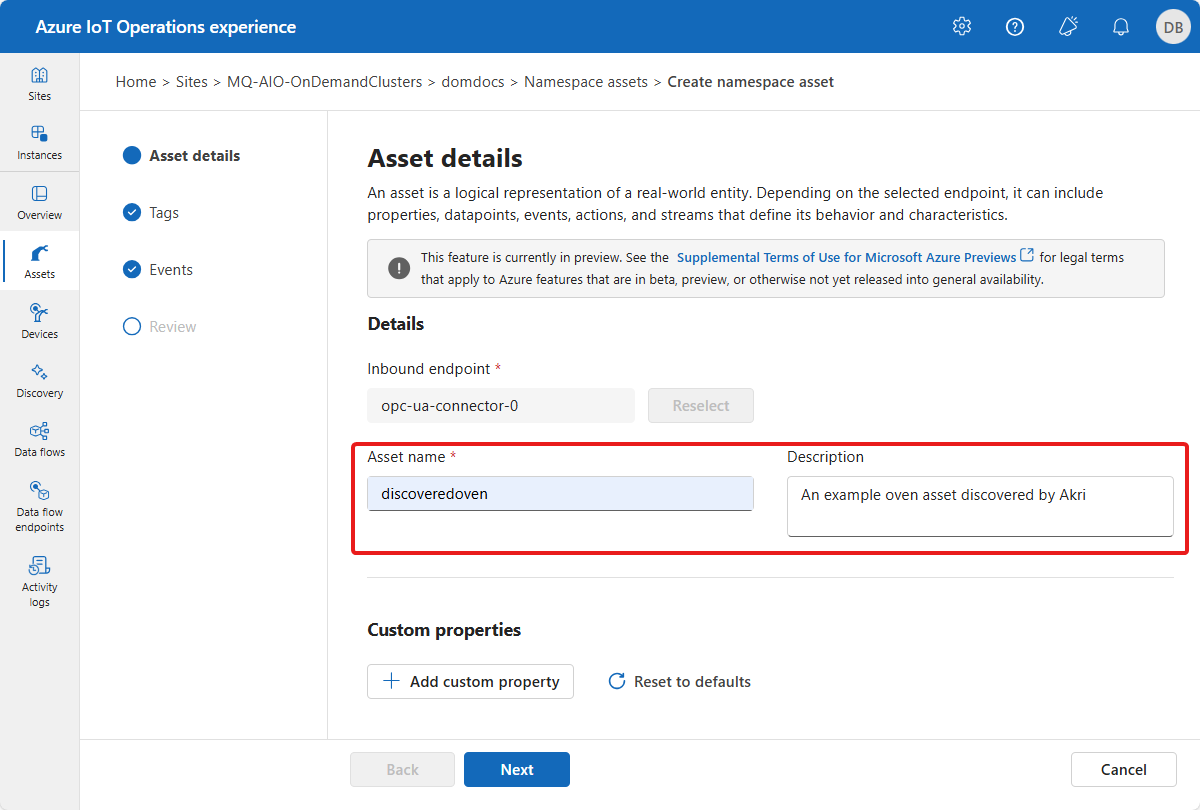
Select the asset you want to import from the list of discovered assets. Then select + Import and create asset.
The site takes you to the Add asset details page, where you can review the asset details and make any changes. The asset name is automatically populated with the name of the discovered asset, but you can override the name on this page:
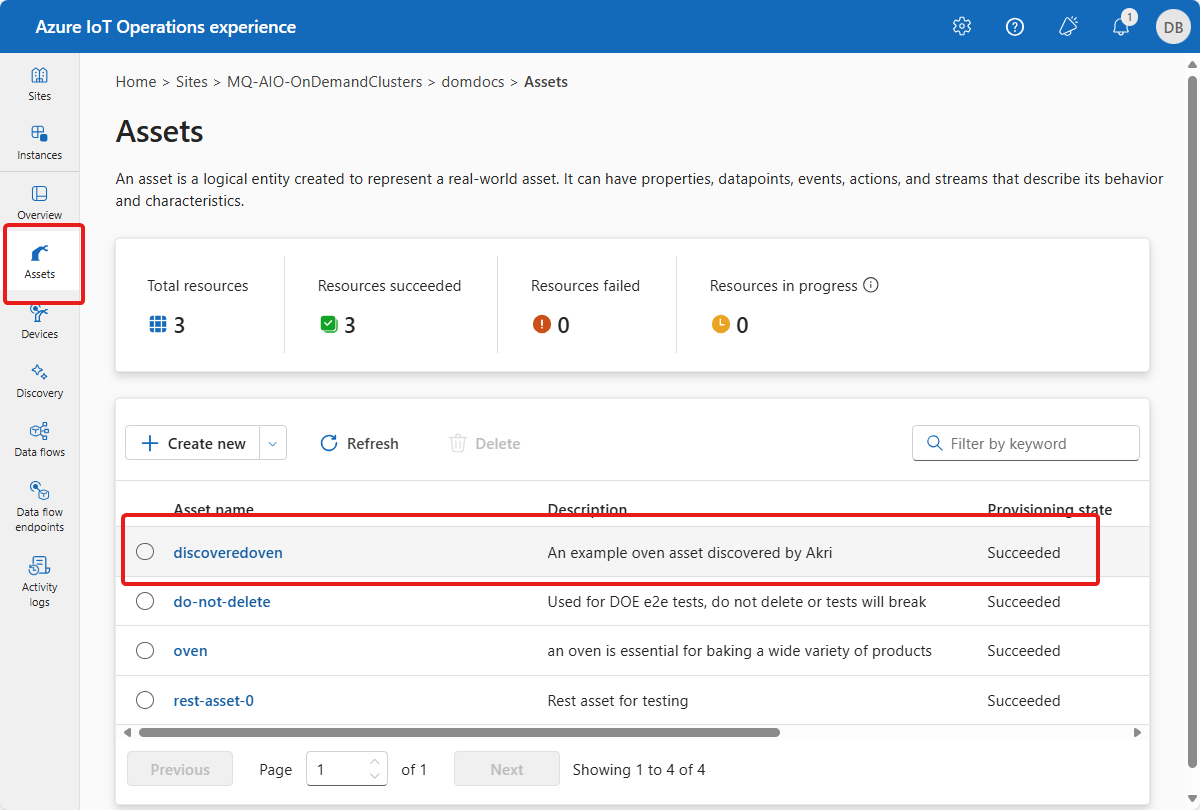
Step through the rest of the Create asset pages and select the imported tags and events that you want to use:

The imported asset is created in your Azure IoT Operations instance. You can view the asset in the Assets page of the operations experience:
To learn more about managing asset configurations, see Manage asset configurations remotely.
Review the asset definitions in the Azure portal (optional)
Both the discovered asset and the imported asset are visible in your resource group in the Azure portal:

Review the custom resource definitions in your cluster (optional)
To review the discovered assets in your cluster, you can use the kubectl command line tool:
kubectl get discoveredassets -n azure-iot-operations
To view the details of a discovered asset, use the following command:
kubectl describe discoveredasset <name> -n azure-iot-operations
Tip
The previous commands assume that you installed your Azure IoT Operations instance in the default azure-iot-operations namespace. If you installed it in a different namespace, replace azure-iot-operations with the name of your namespace.
Use the imported asset in your data flows
After you complete the import process for a discovered asset, you can use the imported asset in your data flows. Imported asset definitions behave in exactly the same way as manually entered asset definitions. To learn more, see Create and manage data flows.