Note
Access to this page requires authorization. You can try signing in or changing directories.
Access to this page requires authorization. You can try changing directories.
Azure Key Vault is a cloud service that provides a secure store for secrets. You can securely store keys, passwords, certificates, and other secrets. Azure key vaults may be created and managed through the Azure portal. In this quickstart, you create a key vault, then use it to store a certificate. For more information on Key Vault, review the Overview.
Prerequisites
To access Azure Key Vault, you'll need an Azure subscription. If you don't already have a subscription, create a free account before you begin.
All access to secrets takes place through Azure Key Vault. For this quickstart, create a key vault using the Azure portal, Azure CLI, or Azure PowerShell.
Sign in to Azure
Sign in to the Azure portal.
Add a certificate to Key Vault
To add a certificate to the vault, you just need to take a couple of additional steps. In this case, we add a self-signed certificate that could be used by an application. The certificate is called ExampleCertificate.
- On the Key Vault properties pages, select Certificates.
- Click on Generate/Import.
- On the Create a certificate screen choose the following values:
- Method of Certificate Creation: Generate.
- Certificate Name: ExampleCertificate.
- Subject: CN=ExampleDomain
- Leave the other values to their defaults. (By default, if you don't specify anything special in Advanced policy, it'll be usable as a client auth certificate.)
- Click Create.
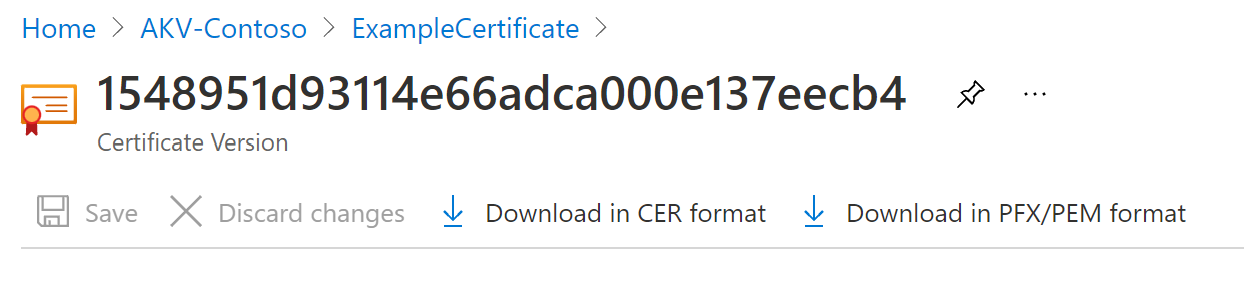
Once that you receive the message that the certificate has been successfully created, you may click on it on the list. You can then see some of the properties. If you click on the current version, you can see the value you specified in the previous step.
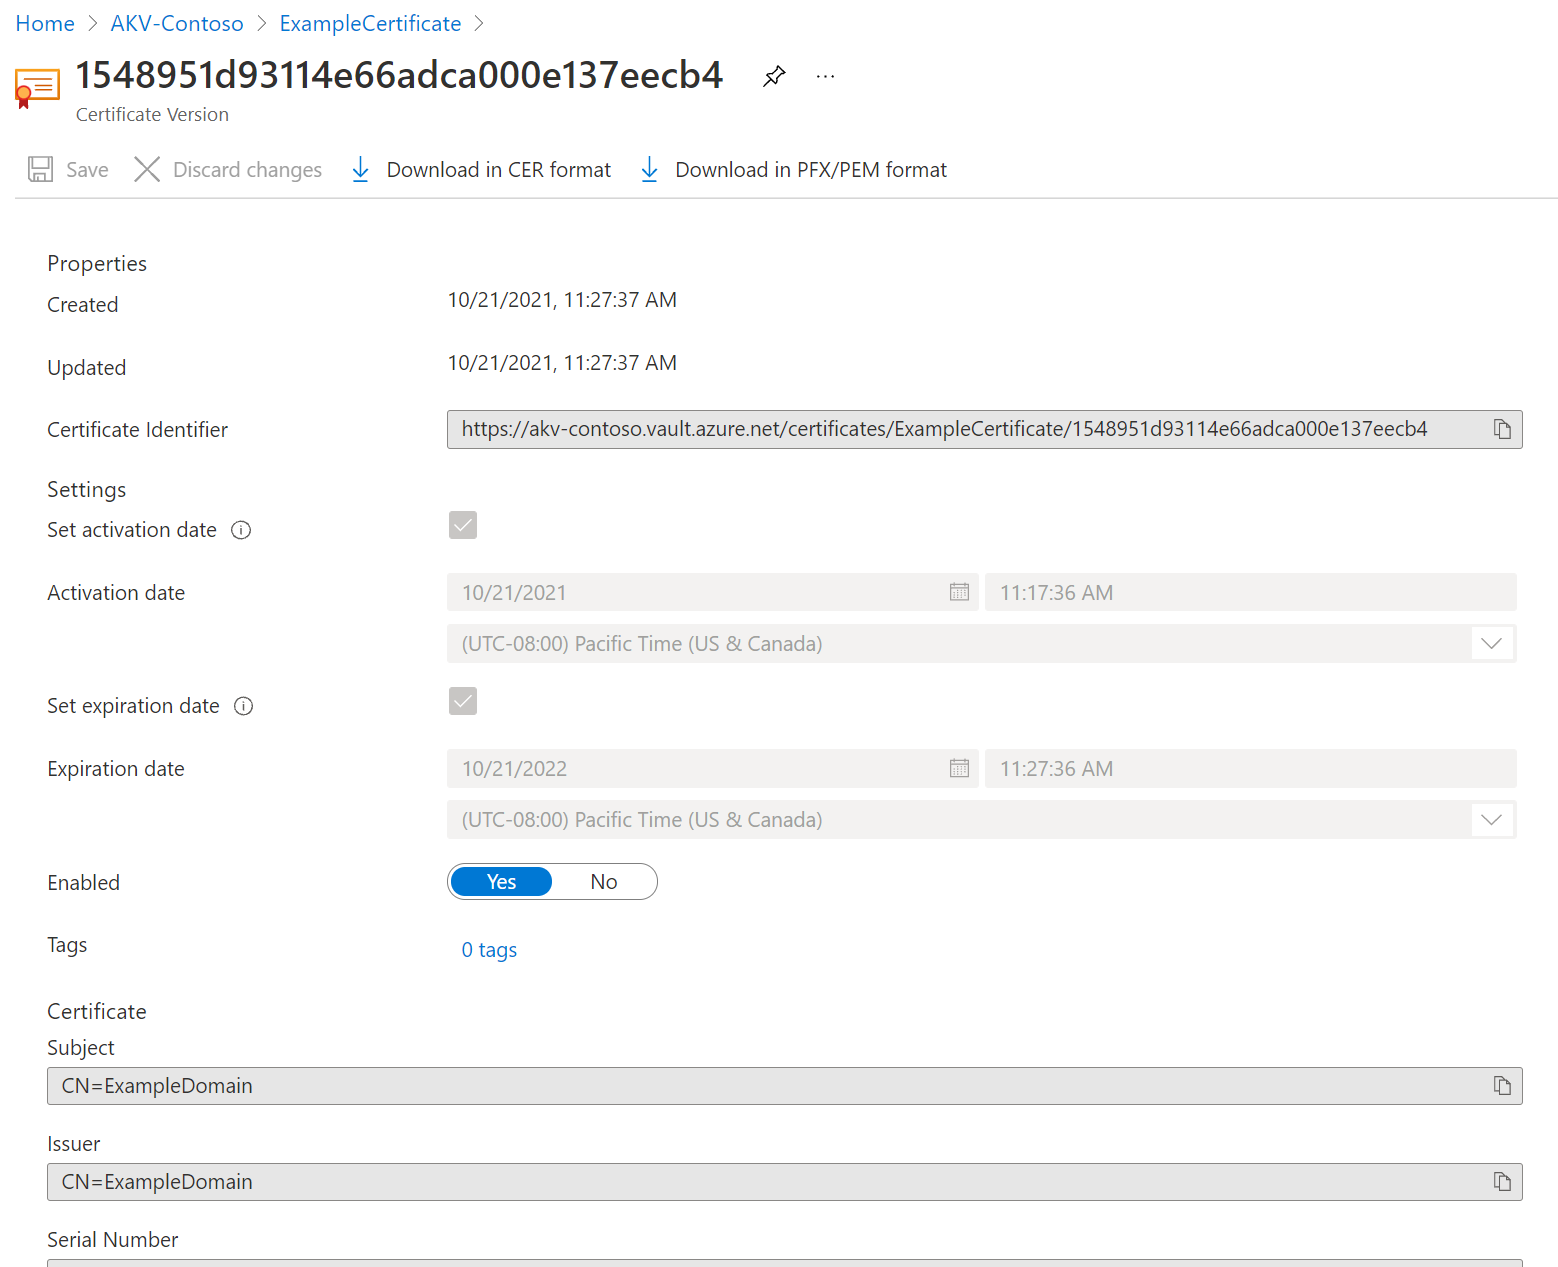
Export certificate from Key Vault
By clicking "Download in CER format" or "Download in PFX/PEM format" button, you can download the certificate.
Clean up resources
Other Key Vault quickstarts and tutorials build upon this quickstart. If you plan to continue on to work with subsequent quickstarts and tutorials, you may wish to leave these resources in place. When no longer needed, delete the resource group, which deletes the Key Vault and related resources. To delete the resource group through the portal:
- Enter the name of your resource group in the Search box at the top of the portal. When you see the resource group used in this quickstart in the search results, select it.
- Select Delete resource group.
- In the TYPE THE RESOURCE GROUP NAME: box type in the name of the resource group and select Delete.
Next steps
In this quickstart, you created a Key Vault and stored a certificate in it. To learn more about Key Vault and how to integrate it with your applications, continue on to the articles below.
- Read an Overview of Azure Key Vault
- See the Azure Key Vault developer's guide
- Review the Key Vault security overview