Work with RAG prompt flows locally (preview)
Retrieval Augmented Generation (RAG) is a pattern that works with pretrained Large Language Models (LLM) and your own data to generate responses. You can implement RAG in a prompt flow in Azure Machine Learning.
In this article, you learn how to transition RAG flows from your Azure Machine Learning cloud workspace to a local device and work with them by using the Prompt flow extension in Visual Studio Code.
Important
RAG is currently in public preview. This preview is provided without a service-level agreement, and isn't recommended for production workloads. Certain features might not be supported or might have constrained capabilities. For more information, see Supplemental Terms of Use for Microsoft Azure Previews.
Prerequisites
Python installed locally
- The promptflow SDK and promptflow-tools packages installed by running
pip install promptflow promptflow-tools - The promptflow-vectordb tool installed by running
pip install promptflow-vectordb
- The promptflow SDK and promptflow-tools packages installed by running
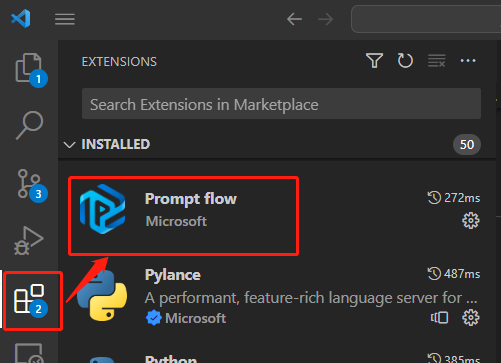
Visual Studio Code with the Python and Prompt flow extensions installed
An Azure OpenAI account resource that has model deployments for both chat and text-embedding-ada
A vector index created in Azure Machine Learning studio for the example prompt flow to use
Create the prompt flow
This tutorial uses the sample Q&A on Your Data RAG prompt flow, which contains a lookup node that uses the vector index lookup tool to search questions from the indexed docs stored in the workspace storage blob.
On the Connections tab of the Azure Machine Learning studio Prompt flow page, set up a connection to your Azure OpenAI resource if you don't already have one. If you use an Azure AI Search index as the data source for your vector index, you must also have an Azure AI Search connection.
On the Azure Machine Learning studio Prompt flow page, select Create.
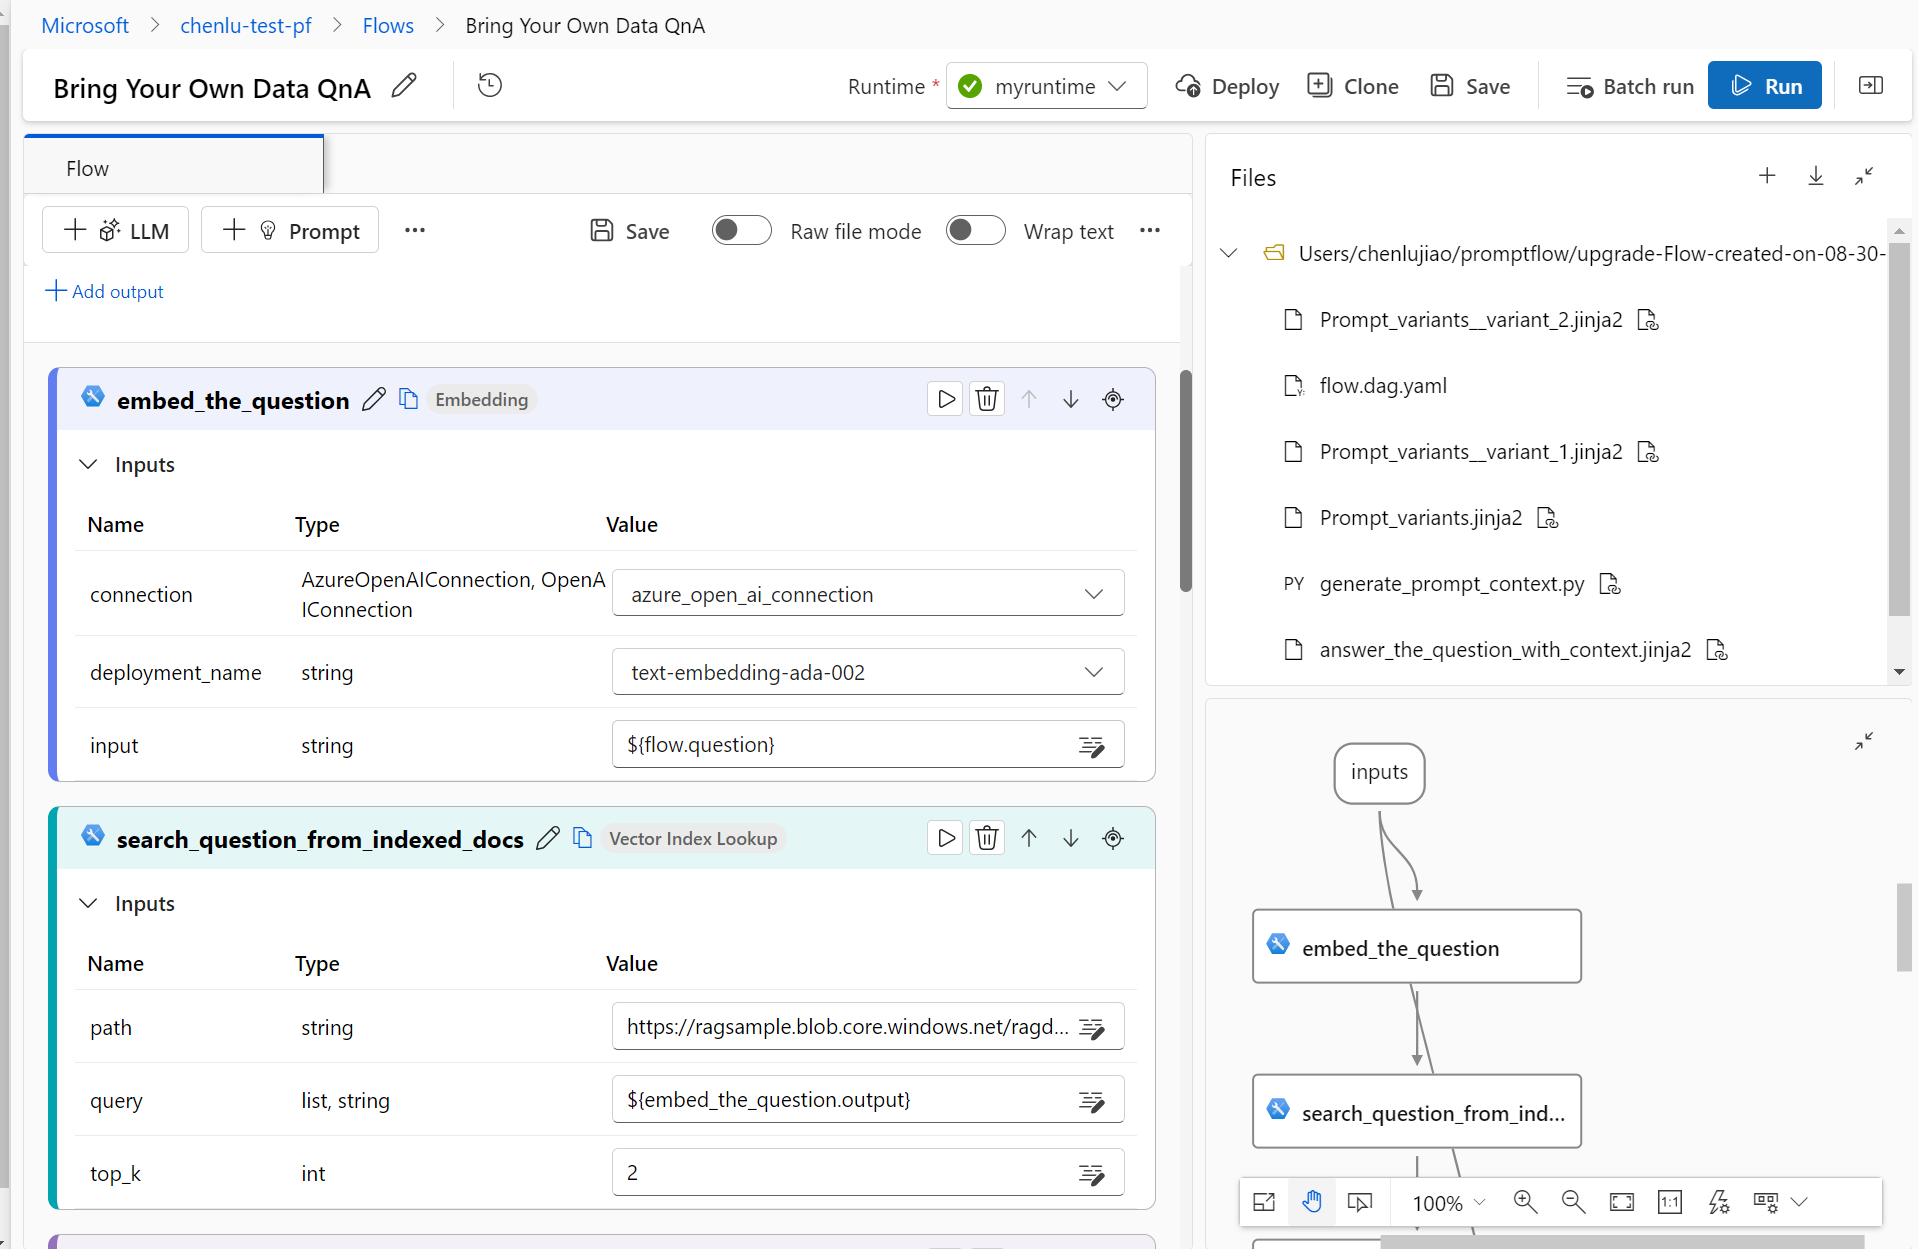
On the Create a new flow screen, select Clone on the Q&A on Your Data tile to clone the example prompt flow.
The cloned flow opens in the authoring interface.
In the lookup step of your cloned flow, populate the mlindex_content input with your vector index information.

Populate the answer_the_question_with_context step with your Connection and Deployment information for the chat API.
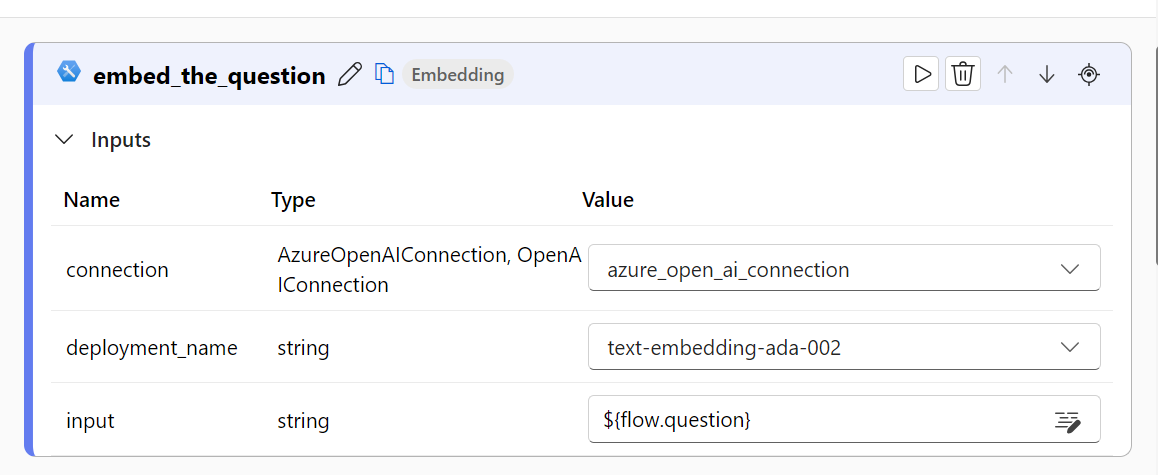
Make sure the example flow runs correctly, and save it.
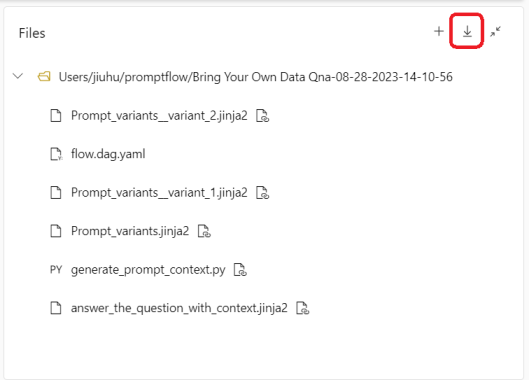
Select the Download icon at the upper right of the Files section. The flow files download as a ZIP package to your local machine.

Unzip the package to a folder.
Work with the flow in VS Code
The rest of this article details how to use the VS Code Prompt flow extension to edit the flow. If you don't want to use the Prompt flow extension, you can open the unzipped folder in any integrated development environment (IDE) and use the CLI to edit the files. For more information, see Prompt flow quick start.
In VS Code with the Prompt flow extension enabled, open the unzipped prompt flow folder.
Select the Prompt flow icon in the left menu to open the Prompt flow management pane.

Select Install dependencies in the management pane and make sure the correct Python interpreter is selected, and the promptflow and promptflow-tools packages are installed.
Create the connections
To use the vector index lookup tool locally, you need to create the same connections to the vector index service as you did in the cloud.
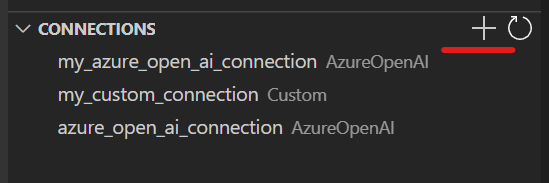
Expand the Connections section at the bottom of the Prompt flow management pane, and select the + icon next to the AzureOpenAI connection type.
A new_AzureOpenAI_connection.yaml file opens in the editing pane. Edit this file to add your Azure OpenAI connection
nameandapi_baseor endpoint. Don't enter yourapi_keyinformation yet.Select the Create connection link at the bottom of the file. The app runs to create the connection. When prompted, enter the API key for your connection in the terminal.
If you used an Azure AI Search index as the data source for your vector index, also create a new Azure AI Search connection for the local vector index lookup tool to use. For more information, see Index Lookup tool for Azure Machine Learning (Preview).
Check the files
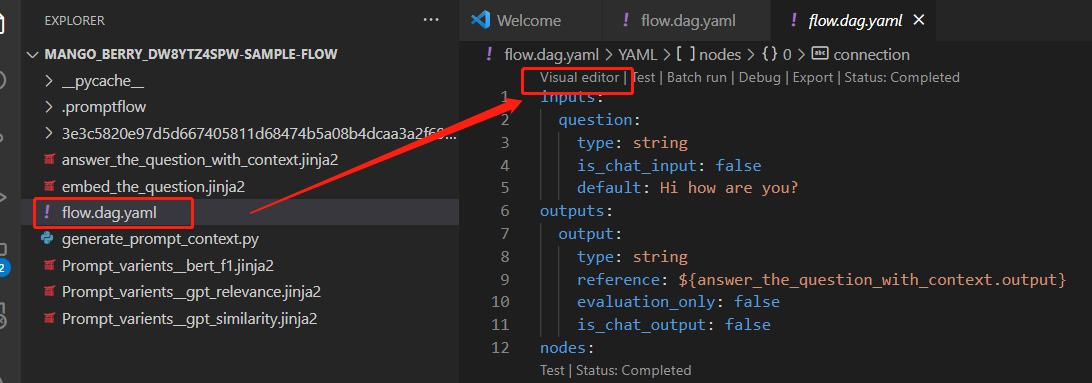
Open the flow.dag.yaml file and select the Visual editor link at the top of the file.
In the visual editor version of flow.dag.yaml, scroll to the lookup node, which consumes the vector index lookup tool in this flow. Under mlindex_content, check the paths and connections for your embeddings and index.

Note
If your indexed docs are a data asset in your workspace, local consumption requires Azure authentication. Make sure you're signed in to the correct Azure tenant and connected to your Azure Machine Learning workspace.
Select the Edit icon in the queries input box, which opens the raw flow.dag.yaml file to the
lookupnode definition.Ensure that the value of the
toolsection in this node is set topromptflow_vectordb.tool.vector_index_lookup.VectorIndexLookup.search, which is the local version of the vector index lookup tool.
Note
If you have any issues with the local
promptflow_vectordbtool, see Package tool isn't found error and Migrate from legacy tools to the Index Lookup tool for troubleshooting.Scroll to the generate_prompt_context node, and in the raw flow.dag.yaml file, select the Open code file link.
In the Python code file, make sure the package name of the vector tool is
promptflow_vectordb.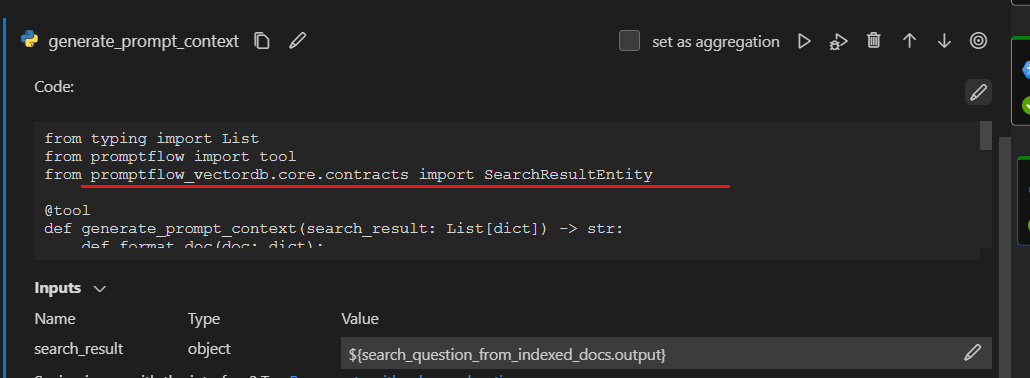
Scroll to the answer_the_question_with_context node and make sure it uses the local connection you created. Check the deployment_name, which is the model you use here for the embedding.

Test and run the flow
Scroll to the top of the flow and fill in the Inputs value with a single question for this test run, such as How to use SDK V2?, and then select the Run icon to run the flow.

For more information about batch run and evaluation, see Submit flow run to Azure Machine Learning workspace.
