Note
Access to this page requires authorization. You can try signing in or changing directories.
Access to this page requires authorization. You can try changing directories.
APPLIES TO:  Azure Machine Learning SDK v1 for Python
Important
This article provides information on using the Azure Machine Learning SDK v1. SDK v1 is deprecated as of March 31, 2025. Support for it will end on June 30, 2026. You can install and use SDK v1 until that date.
We recommend that you transition to the SDK v2 before June 30, 2026. For more information on SDK v2, see What is Azure Machine Learning CLI and Python SDK v2? and the SDK v2 reference.
Warning
The Azure Synapse Analytics integration with Azure Machine Learning, available in Python SDK v1, is deprecated. Users can still use Synapse workspace, registered with Azure Machine Learning, as a linked service. However, a new Synapse workspace can no longer be registered with Azure Machine Learning as a linked service. We recommend use of serverless Spark compute and attached Synapse Spark pools, available in CLI v2 and Python SDK v2. For more information, see Configure Apache Spark jobs in Azure Machine Learning.
In this article you learn how to use Apache Spark pools, powered by Azure Synapse Analytics, as the compute target for a data preparation step in an Azure Machine Learning pipeline. You learn how a single pipeline can use compute resources suited for the specific step - for example, data preparation or training. You'll also learn how data is prepared for the Spark step and how it passes to the next step.
Prerequisites
Create an Azure Machine Learning workspace to host all your pipeline resources
Configure your development environment to install the Azure Machine Learning SDK, or use an Azure Machine Learning compute instance with the SDK already installed
Create an Azure Synapse Analytics workspace and Apache Spark pool. For more information, visit Quickstart: Create a serverless Apache Spark pool using Synapse Studio
Link your Azure Machine Learning workspace and Azure Synapse Analytics workspace
Create and administer your Apache Spark pools in an Azure Synapse Analytics workspace. To integrate an Apache Spark pool with an Azure Machine Learning workspace, you must link to the Azure Synapse Analytics workspace. Once you link your Azure Machine Learning workspace and your Azure Synapse Analytics workspaces, you can attach an Apache Spark pool with
Python SDK, as explained later
Azure Resource Manager (ARM) template. For more information, visit Example ARM template
- You can use the command line to follow the ARM template, add the linked service, and attach the Apache Spark pool with this code sample:
az deployment group create --name --resource-group <rg_name> --template-file "azuredeploy.json" --parameters @"azuredeploy.parameters.json"
Important
To successfully link to the Synapse workspace, you must be granted the Owner role of the Synapse workspace. Check your access in the Azure portal.
The linked service gets a system-assigned managed identity (SAI) at creation time. You must assign this link service SAI the "Synapse Apache Spark administrator" role from Synapse Studio, so that it can submit the Spark job. Visit How to manage Synapse RBAC role assignments in Synapse Studio for more information.
The Azure Machine Learning workspace user also needs the "Contributor" role, from the resource management Azure portal.
Retrieve the link between your Azure Synapse Analytics workspace and your Azure Machine Learning workspace
The following code sample shows how to retrieve linked services in your workspace:
from azureml.core import Workspace, LinkedService, SynapseWorkspaceLinkedServiceConfiguration

ws = Workspace.from_config()

for service in LinkedService.list(ws) :
    print(f"Service: {service}")

# Retrieve a known linked service
linked_service = LinkedService.get(ws, 'synapselink1')
In this code sample, Workspace.from_config() accesses your Azure Machine Learning workspace with the configuration in the config.json file. (For more information, visit Create a workspace configuration file). Then, the code prints all of the linked services available in the workspace. Finally, LinkedService.get() retrieves a linked service named 'synapselink1'.
Attach your Apache spark pool as a compute target for Azure Machine Learning
To use your Apache spark pool to power a step in your machine learning pipeline, you must attach it as a ComputeTarget for the pipeline step, as shown in the following code sample:
from azureml.core.compute import SynapseCompute, ComputeTarget

attach_config = SynapseCompute.attach_configuration(
        linked_service = linked_service,
        type="SynapseSpark",
        pool_name="spark01") # This name comes from your Synapse workspace

synapse_compute=ComputeTarget.attach(
        workspace=ws,
        name='link1-spark01',
        attach_configuration=attach_config)

synapse_compute.wait_for_completion()
The code first configures the SynapseCompute. The linked_service argument is the LinkedService object you created or retrieved in the previous step. The type argument must be SynapseSpark. The pool_name argument in SynapseCompute.attach_configuration() must match that of an existing pool in your Azure Synapse Analytics workspace. For more information about creation of an Apache spark pool in the Azure Synapse Analytics workspace, visit Quickstart: Create a serverless Apache Spark pool using Synapse Studio. The attach_config type is ComputeTargetAttachConfiguration.
After you create the configuration, create a machine learning ComputeTarget by passing in the Workspace and ComputeTargetAttachConfiguration values, and the name by which you'd like to refer to the compute within the machine learning workspace. The call to ComputeTarget.attach() is asynchronous, so the sample is blocked until the call completes.
Create a SynapseSparkStep that uses the linked Apache Spark pool
The sample notebook Spark job on Apache spark pool defines a simple machine learning pipeline. First, the notebook defines a data preparation step, powered by the synapse_compute defined in the previous step. Then, the notebook defines a training step powered by a compute target more appropriate for training. The sample notebook uses the Titanic survival database to show data input and output. It doesn't actually clean the data or make a predictive model. Since this sample doesn't really involve training, the training step uses an inexpensive, CPU-based compute resource.
Data flows into a machine learning pipeline through DatasetConsumptionConfig objects, which can hold tabular data or sets of files. The data often comes from files in blob storage in a workspace datastore. The following code sample shows typical code that creates input for a machine learning pipeline:
from azureml.core import Dataset

datastore = ws.get_default_datastore()
file_name = 'Titanic.csv'

titanic_tabular_dataset = Dataset.Tabular.from_delimited_files(path=[(datastore, file_name)])
step1_input1 = titanic_tabular_dataset.as_named_input("tabular_input")

# Example only: it wouldn't make sense to duplicate input data, especially one as tabular and the other as files
titanic_file_dataset = Dataset.File.from_files(path=[(datastore, file_name)])
step1_input2 = titanic_file_dataset.as_named_input("file_input").as_hdfs()
The code sample assumes that the file Titanic.csv is in blob storage. The code shows how to read the file both as a TabularDataset and as a FileDataset. The code is for demonstration purposes only, because it would become confusing to duplicate inputs or to interpret a single data source as both a table-containing resource, and strictly as a file.
Important
To use a FileDataset as input, you need an azureml-core version of at least 1.20.0. You can specify this with the Environment class, as discussed later. When a step completes, you can store the output data, as shown in this code sample:
from azureml.data import HDFSOutputDatasetConfig
step1_output = HDFSOutputDatasetConfig(destination=(datastore,"test")).register_on_complete(name="registered_dataset")
In this code sample, the datastore would store the data in a file named test. The data would be available within the machine learning workspace as a Dataset, with the name registered_dataset.
In addition to data, a pipeline step can have per-step Python dependencies. Additionally, individual SynapseSparkStep objects can specify their precise Azure Synapse Apache Spark configuration. As a demonstration, the following code sample specifies that the azureml-core package version must be at least 1.20.0. As mentioned previously, this requirement for the azureml-core package is needed to use a FileDataset as an input.
from azureml.core.environment import Environment
from azureml.pipeline.steps import SynapseSparkStep

env = Environment(name="myenv")
env.python.conda_dependencies.add_pip_package("azureml-core>=1.20.0")

step_1 = SynapseSparkStep(name = 'synapse-spark',
                          file = 'dataprep.py',
                          source_directory="./code",
                          inputs=[step1_input1, step1_input2],
                          outputs=[step1_output],
                          arguments = ["--tabular_input", step1_input1,
                                       "--file_input", step1_input2,
                                       "--output_dir", step1_output],
                          compute_target = 'link1-spark01',
                          driver_memory = "7g",
                          driver_cores = 4,
                          executor_memory = "7g",
                          executor_cores = 2,
                          num_executors = 1,
                          environment = env)
This code specifies a single step in the Azure Machine Learning pipeline. The environment value of this code sets a specific azureml-core version, and the code can add other conda or pip dependencies as needed.
The SynapseSparkStep zips and uploads the ./code subdirectory from the local computer. That directory is recreated on the compute server, and the step runs the dataprep.py script from that directory. The inputs and outputs of that step are the step1_input1, step1_input2, and step1_output objects discussed earlier. The easiest way to access those values within the dataprep.py script is to associate them with named arguments.
The next set of arguments to the SynapseSparkStep constructor controls Apache Spark. The compute_target is the 'link1-spark01' resource that we attached as a compute target previously. The other parameters specify the memory and cores we'd like to use.
The sample notebook uses this code for dataprep.py:
import os
import sys
import azureml.core
from pyspark.sql import SparkSession
from azureml.core import Run, Dataset

print(azureml.core.VERSION)
print(os.environ)

import argparse
parser = argparse.ArgumentParser()
parser.add_argument("--tabular_input")
parser.add_argument("--file_input")
parser.add_argument("--output_dir")
args = parser.parse_args()

# use dataset sdk to read tabular dataset
run_context = Run.get_context()
dataset = Dataset.get_by_id(run_context.experiment.workspace,id=args.tabular_input)
sdf = dataset.to_spark_dataframe()
sdf.show()

# use hdfs path to read file dataset
spark= SparkSession.builder.getOrCreate()
sdf = spark.read.option("header", "true").csv(args.file_input)
sdf.show()

sdf.coalesce(1).write\
.option("header", "true")\
.mode("append")\
.csv(args.output_dir)
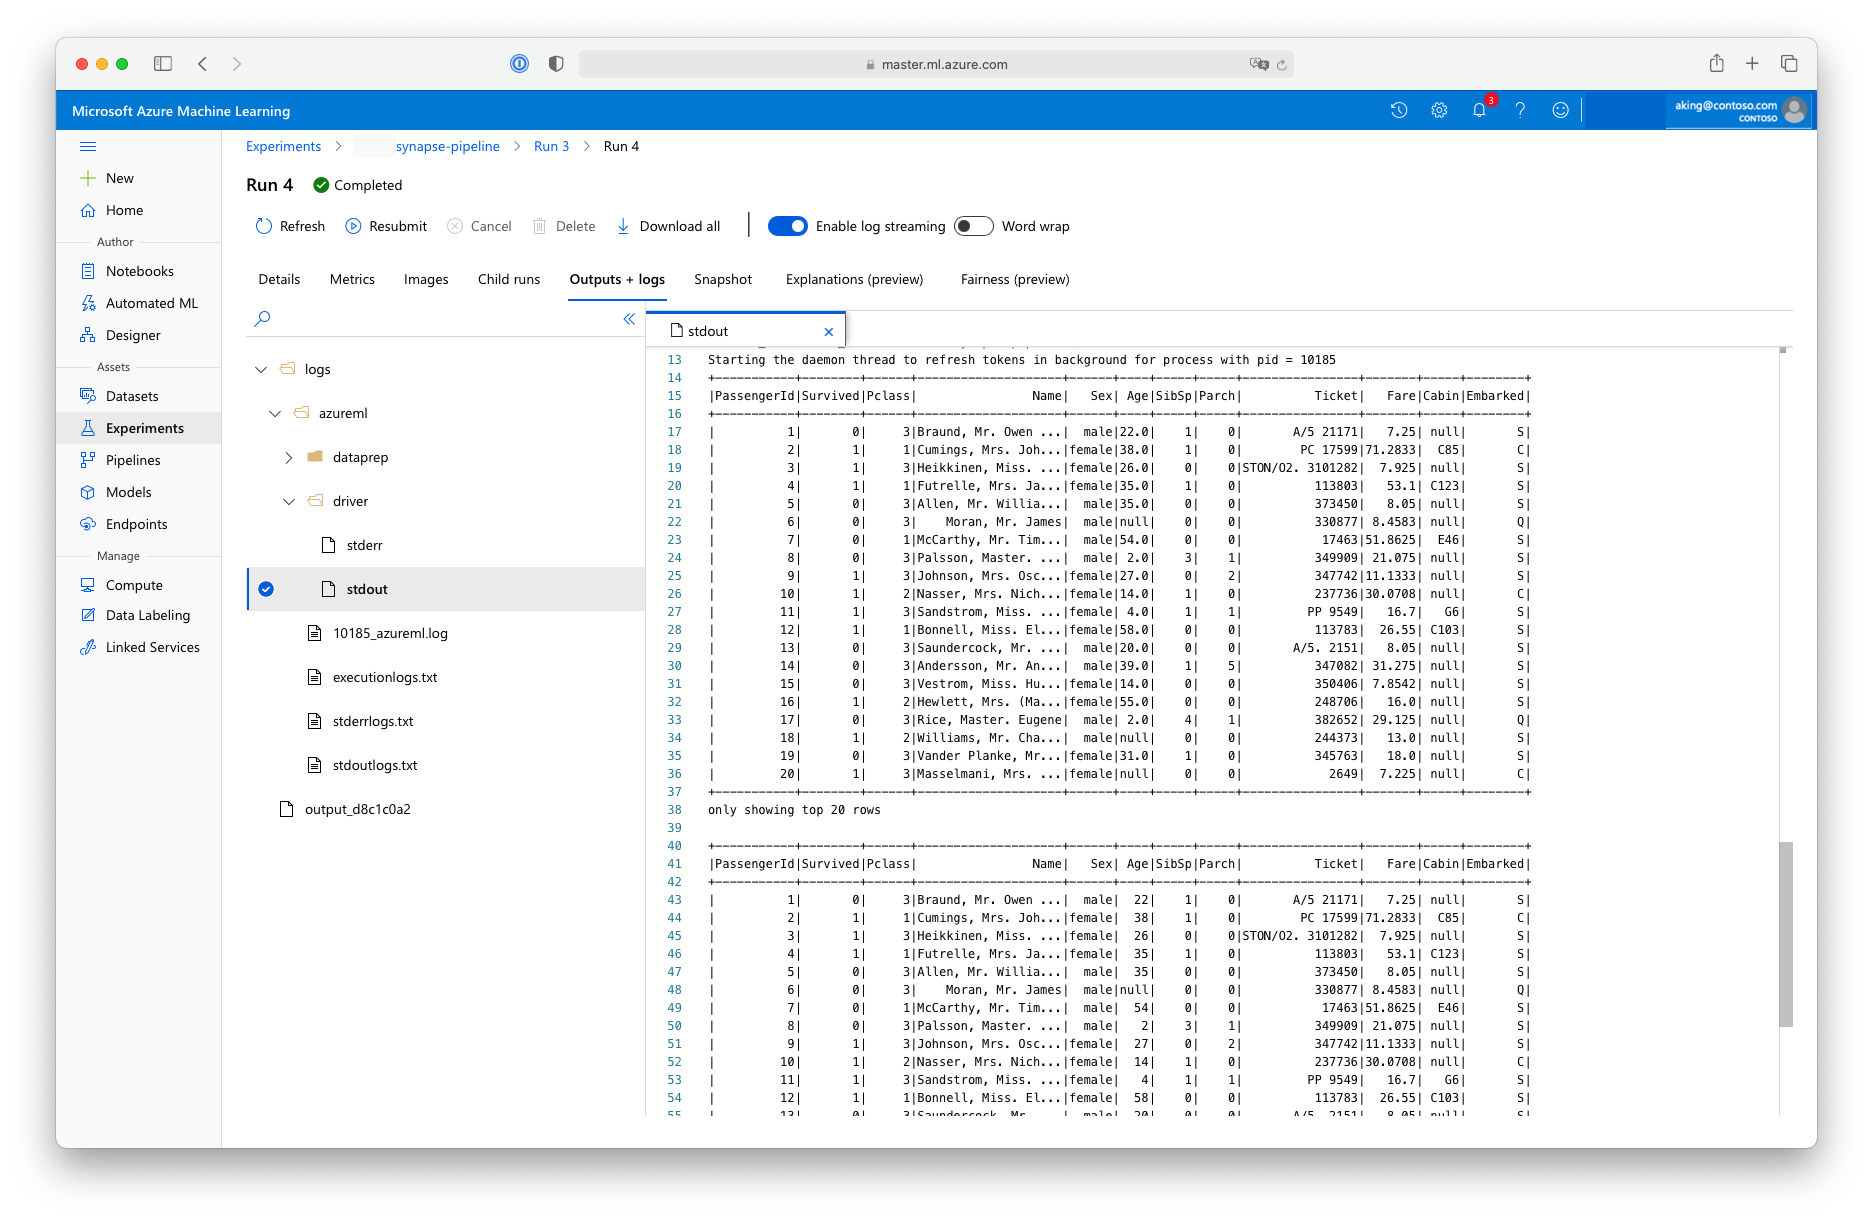
This "data preparation" script doesn't do any real data transformation, but it shows how to retrieve data, convert the data to a Spark dataframe, and how to do some basic Apache Spark manipulation. To find the output in Azure Machine Learning studio, open the child job, choose the Outputs + logs tab, and open the logs/azureml/driver/stdout file, as shown in this screenshot:
Use the SynapseSparkStep in a pipeline
The next example uses the output from the SynapseSparkStep created in the previous section. Other steps in the pipeline might have their own unique environments, and might run on different compute resources appropriate to the task at hand. The sample notebook runs the "training step" on a small CPU cluster:
from azureml.core.compute import AmlCompute

cpu_cluster_name = "cpucluster"

if cpu_cluster_name in ws.compute_targets:
    cpu_cluster = ComputeTarget(workspace=ws, name=cpu_cluster_name)
    print('Found existing cluster, use it.')
else:
    compute_config = AmlCompute.provisioning_configuration(vm_size='STANDARD_D2_V2', max_nodes=1)
    cpu_cluster = ComputeTarget.create(ws, cpu_cluster_name, compute_config)
    print('Allocating new CPU compute cluster')

cpu_cluster.wait_for_completion(show_output=True)

step2_input = step1_output.as_input("step2_input").as_download()

step_2 = PythonScriptStep(script_name="train.py",
                          arguments=[step2_input],
                          inputs=[step2_input],
                          compute_target=cpu_cluster_name,
                          source_directory="./code",
                          allow_reuse=False)
This code creates the new compute resource if necessary. Then, it converts the step1_output result to input for the training step. The as_download() option means that the data is moved onto the compute resource, resulting in faster access. If the data was so large that it wouldn't fit on the local compute hard drive, you must use the as_mount() option to stream the data with the FUSE filesystem. The compute_target of this second step is 'cpucluster', not the 'link1-spark01' resource you used in the data preparation step. This step uses a simple train.py script instead of the dataprep.py script you used in the previous step. The sample notebook has details of the train.py script.
After you define all of your steps, you can create and run your pipeline.
from azureml.pipeline.core import Pipeline

pipeline = Pipeline(workspace=ws, steps=[step_1, step_2])
pipeline_run = pipeline.submit('synapse-pipeline', regenerate_outputs=True)
This code creates a pipeline consisting of the data preparation step on Apache Spark pools, powered by Azure Synapse Analytics (step_1) and the training step (step_2). Azure examines the data dependencies between the steps to calculate the execution graph. In this case, there's only one straightforward dependency. Here, step2_input necessarily requires step1_output.
The pipeline.submit call creates, if necessary, an Experiment named synapse-pipeline, and asynchronously starts a job within it. Individual steps within the pipeline run as child jobs of this main job, and the Experiments page of Studio can monitor and review those steps.