Note
Access to this page requires authorization. You can try signing in or changing directories.
Access to this page requires authorization. You can try changing directories.
When developing flows, you can not only use the built-in tools provided by prompt flow, but also develop your own custom tool. In this document, we guide you through the process of developing your own tool package, offering detailed steps and advice on how to utilize the custom tool package.
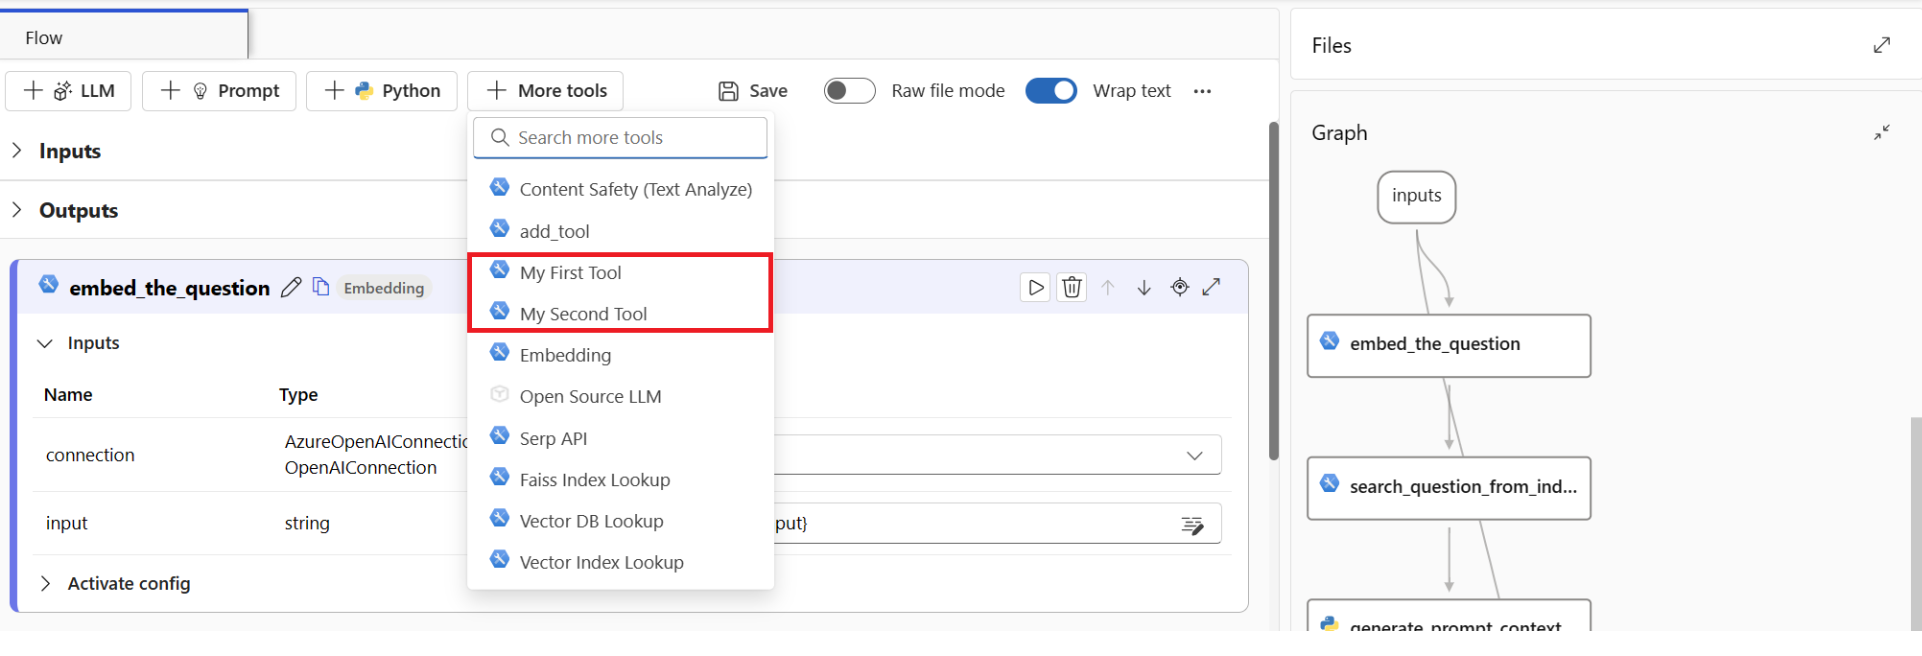
After successful installation, your custom "tool" can show up in the tool list:

Create your own tool package
Your tool package should be a python package. To develop your custom tool, follow the steps Create your own tool package and build and share the tool package in Create and Use Tool Package. You can find more advanced development guidance in How to develop a tool.
Prepare compute session
In order to add the custom tool to your tool list for use, it's necessary to prepare the compute session. Here we use my-tools-package as an example.
When using compute session, you can readily install the publicly released package by adding the custom tool package name into the requirements.txt file in the flow folder. Then to start installation select the 'Save and install' button. After completion, you can see the custom tools displayed in the tool list. To learn more, see How to manage compute session.

Another method is applicable for not only publicly released packages, but also local or private feed packages. Firstly you should build an image following the two steps in how to customize base image for compute session, and then change the base image for compute session.
Test from prompt flow UI
Create a standard flow.
Start compute session.

Add your tools.
Change flow based on your requirements and run flow.


FAQ
How to install the custom tool package in the VS Code extension?
Install prompt flow for VS Code extension

Go to terminal and install the tool package in conda environment of the extension. Assume your conda env name is
prompt-flow.(local_test) PS D:\projects\promptflow\tool-package-quickstart> conda activate prompt-flow (prompt-flow) PS D:\projects\promptflow\tool-package-quickstart> pip install my-tools-package==0.0.1Go to the extension and open one flow folder. Select 'flow.dag.yaml' and preview the flow. Next, select
+button and you can see your tools. You need to reload the windows to clean previous cache if you don't see your tool in the list.


Why is my custom tool not showing up in the UI?
You can test your tool package using the following script to ensure that you've packaged your tool YAML files and configured the package tool entry point correctly.
Make sure to install the tool package in your conda environment before executing this script.
Create a python file anywhere and copy the following content into it.
def test():
    # `collect_package_tools` gathers all tools info using the `package-tools` entry point. This ensures that your package is correctly packed and your tools are accurately collected.
    from promptflow.core.tools_manager import collect_package_tools
    tools = collect_package_tools()
    print(tools)
if __name__ == "__main__":
    test()
Run this script in your conda environment. It returns the metadata of all tools installed in your local environment, and you should verify that your tools are listed.
Why am I unable to upload package to PyPI?
- Make sure that the entered username and password of your PyPI account are accurate.
- If you encounter a
403 Forbidden Error, it's likely due to a naming conflict with an existing package. You need to choose a different name. Package names must be unique on PyPI to avoid confusion and conflicts among users. Before creating a new package, it's recommended to search PyPI (https://pypi.org/) to verify that your chosen name isn't already taken. If the name you want is unavailable, consider selecting an alternative name or a variation that clearly differentiates your package from the existing one.
Next steps
- Learn more about how to manage compute session
- Learn more about how to customize base image for compute session