Note
Access to this page requires authorization. You can try signing in or changing directories.
Access to this page requires authorization. You can try changing directories.
Get started using Azure Managed Grafana by creating an Azure Managed Grafana workspace using the Azure CLI.
Prerequisites
An Azure account for work or school with an active subscription. Create an account for free.
Minimum required role to create a workspace: resource group Contributor.
Minimum required role to access the Grafana UI: resource group Owner.
Note
If you're not a resource group Owner:
- once you've created the Azure Managed Grafana workspace, ask a User Access Administrator, subscription Owner or resource group Owner to grant you a Grafana Admin, Grafana Editor or Grafana Viewer role
- or consider creating the workspace using the Creator can admin (Preview) feature available from the Azure portal. Refer to the Azure portal quickstart for more information.
Use the Bash environment in Azure Cloud Shell. For more information, see Get started with Azure Cloud Shell.

If you prefer to run CLI reference commands locally, install the Azure CLI. If you're running on Windows or macOS, consider running Azure CLI in a Docker container. For more information, see How to run the Azure CLI in a Docker container.
If you're using a local installation, sign in to the Azure CLI by using the az login command. To finish the authentication process, follow the steps displayed in your terminal. For other sign-in options, see Authenticate to Azure using Azure CLI.
When you're prompted, install the Azure CLI extension on first use. For more information about extensions, see Use and manage extensions with the Azure CLI.
Run az version to find the version and dependent libraries that are installed. To upgrade to the latest version, run az upgrade.
Sign in to Azure
Open your CLI and run the az login command:
az login
This command prompts your web browser to launch and load an Azure sign-in page.
The CLI experience for Azure Managed Grafana is part of the amg extension for the Azure CLI (version 2.30.0 or higher). The extension automatically installs the first time you run the az grafana command. If this doesn't work, run:
az extension add --name amg
Create a resource group
Run the following code to create a resource group to organize the Azure resources needed to complete this quickstart. Skip this step if you already have a resource group you want to use.
| Parameter | Description | Example |
|---|---|---|
| --name | Choose a unique name for your new resource group. | grafana-rg |
| --location | Choose an Azure region where Azure Managed Grafana is available. For more info, go to Products available by region. | eastus |
az group create --location <location> --name <resource-group-name>
Create an Azure Managed Grafana workspace
Run the following code to create an Azure Managed Grafana workspace.
| Parameter | Description | Example |
|---|---|---|
| --name | Choose a unique name for your new Azure Managed Grafana workspace. | grafana-test |
| --resource-group | Choose a resource group for your Azure Managed Grafana workspace. | my-resource-group |
az grafana create --name <managed-grafana-resource-name> --resource-group <resource-group-name>
Once the deployment is complete, you see a note in the output of the command line stating that the workspace was successfully created, alongside with additional information about the deployment.
Note
Azure Managed Grafana has a system-assigned managed identity enabled by default. You can use a user-assigned managed identity or a service principal instead. To learn more, go to Set up Azure Managed Grafana authentication and permissions (preview).
Access your new Azure Managed Grafana workspace
Now let's check if you can access your new Azure Managed Grafana workspace.
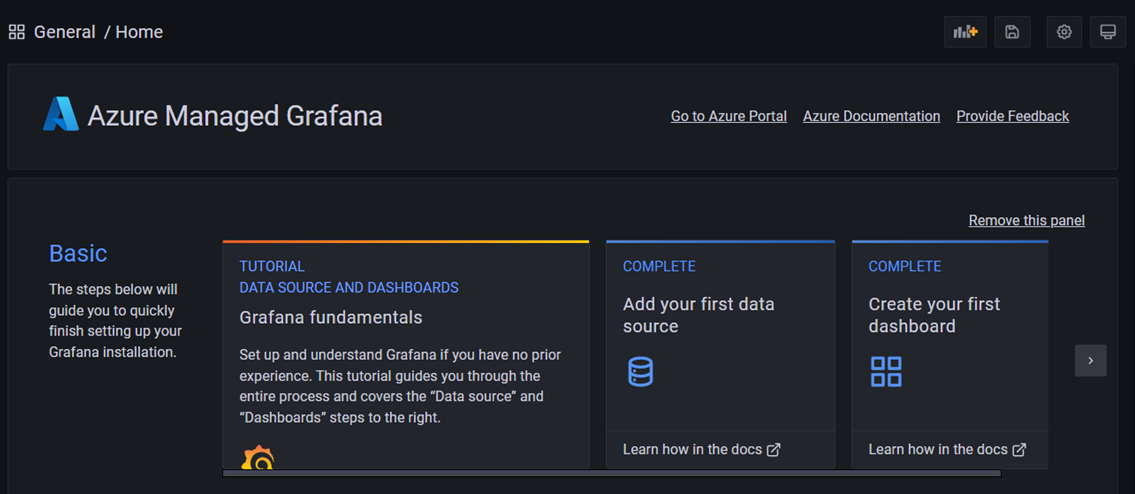
Take note of the endpoint URL ending by
eus.grafana.azure.com, listed in the CLI output.Open a browser and enter the endpoint URL. Single sign-on via Microsoft Entra ID is automatically configured. If prompted, log in with your Azure account. You should now see your Azure Managed Grafana workspace. From there, you can finish setting up your Grafana installation.
Clean up resources
In the preceding steps, you created an Azure Managed Grafana workspace in a new resource group. If you don't expect to need these resources again in the future, delete the resource group.
az group delete -n <resource-group-name> --yes
Related content
You can now start interacting with the Grafana application to configure data sources, create dashboards, reports, and alerts. Suggested read: