Note
Access to this page requires authorization. You can try signing in or changing directories.
Access to this page requires authorization. You can try changing directories.
In this quickstart, you'll learn how to create, manage, and delete projects.
A project is used to store discovery, assessment, and migration metadata collected from the environment you're assessing or migrating. In a project, you can track discovered assets, create assessments, and orchestrate migrations to Azure.
Verify permissions
Ensure you have the correct permissions to create a project using the following steps:
- In the Azure portal, open the relevant subscription, and select Access control (IAM).
- In Check access, find the relevant account, and select it and view permissions. You should have Azure Migrate Owner or a role with higher permissions. Learn more.
Note
Starting November 2025, only users assigned the Azure Migrate Owner or a higher privileged role will be able to create Azure Migrate projects. Users without these role assignments will no longer have the required permissions to create new projects.
Create a project for the first time
Follow these steps to create an Azure Migrate project for the first time:
Set up a new project in an Azure subscription.
In the Azure portal, search for Azure Migrate.
In Services, select Azure Migrate.
In Get started, select Create project.

In Create project, select the Subscription and Resource group.
Select Create new to create a new Resource group if you don't have one.
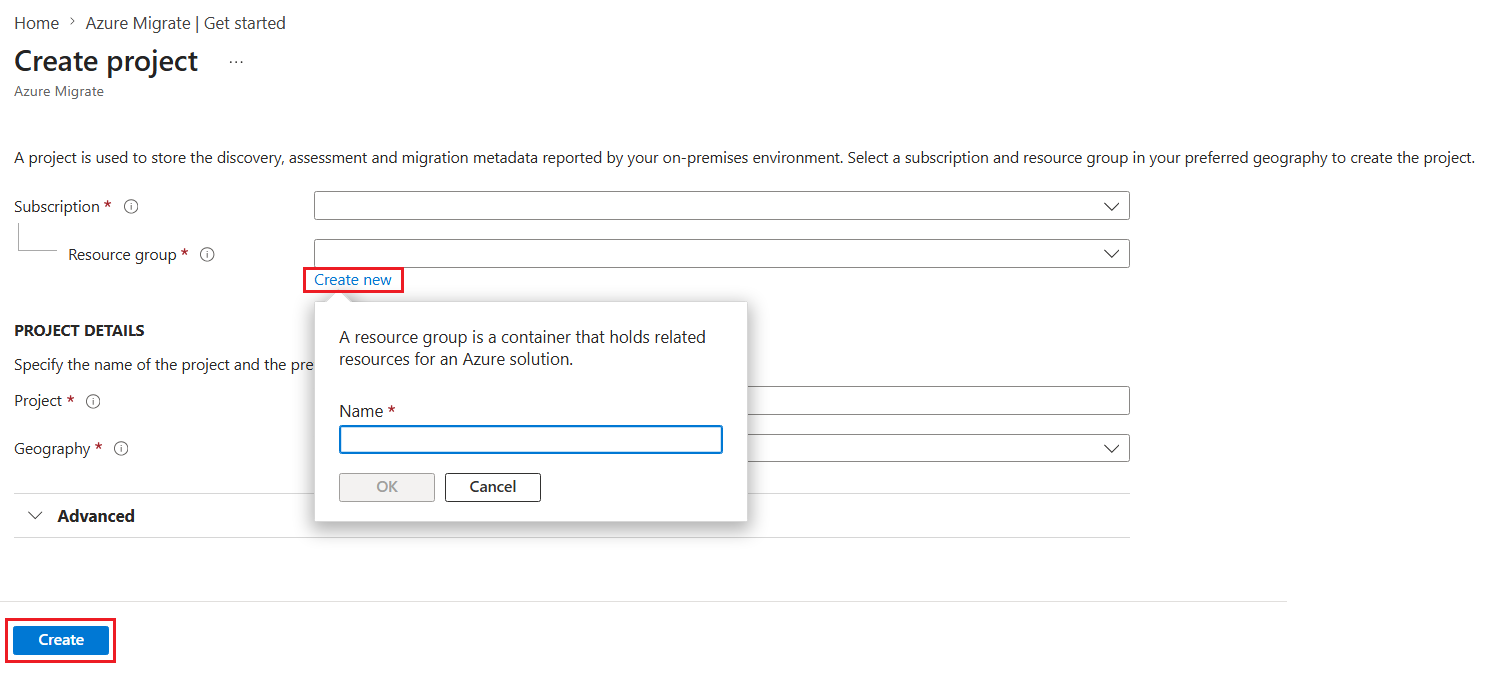
In Project Details, specify the project name and the geography in which you want to create the project.
- The geography is only used to store the metadata gathered from on-premises servers. You can assess or migrate servers for any target region regardless of the selected geography.
- Review supported geographies for [public] public and government clouds.
Note
Use the Advanced configuration section to create an Azure Migrate project with private endpoint connectivity. Learn more.
Select Create.


Wait for a few minutes for the project to deploy.
Create a project in a specific region
In the portal, you can select the geography in which you want to create the project. If you want to create the project within a specific Azure region, use the following API command to create the project.
PUT /subscriptions/<subid>/resourceGroups/<rg>/providers/Microsoft.Migrate/MigrateProjects/<mymigrateprojectname>?api-version=2018-09-01-preview "{location: 'centralus', properties: {}}"
After you create the project, perform the following steps to try out the new agentless dependency analysis enhancements:
Ensure that you install Az CLI to execute the required commands by following the steps provided in the documentation here.
After you install the Az CLI (in PowerShell), go to PowerShell on your system as an Administrator and execute the following commands:
- Log in to the Azure tenant and set the Subscription.
- az log in --tenant <TENANT_ID>
- az account set --subscription <SUBSCRIPTION_ID>
- Output contains - "state": "Registered"
- Register the new Dependency Map resource provider.
- az provider register --namespace Microsoft.DependencyMap
- Ensure that the provider is in registered state.
- az provider show -n Microsoft.DependencyMap
- Output contains - "registrationState": "Registered"
Create additional projects
You can create additional projects to manage separate migration scenarios. To create another Azure Migrate project, follow these steps:
In the Azure public portal or Azure Government, search for Azure Migrate.
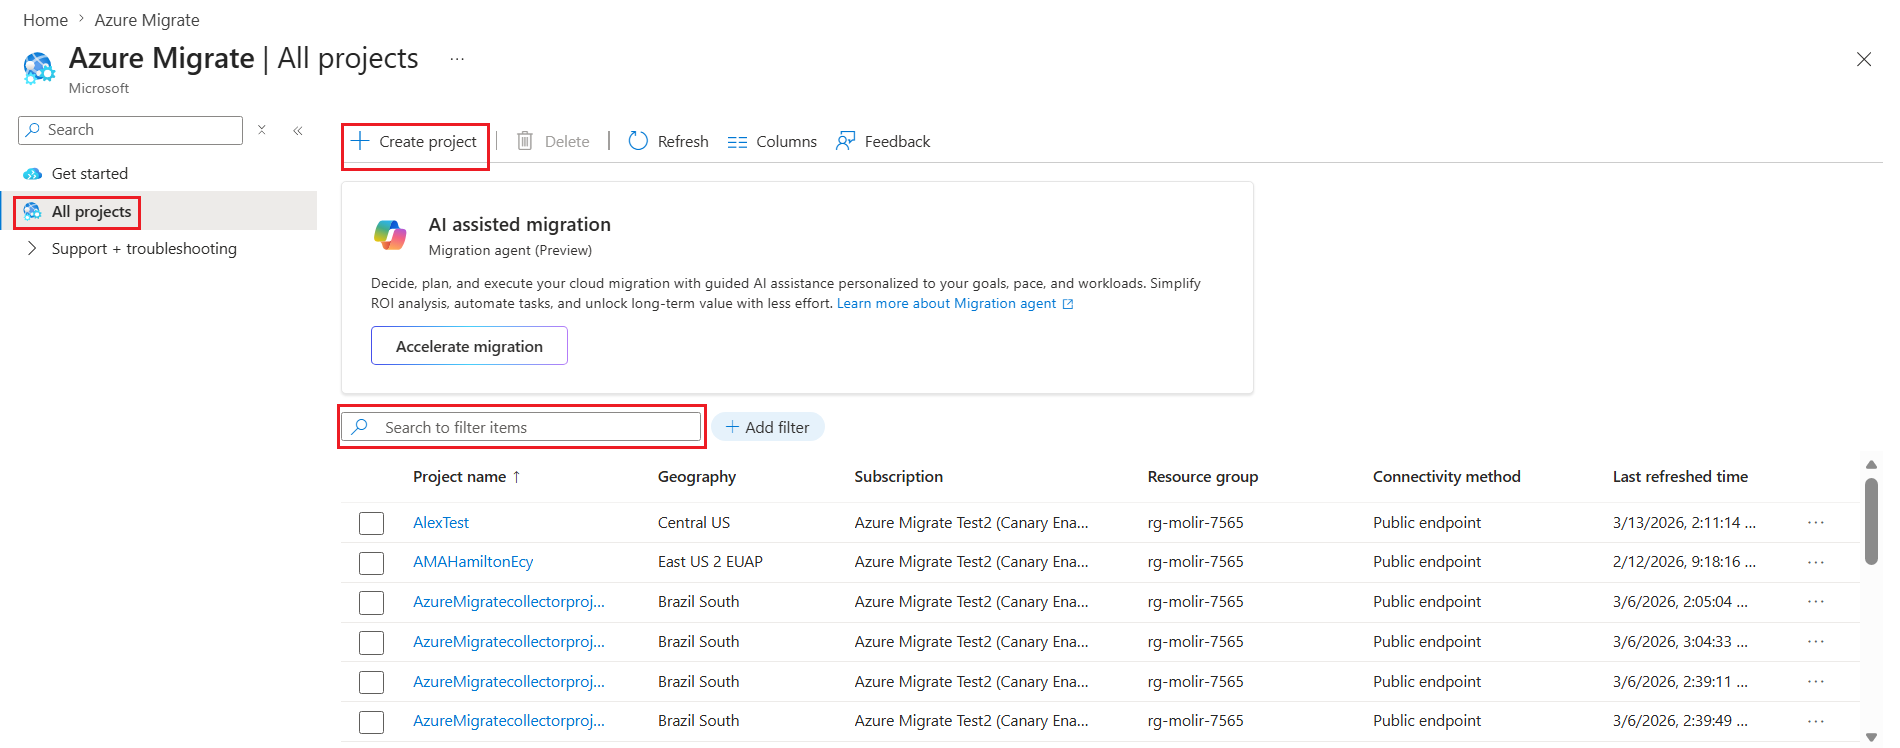
On the Azure Migrate dashboard, select All projects on the upper left.
Select a Create project.

Delete a project
Follow these steps to delete an existing Azure Migrate project:
In the Azure Migrate dashboard, select All projects from the left pane.
Select the project that you want to delete and then select Delete project.

Select the associated resources.
- The resource type is Microsoft.Migrate/migrateprojects.
- If the resource group is exclusively used by the project, you can delete the entire resource group.
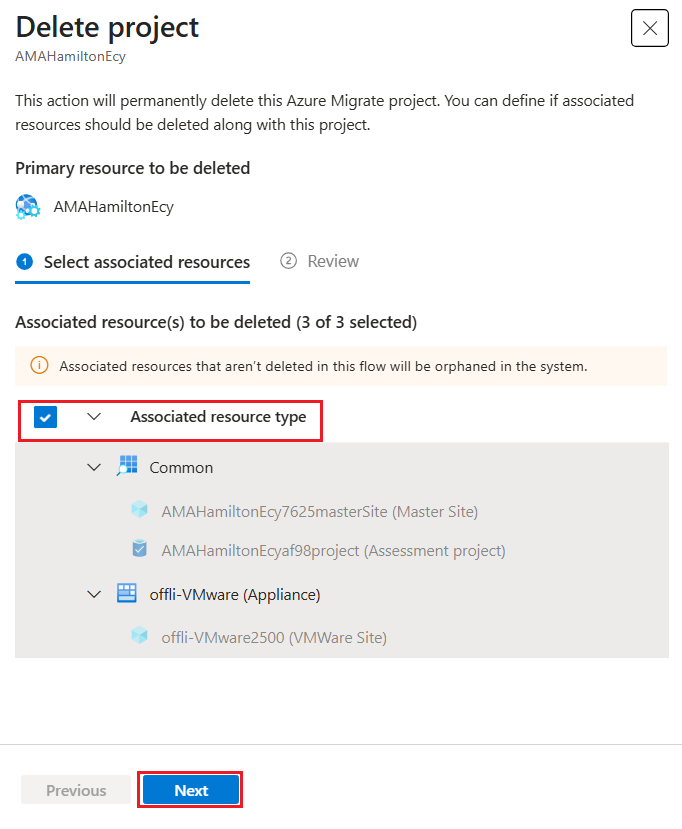
Select the Associated resource type checkbox.
Select Next to delete the project.


Note
- When you delete, both the project and the metadata about discovered servers are deleted.
- If you're using the older version of Azure Migrate, go to the Azure resource group in which the project was created. Select the project you want to delete (the resource type is Migration project).
- Project deletion is irreversible. Deleted objects can't be recovered.
Next steps
Add assessment or migration tools to projects.