Quickstart: Add users to a chamber
After you create your Modeling and Simulation Workbench, you'll need to add users and assign roles. In this quickstart, you'll learn how to add users a chamber as either a Chamber Admin or Chamber User along with the correct Microsoft Entra role assignments to enable them to do tasks.
If you don't have a service subscription, create a free trial account.
Prerequisites
- An Azure account with an active subscription. Create an account for free.
- An instance of Azure Modeling and Simulation Design Workbench installed with at least one chamber.
Users to be added to a chamber must already exist in your company's Microsoft Entra ID tenant. If you want to invite guests to collaborate in your chamber, you must add or invite them to your Microsoft Entra ID tenant.
Email fields in the user's Microsoft Entra ID user profile. The email alias must match exactly the user's Microsoft Entra sign-in alias. For example, a Microsoft Entra sign-in alias of jane.doe@contoso.com must also have the email alias of jane.doe@contoso.com.
Add users
Users are added to chambers as either Chamber Admin or Chamber User roles. You can learn more about user personas in Modeling and Simulation Workbench to pick the most fitting role.
If the user isn't already an Owner of either the subscription or the resource group, they must be assigned the following roles in addition to a chamber role. Microsoft recommends using least privilege to protect your environment by assigning the lowest level of privilege needed to effectively perform tasks.
| Setting | Value |
|---|---|
| Role | Reader |
| Assign access to | User, group, or service principal |
| Members | <user's Azure account> |
| Setting | Value |
|---|---|
| Role | Classic Storage Account Contributor |
| Assign access to | User, group, or service principal |
| Members | <user's Azure account> |
- Navigate to the Resource Group where the workbench is deployed.
- Select Access Control (IAM) from the left menu.
- From the roles screen, select Add > Add role assignment.
- The Add role assignment pane opens. In the Role list, search for or scroll to find the Reader role. Select Next.
- Leave the Assign access to as the default of User, group, or service principal. Choose + Select members.
- On the Select members panel, search for and select on the users to be added, and then choose Select.
- Select Review + assign to assign the selected role.
- Repeat these same steps, but assign the Classic Storage Account Contributor role for the same users.
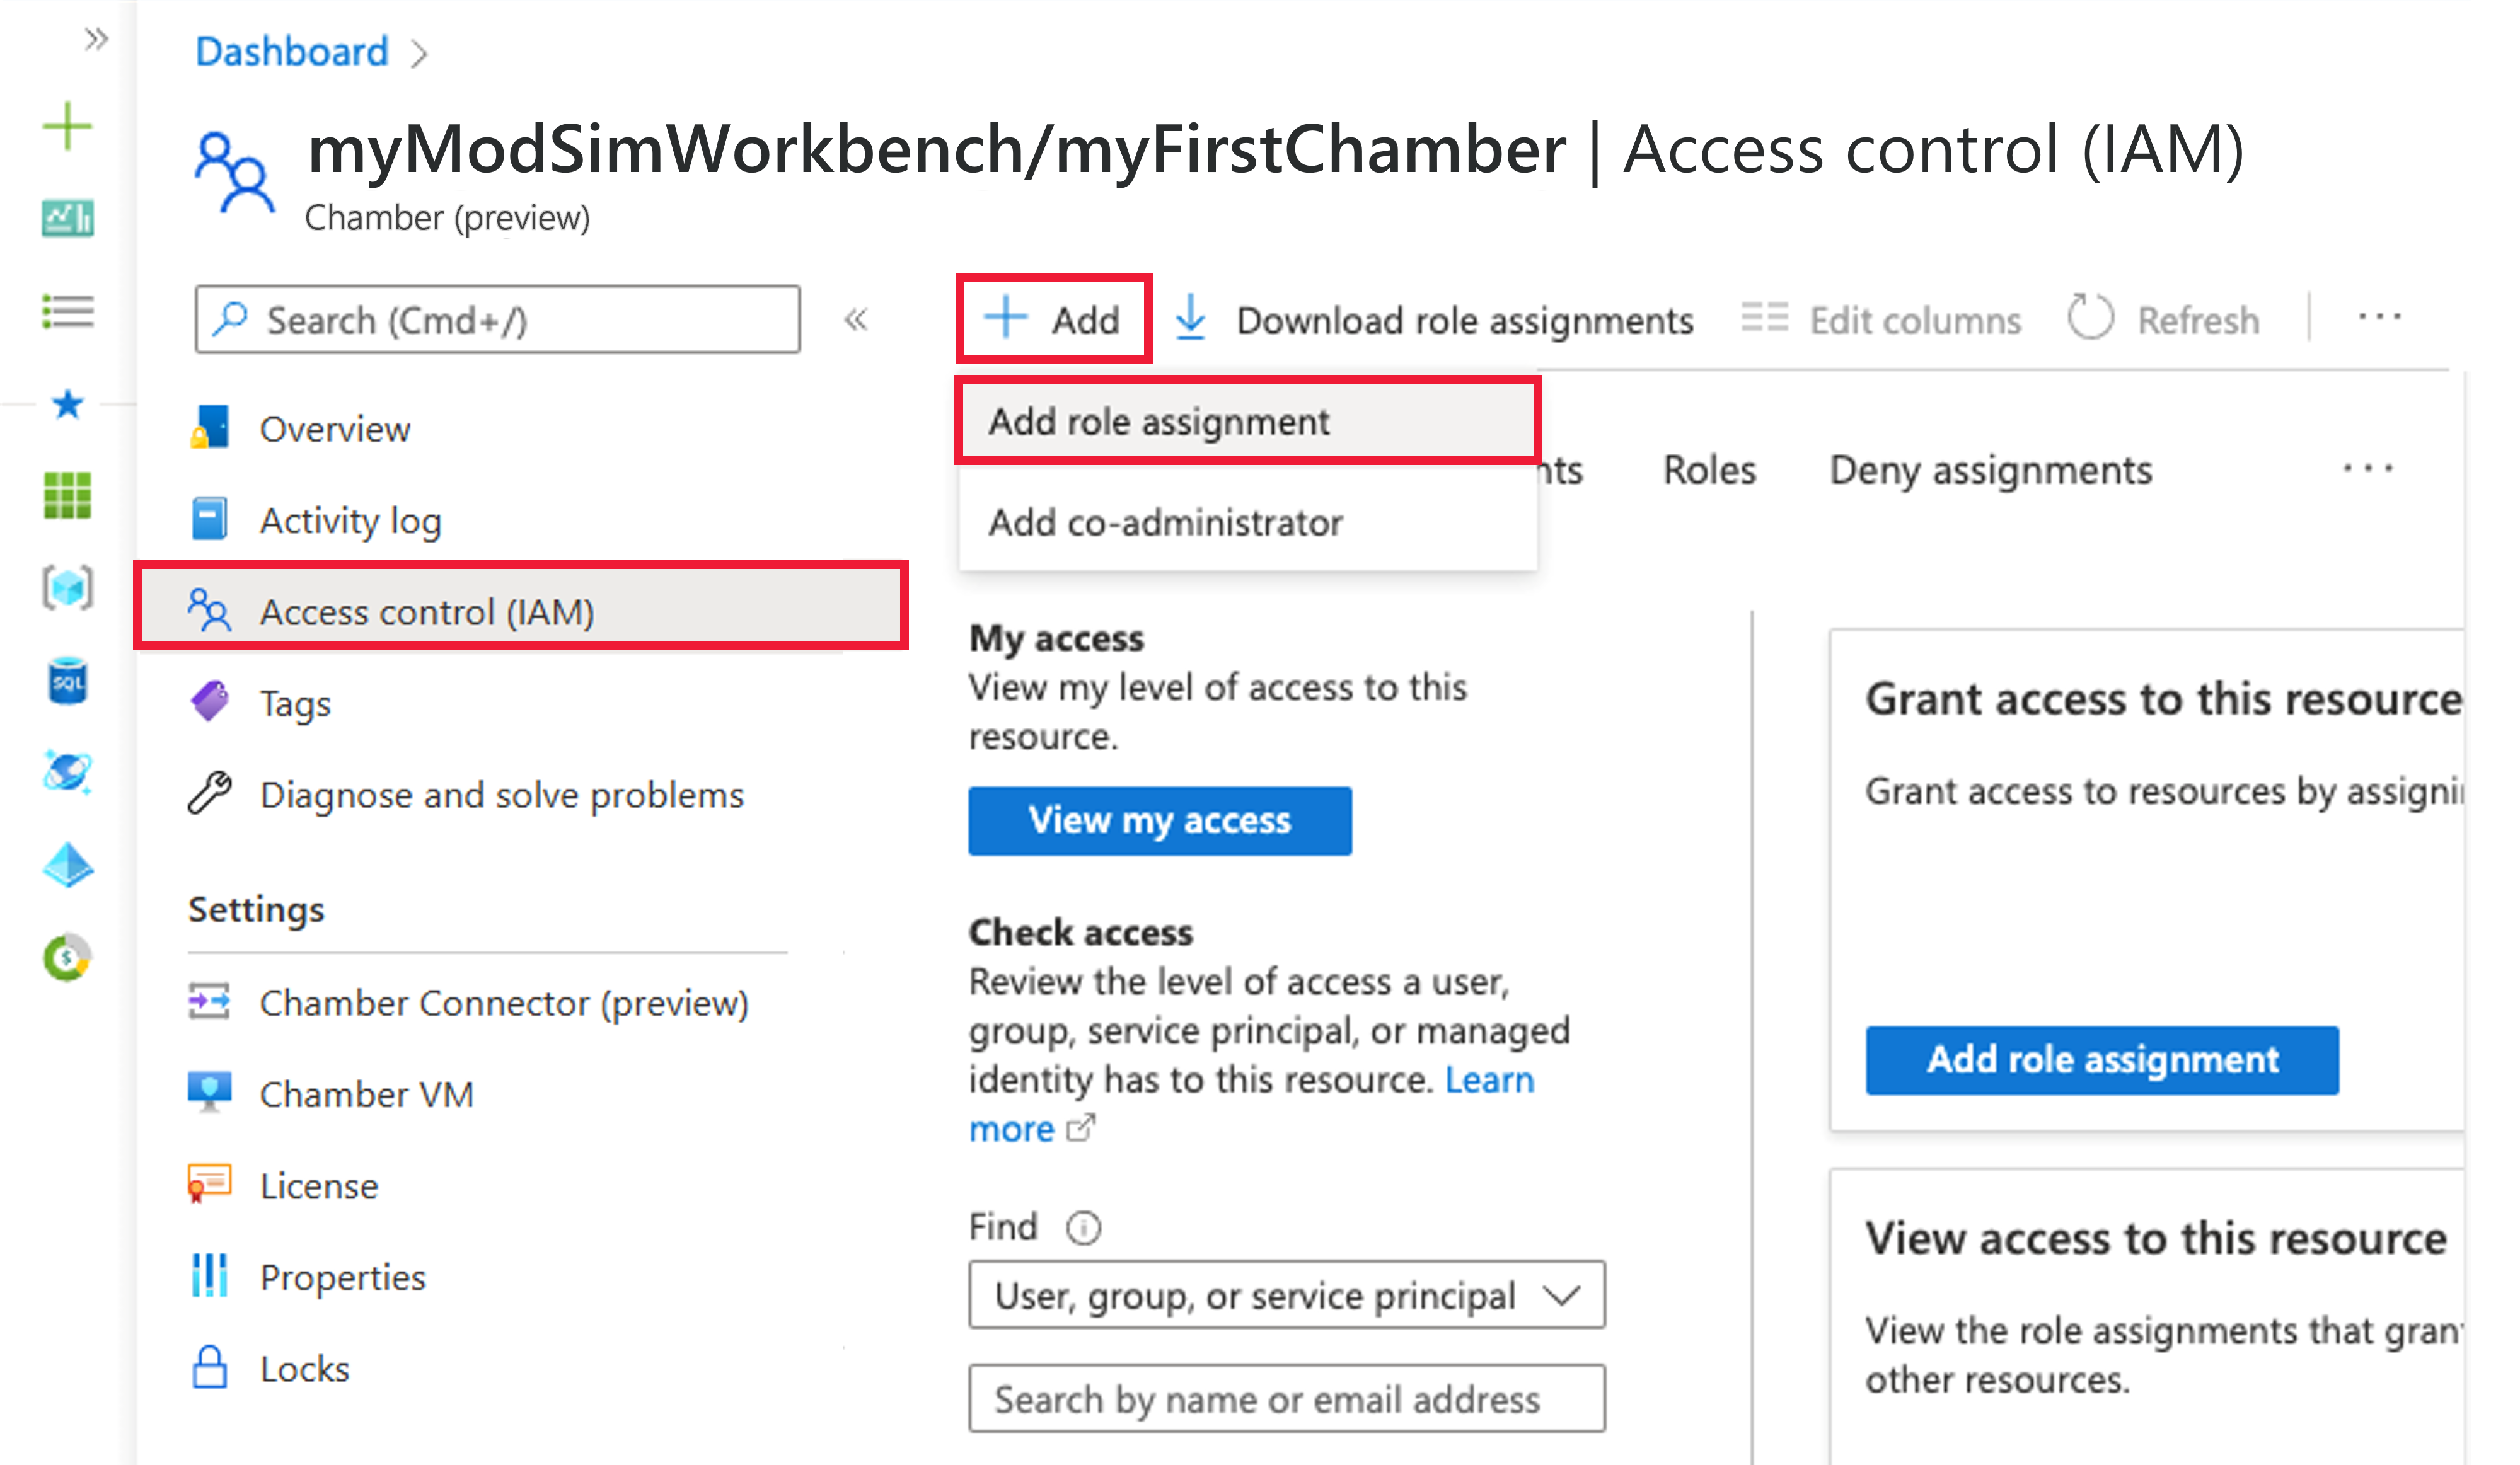
Assign Chamber Admin or Chamber User role
Resource group level privileges allow users to perform infrastructure level tasks in the environment, but don't define the user's privilege level. Users must be assigned a role for each chamber they're to have access to. The role assigned determines whether users have root privileges across that chamber. Chamber Admin has sudo privileges in all virtual machines (VM) in the chamber, whereas Chamber User doesn't.
Navigate to the chamber where the role is to be assigned. Be sure you are at the chamber level, as chamber roles don't inherit.
Select Access Control (IAM) from the left menu.
From the roles screen, select Add > Add role assignment.
The Add role assignment pane opens. In the Role list, search for or scroll to find either the Chamber User or the Chamber Admin role. Select the appropriate role and then select Next.
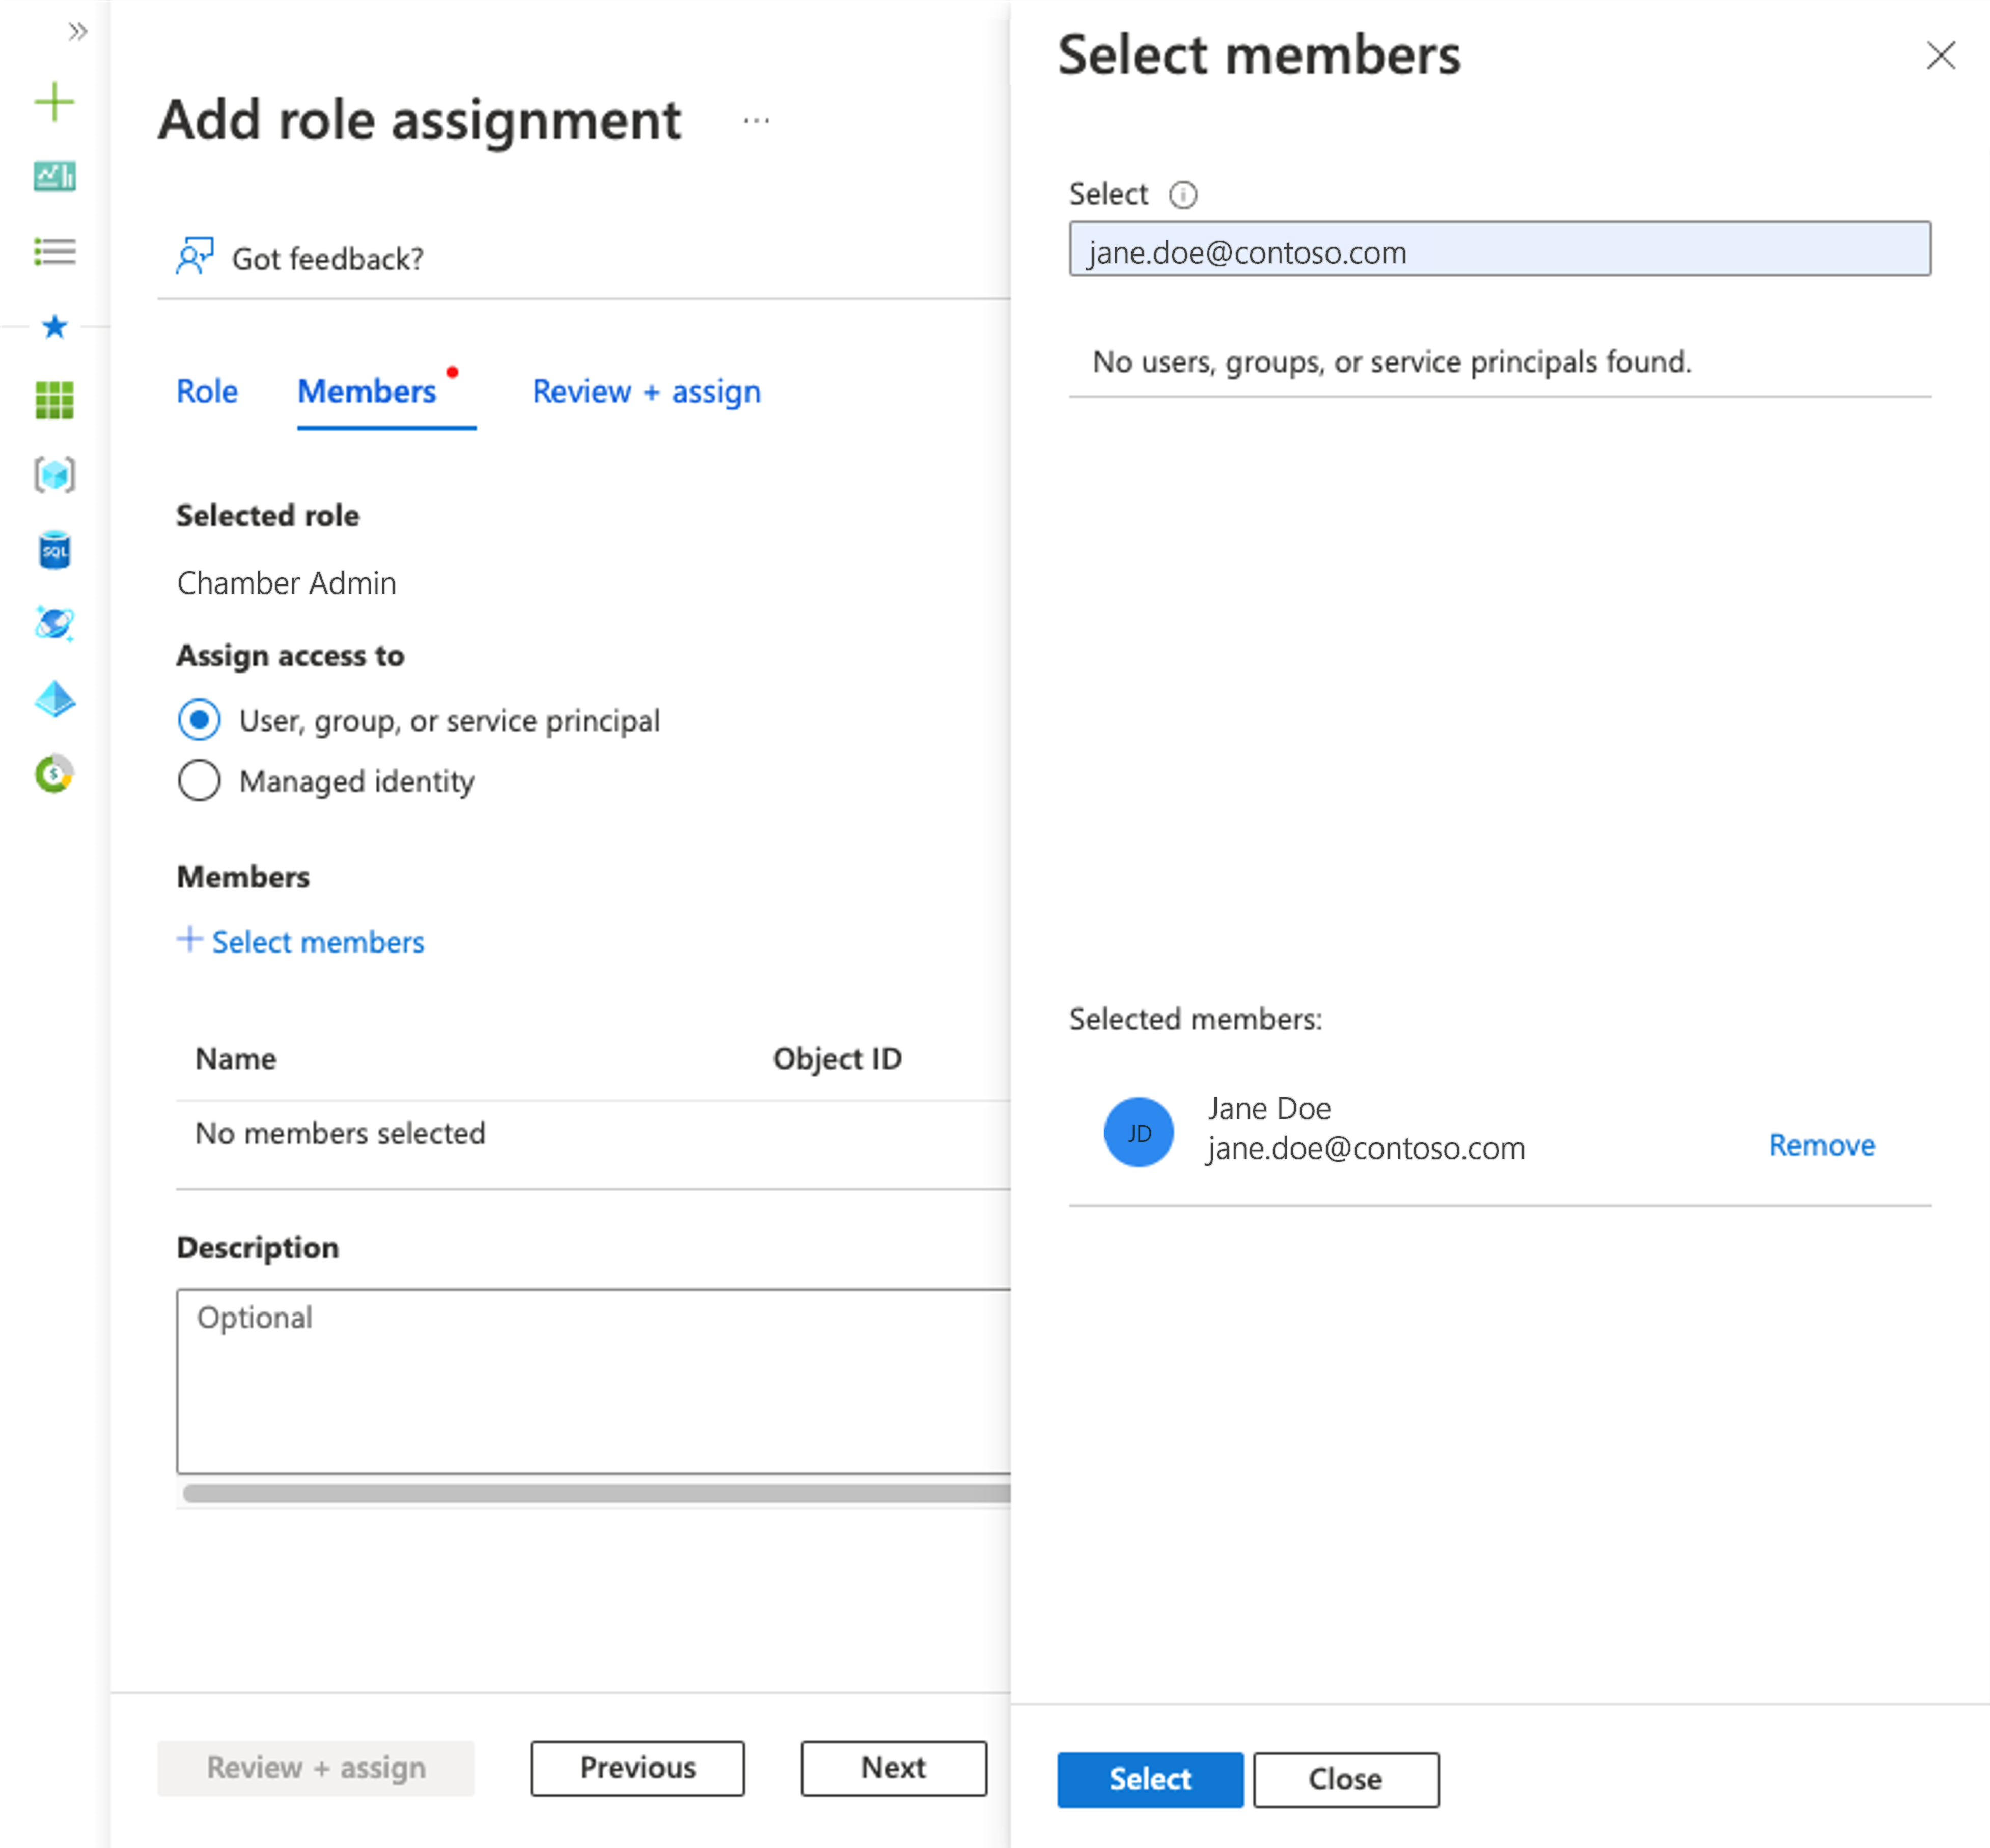
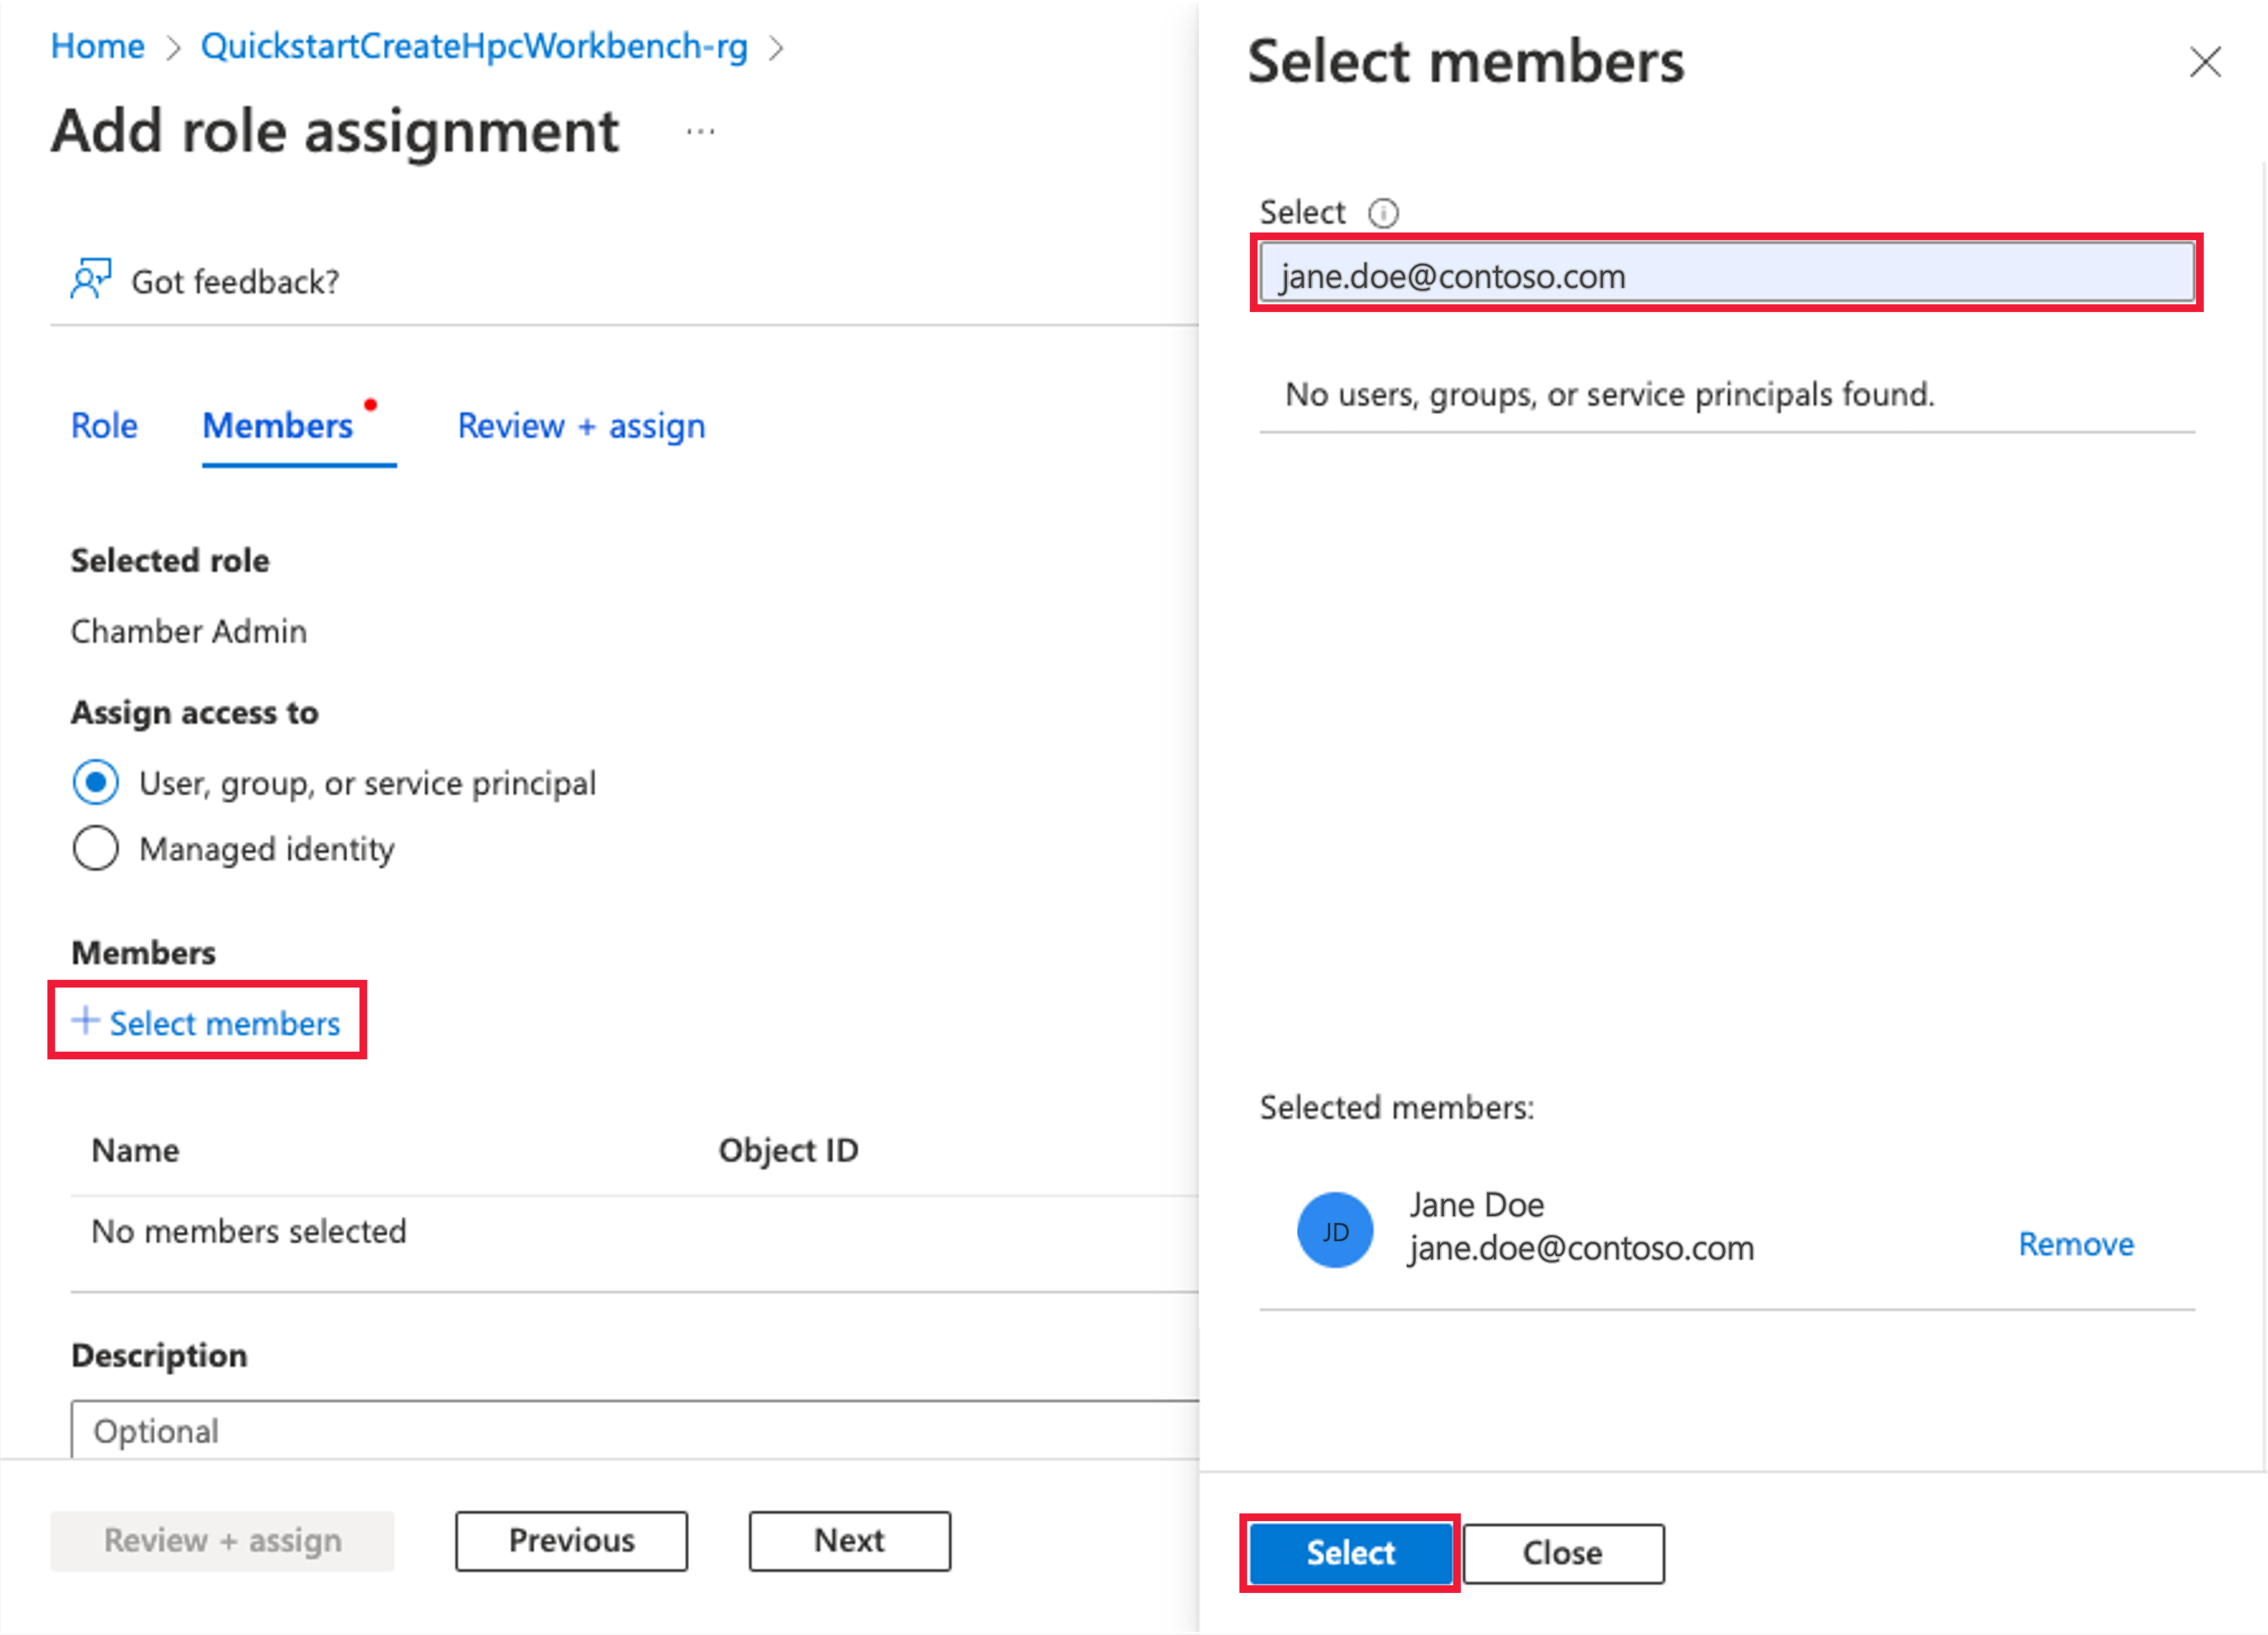
Leave the Assign access to as the default of User, group, or service principal. Choose + Select members.
On the Select members panel, search for and select on the users to be added, and then choose Select.
After you select all the users for that role, select Review + assign to assign the selected role.
Note
Allow at least five minutes for the provisioning of the users to propagate throughout the chamber, so they have a successful login experience.