This article describes how to move Azure Notification Hubs resources to a different Azure region. At a high level, the process is:
Create a destination namespace with a different name.
Export the registrations from the previous namespace.
Import the registrations into the new namespace in the desired region.
Overview
In some scenarios, you might need to move service resources between Azure regions for various business reasons. They might move to a newly available region, you might want to deploy features or services available only in a specific region, move due to internal policy or compliance requirements, or to solve capacity issues.
Azure Notification Hubs namespace names are unique, and registrations are per hub, so to perform such a move, you must create a new hub in the desired region, then move the registrations along with all other relevant data to the newly created namespace.
Create a Notification Hubs namespace with a different name
Follow these steps to create a new Notification Hubs namespace. Fill in all the required information in the Basics tab, including the desired destination region for the namespace.
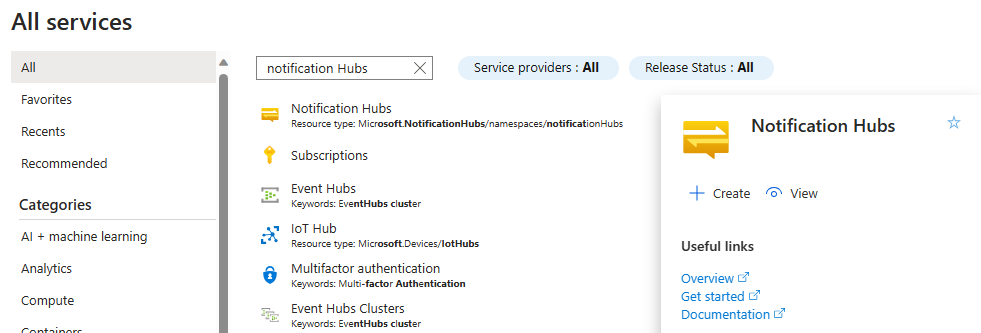
Type Notification Hubs in the Filter services text box. Select the star icon next to the service name to add the service to the FAVORITES section on the left menu. Select Notification Hubs.
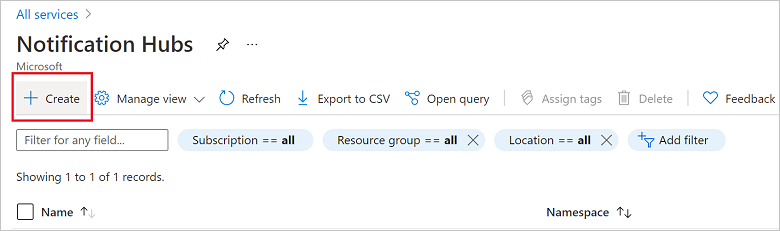
On the Notification Hubs page, select Create on the toolbar.
In the Basics tab on the Notification Hub page, do the following steps:
In Subscription, select the name of the Azure subscription you want to use, and then select an existing resource group, or create a new one.
Enter a unique name for the new namespace in Namespace Details.
A namespace contains one or more notification hubs, so type a name for the hub in Notification Hub Details.
Select a value from the Location drop-down list box. This value specifies the location in which you want to create the hub.
Review the Availability Zones option. If you chose a region that has availability zones, the check box is selected by default. Availability Zones is a paid feature, so an additional fee is added to your tier.
Choose a Disaster recovery option: None, Paired recovery region, or Flexible recovery region. If you choose Paired recovery region, the failover region is displayed. If you select Flexible recovery region, use the drop-down to choose from a list of recovery regions.
Select Create.
When the deployment is complete select Go to resource.
Once the new namespace has been created, ensure that you set the PNS credentials in the new namespace and create equivalent policies in the new namespace.