Create an Azure Red Hat OpenShift 4 private cluster
In this article, you'll prepare your environment to create Azure Red Hat OpenShift private clusters running OpenShift 4. You'll learn how to:
- Setup the prerequisites and create the required virtual network and subnets
- Deploy a cluster with a private API server endpoint and a private ingress controller
If you choose to install and use the CLI locally, this tutorial requires that you're running the Azure CLI version 2.30.0 or later. Run az --version to find the version. If you need to install or upgrade, see Install Azure CLI.
Before you begin
Register the resource providers
If you have multiple Azure subscriptions, specify the relevant subscription ID:
az account set --subscription <SUBSCRIPTION ID>Register the
Microsoft.RedHatOpenShiftresource provider:az provider register -n Microsoft.RedHatOpenShift --waitRegister the
Microsoft.Computeresource provider (if you haven't already):az provider register -n Microsoft.Compute --waitRegister the
Microsoft.Networkresource provider (if you haven't already):az provider register -n Microsoft.Network --waitRegister the
Microsoft.Storageresource provider (if you haven't already):az provider register -n Microsoft.Storage --wait
Get a Red Hat pull secret (optional)
A Red Hat pull secret enables your cluster to access Red Hat container registries along with other content. This step is optional but recommended.
Go to your Red Hat OpenShift cluster manager portal and log in.
Sign in to your Red Hat account or create a new Red Hat account with your business email and accept the terms and conditions.
Click Download pull secret.
Keep the saved pull-secret.txt file somewhere safe - it's used in each cluster creation.
When running the az aro create command, you can reference your pull secret using the --pull-secret @pull-secret.txt parameter. Execute az aro create from the directory where you stored your pull-secret.txt file. Otherwise, replace @pull-secret.txt with @<path-to-my-pull-secret-file.
If you're copying your pull secret or referencing it in other scripts, your pull secret should be formatted as a valid JSON string.
Create a virtual network containing two empty subnets
Next, create a virtual network containing two empty subnets.
Set the following variables.
LOCATION=eastus                 # the location of your cluster
RESOURCEGROUP="v4-$LOCATION"    # the name of the resource group where you want to create your cluster
CLUSTER=aro-cluster             # the name of your cluster
Create a resource group
An Azure resource group is a logical group in which Azure resources are deployed and managed. When you create a resource group, you specify a location. This location is where resource group metadata is stored, it's also where your resources run in Azure if you don't specify another region during resource creation. Create a resource group using the [az group create][az-group-create] command.
az group create --name $RESOURCEGROUP --location $LOCATIONThe following example output shows the resource group created successfully:
{
"id": "/subscriptions/<guid>/resourceGroups/aro-rg",
"location": "eastus",
"managedBy": null,
"name": "aro-rg",
"properties": {
    "provisioningState": "Succeeded"
},
"tags": null
}
Create a virtual network.
Azure Red Hat OpenShift clusters running OpenShift 4 require a virtual network with two empty subnets, for the control and worker nodes.
Create a new virtual network in the same resource group you created earlier.
az network vnet create \
--resource-group $RESOURCEGROUP \
--name aro-vnet \
--address-prefixes 10.0.0.0/22
The following example output shows the virtual network created successfully:
{
"newVNet": {
    "addressSpace": {
    "addressPrefixes": [
        "10.0.0.0/22"
    ]
    },
    "id": "/subscriptions/<guid>/resourceGroups/aro-rg/providers/Microsoft.Network/virtualNetworks/aro-vnet",
    "location": "eastus",
    "name": "aro-vnet",
    "provisioningState": "Succeeded",
    "resourceGroup": "aro-rg",
    "type": "Microsoft.Network/virtualNetworks"
}
}
Add an empty subnet for the master nodes.
az network vnet subnet create \
--resource-group $RESOURCEGROUP \
--vnet-name aro-vnet \
--name master-subnet \
--address-prefixes 10.0.0.0/23 \
--service-endpoints Microsoft.ContainerRegistry
Add an empty subnet for the worker nodes.
az network vnet subnet create \
--resource-group $RESOURCEGROUP \
--vnet-name aro-vnet \
--name worker-subnet \
--address-prefixes 10.0.2.0/23 \
--service-endpoints Microsoft.ContainerRegistry
Disable subnet private endpoint policies on the master subnet. This is required to be able to connect and manage the cluster.
az network vnet subnet update \
--name master-subnet \
--resource-group $RESOURCEGROUP \
--vnet-name aro-vnet \
--disable-private-link-service-network-policies true
Create the cluster
Run the following command to create a cluster. Optionally, you can pass your Red Hat pull secret which enables your cluster to access Red Hat container registries along with other content.
Note
If you're copy/pasting commands and using one of the optional parameters, be sure delete the initial hashtags and the trailing comment text. As well, close the argument on the preceding line of the command with a trailing backslash.
az aro create \
  --resource-group $RESOURCEGROUP \
  --name $CLUSTER \
  --vnet aro-vnet \
  --master-subnet master-subnet \
  --worker-subnet worker-subnet \
  --apiserver-visibility Private \
  --ingress-visibility Private
  # --domain foo.example.com # [OPTIONAL] custom domain
  # --pull-secret @pull-secret.txt # [OPTIONAL]
The az aro create command normally takes about 35 minutes to create a cluster.
Note
When attempting to create a cluster, if you receive an error message saying that your resource quota has been exceeded, see Adding Quota to ARO account to learn how to proceed.
Important
If you choose to specify a custom domain, for example foo.example.com, the OpenShift console will be available at a URL such as https://console-openshift-console.apps.foo.example.com, instead of the built-in domain https://console-openshift-console.apps.<random>.<location>.aroapp.io.
By default OpenShift uses self-signed certificates for all of the routes created on *.apps.<random>.<location>.aroapp.io. If you choose Custom DNS, after connecting to the cluster, you'll need to follow the OpenShift documentation to configure a custom certificate for your ingress controller and custom certificate for your API server.
Create a private cluster without a public IP address
Typically, private clusters are created with a public IP address and load balancer, providing a means for outbound connectivity to other services. However, you can create a private cluster without a public IP address. This may be required in situations in which security or policy requirements prohibit the use of public IP addresses.
To create a private cluster without a public IP address, follow the procedure above, adding the parameter --outbound-type UserDefinedRouting to the aro create command, as in the following example:
az aro create \
  --resource-group $RESOURCEGROUP \
  --name $CLUSTER \
  --vnet aro-vnet \
  --master-subnet master-subnet \
  --worker-subnet worker-subnet \
  --apiserver-visibility Private \
  --ingress-visibility Private \
  --outbound-type UserDefinedRouting
Note
The UserDefinedRouting flag can only be used when creating clusters with --apiserver-visibility Private and --ingress-visibility Private parameters. Ensure you are using the latest Azure CLI. Clusters deployed with Azure CLI 2.52.0 and older will get deployed with public IPs.
This User Defined Routing option prevents a public IP address from being provisioned. User Defined Routing (UDR) allows you to create custom routes in Azure to override the default system routes or to add more routes to a subnet's route table. See Virtual network traffic routing to learn more.
Important
Be sure to specify the correct subnet with the properly configured routing table when creating your private cluster.
For egress, the User Defined Routing option ensures that the newly created cluster has the egress lockdown feature enabled to allow you to secure outbound traffic from your new private cluster. See Control egress traffic for your Azure Red Hat OpenShift (ARO) cluster to learn more.
Note
If you choose the User Defined Routing network type, you're completely responsible for managing the egress of your cluster's routing outside of your virtual network (for example, getting access to public internet). Azure Red Hat OpenShift cannot manage this for you.
You can configure one or more egress IP addresses to a namespace or to specific pods in a namespace of a private cluster with no public IP address. To do so, follow the procedure above to create a private cluster without a public IP address, and then configure the egress IP as per this Red Hat OpenShift document. These egress IP addresses need to be from the subnets associated with the ARO cluster.
Configuring an egress IP for an ARO private cluster is only supported for clusters with the --outbound-type UserDefinedRouting parameter. It isn't supported for public ARO clusters that have the --outbound-type LoadBalancer parameter.
Connect to the private cluster
You can log into the cluster using the kubeadmin user. Run the following command to find the password for the kubeadmin user.
az aro list-credentials \
  --name $CLUSTER \
  --resource-group $RESOURCEGROUP
The following example output shows the password in kubeadminPassword.
{
  "kubeadminPassword": "<generated password>",
  "kubeadminUsername": "kubeadmin"
}
You can find the cluster console URL by running the following command, which looks like https://console-openshift-console.apps.<random>.<region>.aroapp.io/
 az aro show \
    --name $CLUSTER \
    --resource-group $RESOURCEGROUP \
    --query "consoleProfile.url" -o tsv
Important
In order to connect to a private Azure Red Hat OpenShift cluster, you'll need to perform the following step from a host that is either in the Virtual Network you created or in a Virtual Network that is peered with the Virtual Network the cluster was deployed to.
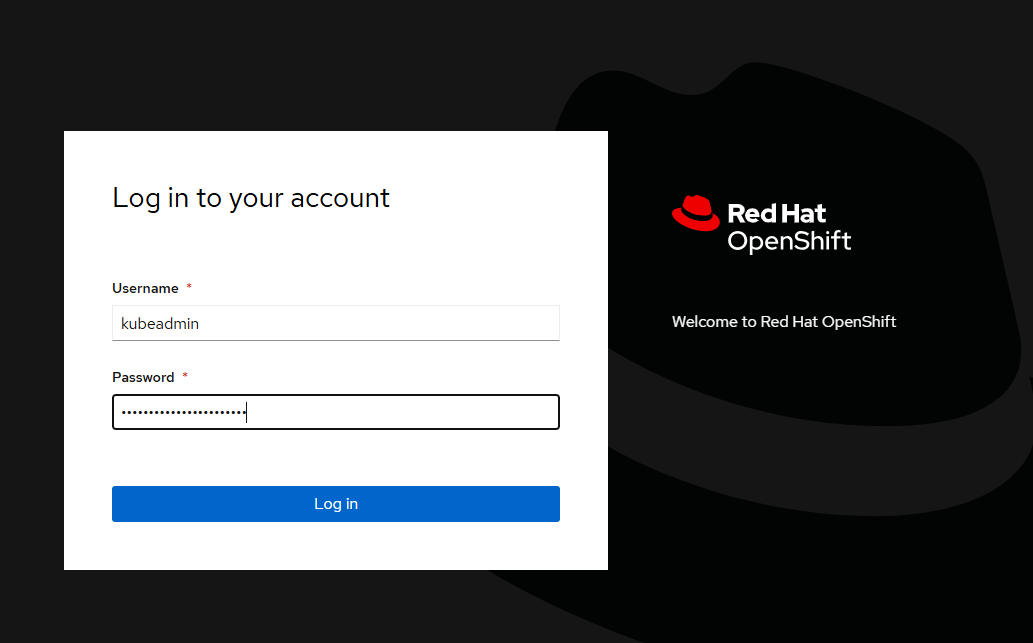
Launch the console URL in a browser and sign in using the kubeadmin credentials.
Install the OpenShift CLI
Once you're signed into the OpenShift Web Console, select the ? at the top right and then on Command Line Tools. Download the release appropriate to your machine.
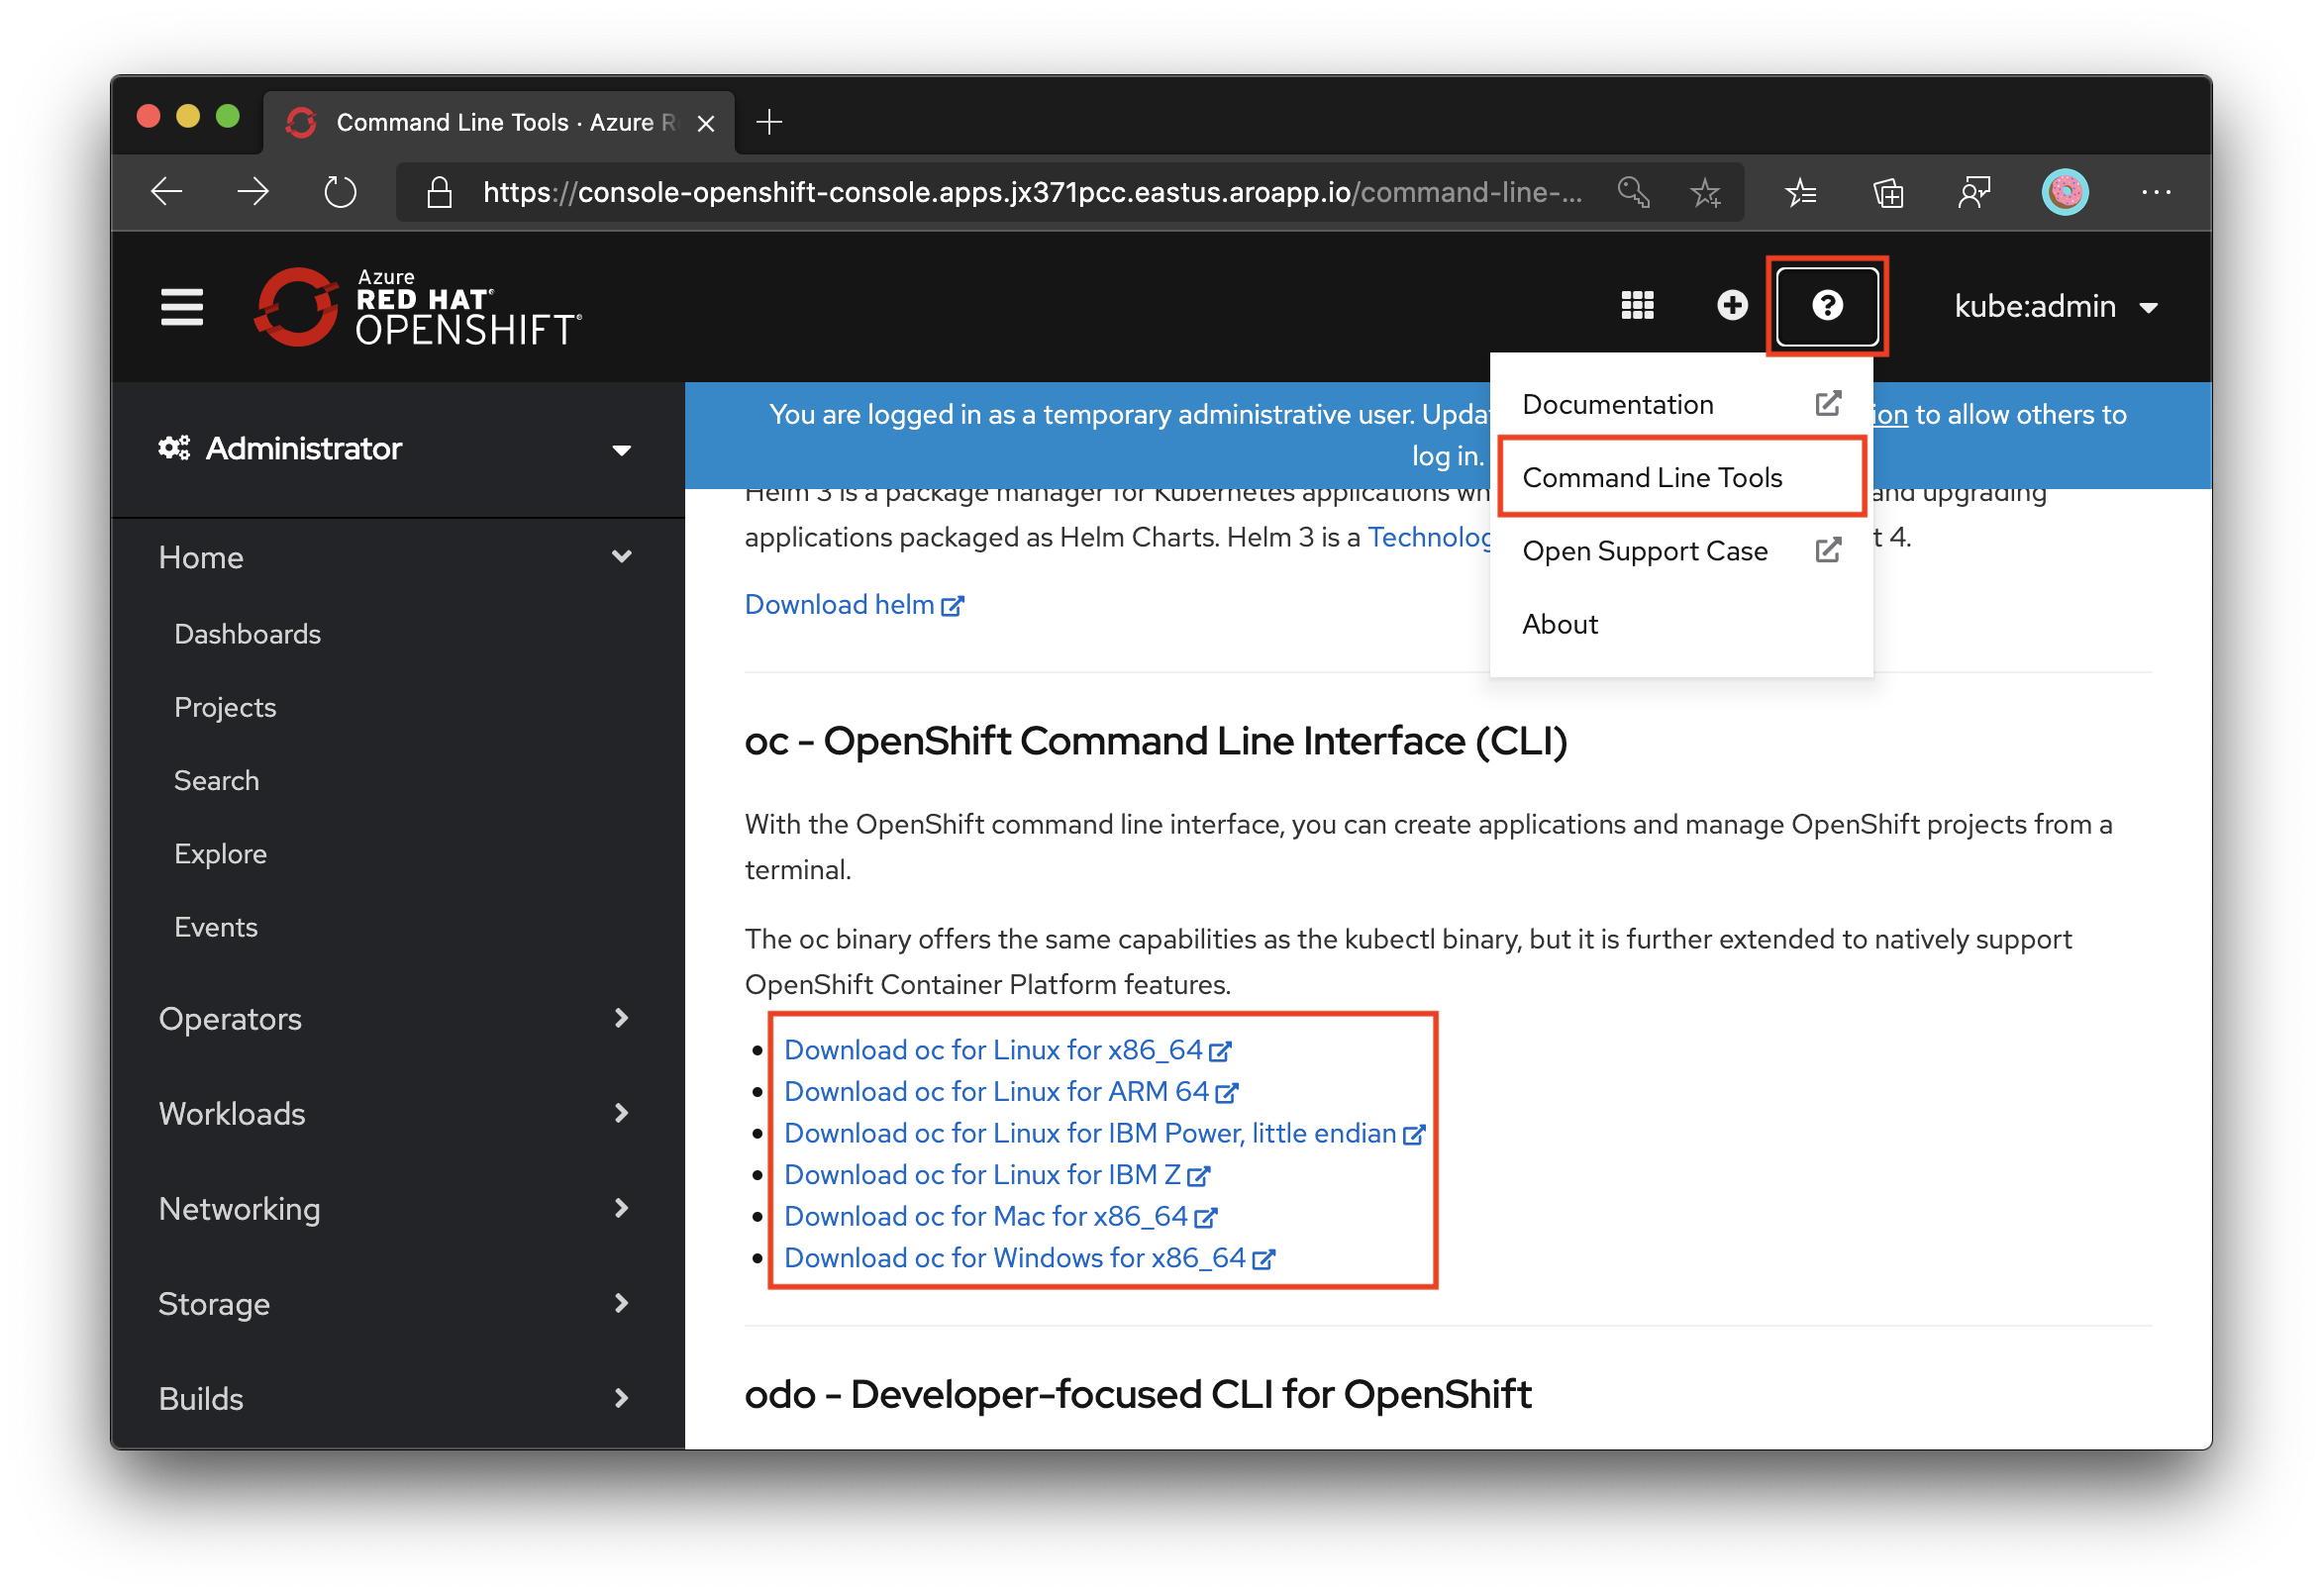
You can also download the latest release of the CLI appropriate to your machine.
Connect using the OpenShift CLI
Retrieve the API server's address.
apiServer=$(az aro show -g $RESOURCEGROUP -n $CLUSTER --query apiserverProfile.url -o tsv)
Important
In order to connect to a private Azure Red Hat OpenShift cluster, you'll need to perform the following step from a host that is either in the Virtual Network you created or in a Virtual Network that is peered with the Virtual Network the cluster was deployed to.
Sign in to the OpenShift cluster's API server using the following command. Replace <kubeadmin password> with the password you retrieved.
oc login $apiServer -u kubeadmin -p <kubeadmin password>
Next steps
In this article, an Azure Red Hat OpenShift cluster running OpenShift 4 was deployed. You learned how to:
- Setup the prerequisites and create the required virtual network and subnets
- Deploy a cluster
- Connect to the cluster using the
kubeadminuser
Advance to the next article to learn how to configure the cluster for authentication using Microsoft Entra ID.
Feedback
Coming soon: Throughout 2024 we will be phasing out GitHub Issues as the feedback mechanism for content and replacing it with a new feedback system. For more information see: https://aka.ms/ContentUserFeedback.
Submit and view feedback for