Note
Access to this page requires authorization. You can try signing in or changing directories.
Access to this page requires authorization. You can try changing directories.
This article provides step-by-step instructions to create a read replica of an Azure Database for PostgreSQL flexible server instance.
Note
When deploying read replicas for persistent heavy write-intensive primary workloads, the replication lag could continue to grow and might never catch up with the primary. It might also increase storage usage at the primary as the WAL files are only deleted once received at the replica.
Important
Review the considerations section in the overview article of read replicas.
Before changing the values of the following server parameters on the primary server, change them on the read replicas first. In doing so, you avoid issues during promotion of a read replica to primary: max_connections, max_prepared_transactions, max_locks_per_transaction, max_wal_senders, max_worker_processes.
Before setting up a read replica for your Azure Database for PostgreSQL flexible server instance, ensure the primary server is configured to meet the necessary prerequisites. Specific settings on the primary server can affect the ability to create replicas.
Storage autogrow: Storage autogrow settings on the primary server and its read replicas must adhere to specific guidelines to ensure consistency and prevent replication disruptions. Refer to the Storage autogrow for detailed rules and settings.
Storage type: Read replicas can only be created on servers that are configured to use Premium SSD storage type. If your workload requires read replicas, make sure that the primary server is created with that storage type.
Steps to create a read replica
Using the Azure portal:
Select the Azure Database for PostgreSQL flexible server instance that you want to use as the primary server.
In the resource menu, under the Settings section, select Replication.

In the Servers section, select Create replica.
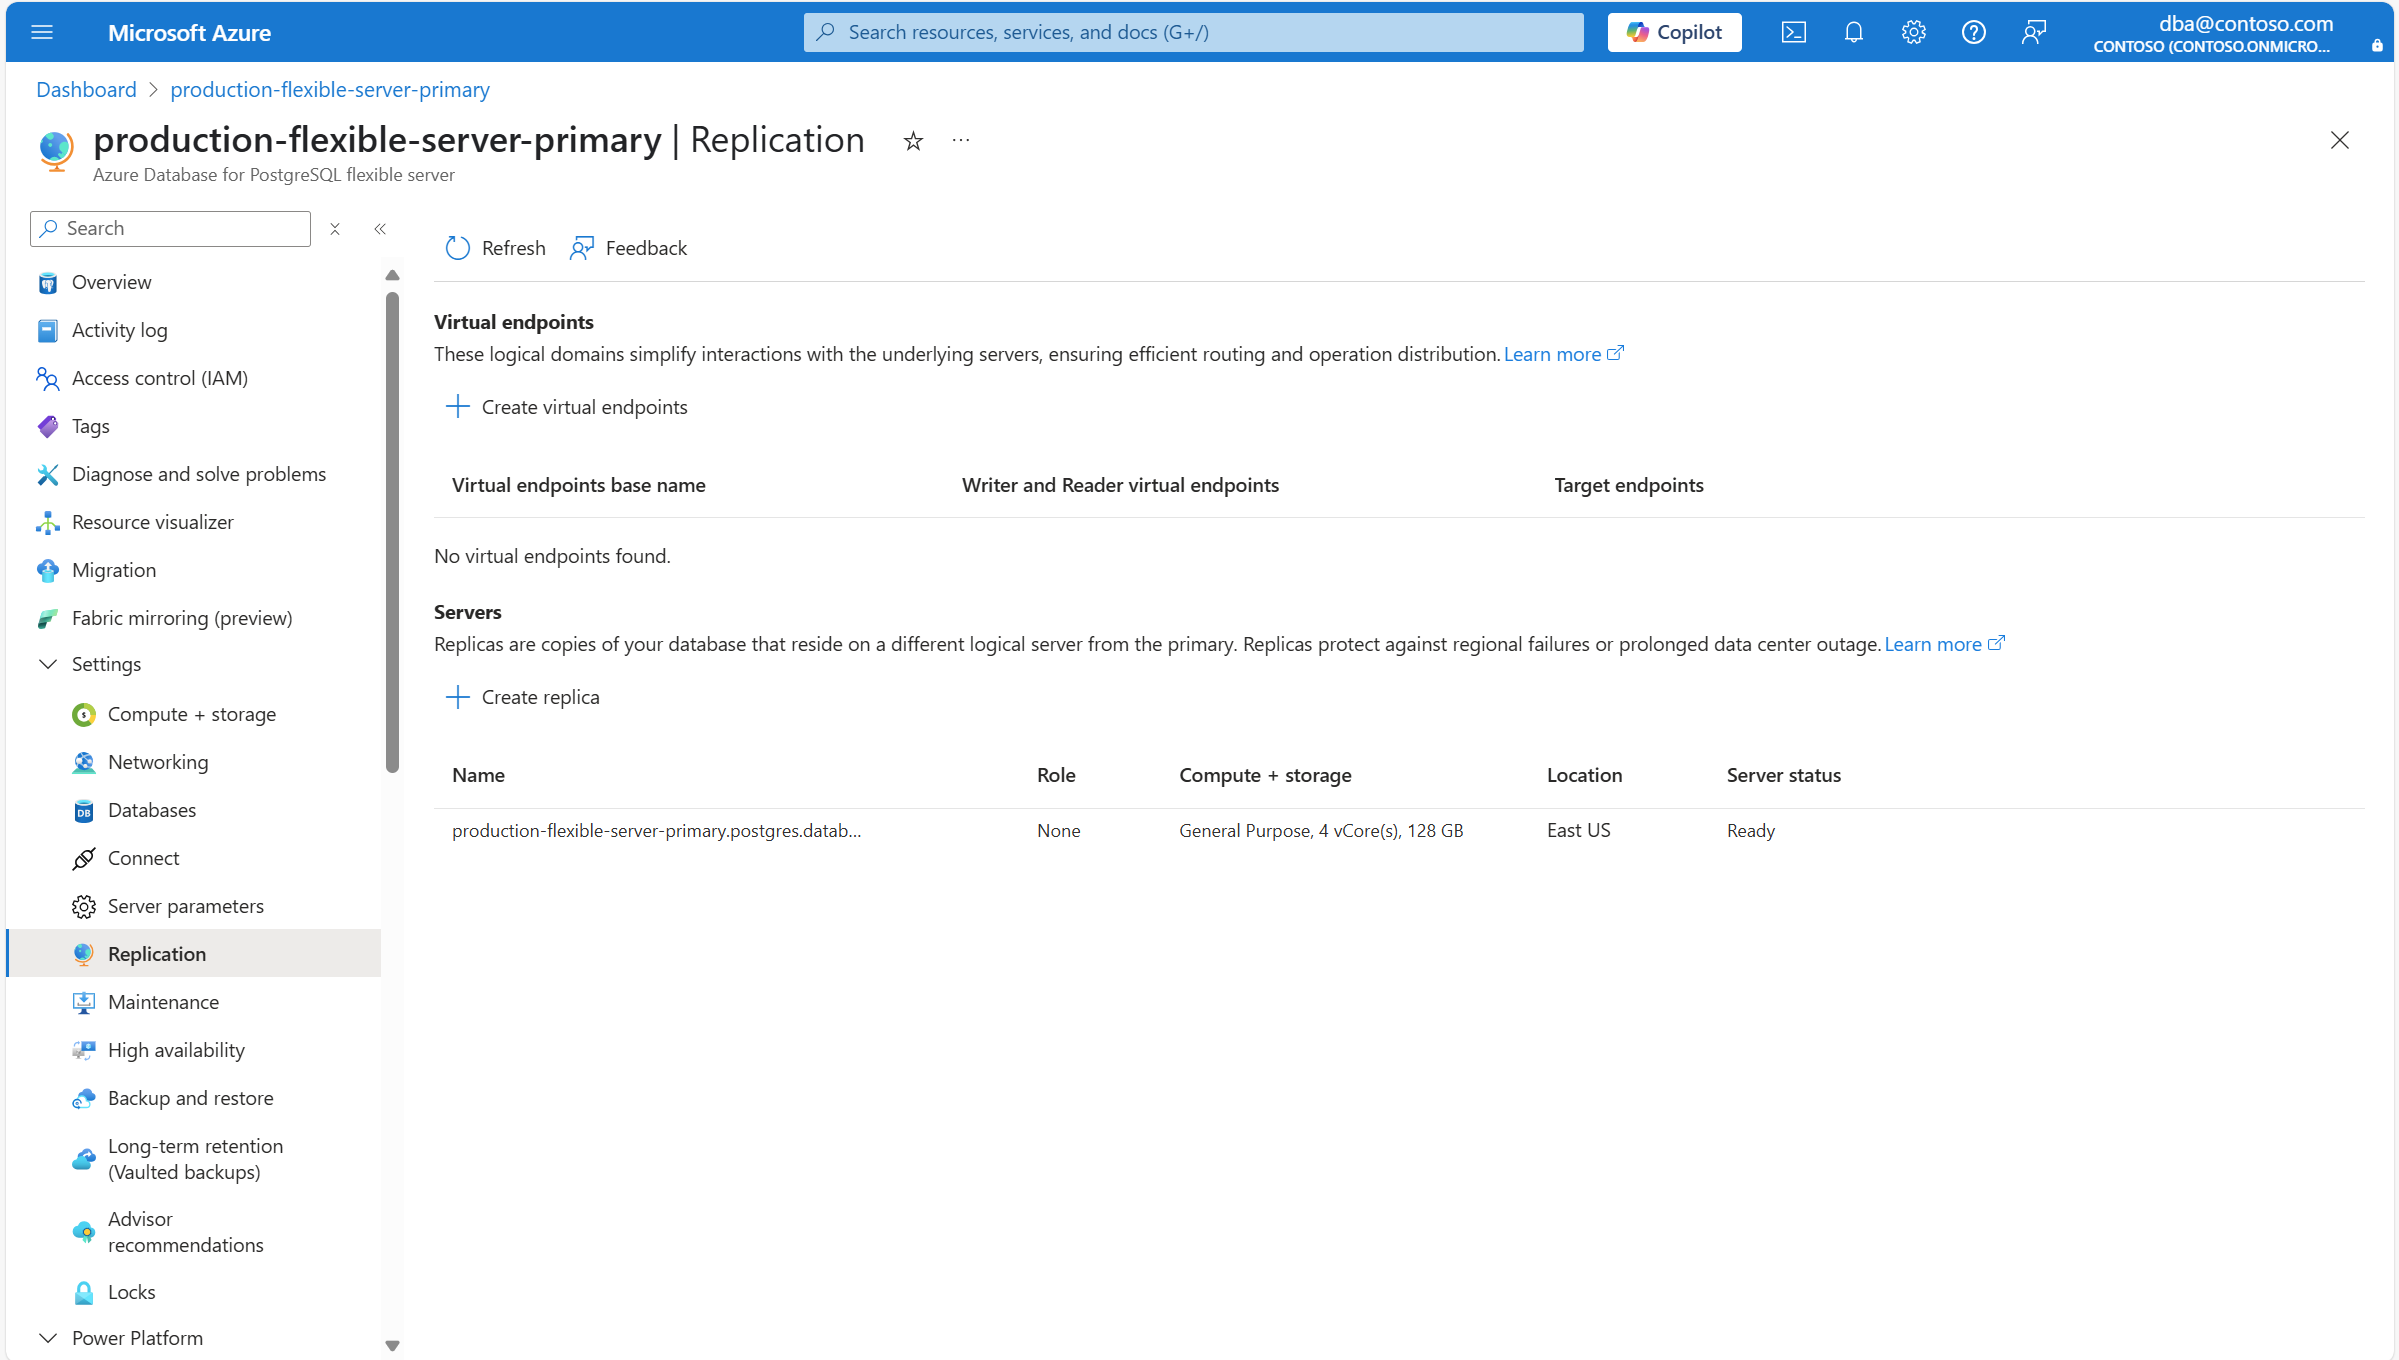
You're redirected to the Add read replica to Azure Database for PostgreSQL wizard, from where you can configure some settings for the new read replica that is created.
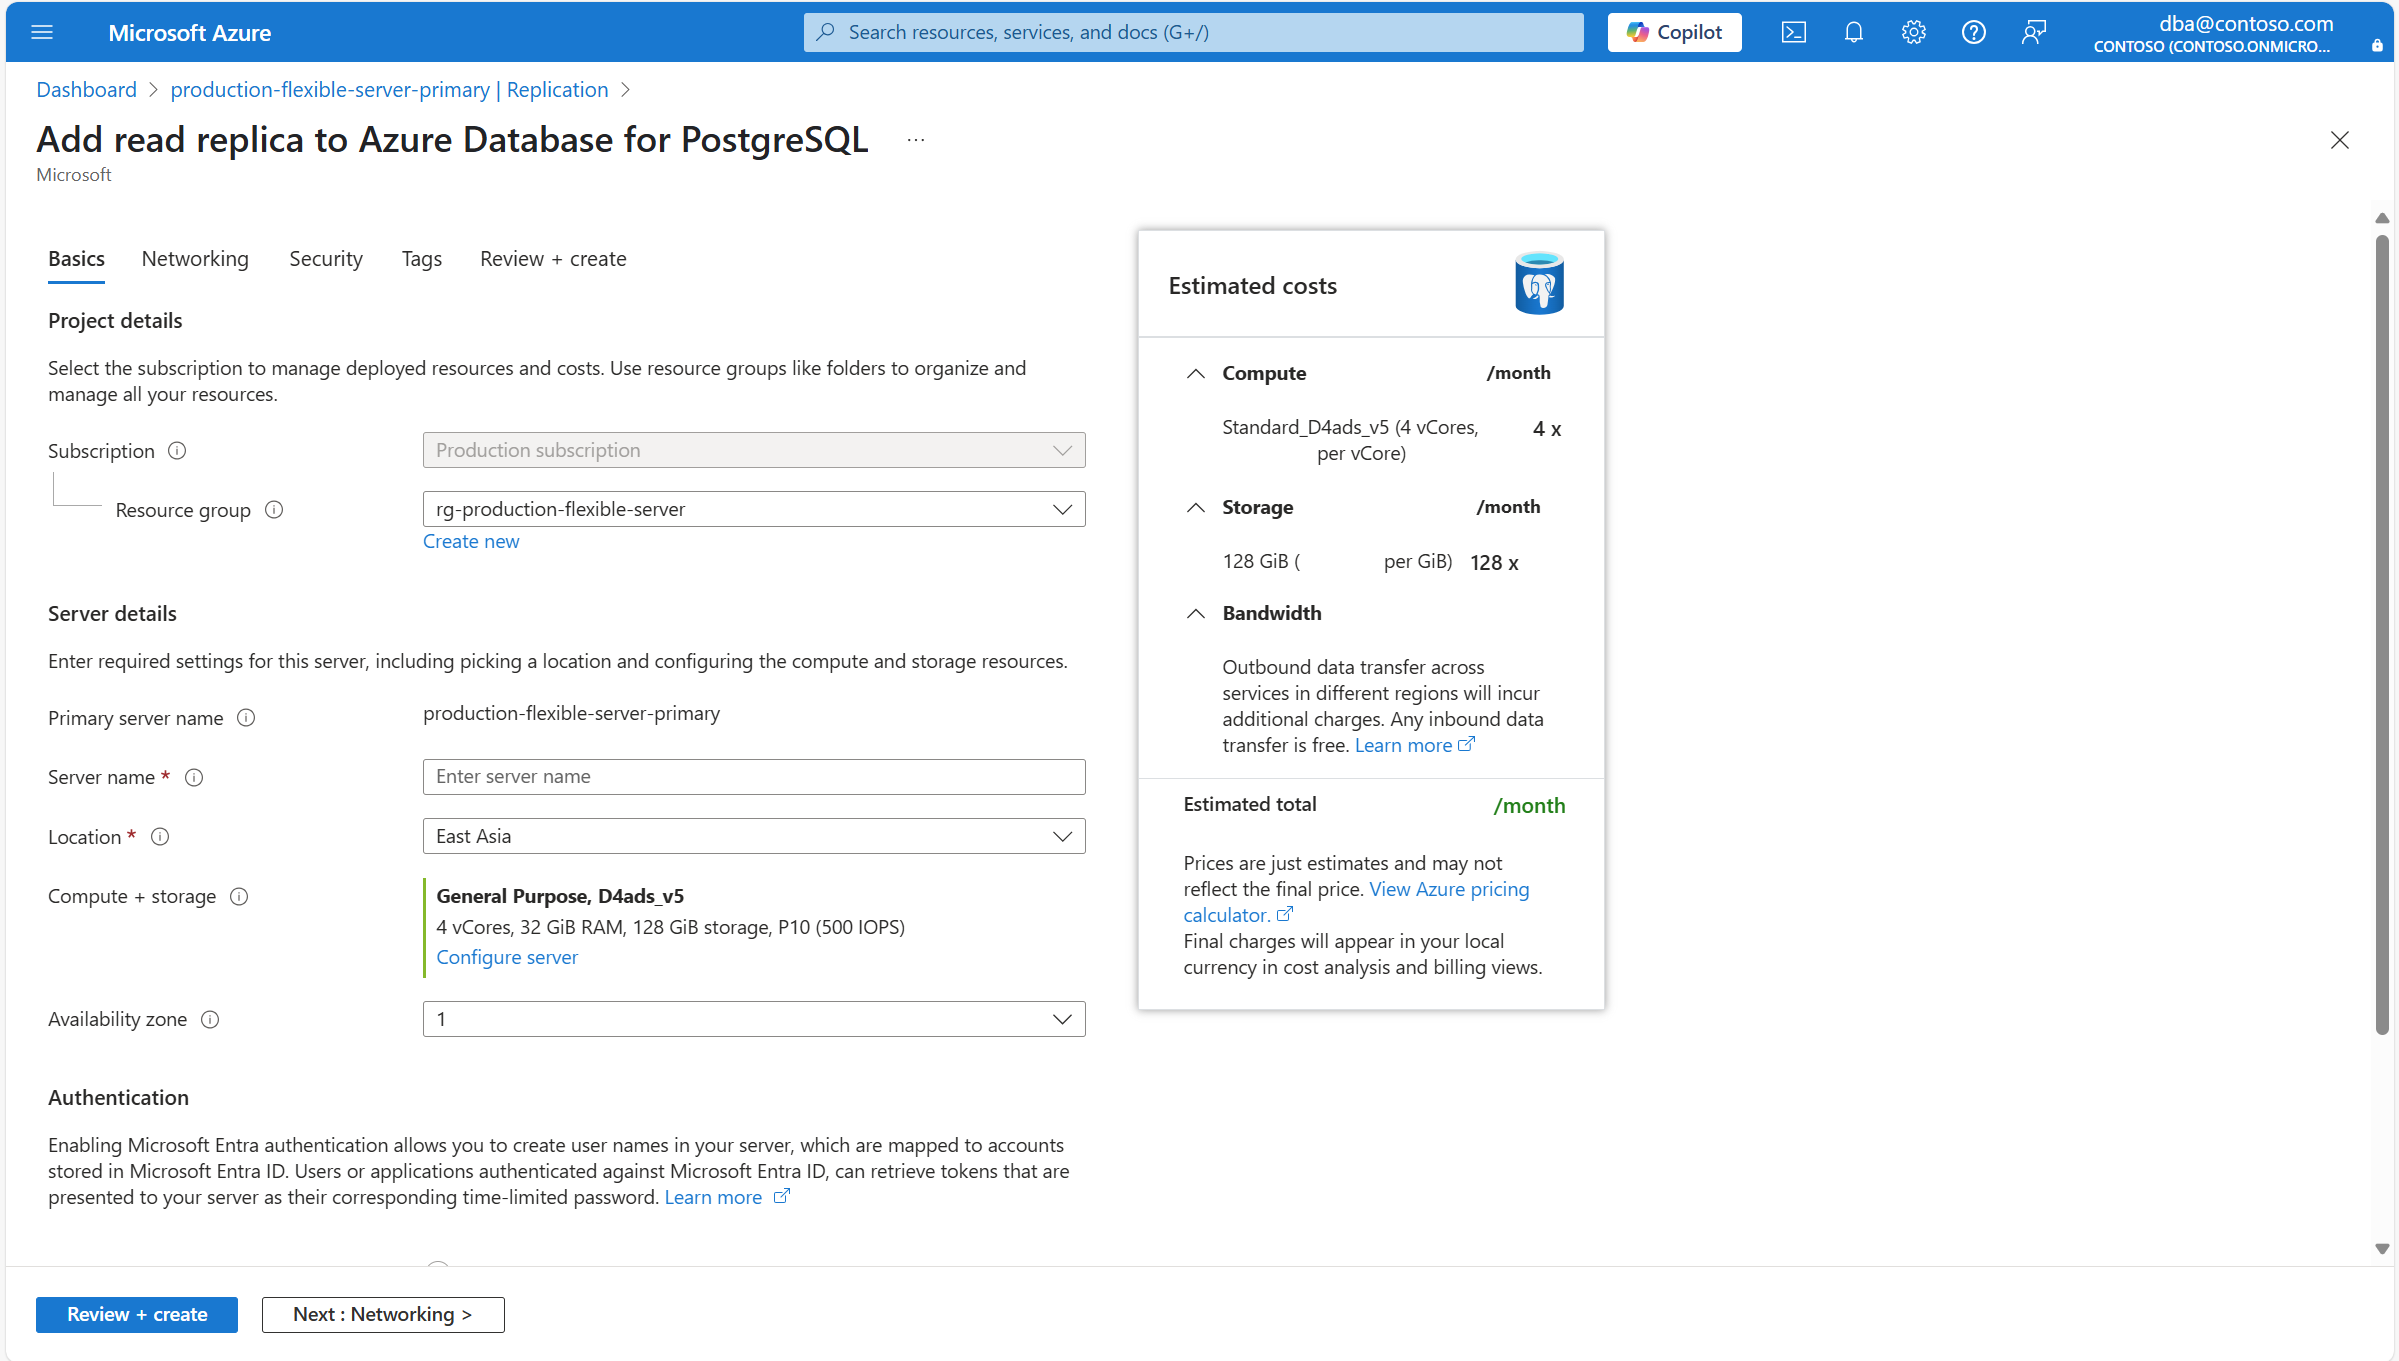
Use the following table to understand the meaning of the different fields available in the Basics page, and as guidance to fill the page.
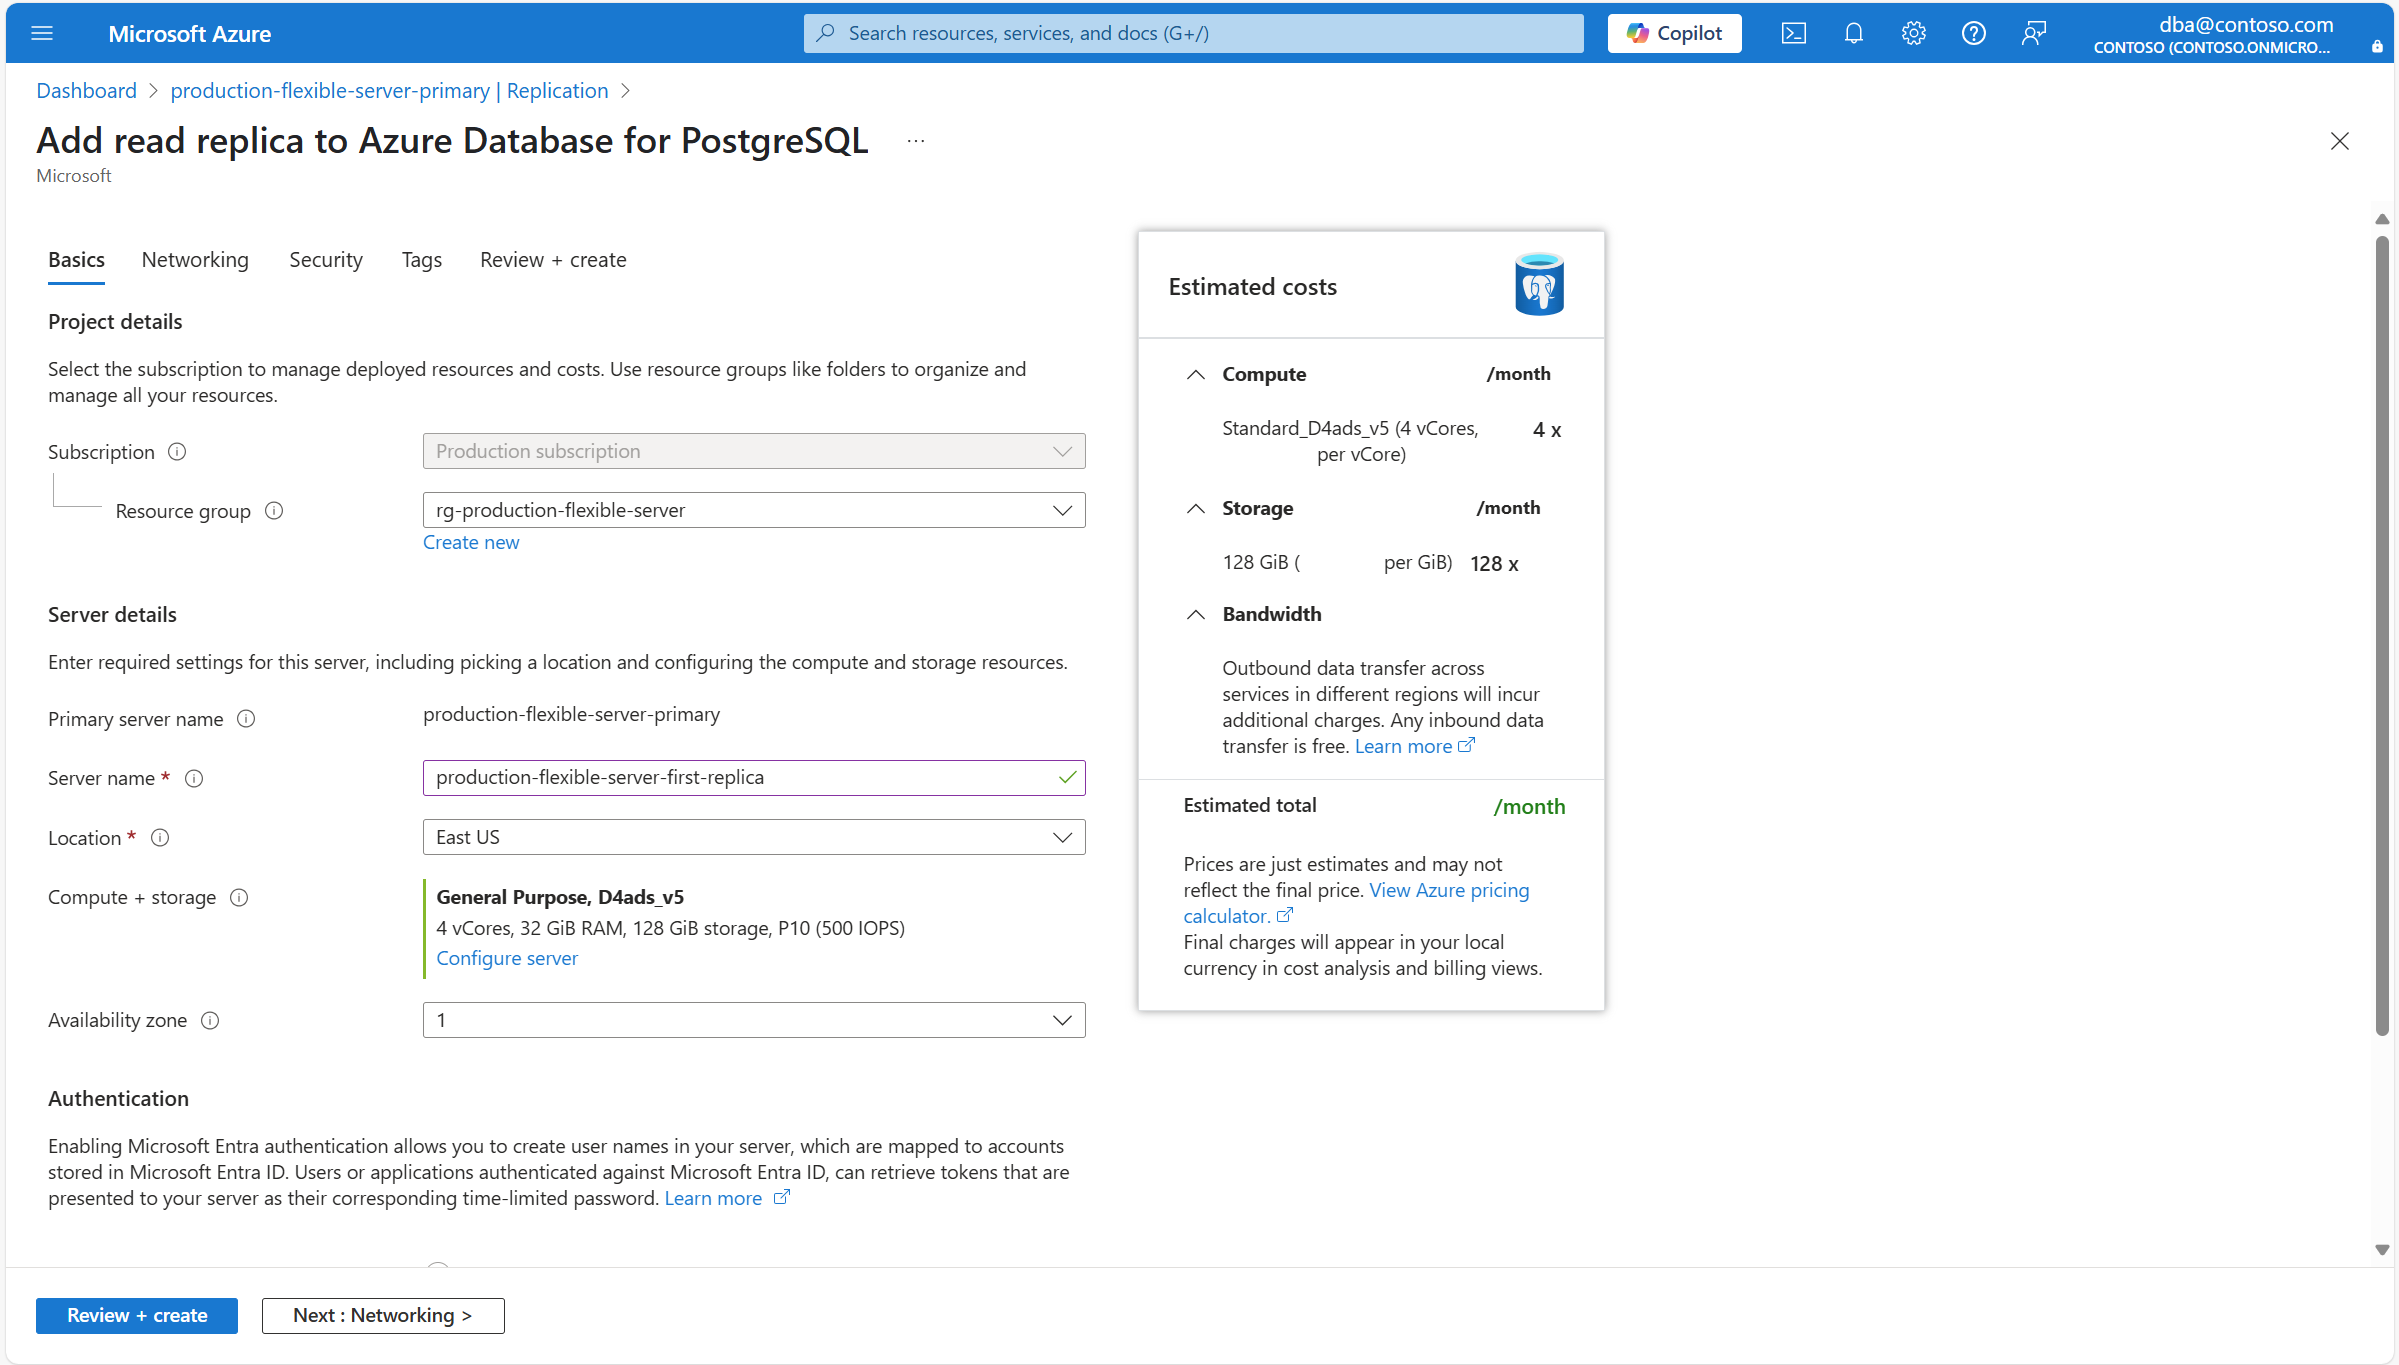
Section Setting Suggested value Description Can be changed after instance creation Project details Subscription The name of the subscription in which you want to create the resource. A subscription is an agreement with Microsoft to use one or more Microsoft cloud platforms or services, for which charges accrue based on either a per-user license fee or on cloud-based resource consumption. An existing Azure Database for PostgreSQL flexible server instance can be moved to a different subscription from the one it was originally created. For more information, see Move Azure resources to a new resource group or subscription. Resource group The resource group in the selected subscription, in which you want to create the resource. It can be an existing resource group, or you can select Create new, and provide a name in that subscription which is unique among the existing resource group names. A resource group is a container that holds related resources for an Azure solution. The resource group can include all the resources for the solution, or only those resources that you want to manage as a group. You decide how you want to allocate resources to resource groups based on what makes the most sense for your organization. Generally, add resources that share the same lifecycle to the same resource group so you can easily deploy, update, and delete them as a group An existing Azure Database for PostgreSQL flexible server instance can be moved to a different subscription from the one it was originally created. For more information, see Move Azure resources to a new resource group or subscription. Server details Primary server name The name of the primary server for which you're trying to create a read replica. A unique name that identifies your Azure Database for PostgreSQL flexible server instance. The domain name postgres.database.azure.comis appended to the server name you provide, to conform the fully qualified host name by which you can use a Domain Naming System server to resolve the IP address of your instance.Server name The name that you want to assign to the new read replica. A unique name that identifies your Azure Database for PostgreSQL flexible server instance. The domain name postgres.database.azure.comis appended to the server name you provide, to conform the fully qualified host name by which you can use a Domain Naming System server to resolve the IP address of your instance.Although the server name can't be changed after server creation, you can use the point in time recovery feature, to restore the server under a different name. An alternative approach to continue using the existing server, but being able to refer to it using a different server name, would use the virtual endpoints to create a writer endpoint with the new desired name. With this approach, you could refer to the instance by its original name, or that assigned to the write virtual endpoint. Location The name of one of the regions in which the service is supported. Point in time restore only supports the deployment of the new server in the same region in which the source server exists. Compliance, data residency, pricing, proximity to your users, or availability of other services in the same region, are some of the requirements you should use when choosing the region. The service doesn't offer a feature to automatically and transparently relocate an instance to a different region. Compute + storage Assigns the same type and size of compute and same size of storage, as the ones used by the source server at the time the backup is restored. However, if you select the Configure server link, you can change the type of storage allocated to the new server, and whether or not it should be provisioned with geo-redundant backups. After the new server is deployed, its compute options can be scaled up or down. Availability zone Your preferred availability zone. You can choose in which availability zone you want your server to be deployed. Being able to choose the availability zone in which your instance is deployed, is useful to colocate it with your application. If you choose No preference, a default availability zone is automatically assigned to your instance during its creation. Although the availability zone in which an instance is deployed can't be changed after its creation, you can use the point in time recovery feature to restore the server under a different name on a different availability zone. Authentication These settings are informational only. All settings related to authentication used by the read replica are inherited from the primary server. Can be changed on the primary server and would the primary server and all existing read replicas. If you want to change the compute tier, processor or size automatically assigned to the new server, or if you want to change some of the storage settings of the read replica, select Configure server.

The Compute + storage opens to show compute and storage options for the new server.

Use the following table to understand the meaning of the different fields available in the Compute + storage page, and as guidance to fill the page.
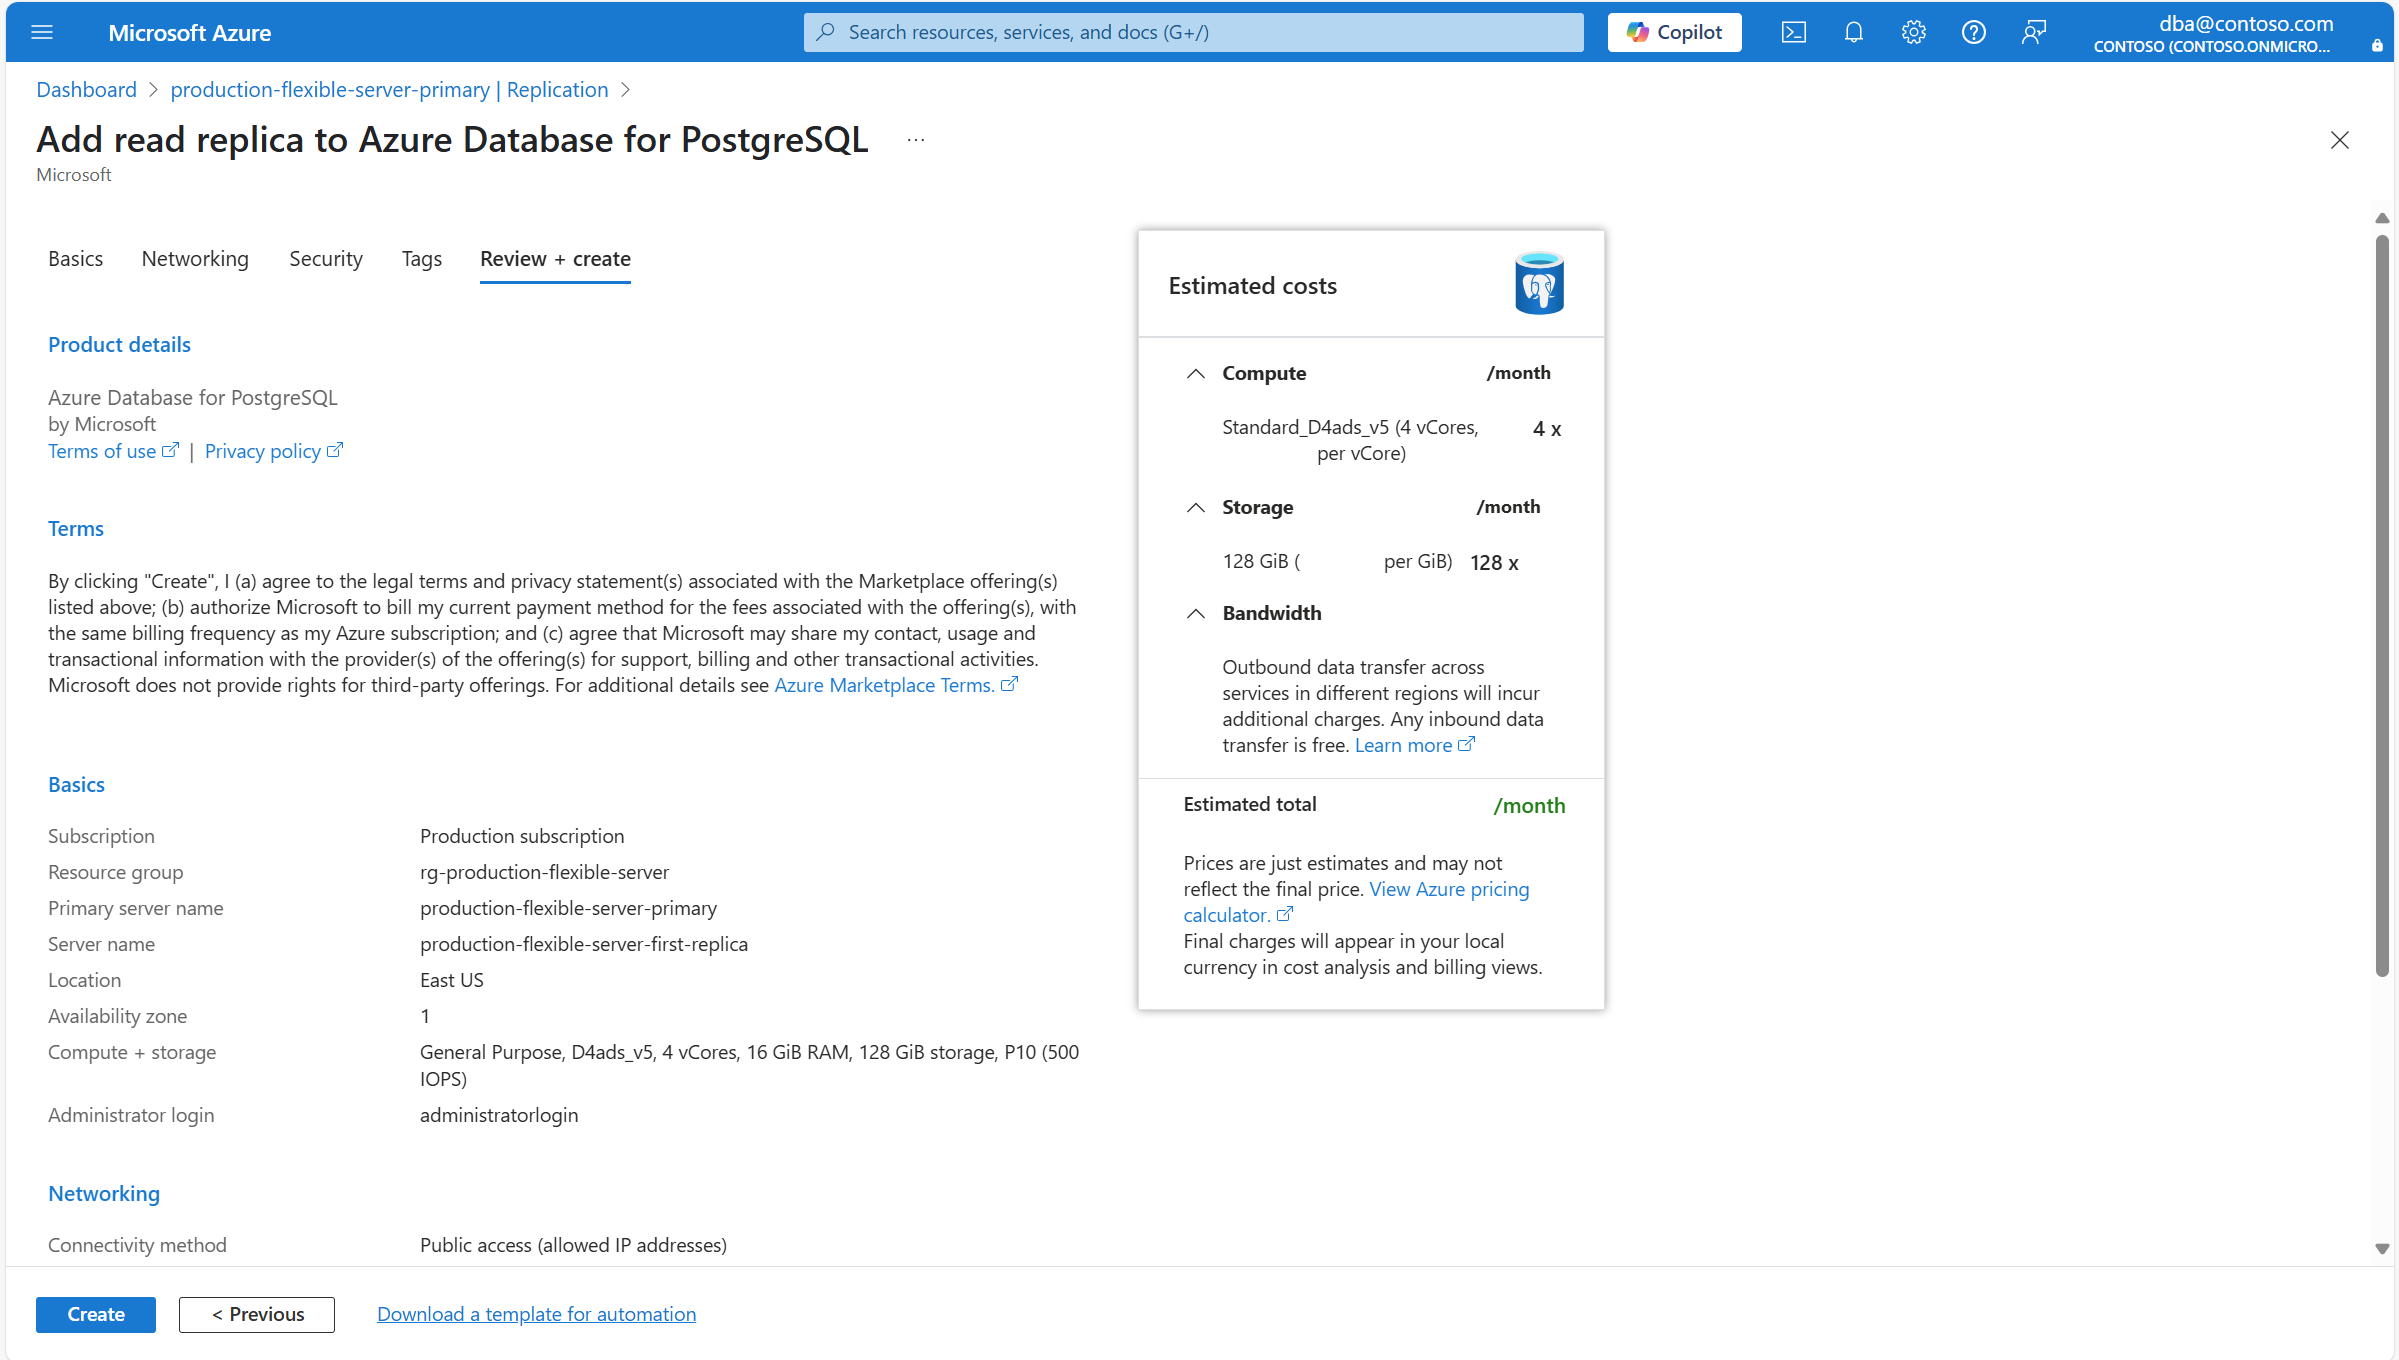
Section Setting Suggested value Description Can be changed after read replica creation Compute Compute tier By default, it's automatically set to the same tier assigned to the primary server. However, you can set it to any other compute tier on which read replicas are supported. Possible values are General Purpose (typically used for production environments with most common workloads), and Memory Optimized (typically used for production environments running workloads that require a high memory to CPU ratio). For more information, see Compute options in Azure Database for PostgreSQL. Can be changed after the read replica is created. However, if you're using some functionality which is only supported on certain tiers and change the current tier to one in which the feature isn't supported, the feature stops being available or gets disabled. Compute size By default, it's automatically set to the same compute size assigned to the primary server. However, you can set it to any other compute size on, as long as it has the same or a higher number of vCores as the primary server. Notice that the list of supported values might vary across regions, depending on the hardware available on each region. For more information, see Compute options in Azure Database for PostgreSQL. Can be changed after read replica is created. Storage Storage type Leave it as is configured Premium SSD. Setting the type of storage to a value different than that of the primary server isn't supported. The wizard automatically sets this property to match the type of storage assigned to the primary server. Can't be changed after the read replica is created. Storage size By default, it's set to the same value as the storage size of the primary server. However, it can be set to any higher value. Can be changed after the read replica instance is created. It can only be increased. Manual or automatic shrinking of storage isn't supported. Performance tier By default, it's automatically set to the same value as the primary server. However, it can be changed to a different value. Performance of Premium solid-state drives (SSD) is set when you create the disk, in the form of their performance tier. When setting the provisioned size of the disk, a performance tier is automatically selected. This performance tier determines the IOPS and throughput of your managed disk. For Premium SSD disks, this tier can be changed at deployment or afterwards, without changing the size of the disk, and without downtime. Changing the tier allows you to prepare for and meet higher demand without using your disk's bursting capability. It can be more cost-effective to change your performance tier rather than rely on bursting, depending on how long the extra performance is necessary. This is ideal for events that temporarily require a consistently higher level of performance. Events like holiday shopping, performance testing, or running a training environment. To handle these events, you can switch a disk to a higher performance tier without downtime, for as long as you need the extra performance. You can then return to the original tier without downtime when the extra performance is no longer necessary. Can be changed after the instance is created. Storage autogrow Can't be changed and is automatically set to the same value as the source server. Notice that this option might not be supported for some storage types, and it might not be honored for certain storage sizes. For more information, see Configure storage autogrow. Can be changed after the instance is created, as long as the storage type supports this feature. Continue to the Networking, Security, or Tags tabs, if you need to change any of the settings which are allowed to differ from the primary server. Once all the new replica is configured to your needs, select Review + create.
Review that all configurations for the new deployment are correctly set, and select Create.
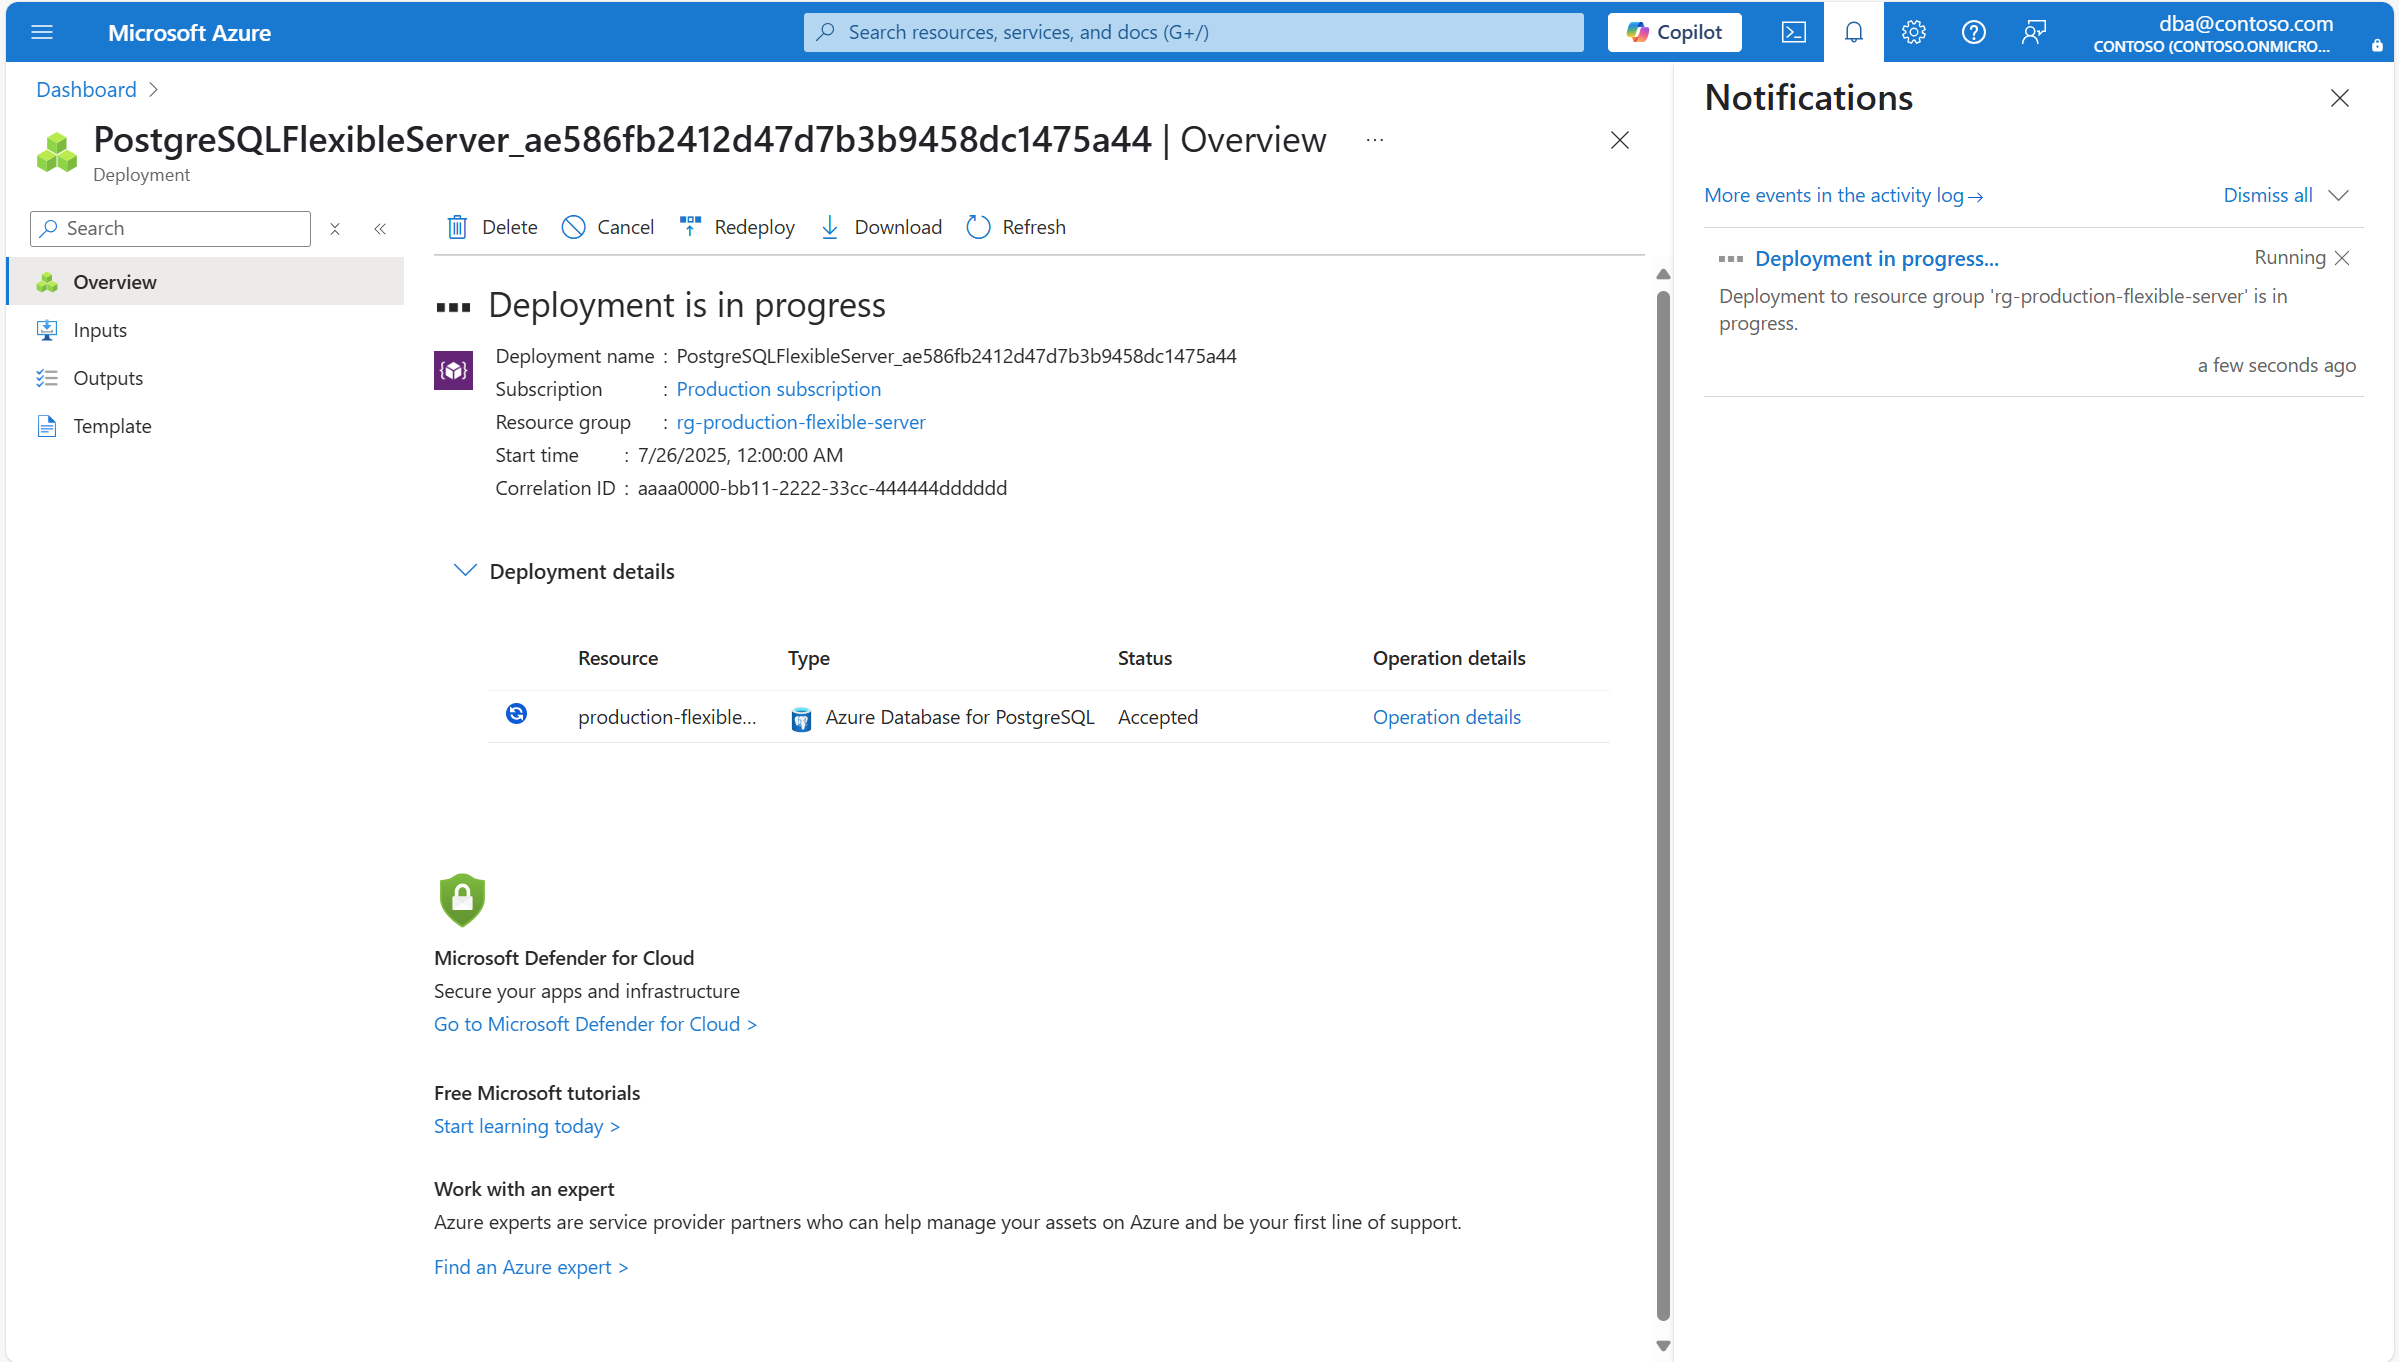
A new deployment is launched to create your new Azure Database for PostgreSQL flexible server instance and make it a read replica of the primary server.
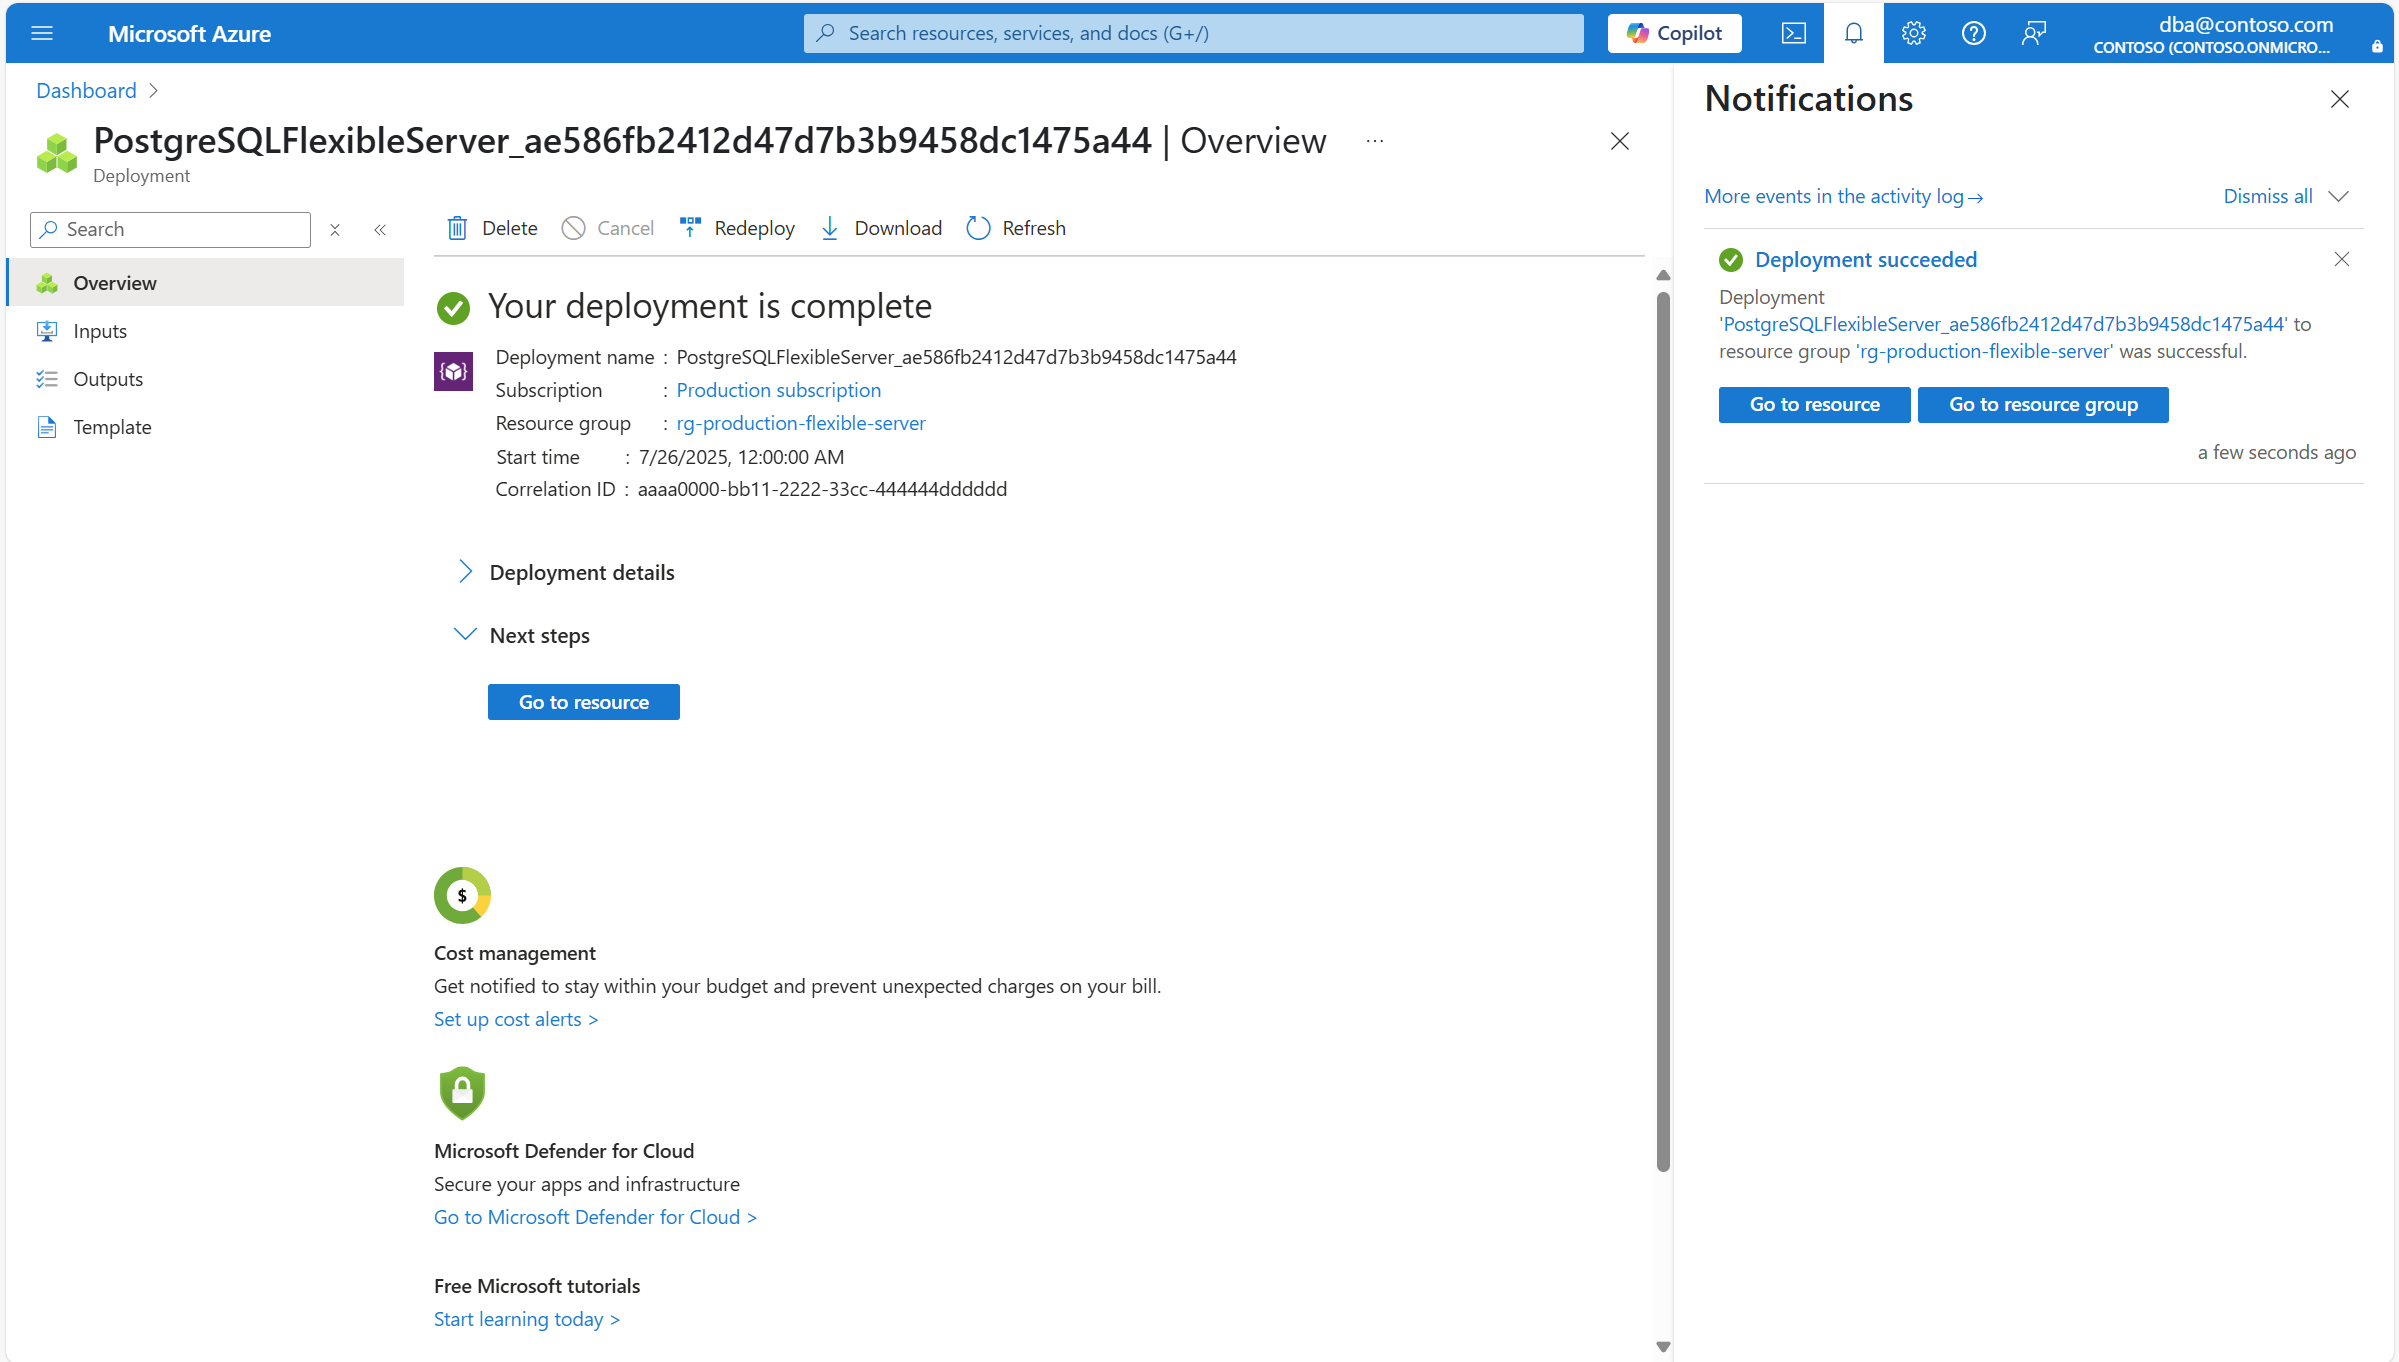
When the deployment completes, you can select Go to resource, to start using your new Azure Database for PostgreSQL flexible server instance.
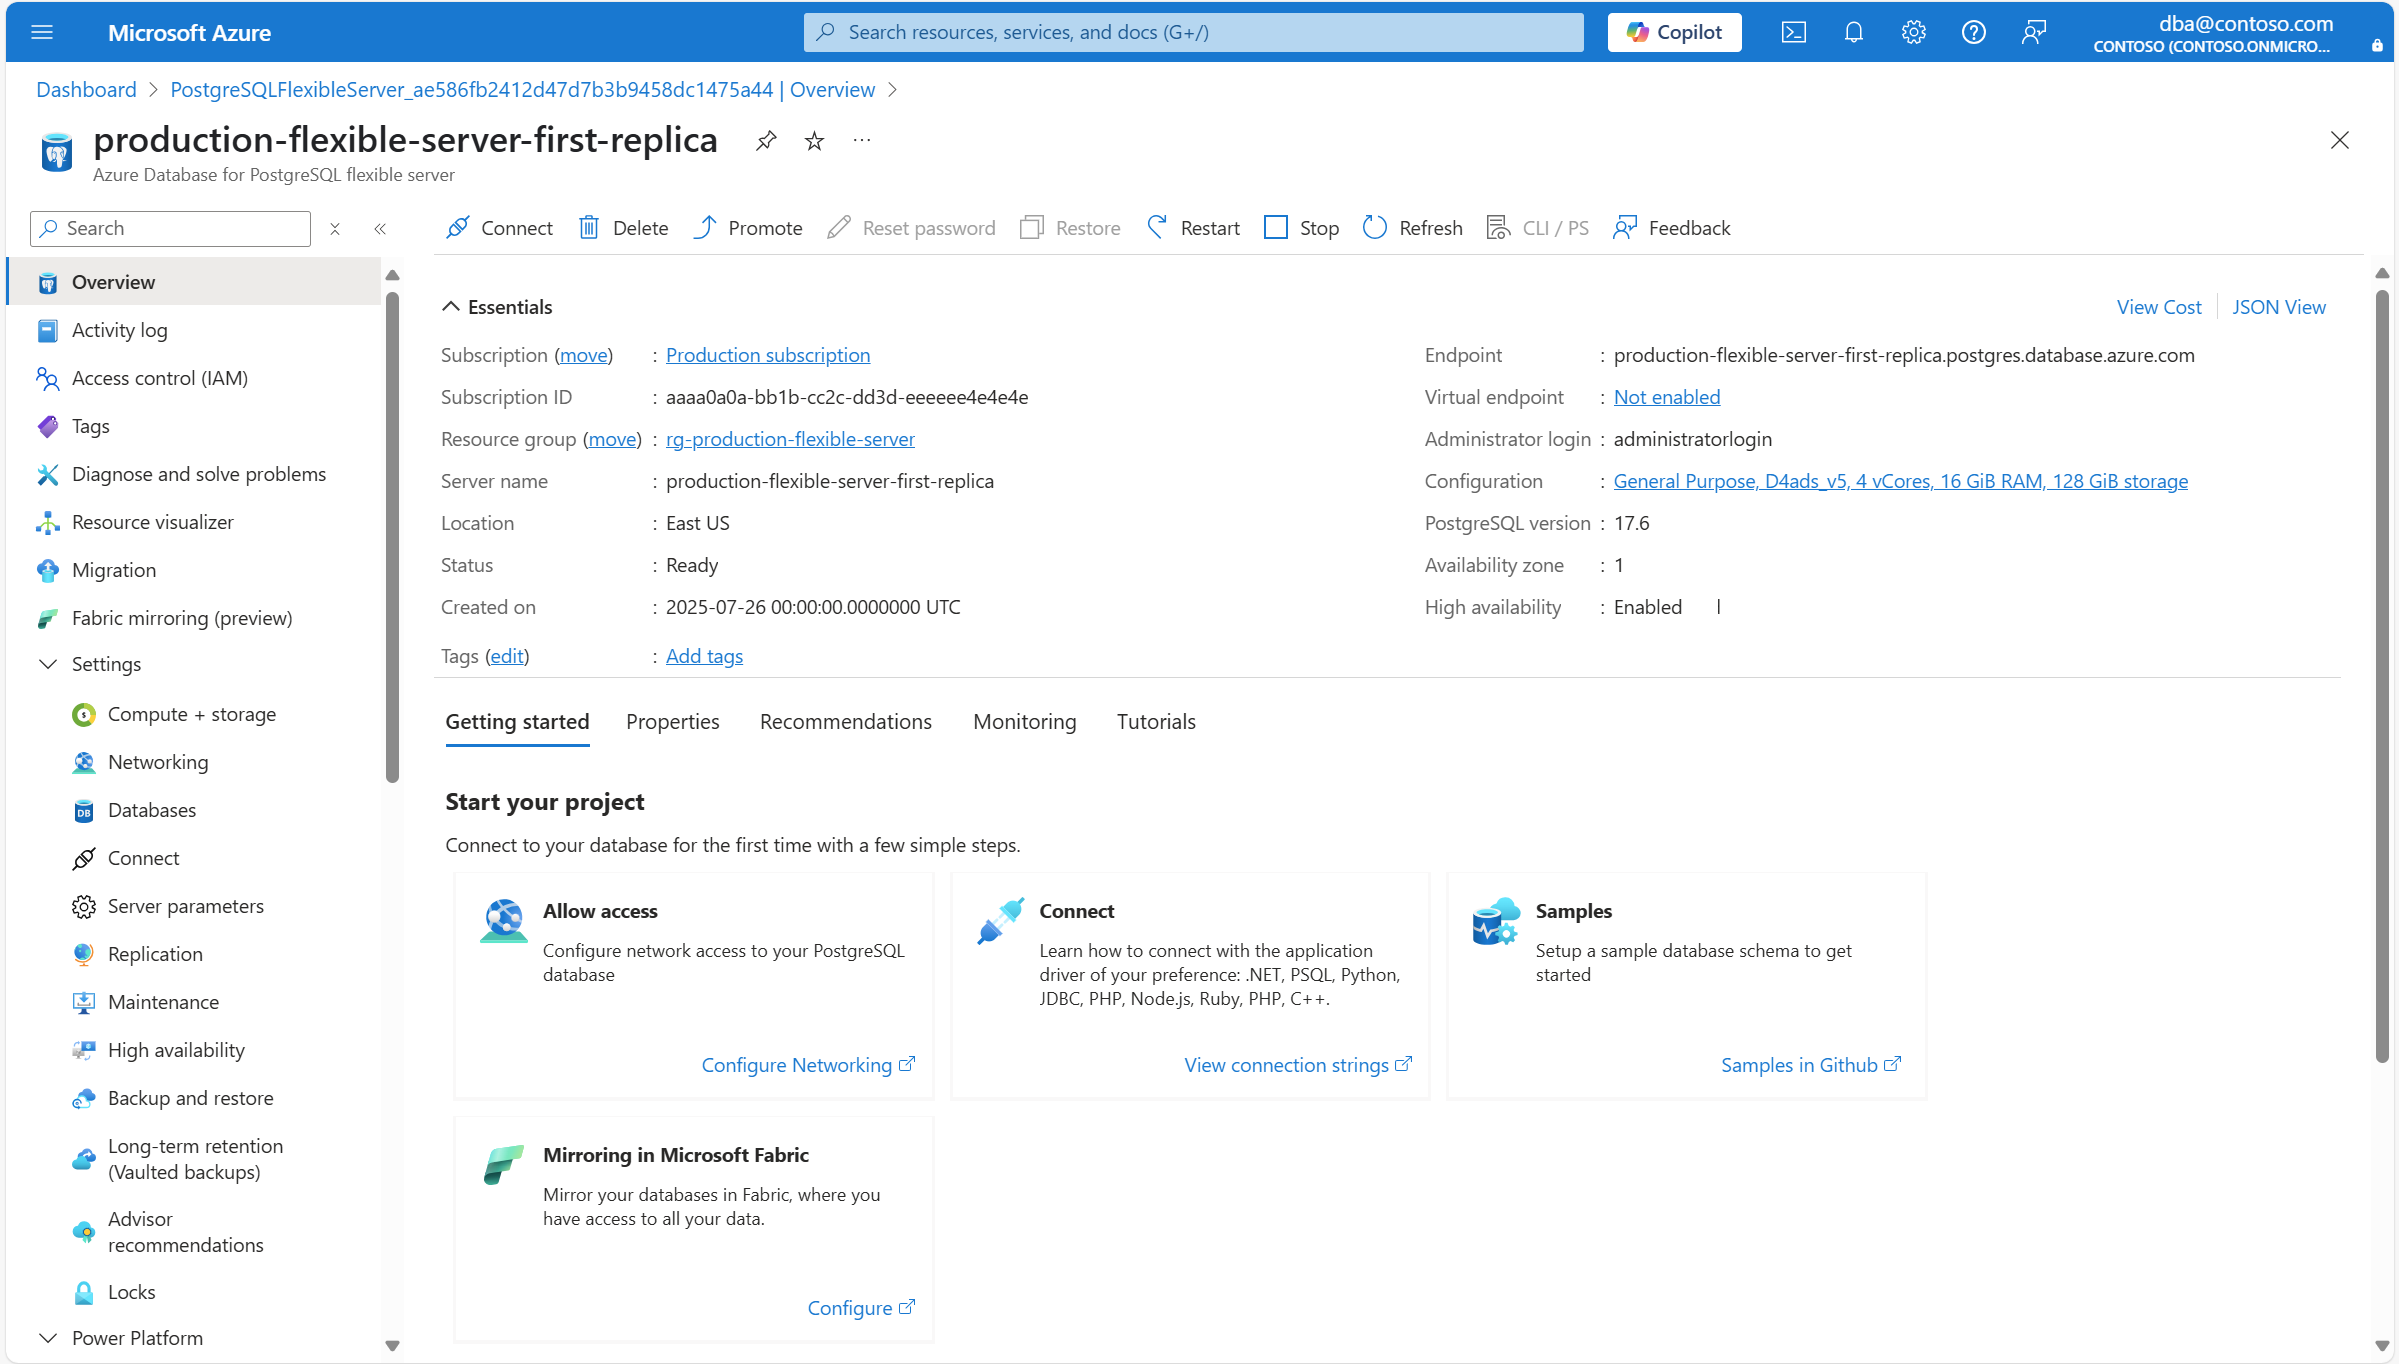
It takes you to the Overview page of the replica server.
In the resource menu, under the Settings section, select Replication. Under Servers, find the list of servers that conform the replication set, and the role that each of them is taking.


