Note
Access to this page requires authorization. You can try signing in or changing directories.
Access to this page requires authorization. You can try changing directories.
Get started with Azure Private Link by creating and using a private endpoint to connect securely to an Azure App Services web app.
In this quickstart, create a private endpoint for an Azure App Services web app and then create and deploy a virtual machine (VM) to test the private connection.
You can create private endpoints for various Azure services, such as Azure SQL and Azure Storage.

Prerequisites
An Azure account with an active subscription. If you don't already have an Azure account, create an account for free.
An Azure web app with a PremiumV2-tier or higher app service plan, deployed in your Azure subscription.
For more information and an example, see Quickstart: Create an ASP.NET Core web app in Azure.
The example webapp in this article is named webapp-1. Replace the example with your webapp name.
Azure Cloud Shell or Azure PowerShell.
The steps in this quickstart run the Azure PowerShell cmdlets interactively in Azure Cloud Shell. To run the commands in the Cloud Shell, select Open Cloudshell at the upper-right corner of a code block. Select Copy to copy the code and then paste it into Cloud Shell to run it. You can also run the Cloud Shell from within the Azure portal.
You can also install Azure PowerShell locally to run the cmdlets. The steps in this article require Azure PowerShell module version 5.4.1 or later. Run
Get-Module -ListAvailable Azto find your installed version. If you need to upgrade, see Update the Azure PowerShell module.If you run PowerShell locally, run
Connect-AzAccountto connect to Azure.
Create a resource group
An Azure resource group is a logical container where Azure resources are deployed and managed.
Create a resource group with New-AzResourceGroup:
$rg = @{
    Name = 'test-rg'
    Location = 'eastus2'
}
New-AzResourceGroup @rg
Create a virtual network
Use New-AzVirtualNetwork to create a virtual network named vnet-1 with IP address prefix 10.0.0.0/16 in the test-rg resource group and eastus2 location.
$vnet = @{
    Name = 'vnet-1'
    ResourceGroupName = 'test-rg'
    Location = 'eastus2'
    AddressPrefix = '10.0.0.0/16'
}
$virtualNetwork = New-AzVirtualNetwork @vnet
Azure deploys resources to a subnet within a virtual network. Use Add-AzVirtualNetworkSubnetConfig to create a subnet configuration named subnet-1 with address prefix 10.0.0.0/24.
$subnet = @{
    Name = 'subnet-1'
    VirtualNetwork = $virtualNetwork
    AddressPrefix = '10.0.0.0/24'
}
$subnetConfig = Add-AzVirtualNetworkSubnetConfig @subnet
Then associate the subnet configuration to the virtual network with Set-AzVirtualNetwork.
$virtualNetwork | Set-AzVirtualNetwork
Deploy Azure Bastion
Azure Bastion uses your browser to connect to VMs in your virtual network over secure shell (SSH) or remote desktop protocol (RDP) by using their private IP addresses. The VMs don't need public IP addresses, client software, or special configuration. For more information about Azure Bastion, see Azure Bastion.
Note
Hourly pricing starts from the moment that Bastion is deployed, regardless of outbound data usage. For more information, see Pricing and SKUs. If you're deploying Bastion as part of a tutorial or test, we recommend that you delete this resource after you finish using it.
Configure an Azure Bastion subnet for your virtual network. This subnet is reserved exclusively for Azure Bastion resources and must be named AzureBastionSubnet.
$subnet = @{
    Name = 'AzureBastionSubnet'
    VirtualNetwork = $virtualNetwork
    AddressPrefix = '10.0.1.0/26'
}
$subnetConfig = Add-AzVirtualNetworkSubnetConfig @subnet
Set the configuration.
$virtualNetwork | Set-AzVirtualNetworkCreate a public IP address for Azure Bastion. The bastion host uses the public IP to access secure shell (SSH) and remote desktop protocol (RDP) over port 443.
$ip = @{
        ResourceGroupName = 'test-rg'
        Name = 'public-ip'
        Location = 'eastus2'
        AllocationMethod = 'Static'
        Sku = 'Standard'
        Zone = 1,2,3
}
New-AzPublicIpAddress @ip
Use the New-AzBastion command to create a new Standard SKU Azure Bastion host in the AzureBastionSubnet.
$bastion = @{
    Name = 'bastion'
    ResourceGroupName = 'test-rg'
    PublicIpAddressRgName = 'test-rg'
    PublicIpAddressName = 'public-ip'
    VirtualNetworkRgName = 'test-rg'
    VirtualNetworkName = 'vnet-1'
    Sku = 'Basic'
}
New-AzBastion @bastion
It takes several minutes for the Bastion resources to deploy.
Create a private endpoint
An Azure service that supports private endpoints is required to set up the private endpoint and connection to the virtual network. For the examples in this article, we're using an Azure App Services WebApp from the prerequisites. For more information on the Azure services that support a private endpoint, see Azure Private Link availability.
A private endpoint can have a static or dynamically assigned IP address.
Important
You must have a previously deployed Azure App Services WebApp to proceed with the steps in this article. For more information, see Prerequisites.
In this section, you'll:
Create a private link service connection with New-AzPrivateLinkServiceConnection.
Create the private endpoint with New-AzPrivateEndpoint.
Optionally create the private endpoint static IP configuration with New-AzPrivateEndpointIpConfiguration.
## Place the previously created webapp into a variable. ##
$webapp = Get-AzWebApp -ResourceGroupName test-rg -Name webapp-1

## Create the private endpoint connection. ##
$pec = @{
    Name = 'connection-1'
    PrivateLinkServiceId = $webapp.ID
    GroupID = 'sites'
}
$privateEndpointConnection = New-AzPrivateLinkServiceConnection @pec

## Place the virtual network you created previously into a variable. ##
$vnet = Get-AzVirtualNetwork -ResourceGroupName 'test-rg' -Name 'vnet-1'

## Create the private endpoint. ##
$pe = @{
    ResourceGroupName = 'test-rg'
    Name = 'private-endpoint'
    Location = 'eastus2'
    Subnet = $vnet.Subnets[0]
    PrivateLinkServiceConnection = $privateEndpointConnection
}
New-AzPrivateEndpoint @pe
Configure the private DNS zone
A private DNS zone is used to resolve the DNS name of the private endpoint in the virtual network. For this example, we're using the DNS information for an Azure App Services web app, for more information on the DNS configuration of private endpoints, see Azure Private Endpoint DNS configuration.
In this section, you'll:
Create a new private Azure DNS zone with New-AzPrivateDnsZone
Link the DNS zone to the virtual network you created previously with New-AzPrivateDnsVirtualNetworkLink
Create a DNS zone configuration with New-AzPrivateDnsZoneConfig
Create a DNS zone group with New-AzPrivateDnsZoneGroup
## Place the virtual network into a variable. ##
$vnet = Get-AzVirtualNetwork -ResourceGroupName 'test-rg' -Name 'vnet-1'

## Create the private DNS zone. ##
$zn = @{
    ResourceGroupName = 'test-rg'
    Name = 'privatelink.azurewebsites.net'
}
$zone = New-AzPrivateDnsZone @zn

## Create a DNS network link. ##
$lk = @{
    ResourceGroupName = 'test-rg'
    ZoneName = 'privatelink.azurewebsites.net'
    Name = 'dns-link'
    VirtualNetworkId = $vnet.Id
}
$link = New-AzPrivateDnsVirtualNetworkLink @lk

## Configure the DNS zone. ##
$cg = @{
    Name = 'privatelink.azurewebsites.net'
    PrivateDnsZoneId = $zone.ResourceId
}
$config = New-AzPrivateDnsZoneConfig @cg

## Create the DNS zone group. ##
$zg = @{
    ResourceGroupName = 'test-rg'
    PrivateEndpointName = 'private-endpoint'
    Name = 'zone-group'
    PrivateDnsZoneConfig = $config
}
New-AzPrivateDnsZoneGroup @zg
Create a test virtual machine
To verify the static IP address and the functionality of the private endpoint, a test virtual machine connected to your virtual network is required.
In this section, you'll:
Create a sign-in credential for the virtual machine with Get-Credential
Create a network interface for the virtual machine with New-AzNetworkInterface
Create a virtual machine configuration with New-AzVMConfig, Set-AzVMOperatingSystem, Set-AzVMSourceImage, and Add-AzVMNetworkInterface
Create the virtual machine with New-AzVM
## Create the credential for the virtual machine. Enter a username and password at the prompt. ##
$cred = Get-Credential

## Place the virtual network into a variable. ##
$vnet = Get-AzVirtualNetwork -Name vnet-1 -ResourceGroupName test-rg

## Create a network interface for the virtual machine. ##
$nic = @{
    Name = 'nic-1'
    ResourceGroupName = 'test-rg'
    Location = 'eastus2'
    Subnet = $vnet.Subnets[0]
}
$nicVM = New-AzNetworkInterface @nic

## Create the configuration for the virtual machine. ##
$vm1 = @{
    VMName = 'vm-1'
    VMSize = 'Standard_DS1_v2'
}
$vm2 = @{
    ComputerName = 'vm-1'
    Credential = $cred
}
$vm3 = @{
    PublisherName = 'MicrosoftWindowsServer'
    Offer = 'WindowsServer'
    Skus = '2022-Datacenter'
    Version = 'latest'
}
$vmConfig =
New-AzVMConfig @vm1 | Set-AzVMOperatingSystem -Windows @vm2 | Set-AzVMSourceImage @vm3 | Add-AzVMNetworkInterface -Id $nicVM.Id

## Create the virtual machine. ##
New-AzVM -ResourceGroupName 'test-rg' -Location 'eastus2' -VM $vmConfig
Note
Virtual machines in a virtual network with a bastion host don't need public IP addresses. Bastion provides the public IP, and the VMs use private IPs to communicate within the network. You can remove the public IPs from any VMs in bastion hosted virtual networks. For more information, see Dissociate a public IP address from an Azure VM.
Note
Azure provides a default outbound access IP for VMs that either aren't assigned a public IP address or are in the backend pool of an internal basic Azure load balancer. The default outbound access IP mechanism provides an outbound IP address that isn't configurable.
The default outbound access IP is disabled when one of the following events happens:
- A public IP address is assigned to the VM.
- The VM is placed in the backend pool of a standard load balancer, with or without outbound rules.
- An Azure NAT Gateway resource is assigned to the subnet of the VM.
VMs that you create by using virtual machine scale sets in flexible orchestration mode don't have default outbound access.
For more information about outbound connections in Azure, see Default outbound access in Azure and Use Source Network Address Translation (SNAT) for outbound connections.
Test connectivity to the private endpoint
Use the virtual machine that you created earlier to connect to the web app across the private endpoint.
In the search box at the top of the portal, enter Virtual machine. Select Virtual machines.
Select vm-1.
On the overview page for vm-1, select Connect, and then select the Bastion tab.
Select Use Bastion.
Enter the username and password that you used when you created the VM.
Select Connect.
After you've connected, open PowerShell on the server.
Enter
nslookup webapp-1.azurewebsites.net. You receive a message that's similar to the following example:Server: UnKnown Address: 168.63.129.16 Non-authoritative answer: Name: webapp-1.privatelink.azurewebsites.net Address: 10.0.0.10 Aliases: webapp-1.azurewebsites.netA private IP address of 10.0.0.10 is returned for the web app name if you chose static IP address in the previous steps. This address is in the subnet of the virtual network you created earlier.
In the bastion connection to vm-1, open the web browser.
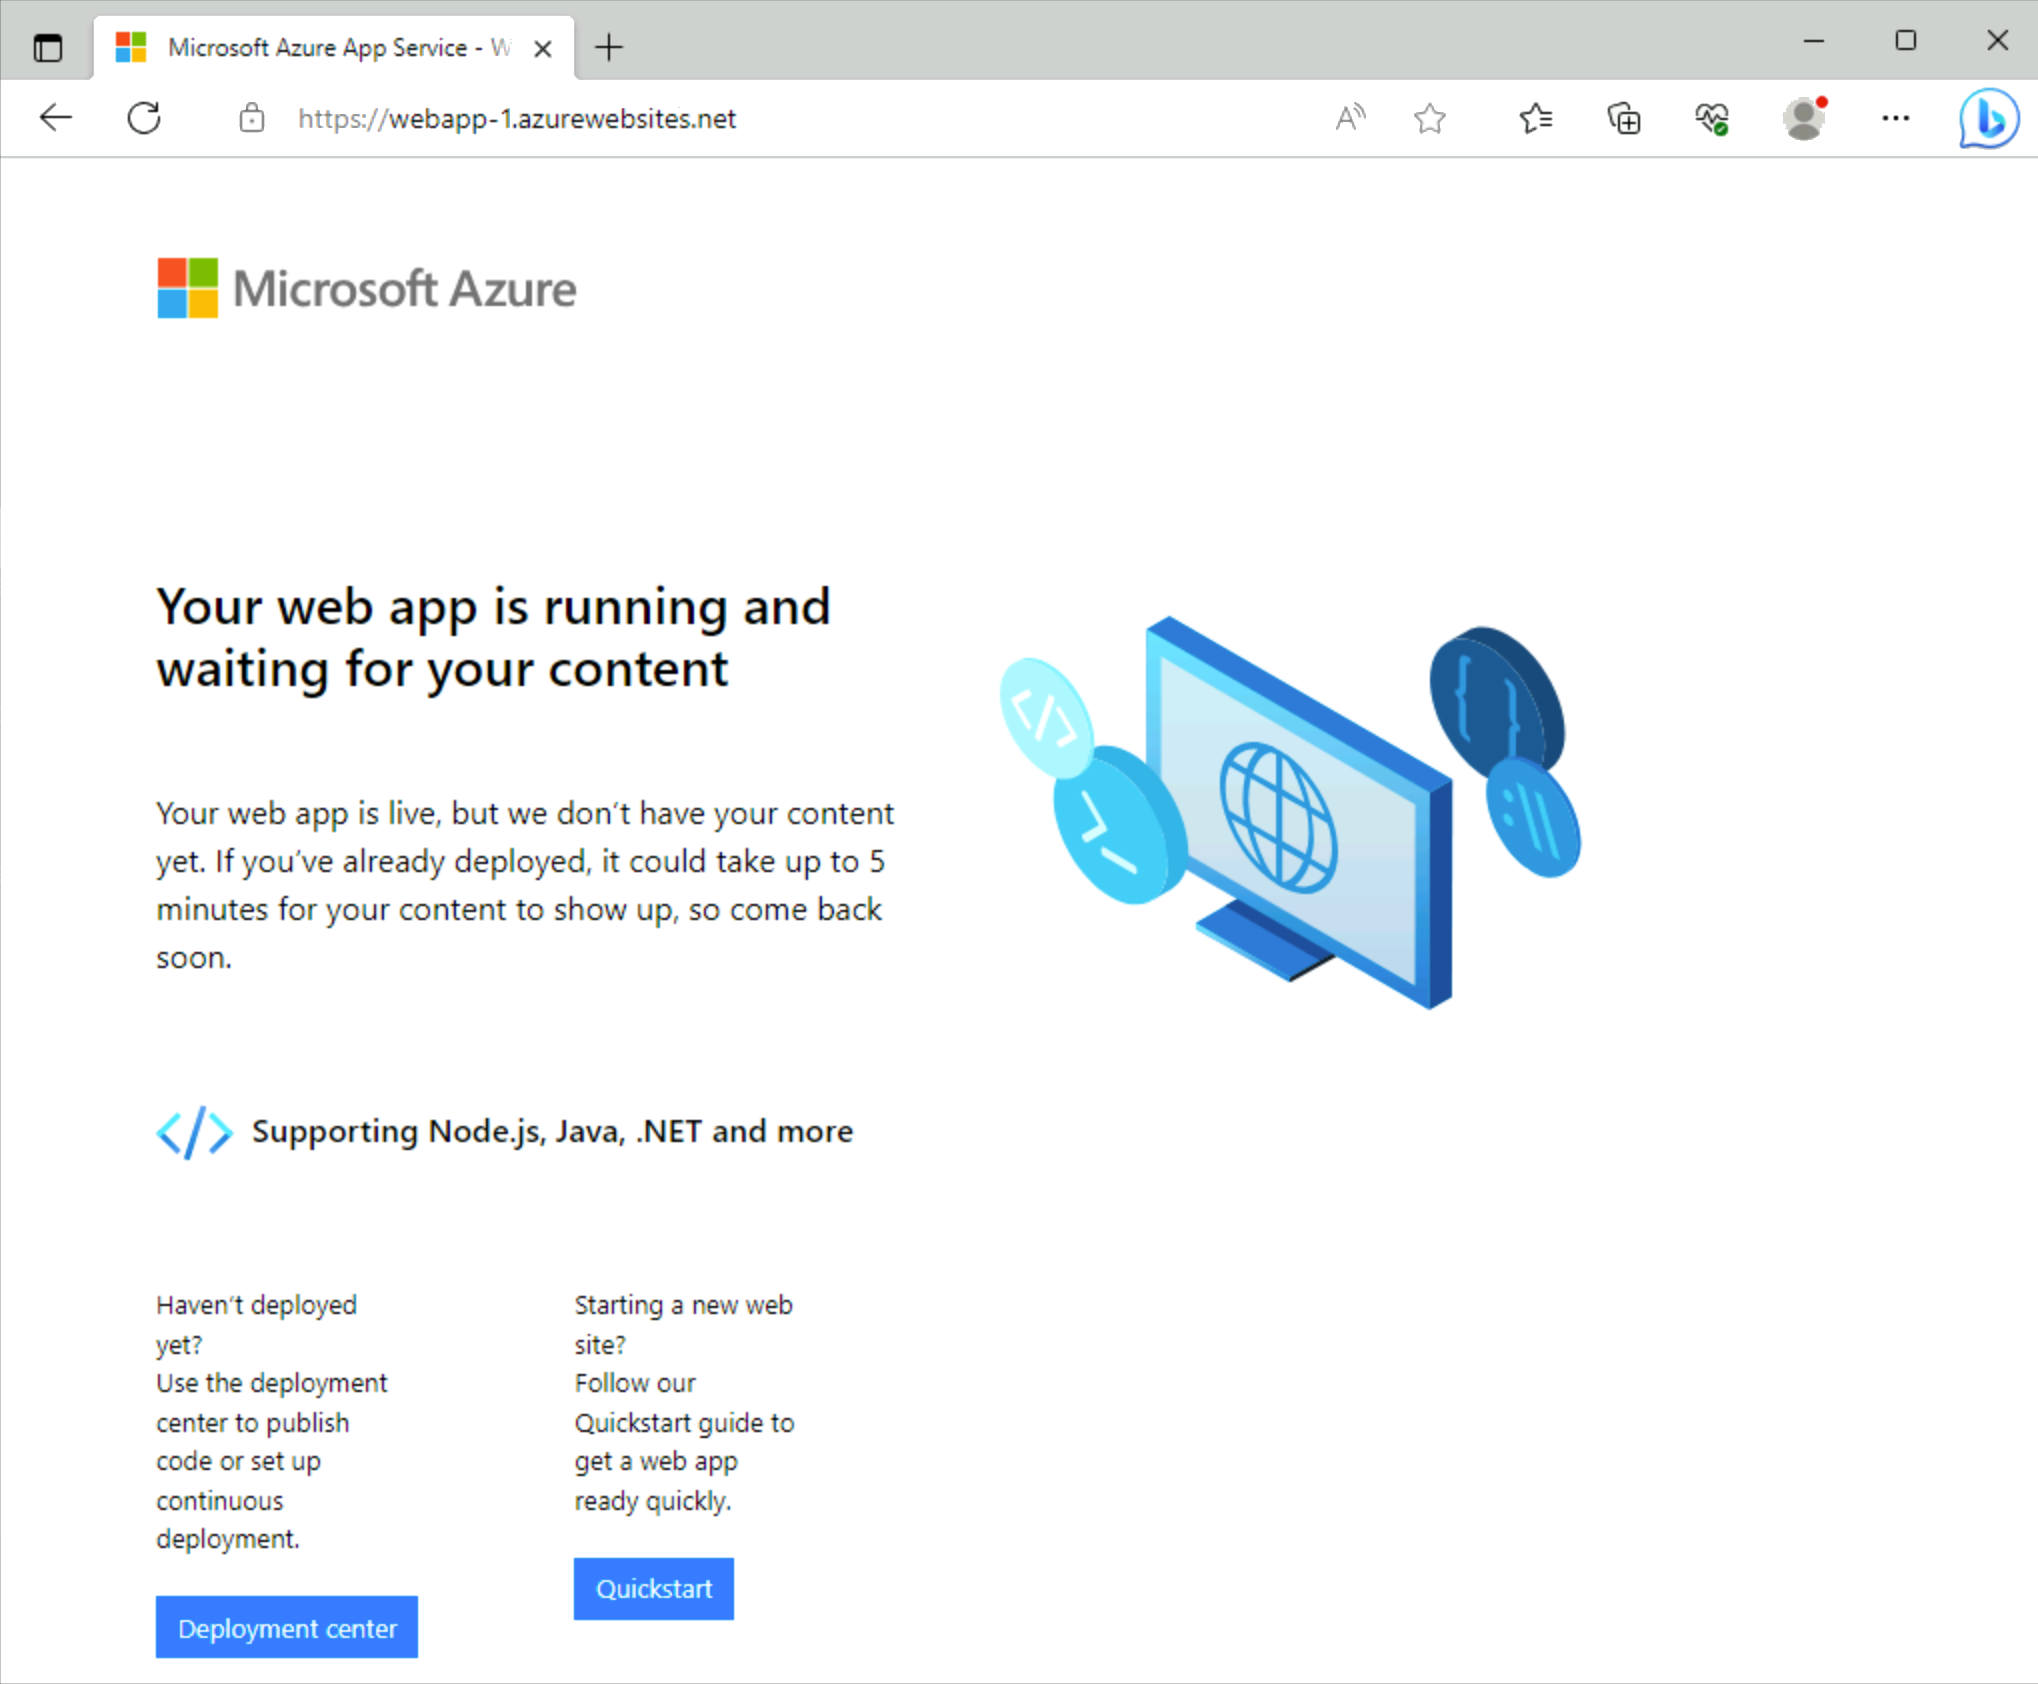
Enter the URL of your web app,
https://webapp-1.azurewebsites.net.If your web app hasn't been deployed, you get the following default web app page:
Clean up resources
When no longer needed, you can use the Remove-AzResourceGroup command to remove the resource group, virtual network, and the remaining resources.
Remove-AzResourceGroup -Name 'test-rg'
Next steps
For more information about the services that support private endpoints, see: