Managed attributes in the Microsoft Purview Data Catalog
Managed attributes are user-defined attributes that provide a business or organization level context to an asset. When applied, managed attributes enable data consumers using the data catalog to gain context on the role an asset plays in a business.
Terminology
Managed attribute: A set of user-defined attributes that provide a business or organization level context to an asset. A managed attribute has a name and a value. For example, “Department” is an attribute name and “Finance” is its value. Attribute group: A grouping of managed attributes that allow for easier organization and consumption.
Create managed attributes in Microsoft Purview Studio
In Microsoft Purview Studio, an organization's managed attributes are managed in the Annotation management section of the data map application. Follow the instructions below to create a managed attribute.
- Open the data map application and navigate to Managed attributes in the Annotation management section.
- Select New. Choose whether you wish to start by creating an attribute group or a managed attribute.
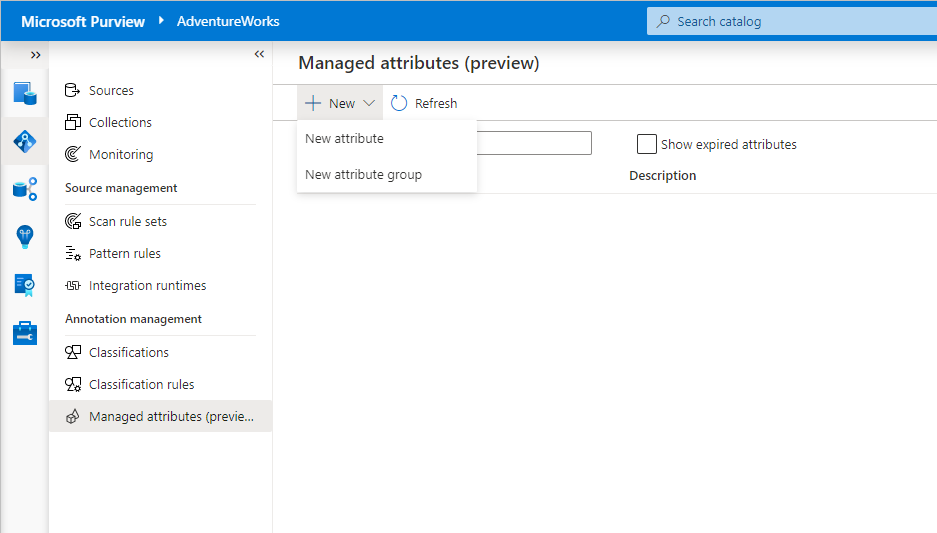
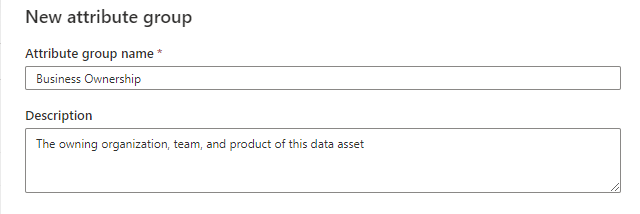
- To create an attribute group, enter a name and a description.
- Managed attributes have a name, attribute group, data type, and associated asset types. They also have a required flag that can only be enabled when created as part of creating a new attribute group. Associated asset types are the data asset types you can apply the attribute to. For example, if you select "Azure SQL Table" for an attribute, you can apply it to Azure SQL Table assets, but not Azure Synapse Dedicated Table assets.
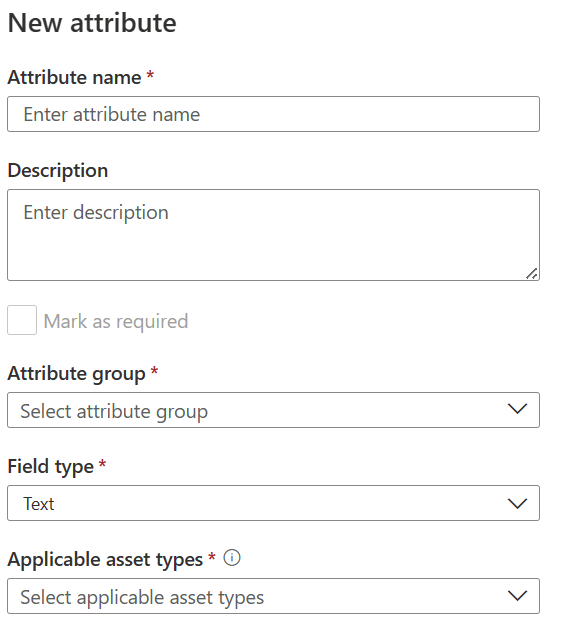
- Select Create to save your attribute.
Required managed attributes
When you create a managed attribute as part of a managed attribute group, you can add the required flag. The required flag means that a value must be provided for this managed attribute. When a data asset is edited the required attribute must be filled out before you can close the editor.
Note
- You can't add the required flag to an existing attribute in editing.
- You can't add the required flag while creating a new attribute outside of an attribute group. You can only add this flag while creating an attribute group.
- Open the data map application and navigate to Managed attributes in the Annotation management section.
- Select New and select Attribute group.
- Select New attribute.
- Fill out your attribute details, and select the Mark as required flag.
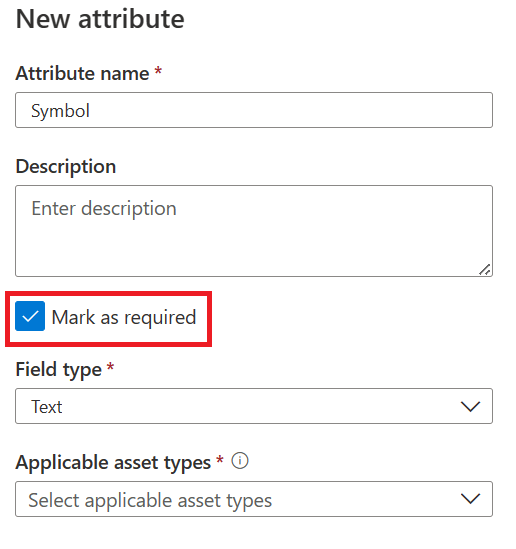
- Select Apply and finish adding other attributes to complete your attribute group.
Expiring managed attributes
In the managed attribute management experience, managed attributes can't be deleted, only expired. Expired attributes can't be applied to any assets and are, by default, hidden in the user experience. By default, expired managed attributes aren't removed from an asset. If an asset has an expired managed attribute applied, it can only be removed, not edited.
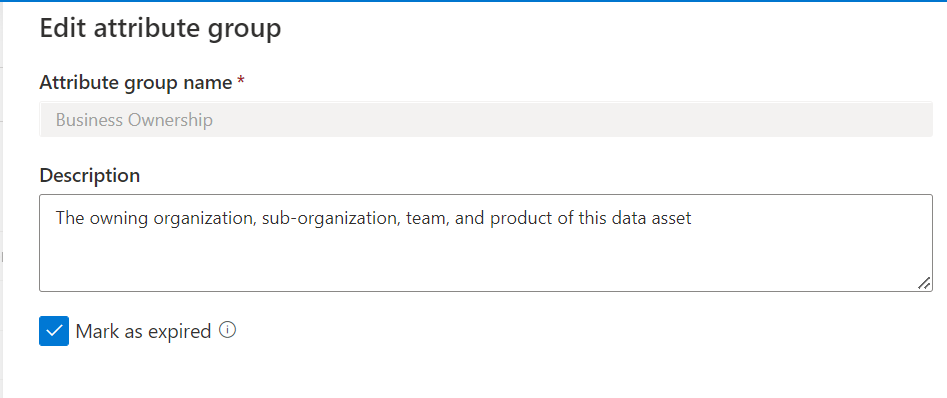
Both attribute groups and individual managed attributes can be expired. To mark an attribute group or managed attribute as expired, select the Edit icon.

Select Mark as expired and confirm your change. Once expired, attribute groups and managed attributes can't be reactivated.
Apply managed attributes to assets in Microsoft Purview Studio
Managed attributes can be applied in the asset details page in the data catalog. Follow the instructions below to apply a managed attribute.
- Navigate to an asset by either searching or browsing the data catalog. Open the asset details page.
- Select Edit on the asset's action bar.
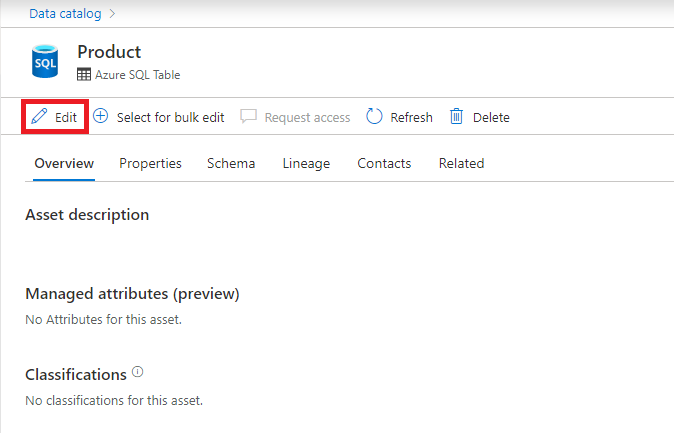
- In the managed attributes section of the editing experience, select Add attribute.
- Choose the attribute you wish to apply. Attributes are grouped by their attribute group.
- Choose the value or values of the applied attribute.
- Continue adding more attributes or select Save to apply your changes.
Create managed attributes using APIs
Managed attributes can be programmatically created and applied using the business metadata APIs in Apache Atlas 2.2. For more information, see the Use Atlas 2.2 APIs tutorial.
Searching by managed attributes
Once you have created managed attributes, you can refine your data catalog searches using these attributes.
In a data catalog search, to refine by a managed attribute, first select Add filter at the top of the search.

Select the drop-down, scroll to your list of managed attributes, and select one.

Select your operator, which will be different based on the kinds of values allowed by the attribute. In this example, we've selected Cost Center, which is a text value, so we can compare Cost Center with the text we'll enter.

Enter your values and the search will run with your new filter.
Known limitations
Below are the known limitations of the managed attribute feature as it currently exists in Microsoft Purview.
- Managed attributes can only be deleted if they have not been applied to any assets.
- Managed attributes can't be applied via the bulk edit experience.
- After creating an attribute group, you can't edit the name of the attribute group.
- After creating a managed attribute, you can't update the attribute name, attribute group or the field type.
- A managed attribute can only be marked as required during the creation of an attribute group.
Next steps
- After creating managed attributes, apply them to assets in the asset details page.
Feedback
Coming soon: Throughout 2024 we will be phasing out GitHub Issues as the feedback mechanism for content and replacing it with a new feedback system. For more information see: https://aka.ms/ContentUserFeedback.
Submit and view feedback for