Manually apply classifications on assets in Microsoft Purview
This article discusses how to manually apply classifications on assets in the Microsoft Purview Governance Portal.
Classifications are logical labels to help you and your team identify the kinds of data you have across your data estate. For example: if files or tables contain credit card numbers, or addresses.
Microsoft Purview automatically applies classifications to some assets during the scanning process, but there are some scenarios when you may want to manually apply more classifications. For example, Microsoft Purview doesn't automatically apply classifications to table assets (only their columns), or you might want to apply custom classifications, or add classifications to assets grouped a resource set.
Note
Some custom classifications can be automatically applied after setting up a custom classification rule.
Follow the steps in this article to manually apply classifications to file, table, and column assets.
Manually apply classification to a file asset
Search or browse the Microsoft Purview Data Catalog for the file you're interested in and navigate to the asset detail page.
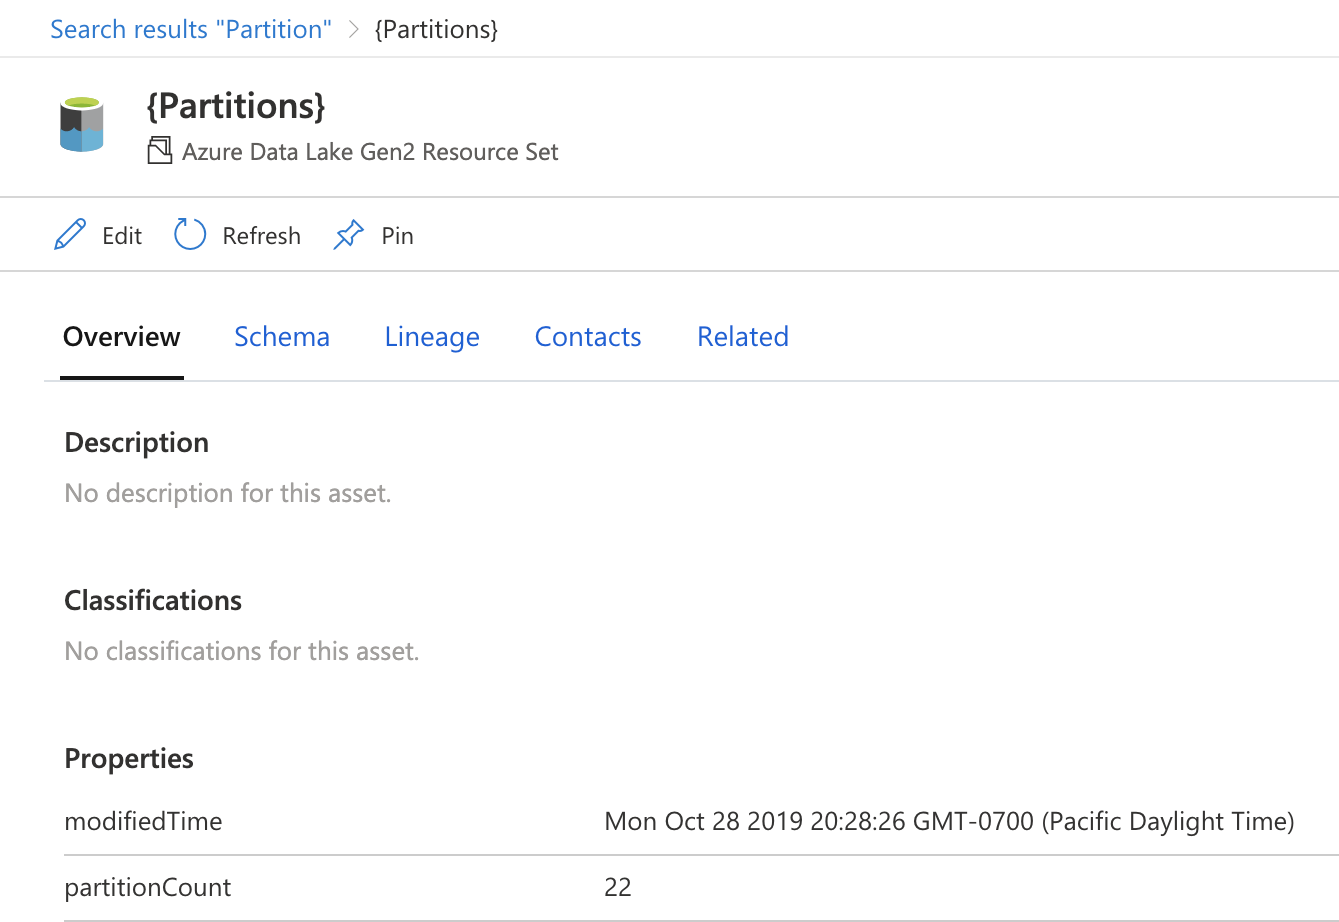
On the Overview tab, view the Classifications section to see if there are any existing classifications. Select Edit.
From the Classifications drop-down list, select the specific classifications you're interested in. In our example, we're adding Credit Card Number, which is a system classification and CustomerAccountID, which is a custom classification.
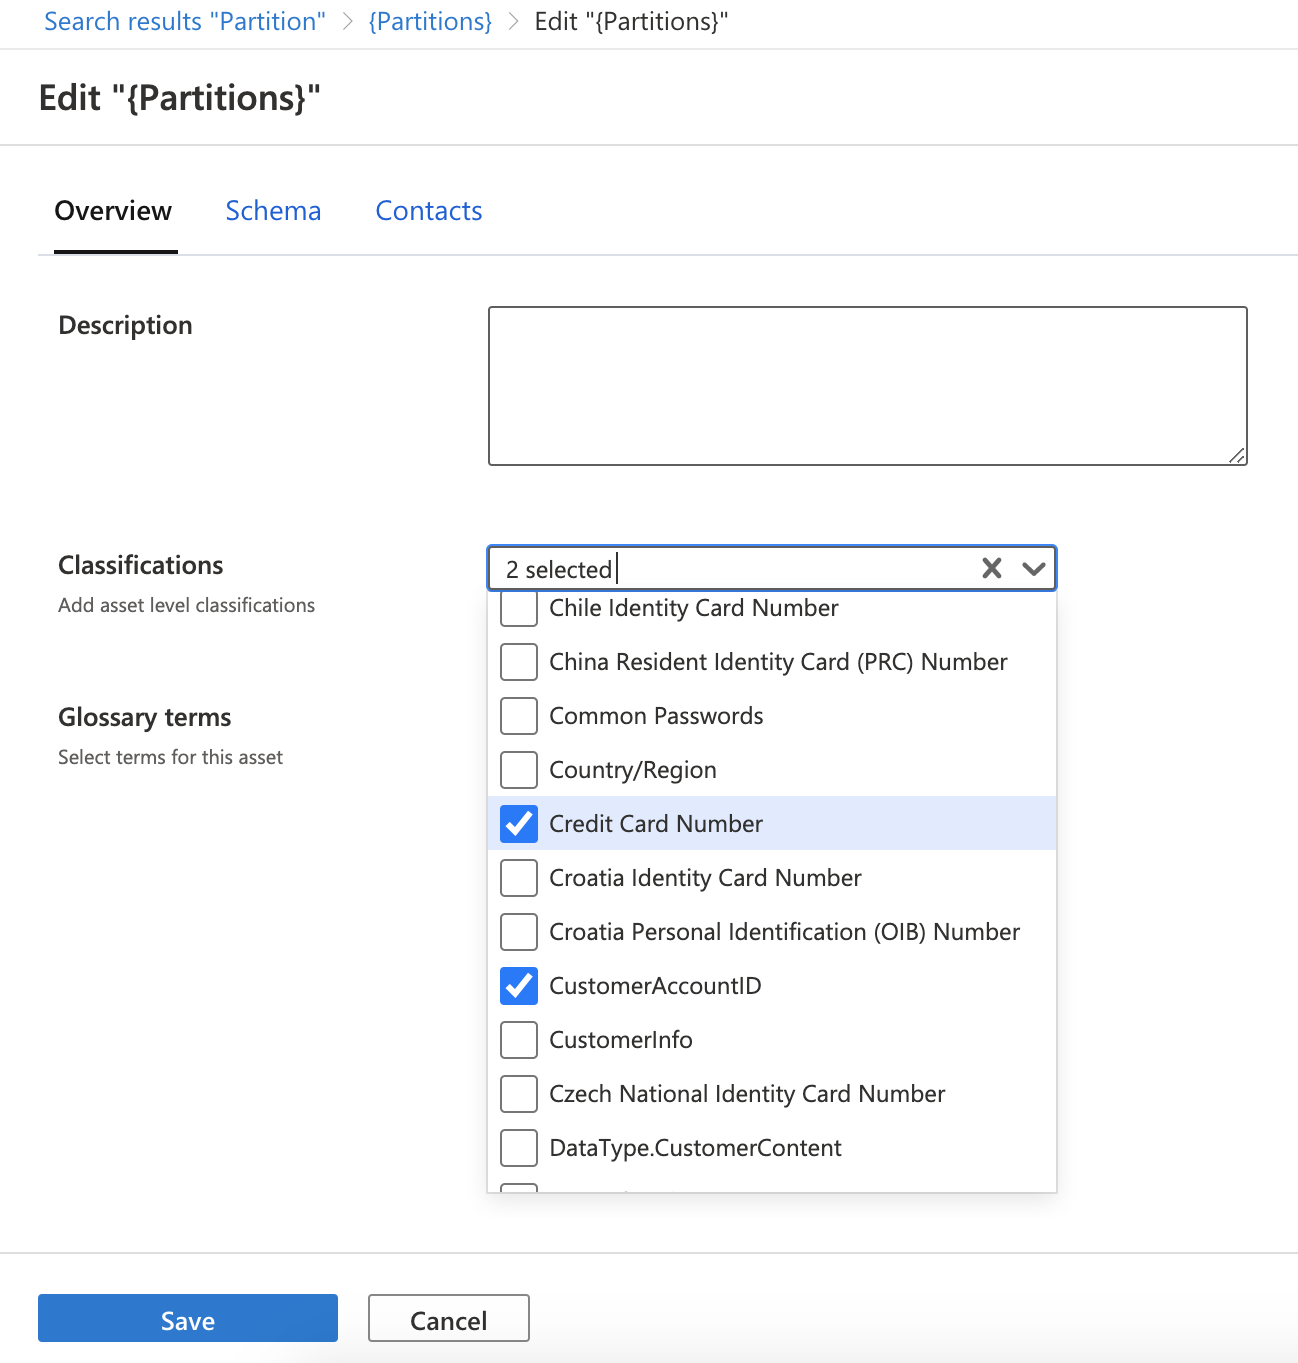
Select Save.
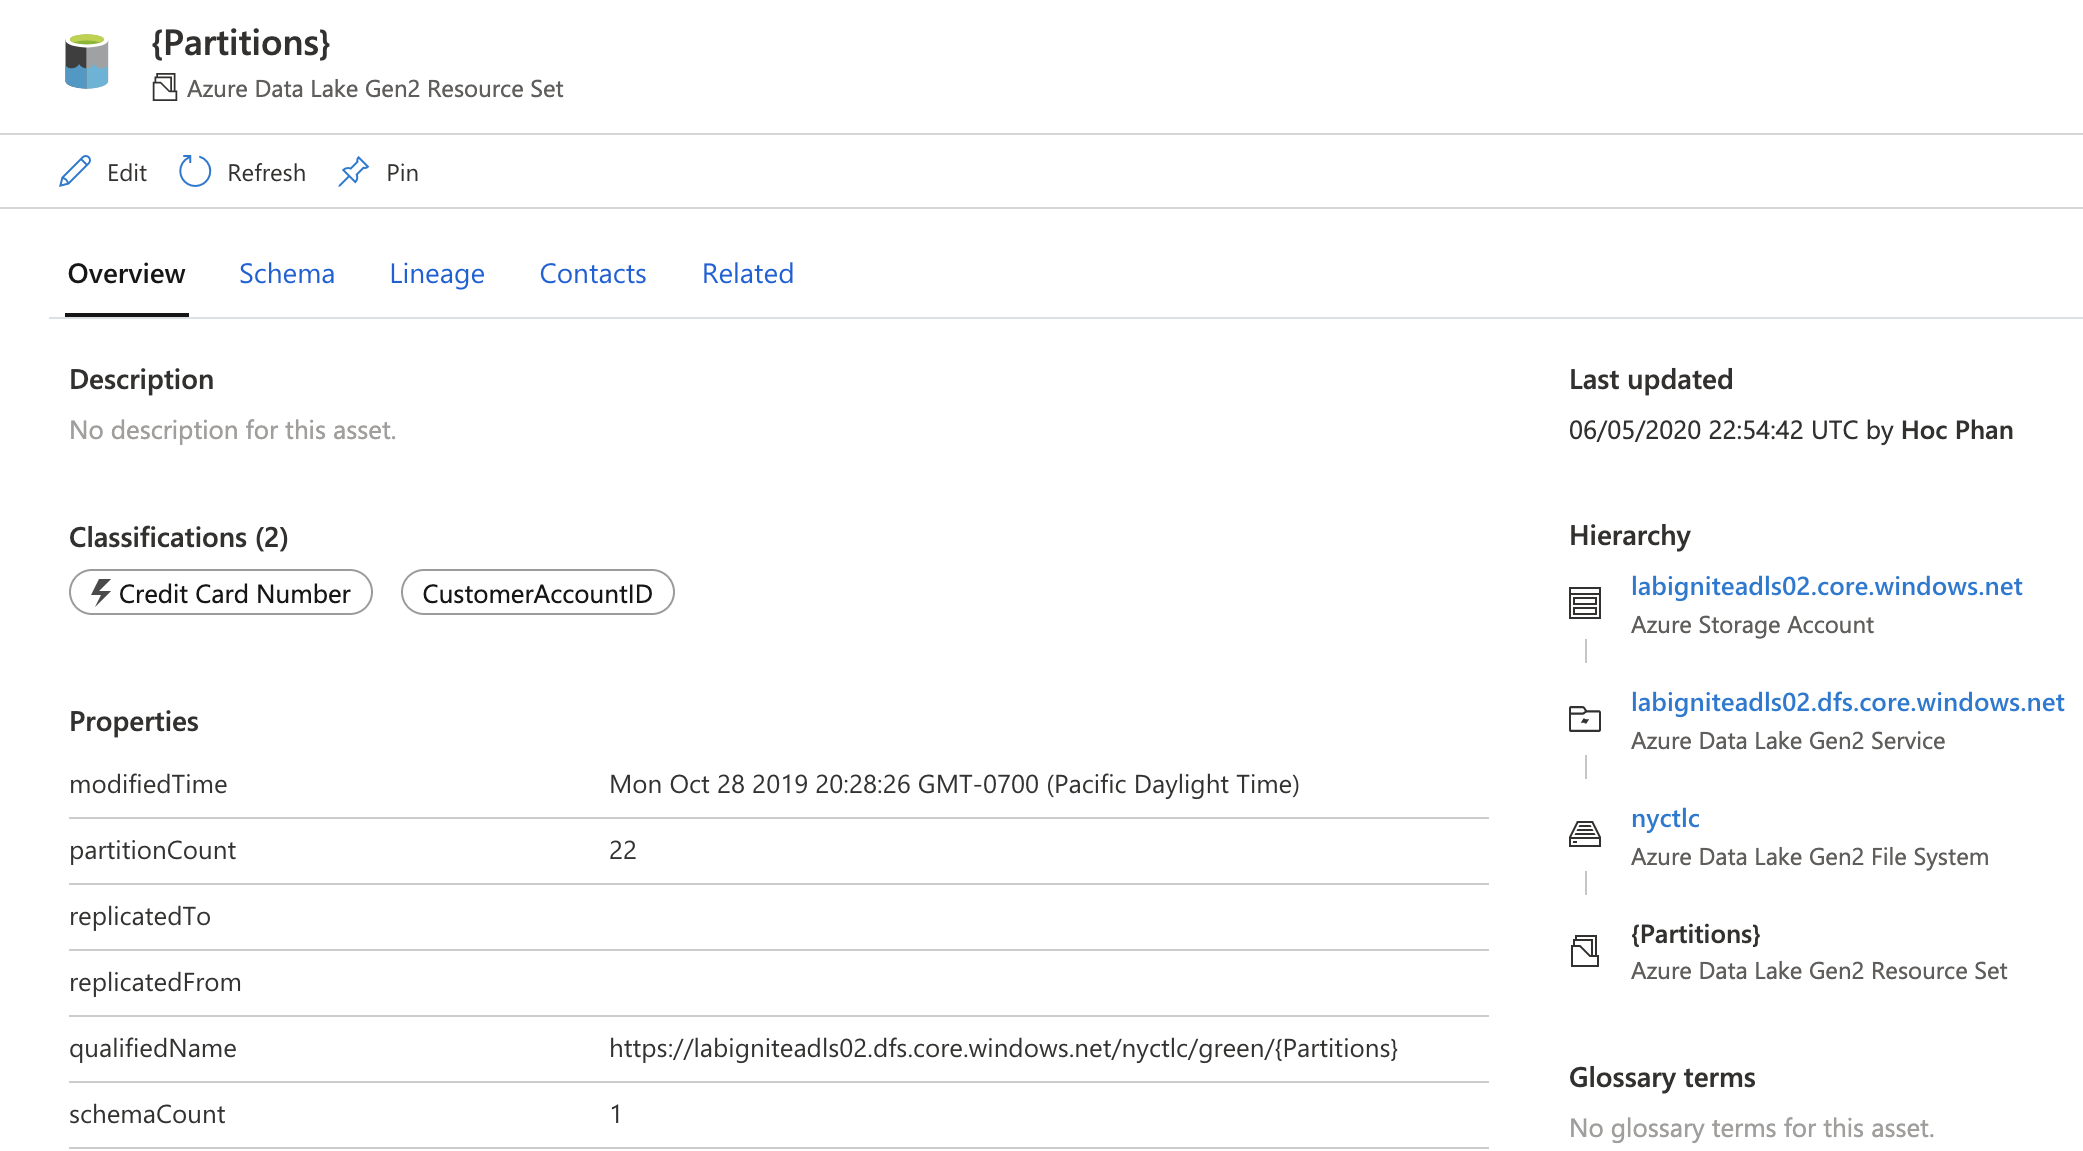
On the Overview tab, confirm that the classifications you selected appear under the Classifications section.


Manually apply classification to a table asset
When Microsoft Purview scans your data sources, it doesn't automatically assign classifications to table assets (only on columns). For a table asset to have classifications, you must add them manually:
To add a classification to a table asset:
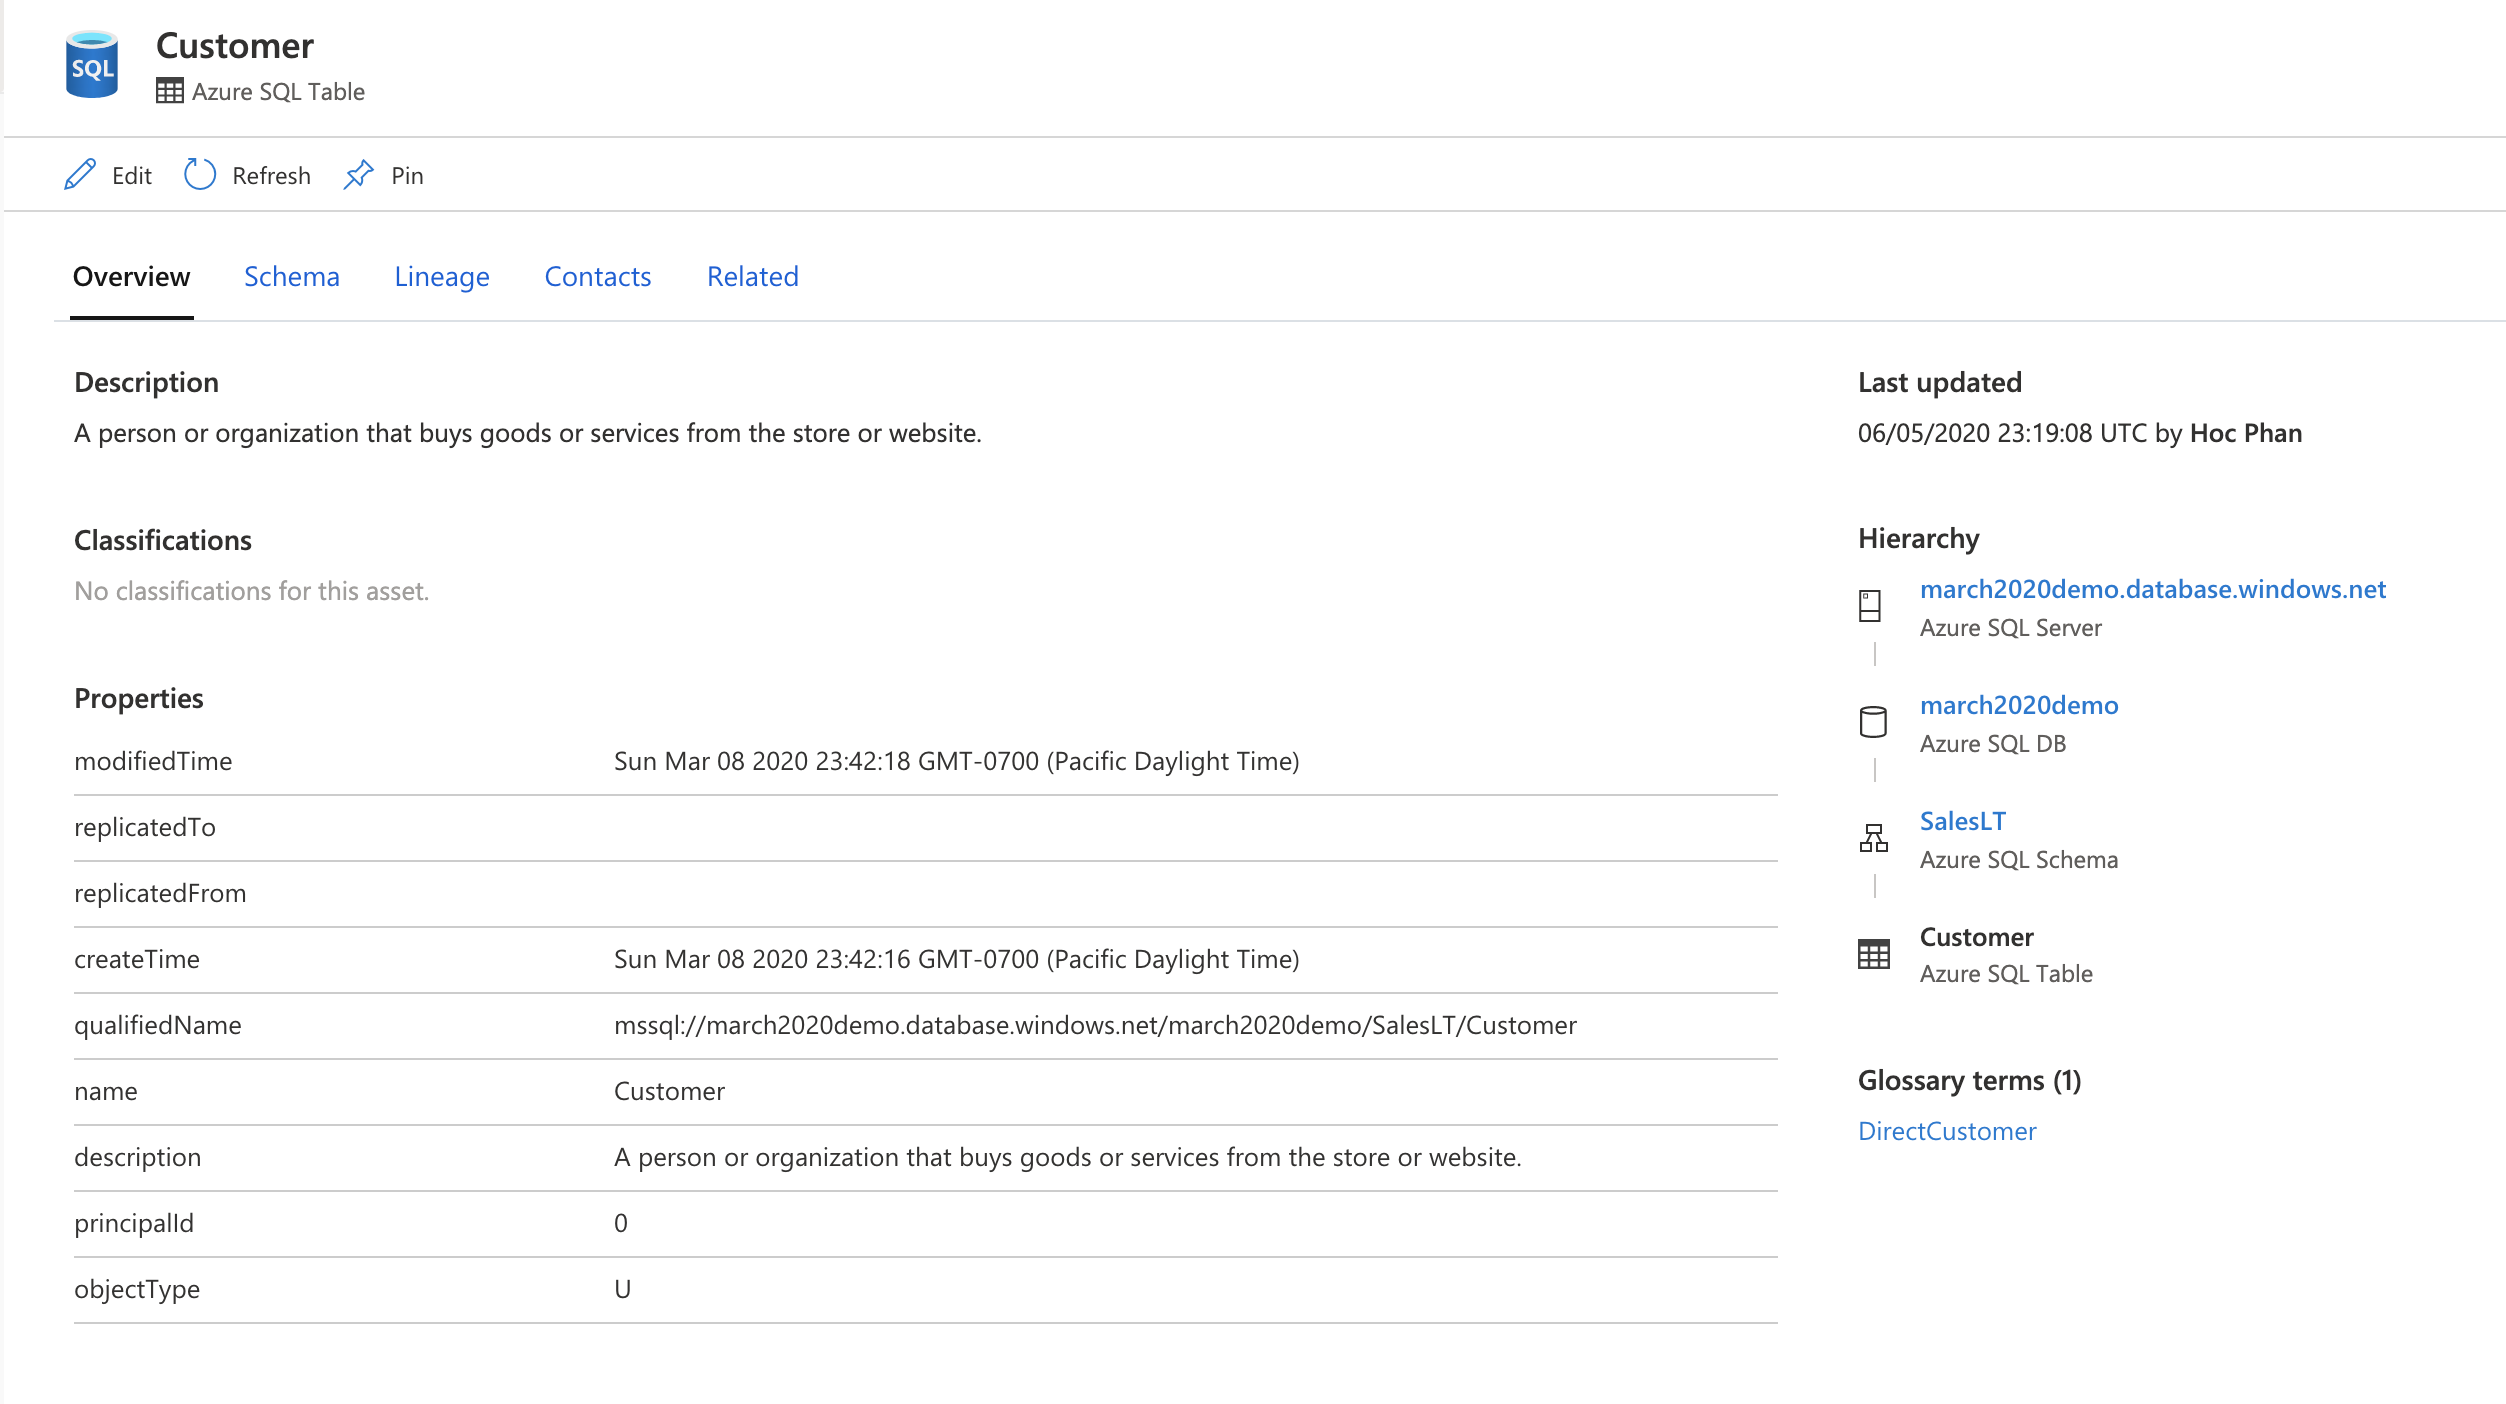
Search or browse the data catalog for the table asset that you're interested in. For example, Customer table.
Confirm that no classifications are assigned to the table. Select Edit.
From the Classifications drop-down list, select one or more classifications. This example uses a custom classification named CustomerInfo, but you can select any classifications for this step.
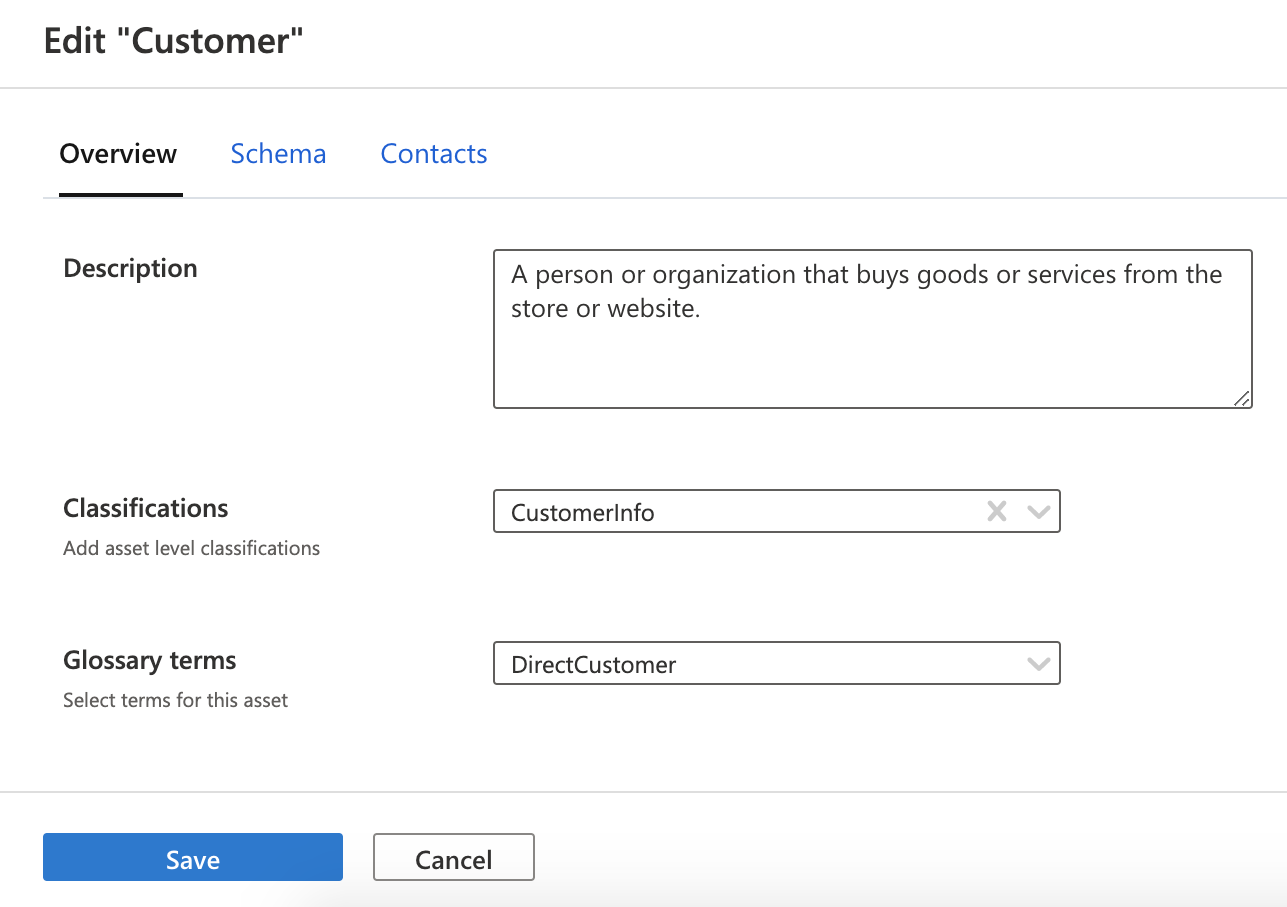
Select Save to save the classifications.
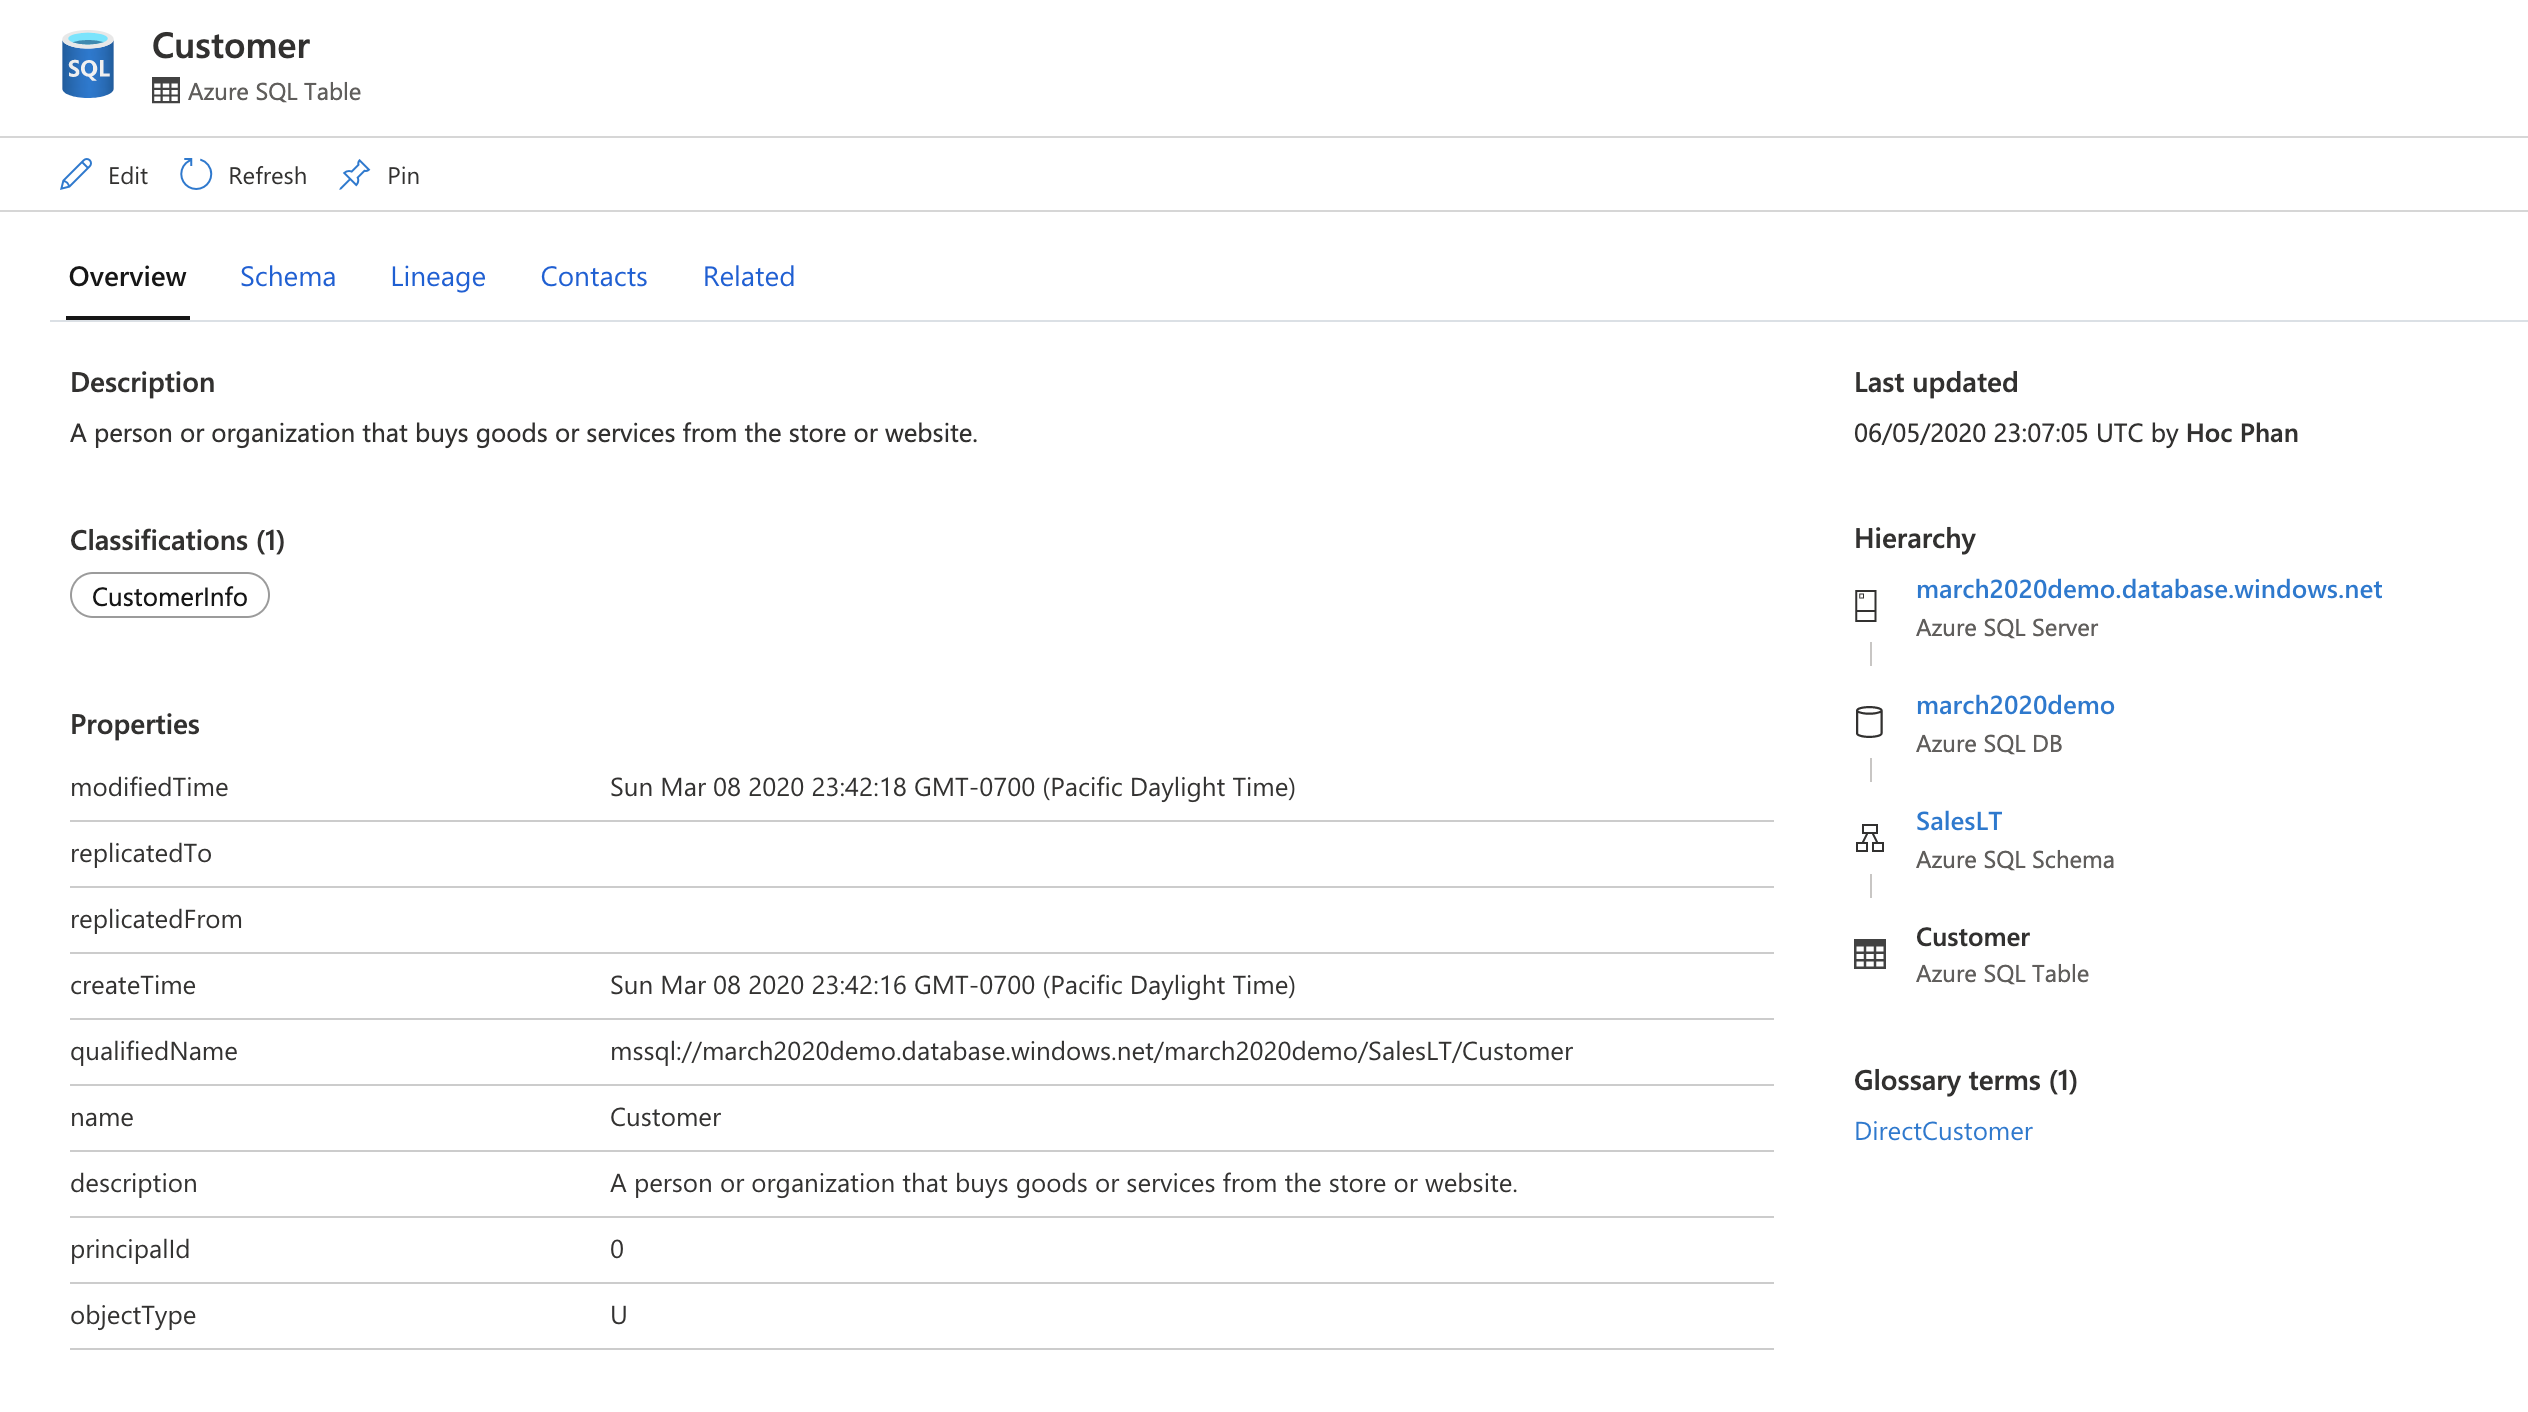
On the Overview page, verify that Microsoft Purview added your new classifications.


Manually add classification to a column asset
Microsoft Purview automatically scans and adds classifications to all column assets. However, if you want to change the classification, you can do so at the column level:
Search or browse the data catalog for the table asset that contains the column you want to update.
Select Edit from the Overview tab.
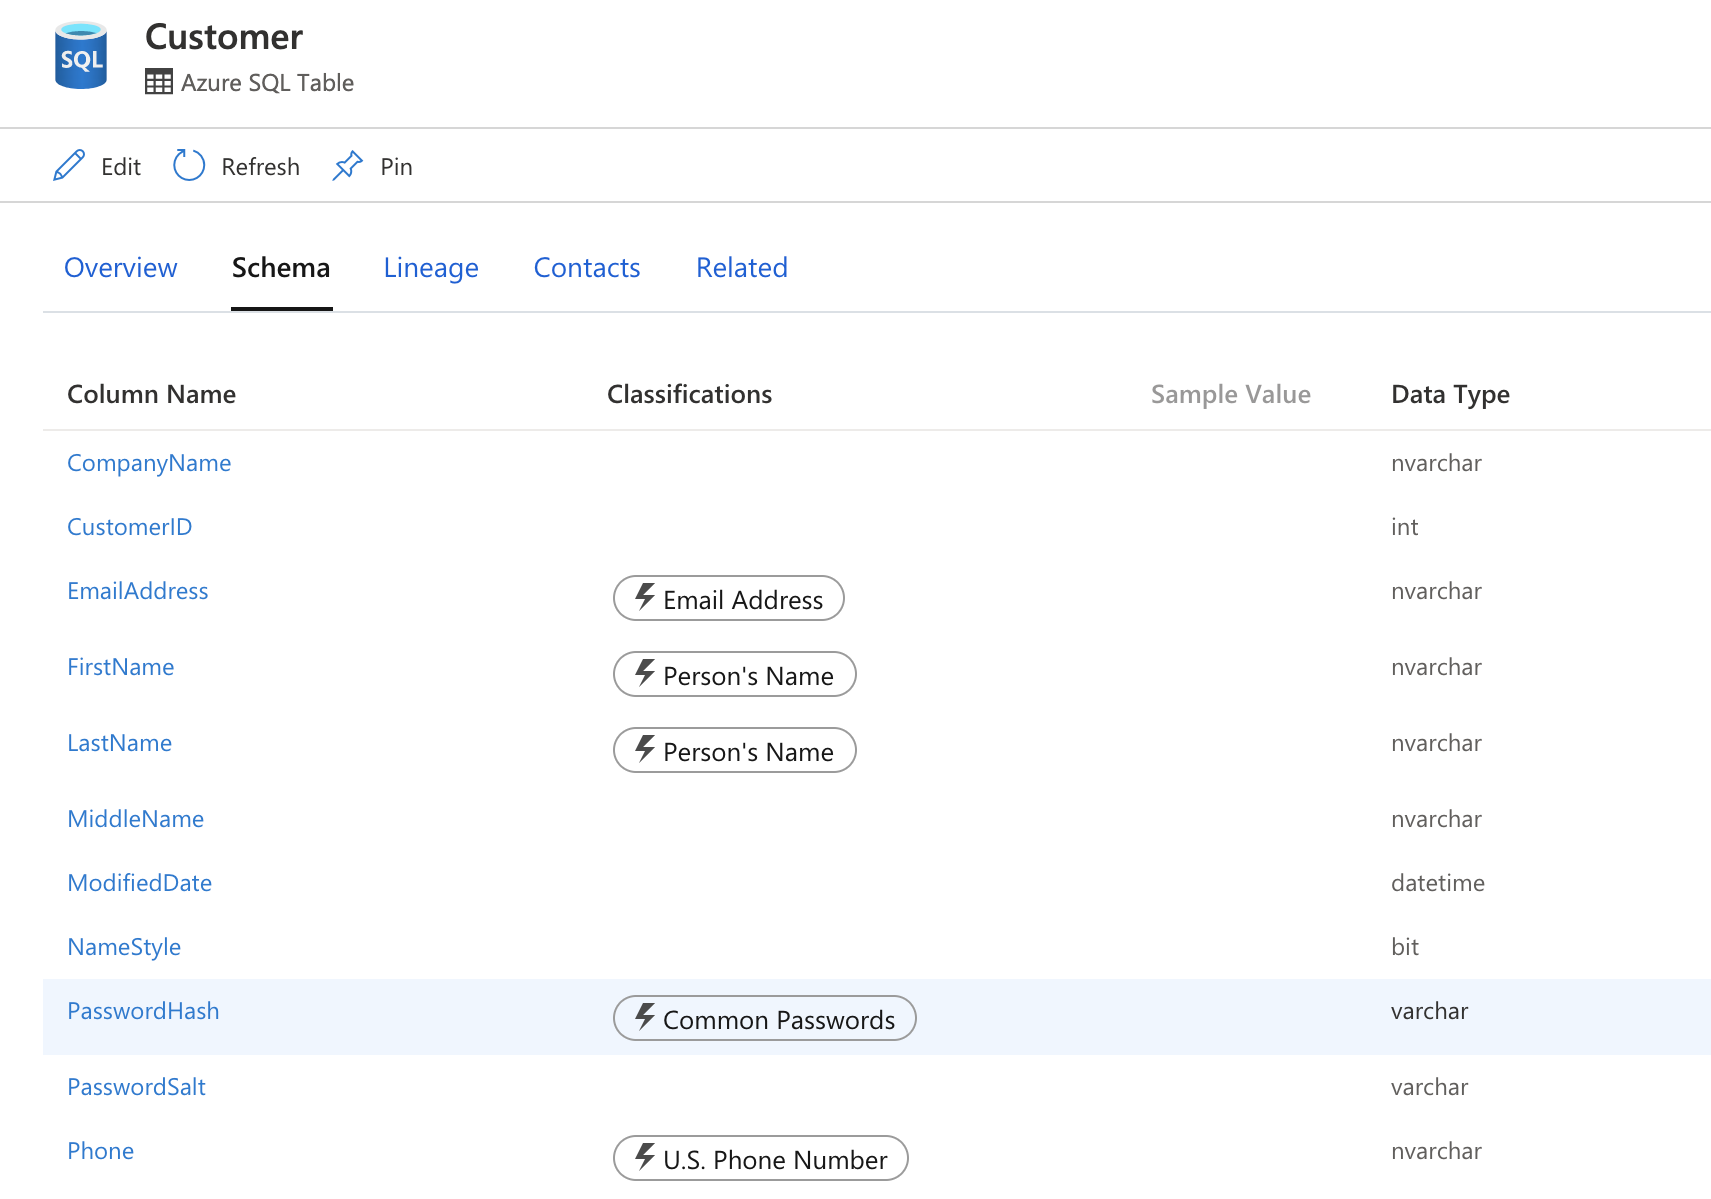
Select the Schema tab.
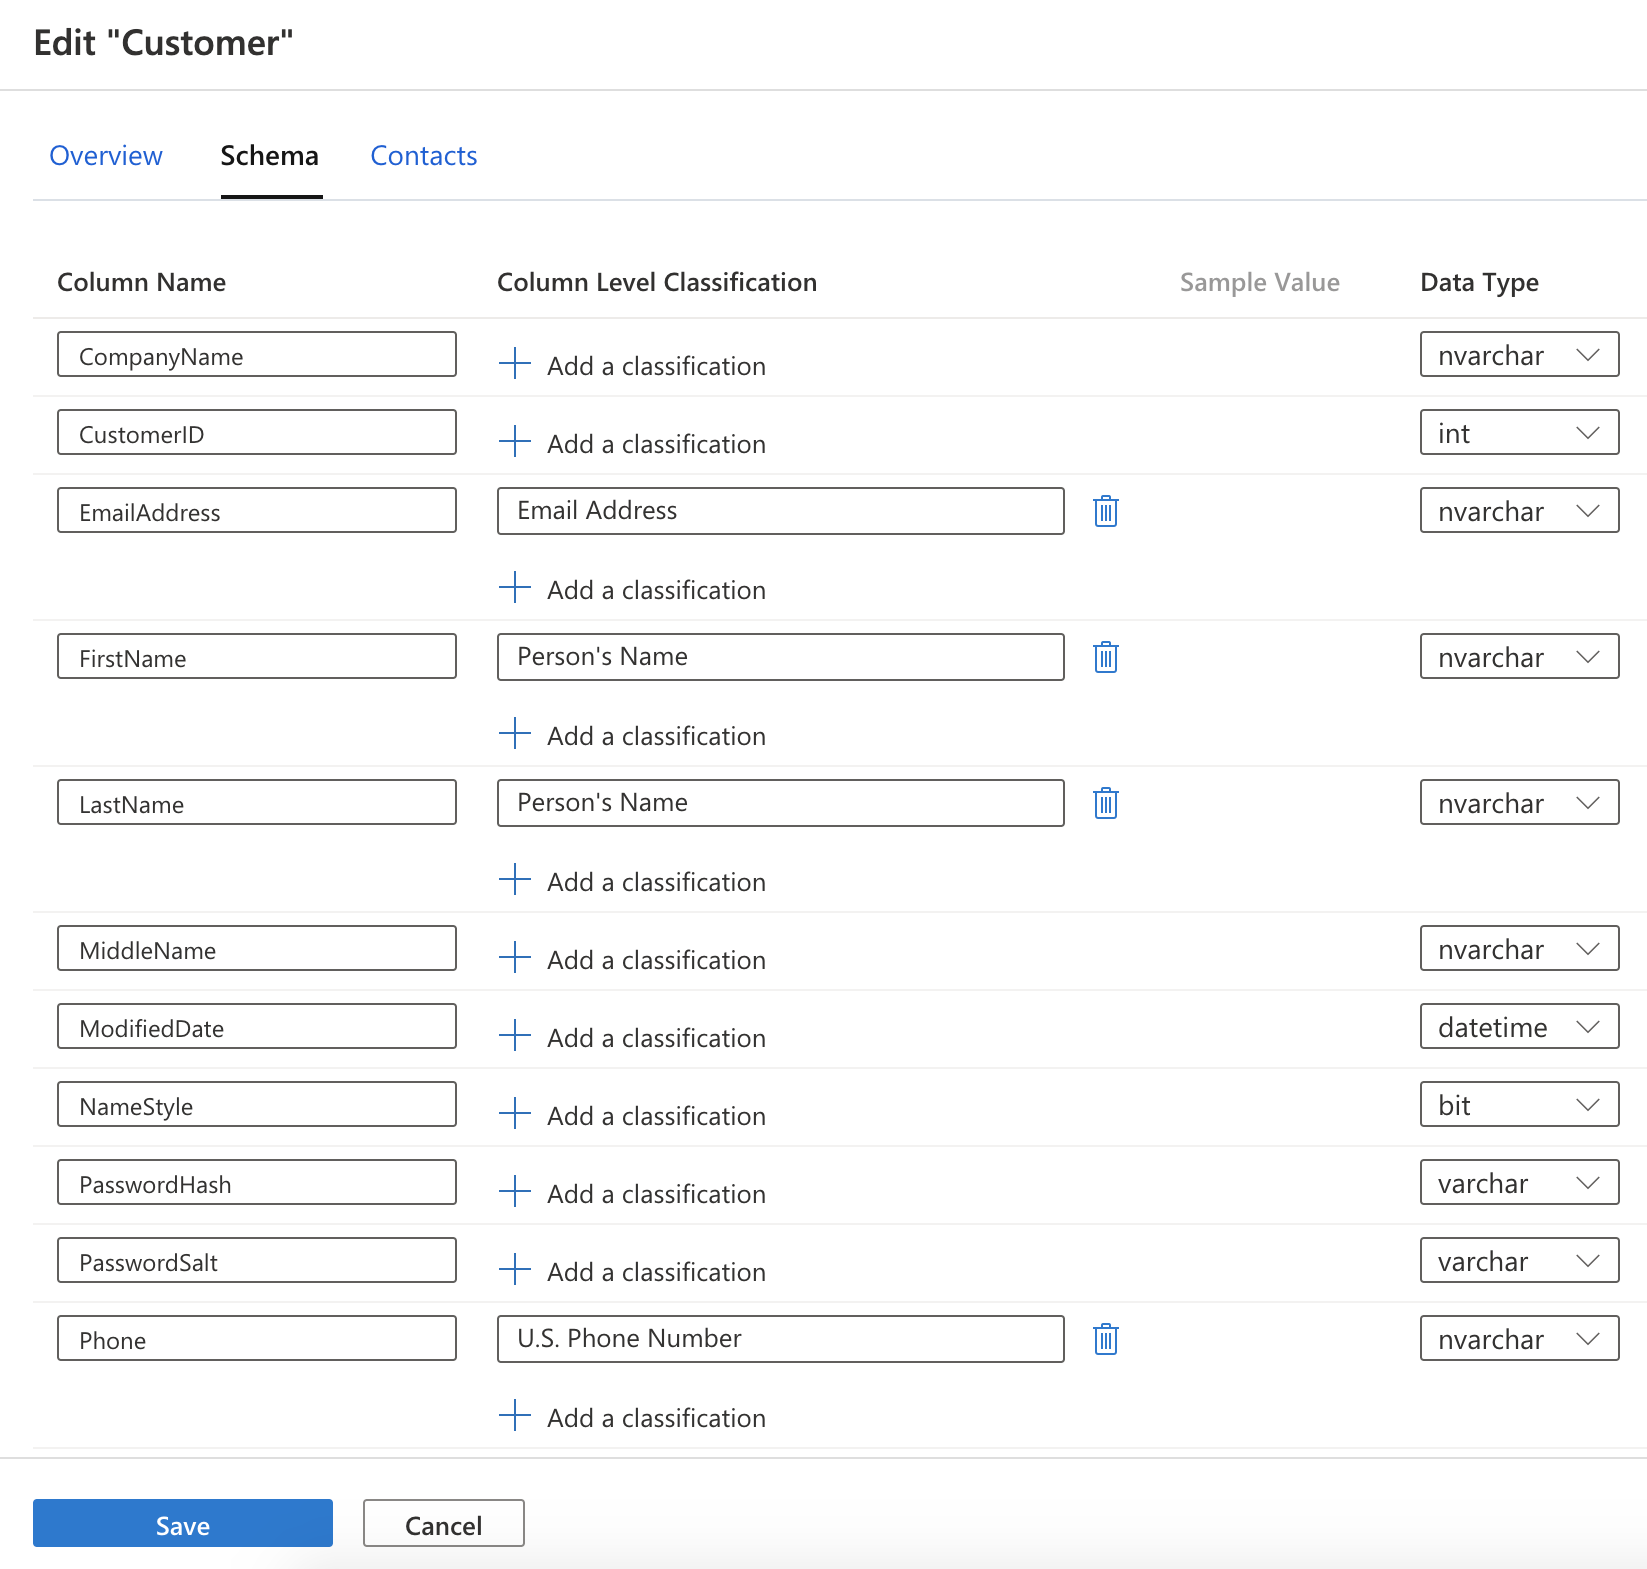
Identify the columns you're interested in and select Add a classification. This example adds a Common Passwords classification to the PasswordHash column.
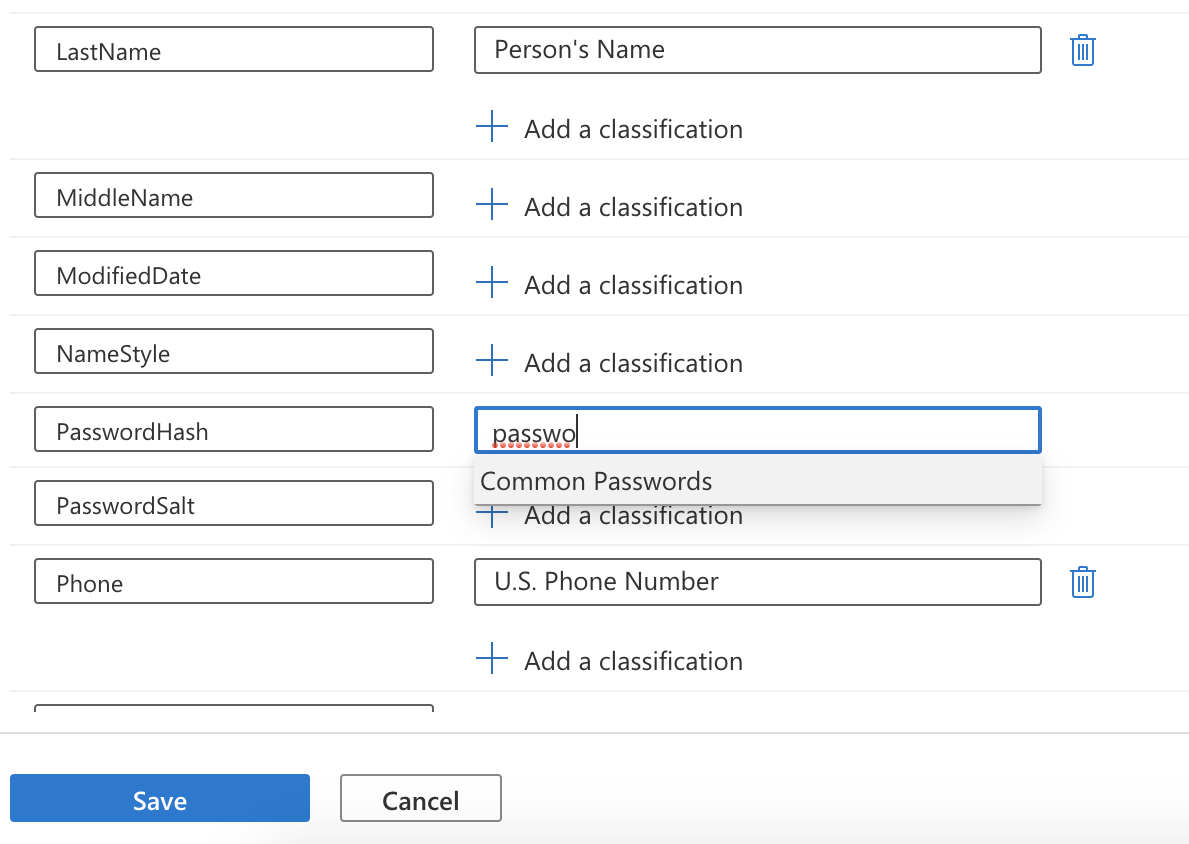
Select Save.
Select the Schema tab and confirm that the classification has been added to the column.


View classification details
Microsoft Purview captures important details like who applied a classification and when it was applied. To view the details, hover over the classification to revel the Classification details card. The classification details card shows the following information:
- Classification name - Name of the classification applied on the asset or column.
- Applied by - Who applied the classification. Possible values are scan and user name.
- Applied time - Local timestamp when the classification was applied via scan or manually.
- Classification type - System or custom.
Users with Data Curator role will see more details for classifications that were applied automatically via scan. These details will include sample count that the scanner read to classify the data and distinct data count in the sample that the scanner found.

Impact of rescanning on existing classifications
Classification tags are automatically applied the first time based on sampling your data and matching those samples against predefined RegEx patterns or dictionaries. Subsequent rescans can preserve, remove or incrementally add classification tags depending on several factors:
- A scan run does not remove classification tags that were manually applied.
- A scan run does not reapply classification tags that were manually removed.
- A later run of a scan that continues to use the same scan rule can update the classification tags.
- A scan run does not remove the classification tags that were applied by another scan run if the latter is based on a different scan rule.
Next steps
- To learn how to create a custom classification, see create a custom classification.
- To learn about how to automatically apply classifications, see automatically apply classifications.
Feedback
Coming soon: Throughout 2024 we will be phasing out GitHub Issues as the feedback mechanism for content and replacing it with a new feedback system. For more information see: https://aka.ms/ContentUserFeedback.
Submit and view feedback for