This article shows how to request increases for networking quotas from Azure Home or from My quotas, a centralized location where you can view your quota usage and request quota increases.
For quick access to request an increase, select Quotas on the Azure Home page.
If you don't see Quotas on Azure Home, type "quotas" in the search box, then select Quotas. The Quotas icon will then appear on your Home page the next time you visit.
You can also use the following options to view your network quota usage and limits:
Usage + quotas (in the left pane when viewing your subscription in the Azure portal)
Based on your subscription, you can typically request increases for these quotas:
Public IP Addresses
Public IP Addresses - Standard
Public IPv4 Prefix Length
Request networking quota increases
Follow these steps to request a networking quota increase from Azure Home. You must have an Azure account with the Contributor role (or another role that includes Contributor access).
From Azure Home, select Quotas and then select Microsoft.Network.
Find the quota you want to increase, then select the support icon.
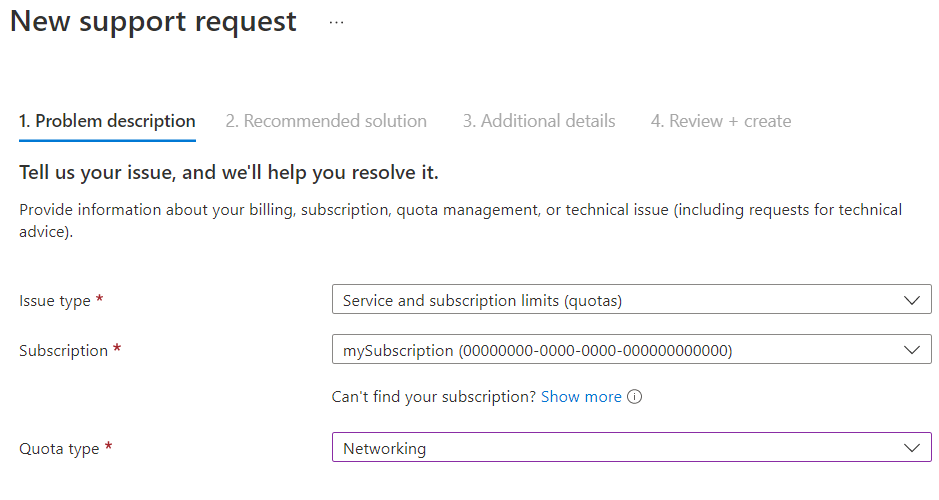
In the New support request form, on the Problem description screen, some fields will be pre-filled for you. In the Quota type list, select Networking, then select Next.
On the Additional details screen, under Provide details for the request, select Enter details.
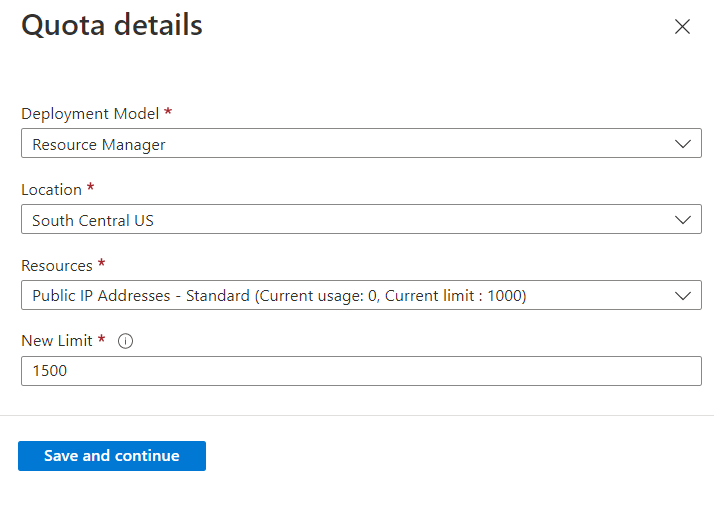
In the Quota details pane, enter the information for your request.
Important
To increase a static public IP address quota, select Other in the Resources list, then specify this information in the Details section.
Select Save and continue. The information you entered will appear in the Request summary under Problem details.
Continue to fill out the form, including your preferred contact method. When you're finished, select Next.
Review your quota increase request information, then select Create.
After your networking quota increase request has been submitted, a support engineer will contact you and assist you with the request.