Note
Access to this page requires authorization. You can try signing in or changing directories.
Access to this page requires authorization. You can try changing directories.
In this quickstart, you use the Create demo app wizard in the Azure portal to generate a downloadable, "localhost"-style web app that runs in a browser. Depending on how you configure it, the generated app is operational on first use, with a live read-only connection to an index on your search service. A default app can include a search bar, results area, sidebar filters, and typeahead support.
A demo app can help you visualize how an index will function in a client app, but it isn't intended for production scenarios. Production apps should include security, error handling, and hosting logic that the demo app doesn't provide.
Prerequisites
An Azure account with an active subscription. Create an account for free.
An Azure AI Search service. Create a service or find an existing service in your current subscription. For this quickstart, you can use a free service.
Microsoft Edge (latest version) or Google Chrome.
A search index to use as the basis of your generated application.
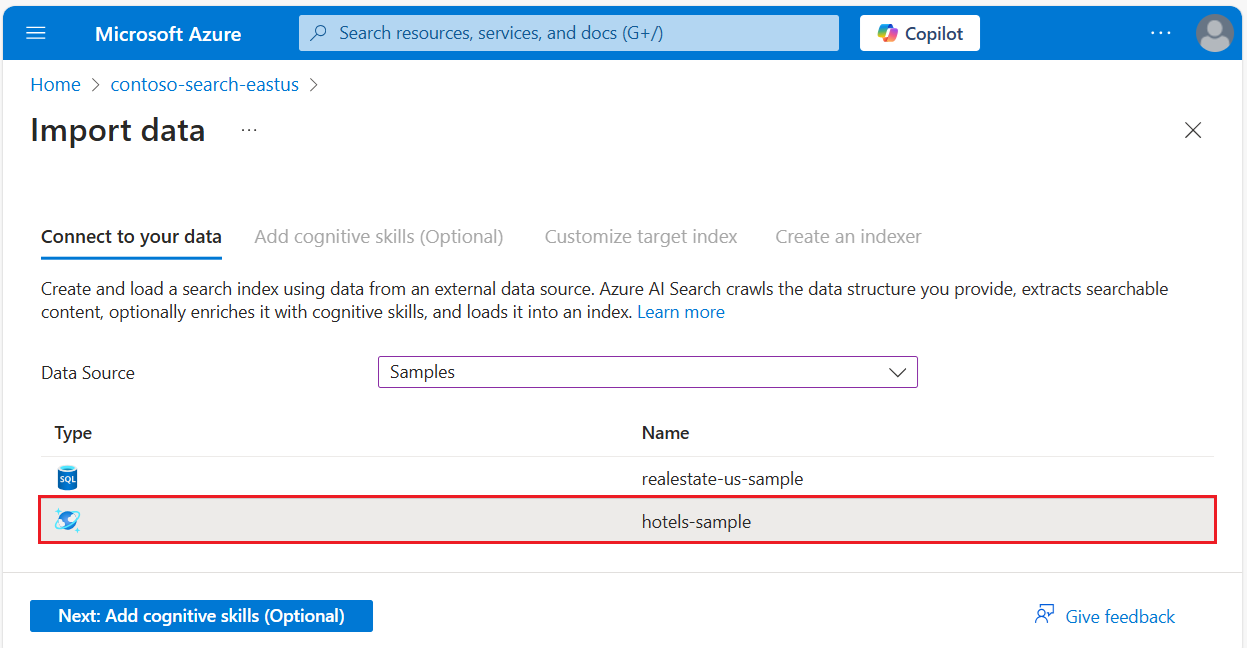
This quickstart uses the hotels-sample index. To create the index, run the Import data wizard, select the built-in sample data, and step through the wizard using all the default values.
When the index is ready to use, move on to the next step.
Start the wizard
Sign in to the Azure portal with your Azure account and find your search service.
Under Search Management > Indexes
Select hotels-sample-index.
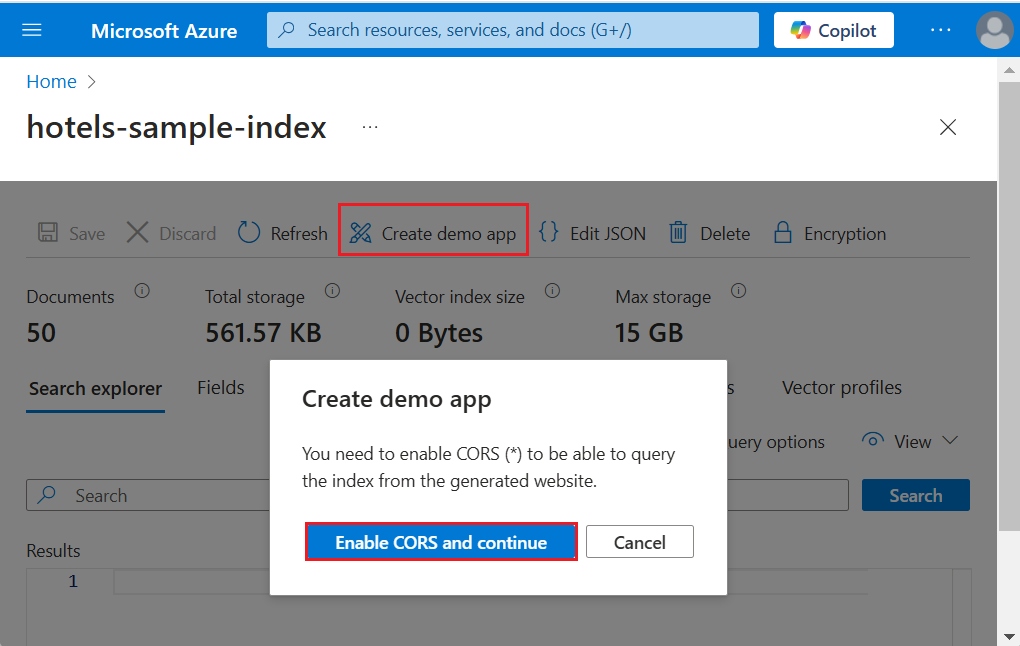
On the index page, at the top, select Create demo app to start the wizard.
On the first wizard page, select Enable Cross Origin Resource Sharing (CORS) to add CORS support to your index definition. This step is optional, but your local web app won't connect to the remote index without it.
Configure search results
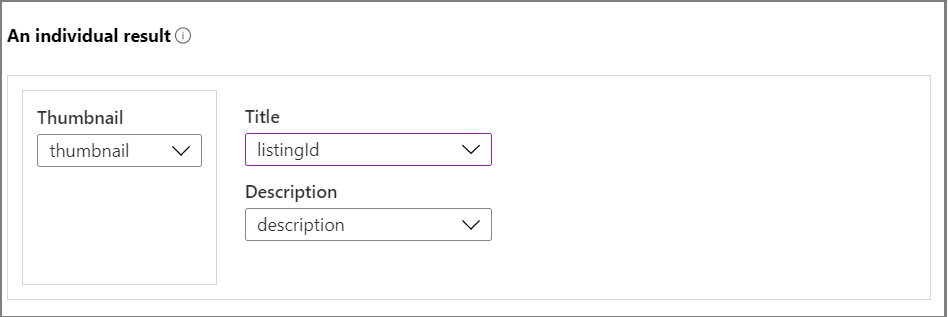
The wizard provides a basic layout for rendered search results that includes space for a thumbnail image, a title, and description. Backing each of these elements is a field in your index that provides the data.
Skip Thumbnail because this index doesn't have images, but if you have an index field that's populated with URLs resolving to publicly available images, you should specify that field for the thumbnail area. If your index doesn't have image URLs, leave this field blank.
In Title, choose a field that conveys the uniqueness of each document. In this sample, the Hotel Name is a reasonable selection.
In Description, choose a field that provides details that might help someone decide whether to drill down to that particular document. In this sample, the Description is a good candidate.

Add a sidebar
The search service supports faceted navigation, which is often rendered as a sidebar. Facets are based on filterable and facetable fields, as expressed in the index schema.
In Azure AI Search, faceted navigation is a cumulative filtering experience. Within a category, selecting multiple filters expands the results (for example, selecting Seattle and Bellevue within City). Across categories, selecting multiple filters narrows results.
Tip
You can view fields attributes on the Fields tab of the index in the Azure portal. Fields marked as filterable and facetable can be used in the sidebar
In the wizard, select the Sidebar tab at the top of the page. You should see a list of all fields that are attributed as filterable and facetable in the index.
Remove some of the fields to shorten the sidebar so that you don't have scroll in the finished app.
Add suggestions
Suggestions refer to automated query prompts that are attached to the search box. The demo app supports suggestions that provide a dropdown list of potential matching documents based on partial text inputs.
In this page, select fields for which suggested queries are provided. You should choose shorter string fields. Avoid verbose fields such as descriptions.
The following screenshot shows the suggestions page, juxtaposed with a rendered page in the app. You can see how field selections are used, and how "Show Field Name" is used to include or exclude labeling within the suggestion.

Create, download, and execute
Select Create demo app at the bottom of the page to generate the HTML file.
When prompted, select Download your app to download the file.
Open the file and select the Search button. This action executes a query, which can be an empty query (
*) that returns an arbitrary result set. The page should look similar to the following screenshot.Enter a term and use filters to narrow results. If you don't see suggested queries, check browser settings or try a different browser.

Clean up resources
When you're working in your own subscription, it's a good idea at the end of a project to identify whether you still need the resources you created. Resources left running can cost you money. You can delete resources individually or delete the resource group to delete the entire set of resources.
You can find and manage resources in the Azure portal, using the All resources or Resource groups link in the left-navigation pane.
Remember that a free service is limited to three indexes, indexers, and data sources. You can delete individual items in the Azure portal to stay under the limit.
Next step
The demo app is useful for prototyping because you can simulate an end-user experience without writing any JavaScript or front-end code. As you get closer to proof-of-concept in your own project, review the end-to-end code samples that more closely mimic a real-word app: