Note
Access to this page requires authorization. You can try signing in or changing directories.
Access to this page requires authorization. You can try changing directories.
Use the rapid application development environment of Power Apps to create a custom app for your searchable content in Azure AI Search.
In this tutorial, you learn how to:
- Connect to Azure AI Search
- Set up a query request
- Visualize results in a canvas app
If you don't have an Azure subscription, open a free account before you begin.
Prerequisites
Power Apps account with a premium license, such as a Power Apps per apps plan or a Power Apps per user plan.
Hotels-sample index hosted on your search service.
1 - Create a custom connector
A connector in Power Apps is a data source connection. In this step, create a custom connector to connect to a search index in the cloud.
Sign in to Power Apps.
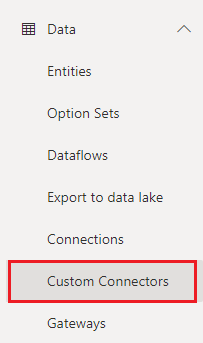
On the left, select Custom Connectors.
Select + New custom connector, and then select Create from blank.

Give your custom connector a name (for example, AzureSearchQuery), and then select Continue.
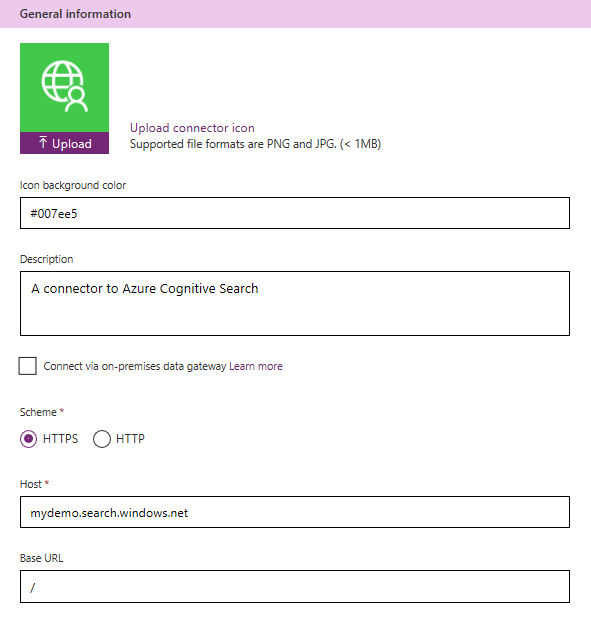
Enter information in the General Page:
- Icon background color (for instance, #007ee5)
- Description (for instance, "A connector to Azure AI Search")
- In the Host, enter your search service URL (such as
<yourservicename>.search.windows.net) - For Base URL, enter "/"
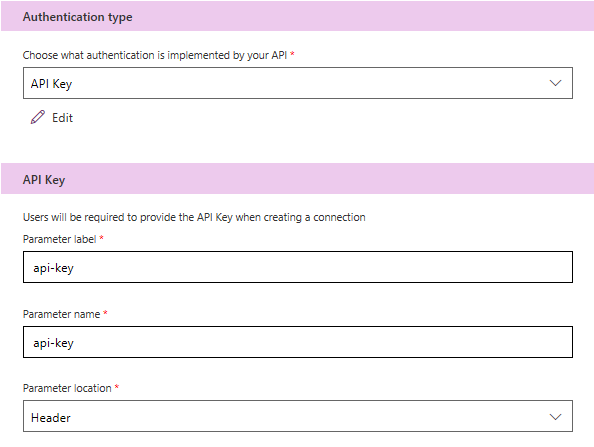
In the Security Page, set API Key as the Authentication Type, set both the parameter label and parameter name to api-key. For Parameter location, select Header as shown in the following screenshot.
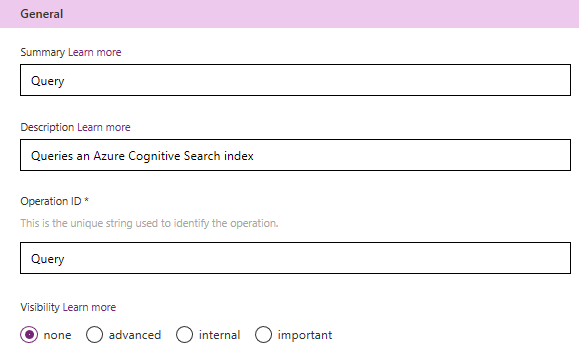
In the Definitions Page, select + New Action to create an action that queries the index. Enter the value "Query" for the summary and the name of the operation ID. Enter a description like "Queries the search index".
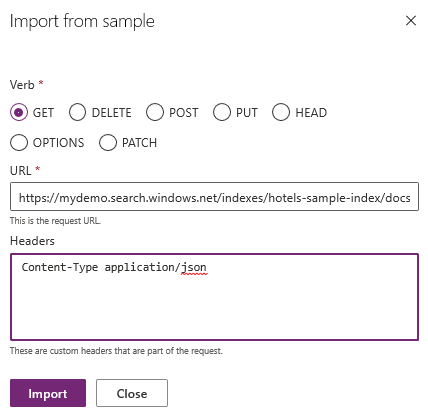
Scroll down. In Requests, select + Import from sample button to configure a query request to your search service:
Select the verb
GETFor the URL, enter a sample query for your search index (
search=*returns all documents,$select=lets you choose fields). The API version is required. Fully specified, a URL might look like the following example. Notice that thehttps://prefix is omitted.mydemo.search.windows.net/indexes/hotels-sample-index/docs?search=*&$select=HotelName,Description,Address/City&api-version=2024-07-01For Headers, type
Content-Type application/json.Power Apps uses the syntax in the URL to extract parameters from the query: search, select, and api-version parameters become configurable as you progress through the wizard.
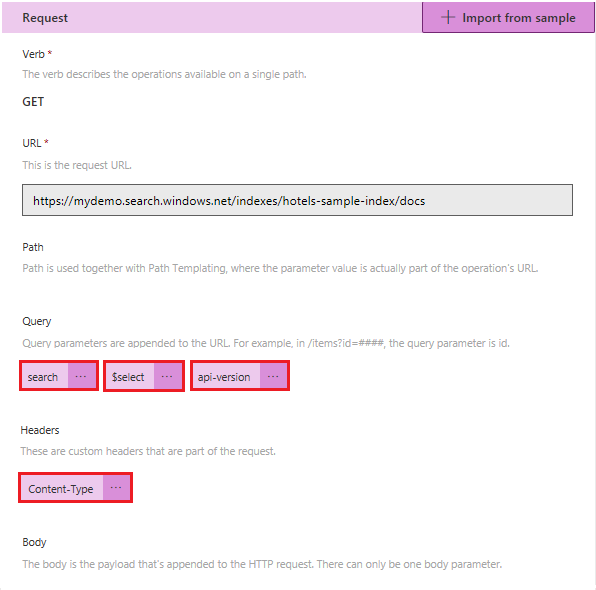
Select Import to autofill the Request. Complete setting the parameter metadata by clicking the ... symbol next to each of the parameters. Select Back to return to the Request page after each parameter update.
For search: Set
*as the default value, set required as False and set visibility to none.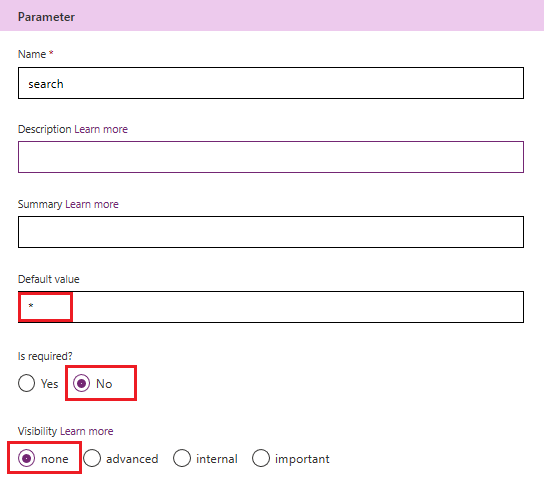
For select: Set
HotelName,Description,Address/Cityas the default value, set required to False, and set visibility to none.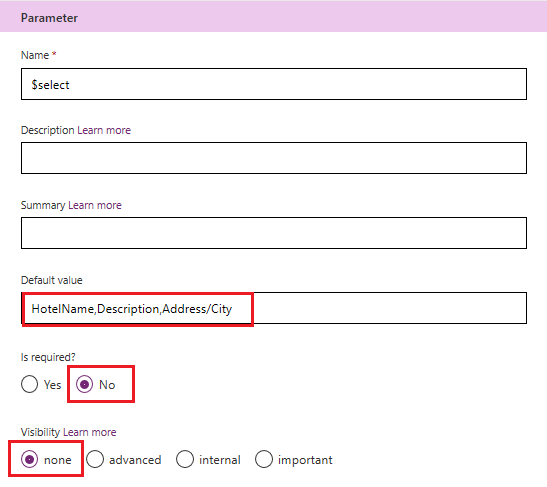
For api-version: Set
2024-07-01as the default value, set required to True, and set visibility as internal.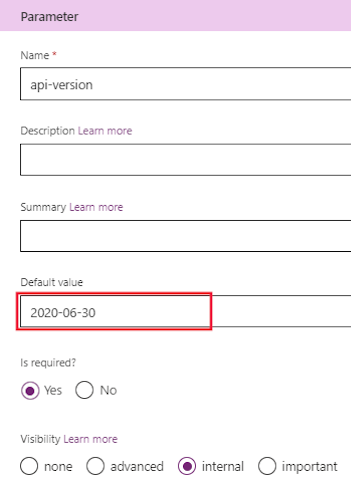
For Content-Type: Set to
application/json.After making these changes, toggle to the Swagger Editor view. In the parameters section you should see the following configuration:
parameters:
  - {name: search, in: query, required: false, type: string, default: '*'}
  - {name: $select, in: query, required: false, type: string, default: 'HotelName,Description,Address/City'}
  - {name: api-version, in: query, required: true, type: string, default: '2024-07-01',
    x-ms-visibility: internal}
  - {name: Content-Type, in: header, required: false, type: string}
Switch back to the wizard and return to the 3. Definition step. Scroll down to the Response section. Select "Add default response". This step is critical because it helps Power Apps understand the schema of the response.
Paste a sample response. An easy way to capture a sample response is through Search Explorer in the Azure portal. In Search Explorer, you should enter the same query as you did for the request, but add $top=2 to constrain results to just two documents:
search=*&$select=HotelName,Description,Address/City&$top=2.Power Apps only needs a few results to detect the schema. You can copy the following response into the wizard now, assuming you're using the hotels-sample-index.
{
    "@odata.context": "https://mydemo.search.windows.net/indexes('hotels-sample-index')/$metadata#docs(*)",
    "value": [
        {
            "@search.score": 1,
            "HotelName": "Happy Lake Resort & Restaurant",
            "Description": "The largest year-round resort in the area offering more of everything for your vacation – at the best value!  What can you enjoy while at the resort, aside from the mile-long sandy beaches of the lake? Check out our activities sure to excite both young and young-at-heart guests. We have it all, including being named “Property of the Year” and a “Top Ten Resort” by top publications.",
            "Address": {
                "City": "Seattle"
            }
        },
        {
            "@search.score": 1,
            "HotelName": "Grand Gaming Resort",
            "Description": "The Best Gaming Resort in the area.  With elegant rooms & suites, pool, cabanas, spa, brewery & world-class gaming.  This is the best place to play, stay & dine.",
            "Address": {
                "City": "Albuquerque"
            }
        }
    ]
}
Tip
There's a character limit to the JSON response you can enter, so you might want to simplify the JSON before pasting it. The schema and format of the response is more important than the values themselves. For example, the Description field could be simplified to just the first sentence.
Select Import to add the default response.
Select Create connector on the top right to save the definition.
Select Close to close the connector.
2 - Test the connection
When the connector is first created, you need to reopen it from the Custom Connectors list in order to test it. Later, if you make more updates, you can test from within the wizard.
Provide a query API key for this task. Each time a connection is created, whether for a test run or inclusion in an app, the connector needs the query API key used for connecting to Azure AI Search.
On the far left, select Custom Connectors.
Find your connector in the list (in this tutorial, is "AzureSearchQuery").
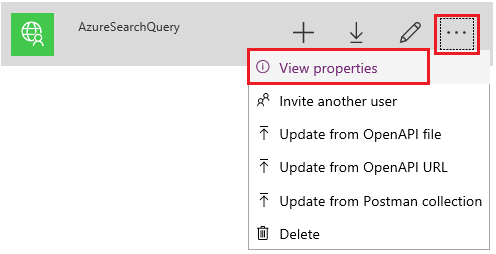
Select the connector, expand the actions list, and select View Properties.
In the drop-down list of operations, select 6. Test.
In Test Operation, select + New Connection.
Enter a query API key. This is an Azure AI Search query for read-only access to an index. You can find the key in the Azure portal.
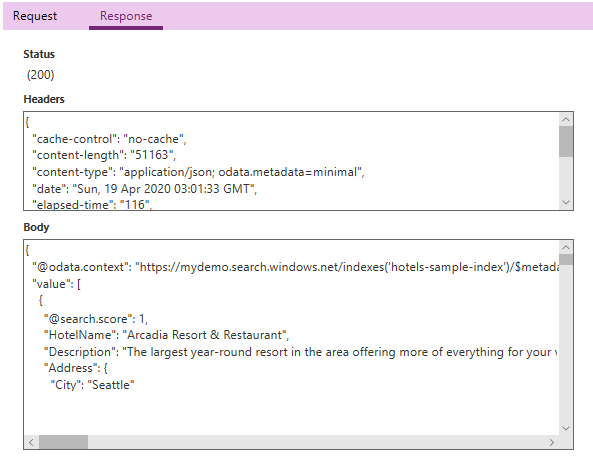
In Operations, select the Test operation button. If you're successful you should see a 200 status, and in the body of the response you should see JSON that describes the search results.
If the test fails, recheck the inputs. In particular, revisit the sample response and make sure it was created properly. The connector definition should show the expected items for the response.
If you're blocked by a Data Loss Prevention (DLP) policy error, review the error message for guidance. You might be able to modify the policy or make your connector nonblockable.
3 - Visualize results
In this step, create a Power App with a search box, a search button, and a display area for the results. The Power App will connect to the recently created custom connector to get the data from Azure Search.
On the left, expand Apps > New app > Start with a page design.
Select a Blank canvas with the Phone Layout. Give the app a name, such as "Hotel Finder". Select Create. The Power Apps Studio appears.
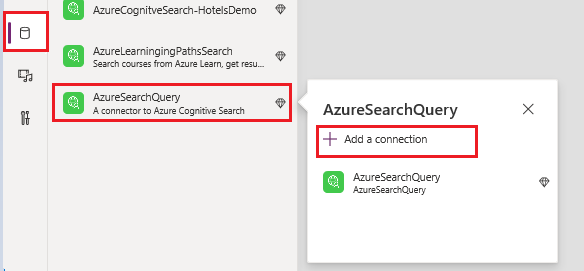
In the studio, select the Data tab, select Add data, and then find the new Connector you have just created. In this tutorial, it's called AzureSearchQuery. Select Add a connection.
Enter the query API key.
Now AzureSearchQuery is a data source that is available to be used from your application.
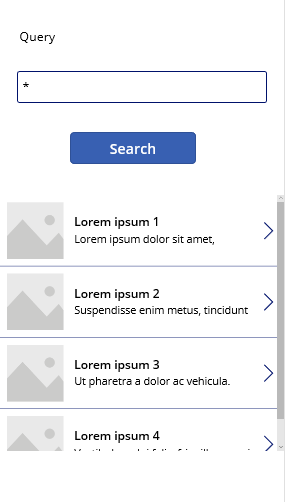
On the Insert tab, add a few controls to the canvas.

Insert the following elements:
- A Text Label with the value "Query:"
- A Text Input element (call it txtQuery, default value: "*")
- A button with the text "Search"
- A Vertical Gallery called (call it galleryResults)
The canvas should look something like this:
To make the Search button issue a query, paste the following action into OnSelect:
If(!IsBlank(txtQuery.Text),
    ClearCollect(azResult, AzureSearchQuery.Query({search: txtQuery.Text}).value))
The following screenshot shows the formula bar for the OnSelect action.
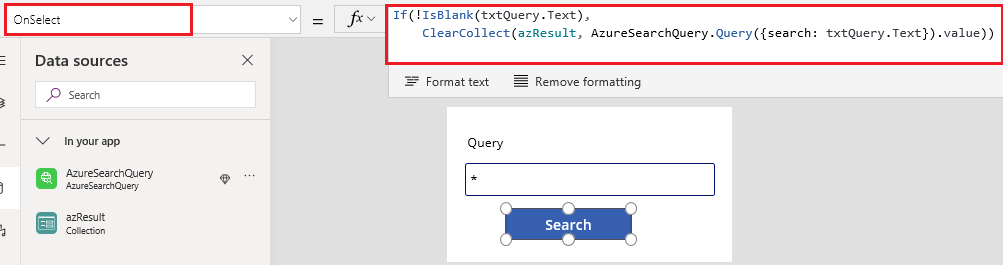
This action causes the button to update a new collection called azResult with the result of the search query, using the text in the txtQuery text box as the query term.
Note
Try this if you get a formula syntax error "The function 'ClearCollect' has some invalid functions":
First, make sure the connector reference is correct. Clear the connector name and begin typing the name of your connector. Intellisense should suggest the right connector and verb.
If the error persists, delete and recreate the connector. If there are multiple instances of a connector, the app might be using the wrong one.
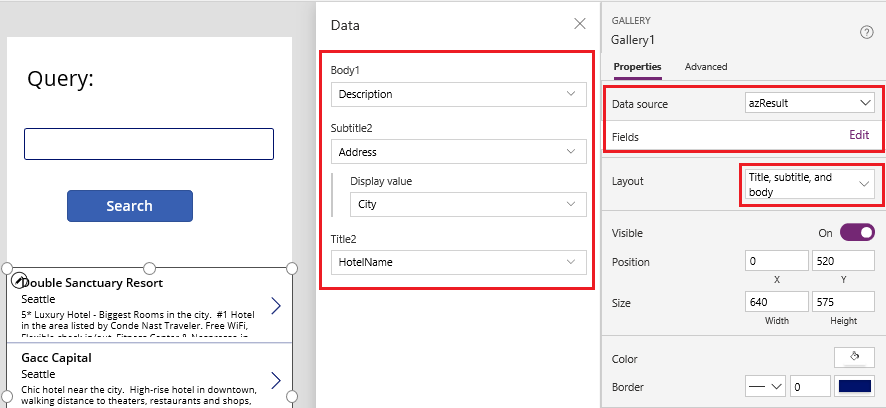
Link the Vertical Gallery control to the azResult collection that was created when you completed the previous step.
Select the gallery control, and perform the following actions in the properties pane.
- Set DataSource to azResult.
- Select a Layout that works for you based on the type of data in your index. In this case, we used the Title, subtitle and body layout.
- Edit Fields, and select the fields you would like to visualize.
Since we provided a sample result when we defined the connector, the app is aware of the fields available in your index.
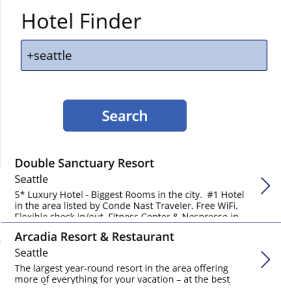
Press F5 to preview the app.
Clean up resources
When you're working in your own subscription, it's a good idea at the end of a project to identify whether you still need the resources you created. Resources left running can cost you money. You can delete resources individually or delete the resource group to delete the entire set of resources.
You can find and manage resources in the Azure portal, using the All resources or Resource groups link in the left-navigation pane.
Remember that a free search service is limited to three indexes, indexers, and data sources. You can delete individual items in the Azure portal to stay under the limit.
Next steps
Power Apps enables the rapid application development of custom apps. Now that you know how to connect to a search index, learn more about creating a rich visualize experience in a custom Power App.