Migrate an application to use passwordless connections with Azure Service Bus
Application requests to Azure Service Bus must be authenticated using either account access keys or passwordless connections. However, you should prioritize passwordless connections in your applications when possible. This tutorial explores how to migrate from traditional authentication methods to more secure, passwordless connections.
Security risks associated with access keys
The following code example demonstrates how to connect to Azure Service Bus using a connection string that includes an access key. When you create a Service Bus, Azure generates these keys and connection strings automatically. Many developers gravitate towards this solution because it feels familiar to options they've worked with in the past. If your application currently uses connection strings, consider migrating to passwordless connections using the steps described in this document.
Connection strings should be used with caution. Developers must be diligent to never expose the keys in an unsecure location. Anyone who gains access to the key is able to authenticate. For example, if an account key is accidentally checked into source control, sent through an unsecure email, pasted into the wrong chat, or viewed by someone who shouldn't have permission, there's risk of a malicious user accessing the application. Instead, consider updating your application to use passwordless connections.
Migrate to passwordless connections
Many Azure services support passwordless connections through Microsoft Entra ID and Role Based Access control (RBAC). These techniques provide robust security features and can be implemented using DefaultAzureCredential from the Azure Identity client libraries.
Important
Some languages must implement DefaultAzureCredential explicitly in their code, while others utilize DefaultAzureCredential internally through underlying plugins or drivers.
DefaultAzureCredential supports multiple authentication methods and automatically determines which should be used at runtime. This approach enables your app to use different authentication methods in different environments (local dev vs. production) without implementing environment-specific code.
The order and locations in which DefaultAzureCredential searches for credentials can be found in the Azure Identity library overview and varies between languages. For example, when working locally with .NET, DefaultAzureCredential will generally authenticate using the account the developer used to sign-in to Visual Studio, Azure CLI, or Azure PowerShell. When the app is deployed to Azure, DefaultAzureCredential will automatically discover and use the managed identity of the associated hosting service, such as Azure App Service. No code changes are required for this transition.
Note
A managed identity provides a security identity to represent an app or service. The identity is managed by the Azure platform and does not require you to provision or rotate any secrets. You can read more about managed identities in the overview documentation.
The following code example demonstrates how to connect to Service Bus using passwordless connections. The next section describes how to migrate to this setup for a specific service in more detail.
A .NET application can pass an instance of DefaultAzureCredential into the constructor of a service client class. DefaultAzureCredential will automatically discover the credentials that are available in that environment.
client = new ServiceBusClient(
    "<NAMESPACE-NAME>.servicebus.windows.net",
    new DefaultAzureCredential());
Steps to migrate an app to use passwordless authentication
The following steps explain how to migrate an existing application to use passwordless connections instead of a key-based solution. You'll first configure a local development environment, and then apply those concepts to an Azure app hosting environment. These same migration steps should apply whether you're using access keys directly, or through connection strings.
Configure roles and users for local development authentication
When developing locally, make sure that the user account that is accessing Service Bus has the correct permissions. In this example you'll use the Azure Service Bus Data Owner role to send and receive data, though more granular roles are also available. To assign yourself this role, you'll need to be assigned the User Access Administrator role, or another role that includes the Microsoft.Authorization/roleAssignments/write action. You can assign Azure RBAC roles to a user using the Azure portal, Azure CLI, or Azure PowerShell. You can learn more about the available scopes for role assignments on the scope overview page.
In this scenario, you'll assign permissions to your user account scoped to a specific Service Bus namespace, to follow the Principle of Least Privilege. This practice gives users only the minimum permissions needed and creates more secure production environments.
The following example will assign the Azure Service Bus Data Owner role to your user account, which allows you to send and receive data.
Important
In most cases it will take a minute or two for the role assignment to propagate in Azure, but in rare cases it may take up to eight minutes. If you receive authentication errors when you first run your code, wait a few moments and try again.
In the Azure portal, locate your Service Bus namespace using the main search bar or left navigation.
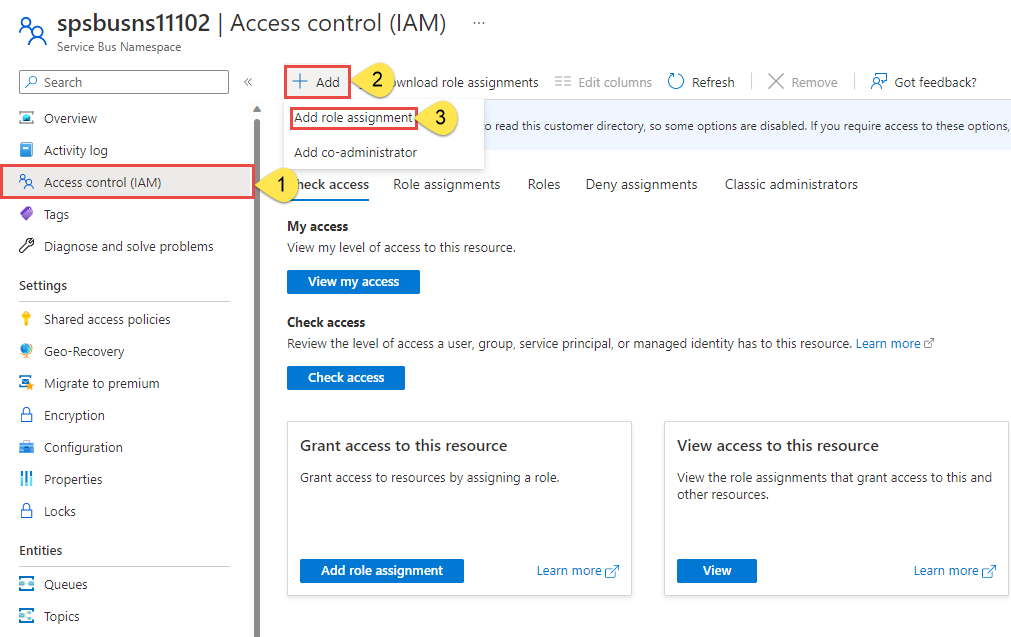
On the Service Bus overview page, select Access control (IAM) from the left-hand menu.
On the Access control (IAM) page, select the Role assignments tab.
Select + Add from the top menu and then Add role assignment from the resulting drop-down menu.
Use the search box to filter the results to the desired role. For this example, search for Azure Service Bus Data Owner and select the matching result and then choose Next.
Under Assign access to, select User, group, or service principal, and then choose + Select members.
In the dialog, search for your Microsoft Entra username (usually your user@domain email address) and then choose Select at the bottom of the dialog.
Select Review + assign to go to the final page, and then Review + assign again to complete the process.
Sign-in and migrate the app code to use passwordless connections
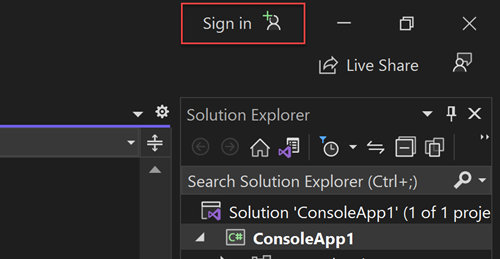
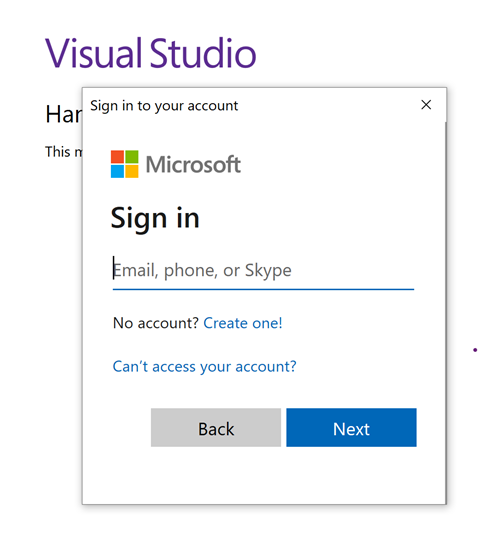
For local development, make sure you're authenticated with the same Microsoft Entra account you assigned the role to for the Service Bus namespace. You can authenticate via the Azure CLI, Visual Studio, Azure PowerShell, or other tools such as IntelliJ.
For local development, make sure you're authenticated with the same Microsoft Entra account you assigned the role to. You can authenticate via popular development tools, such as the Azure CLI or Azure PowerShell. The development tools with which you can authenticate vary across languages.
Sign-in to Azure through the Azure CLI using the following command:
az login
Next, update your code to use passwordless connections.
To use
DefaultAzureCredentialin a .NET application, install theAzure.Identitypackage:dotnet add package Azure.IdentityAt the top of your file, add the following code:
using Azure.Identity;Identify the code that creates a
ServiceBusClientobject to connect to Azure Service Bus. Update your code to match the following example:var serviceBusNamespace = $"https://{namespace}.servicebus.windows.net"; ServiceBusClient client = new( serviceBusNamespace, new DefaultAzureCredential());
Run the app locally
After making these code changes, run your application locally. The new configuration should pick up your local credentials, such as the Azure CLI, Visual Studio, or IntelliJ. The roles you assigned to your local dev user in Azure will allow your app to connect to the Azure service locally.
Configure the Azure hosting environment
Once your application is configured to use passwordless connections and runs locally, the same code can authenticate to Azure services after it's deployed to Azure. For example, an application deployed to an Azure App Service instance that has a managed identity enabled can connect to Azure Service Bus.
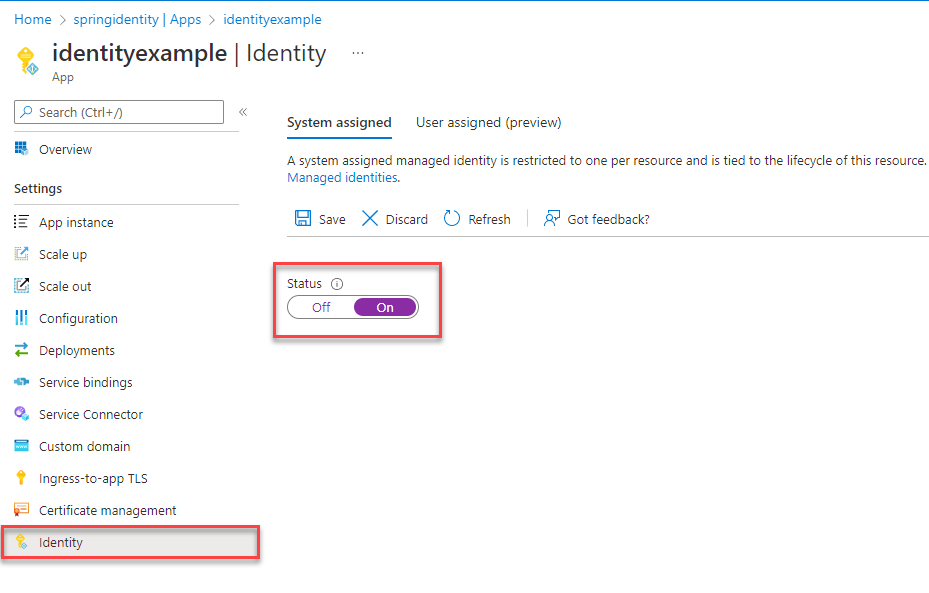
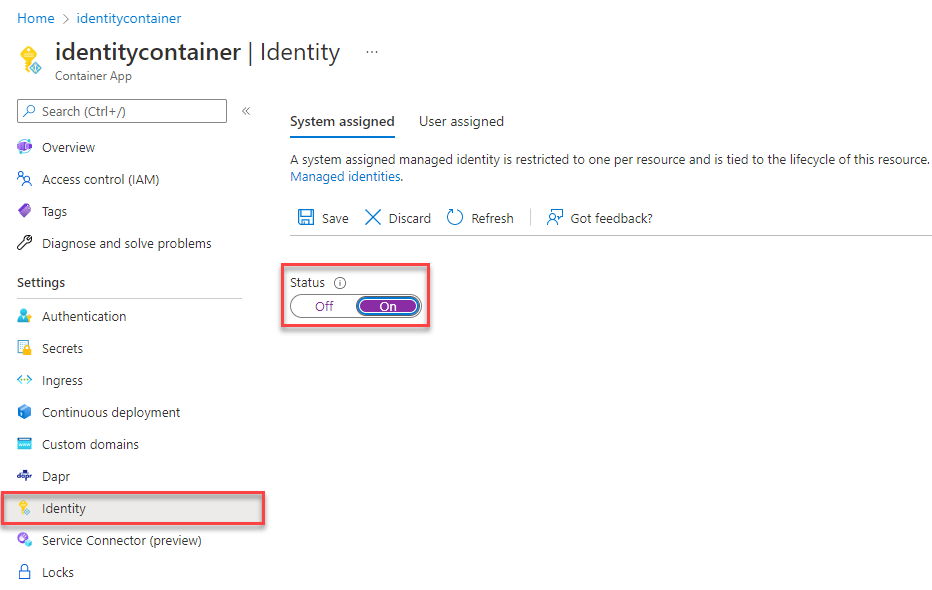
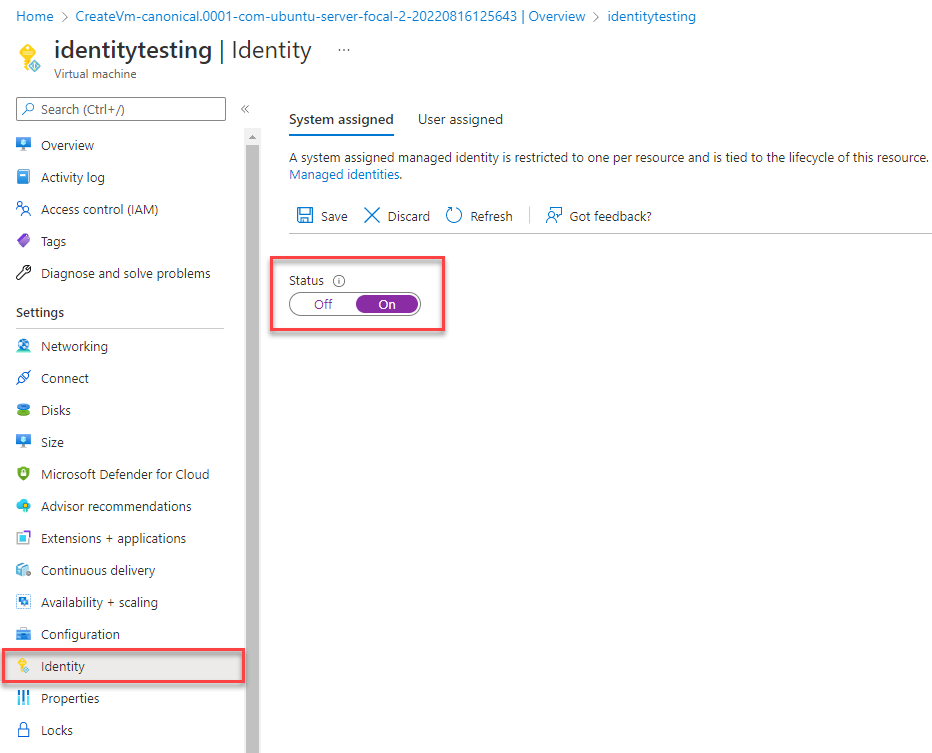
Create the managed identity using the Azure portal
The following steps demonstrate how to create a system-assigned managed identity for various web hosting services. The managed identity can securely connect to other Azure Services using the app configurations you set up previously.
Some app hosting environments support Service Connector, which helps you connect Azure compute services to other backing services. Service Connector automatically configures network settings and connection information. You can learn more about Service Connector and which scenarios are supported on the overview page.
The following compute services are currently supported:
- Azure App Service
- Azure Spring Cloud
- Azure Container Apps (preview)
For this migration guide you'll use App Service, but the steps are similar on Azure Spring Apps and Azure Container Apps.
Note
Azure Spring Apps currently only supports Service Connector using connection strings.
On the main overview page of your App Service, select Service Connector from the left navigation.
Select + Create from the top menu and the Create connection panel will open. Enter the following values:
- Service type: Choose Service bus.
- Subscription: Select the subscription you would like to use.
- Connection Name: Enter a name for your connection, such as connector_appservice_servicebus.
- Client type: Leave the default value selected or choose the specific client you'd like to use.
Select Next: Authentication.
Make sure System assigned managed identity (Recommended) is selected, and then choose Next: Networking.
Leave the default values selected, and then choose Next: Review + Create.
After Azure validates your settings, select Create.
The Service Connector will automatically create a system-assigned managed identity for the app service. The connector will also assign the managed identity a Azure Service Bus Data Owner role for the service bus you selected.

Alternatively, you can also enable managed identity on an Azure hosting environment using the Azure CLI.
- Service Connector
- Azure App Service
- Azure Spring Apps
- Azure Container Apps
- Azure Virtual Machines
- Azure Kubernetes Service
You can use Service Connector to create a connection between an Azure compute hosting environment and a target service using the Azure CLI. The CLI automatically handles creating a managed identity and assigns the proper role, as explained in the portal instructions.
If you're using an Azure App Service, use the az webapp connection command:
az webapp connection create servicebus \
    --resource-group <resource-group-name> \
    --name <webapp-name> \
    --target-resource-group <target-resource-group-name> \
    --namespace <target-service-bus-namespace> \
    --system-identity
If you're using Azure Spring Apps, use the az spring connection command:
az spring connection create servicebus \
    --resource-group <resource-group-name> \
    --service <service-instance-name> \
    --app <app-name> \
    --deployment <deployment-name> \
    --target-resource-group <target-resource-group> \
    --namespace <target-service-bus-namespace> \
    --system-identity
If you're using Azure Container Apps, use the az containerapp connection command:
az containerapp connection create servicebus \
    --resource-group <resource-group-name> \
    --name <webapp-name> \
    --target-resource-group <target-resource-group-name> \
    --namespace <target-service-bus-namespace> \
    --system-identity
Assign roles to the managed identity
Next, you need to grant permissions to the managed identity you created to access your Service Bus. You can do this by assigning a role to the managed identity, just like you did with your local development user.
If you connected your services using the Service Connector you don't need to complete this step. The necessary configurations were handled for you:
If you selected a managed identity while creating the connection, a system-assigned managed identity was created for your app and assigned the Azure Service Bus Data Owner role on the Service Bus.
If you selected connection string, the connection string was added as an app environment variable.


Test the app
After making these code changes, browse to your hosted application in the browser. Your app should be able to connect to the Service Bus successfully. Keep in mind that it may take several minutes for the role assignments to propagate through your Azure environment. Your application is now configured to run both locally and in a production environment without the developers having to manage secrets in the application itself.
Next steps
In this tutorial, you learned how to migrate an application to passwordless connections.
Feedback
Coming soon: Throughout 2024 we will be phasing out GitHub Issues as the feedback mechanism for content and replacing it with a new feedback system. For more information see: https://aka.ms/ContentUserFeedback.
Submit and view feedback for