Note
Access to this page requires authorization. You can try signing in or changing directories.
Access to this page requires authorization. You can try changing directories.
Azure SRE Agent helps you manage and monitor Azure resources by using AI-enabled capabilities. Agents guide you in solving problems and building resilient, self-healing systems.
In this tutorial, you:
- Deploy a sample app by using Azure Container Apps in the Azure portal.
- Create an agent to monitor the container app.
- Intentionally misconfigure the container app.
- Use AI-driven prompts to troubleshoot and fix errors.
Important
This tutorial features an AI-enabled service powered by a language model. The procedural steps reflect how the model is expected to respond. However, the responses that you encounter in your agent might differ from the examples in this tutorial. Use the example prompts to help achieve your goals.
Prerequisites
To create an agent, you need to grant your agent the correct permissions, configure the correct settings, and grant access to the right resources:
Azure account: You need an Azure account with an active subscription. If you don't already have one, you can create an account for free.
Security context: Make sure that your user account has the
Microsoft.Authorization/roleAssignments/writepermissions as either Role Based Access Control Administrator or User Access Administrator.Firewall settings: Add
*.azuresre.aito the allowlist in your firewall settings. Some networking profiles might block access to*.azuresre.aidomain by default.
1. Create a container app
Begin by creating an app for your agent to monitor:
Sign in to the Azure portal.
On the search bar, search for Container Apps, and then select it in the results.
Select Create > Container App.
On the Basics tab, take the following actions.
In the Project details section, enter these values:
Setting Action Subscription Select your Azure subscription. Resource group Select Create new and enter my-aca-app-group. Container app name Enter my-container-app. Deployment source Select Container image. In the Container Apps Environment section, enter these values:
Setting Action Region Select a region near you. Container Apps Environment Use the default value. Select the Container tab.
Select the Use quickstart image checkbox.
Deploy the container app
Select Review and create.
If Azure Container Apps finds no errors, the Create button is available.
If the service finds errors, any tab that contains errors is marked with a red dot. Go to the appropriate tab. Fields that contain an error are highlighted in red. After you fix all errors, select Review and create again.
Select Create.
A dialog with the message Deployment is in progress appears. When the deployment is complete, the message Your deployment is complete appears.
Verify deployment
To view your new container app in a browser:
Select Go to resource.
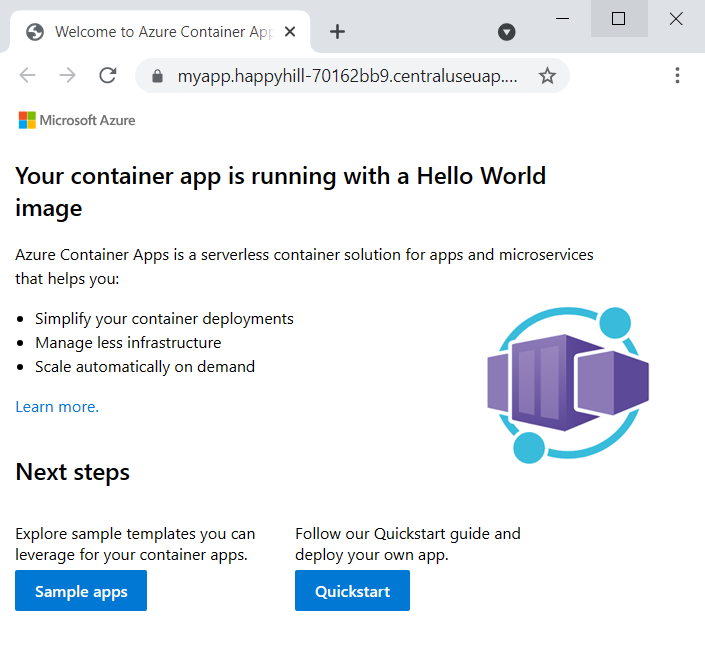
Select the link next to Application URL.
A message about your app appears in your browser.
2. Create an agent
Next, create an agent to monitor the my-aca-app-group resource group:
Follow the link provided in your onboarding email to access SRE Agent in the Azure portal.
Select Create.
On the Create agent pane, enter the following values. During this step, you create a new resource group specifically for your agent. It's independent of the resource group for your application.
In the Project details section, enter these values:
Property Value Subscription Select your Azure subscription. Resource group Enter my-sre-agent-group. In the Agent details section, enter these values:
Property Value Agent name Enter my-aca-sre-agent. Region Select East US 2. In the Managed resource groups section, choose the Select resource groups button.
On the Select resource groups to monitor pane, search for the resource group that you want to monitor.
Note
Avoid selecting the resource group link.
Select the checkbox next to the my-aca-app-group resource group.
Scroll to the bottom of the pane and select Save.
Select Create.
A dialog with the message Deployment is in progress appears.
When the deployment is complete, select Chat with agent.
3. Chat with your agent
Your agent has access to any resource inside the resource group that's associated with the agent. Use the chat feature to inquire about and resolve problems related to your resources.
In the chat box, give your agent the following command:
List my container appsThe agent responds with details about the container app deployed in the my-aca-app-group resource group.
Now that you have an agent that sees your container app, you can create an opportunity for the agent to make a repair on your behalf.
4. Break the app
By introducing a typo into the container image tag, you bring the app down so that the agent can bring it back up:
In the Azure portal, go to your container app.
On the side menu, under Application, select Revisions and replicas.
Select Create new revision.
Select the container name that begins with simple-hello-world.
On the Edit container pane, append
1to the value in the Image and tag box.The value should now read
k8se/quickstart:latest1.Select Save to close the Edit container pane.
Select Create to create the new revision.
After you create the new revision, you return to the Revisions and replicas pane.
Select Refresh to see your new revision in the list.
Wait for the deployment to fail, as reported in the Running status column.
5. Roll back to fix your app
In the Azure portal, search for and select SRE Agent.
In the list, select my-aca-sre-agent to open a chat environment.
In the chat box, give your agent the following command and wait for a response:
What's wrong with my-container-app?From here, the agent recognizes that the tag name is invalid. Although every chat session is different, the response should resemble the following example:
⚠️ I found a potential issue with crs-aca-app:
- The container image specified is:
mcr.microsoft.com/k8se/quickstart:latest1
This image tag (
latest1) looks unusual. The typical image tag islatest, notlatest1. If this image does not exist in the registry, your container app will fail to pull and start the container, even though the provisioning state may show as "Succeeded" and the status as "Running" at the platform level.Recommendation: Check and update the container image reference for crs-aca-app to use a valid tag (such as
latest) iflatest1is not intentional or does not exist.Would you like help correcting the image tag or need to investigate further into logs or events for this app?
- The container image specified is:
In the chat box, respond with yes to approve the request to fix the problem.
If your agent doesn't respond with a yes-or-no question, you can give your agent the following command and wait for a response:
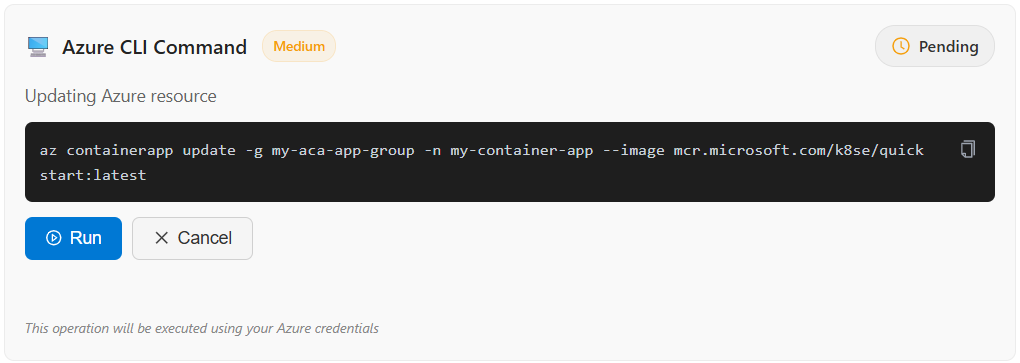
Roll back to the last working version.As the agent concludes the rollback analysis, it asks you for approval to execute the rollback operation.
Select Approve to approve the action to fix your container app.
After the rollback is successful, a response similar to this example should appear:
✅ The container app my-container-app is now healthy! The image was successfully updated and the app is running with 1 ready replica.
6. Verify the repair
Now you can prompt your agent to return your app's fully qualified domain name (FQDN) so that you can verify a successful deployment:
In the chat box, enter the following prompt:
What is the FQDN for this container app?

Format your response as a clickable link.
To verify that your container app is working properly, select the link to open your app in a web browser.
Clean up resources
If you no longer need the container app that you created in this tutorial, you can delete it and all the associated services by removing their resource groups.
Use the following steps for both the my-aca-app-group and my-sre-agent-group resource groups:
In the Azure portal, go to the resource group.
In the Overview section, select Delete resource group.
In the confirmation dialog, enter the name of the resource group.
Select Delete.
The process to delete the resource group can take a few minutes to complete.