Note
Access to this page requires authorization. You can try signing in or changing directories.
Access to this page requires authorization. You can try changing directories.
In this tutorial, learn to deploy a Next.js generated static website to Azure Static Web Apps. For more information about Next.js specifics, see the starter template readme.
Prerequisites
- An Azure account with an active subscription. Create an account for free.
- A GitHub account. Create an account for free.
- Node.js installed.
1. Set up a Next.js app
Rather than using the Next.js CLI to create your app, you can use a starter repository. The starter repository contains an existing Next.js app that supports dynamic routes.
To begin, create a new repository under your GitHub account from a template repository.
Go to https://github.com/staticwebdev/nextjs-starter/generate
Name the repository nextjs-starter
Next, clone the new repo to your machine. Make sure to replace
<YOUR_GITHUB_ACCOUNT_NAME>with your account name.git clone http://github.com/<YOUR_GITHUB_ACCOUNT_NAME>/nextjs-starterGo to the newly cloned Next.js app.
cd nextjs-starterInstall dependencies.
npm installStart Next.js app in development.
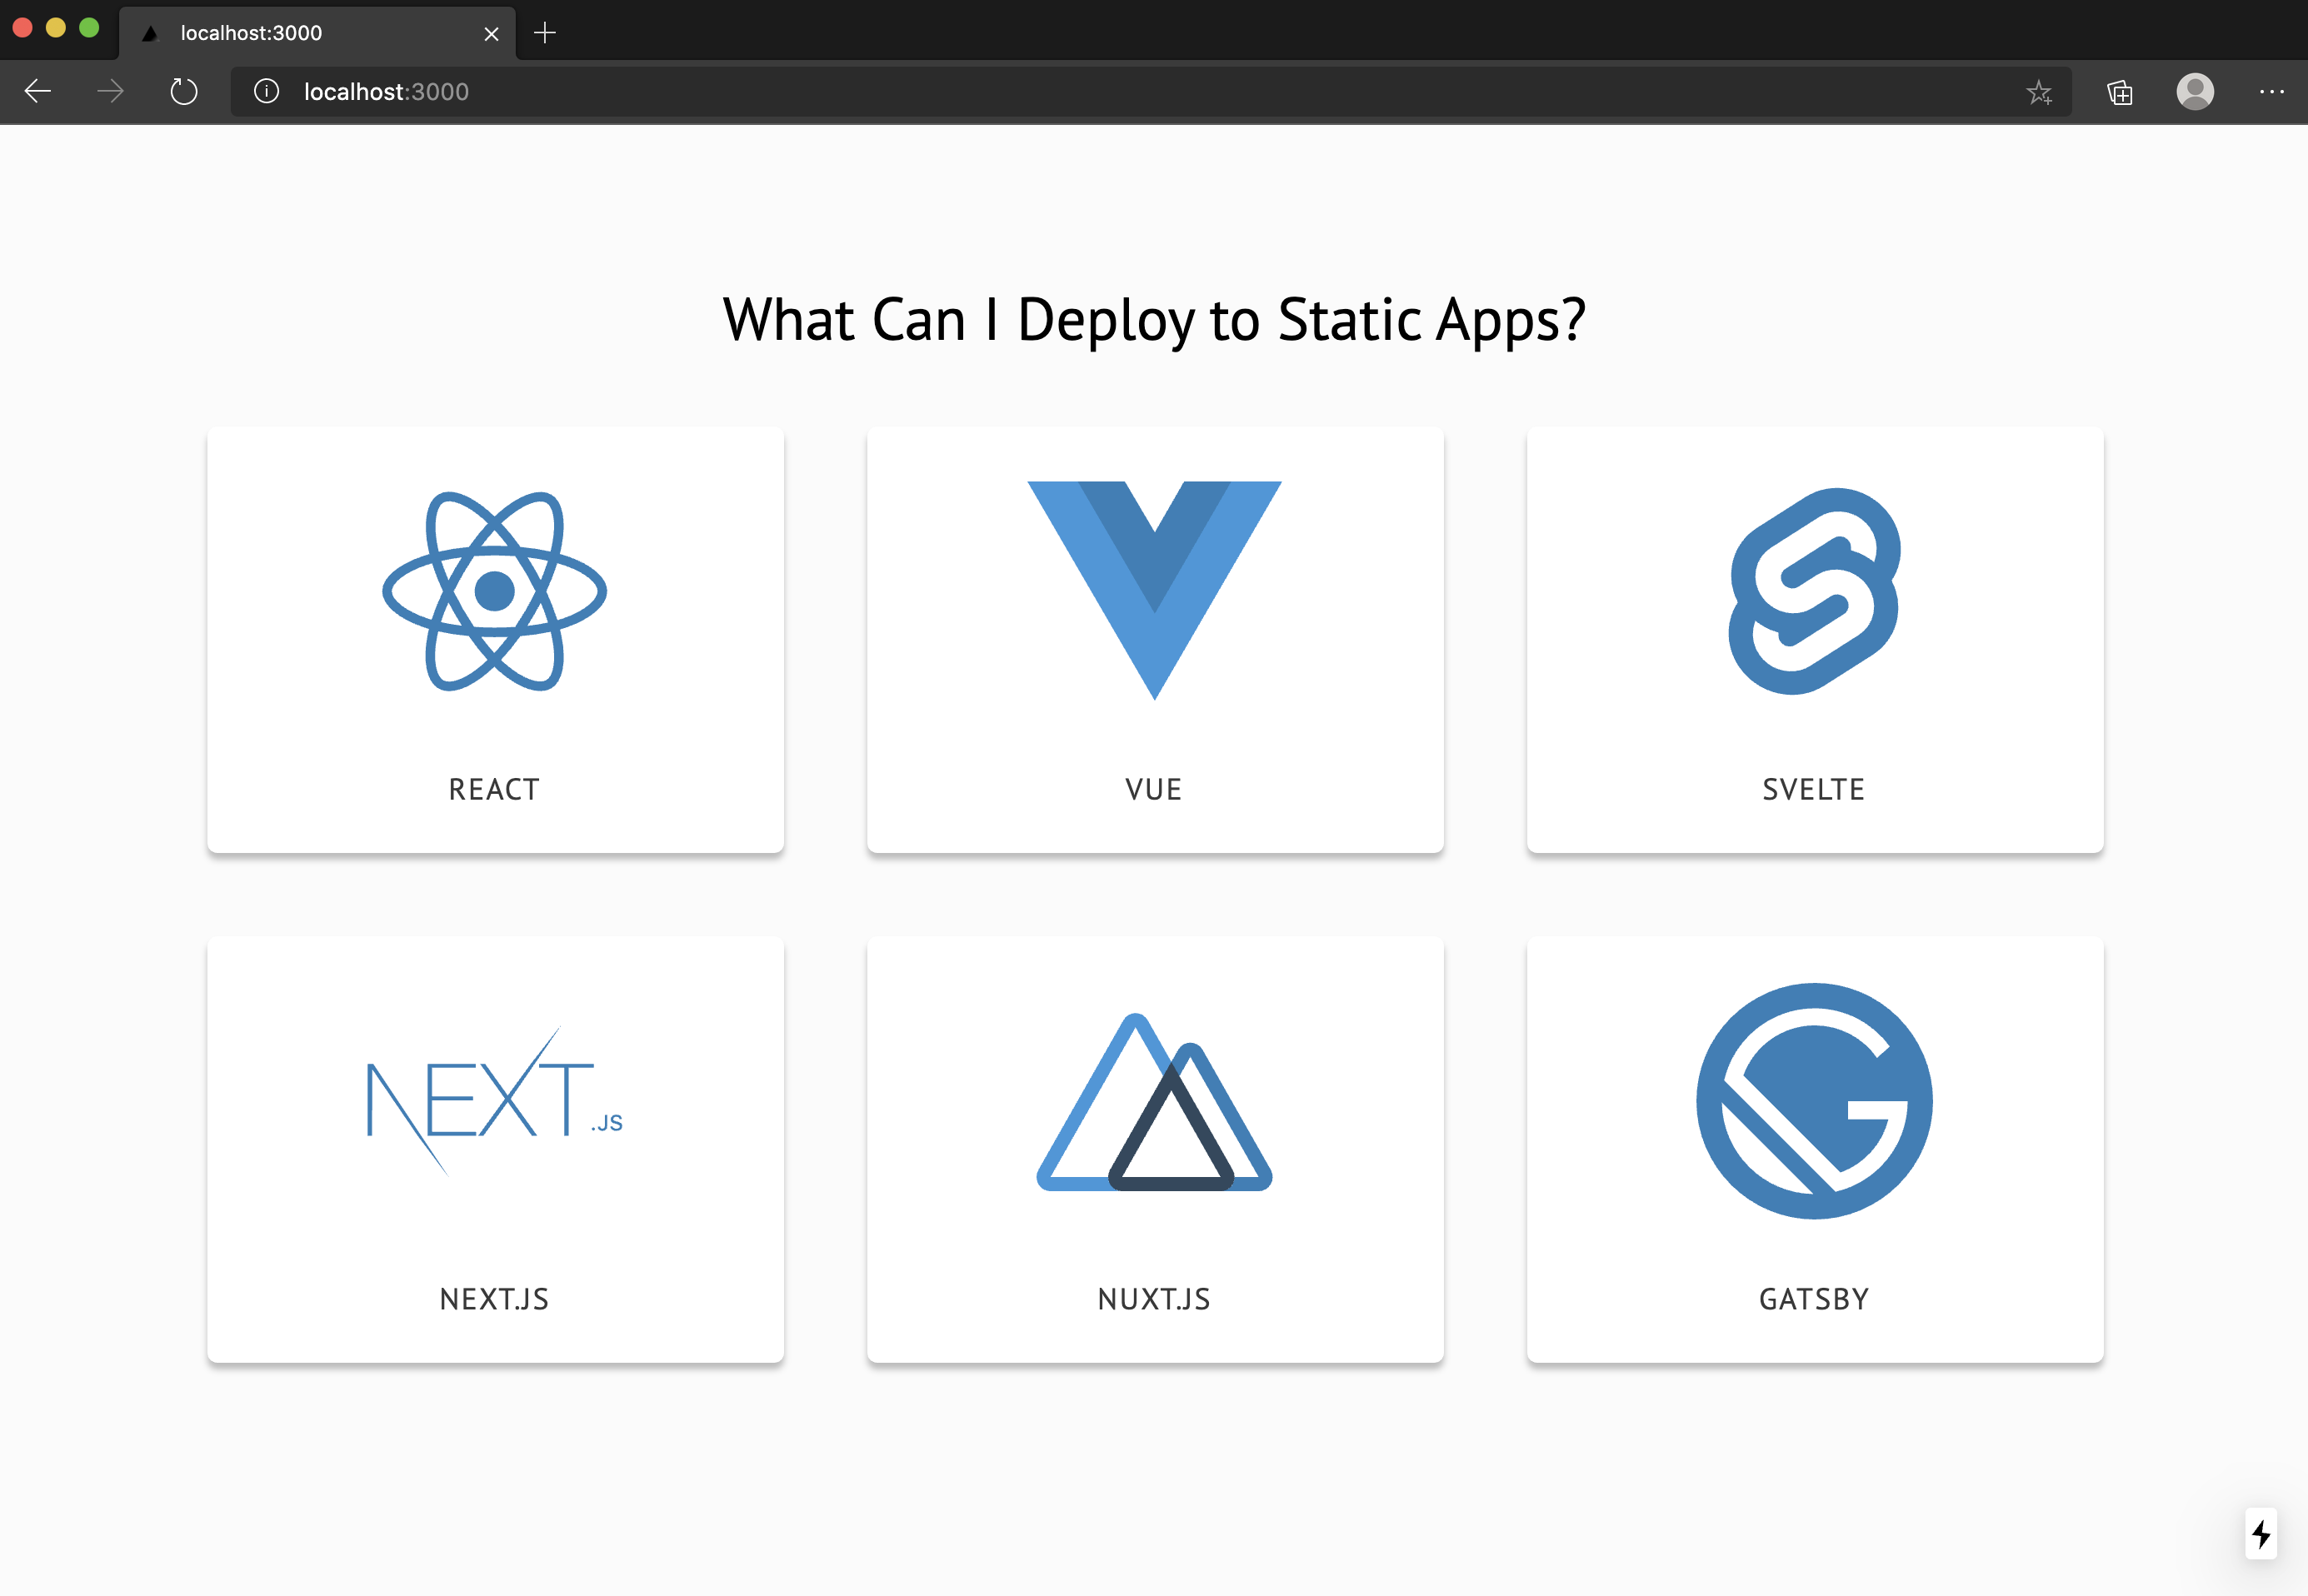
npm run devGo to
http://localhost:3000to open the app, where you should see the following website open in your preferred browser:
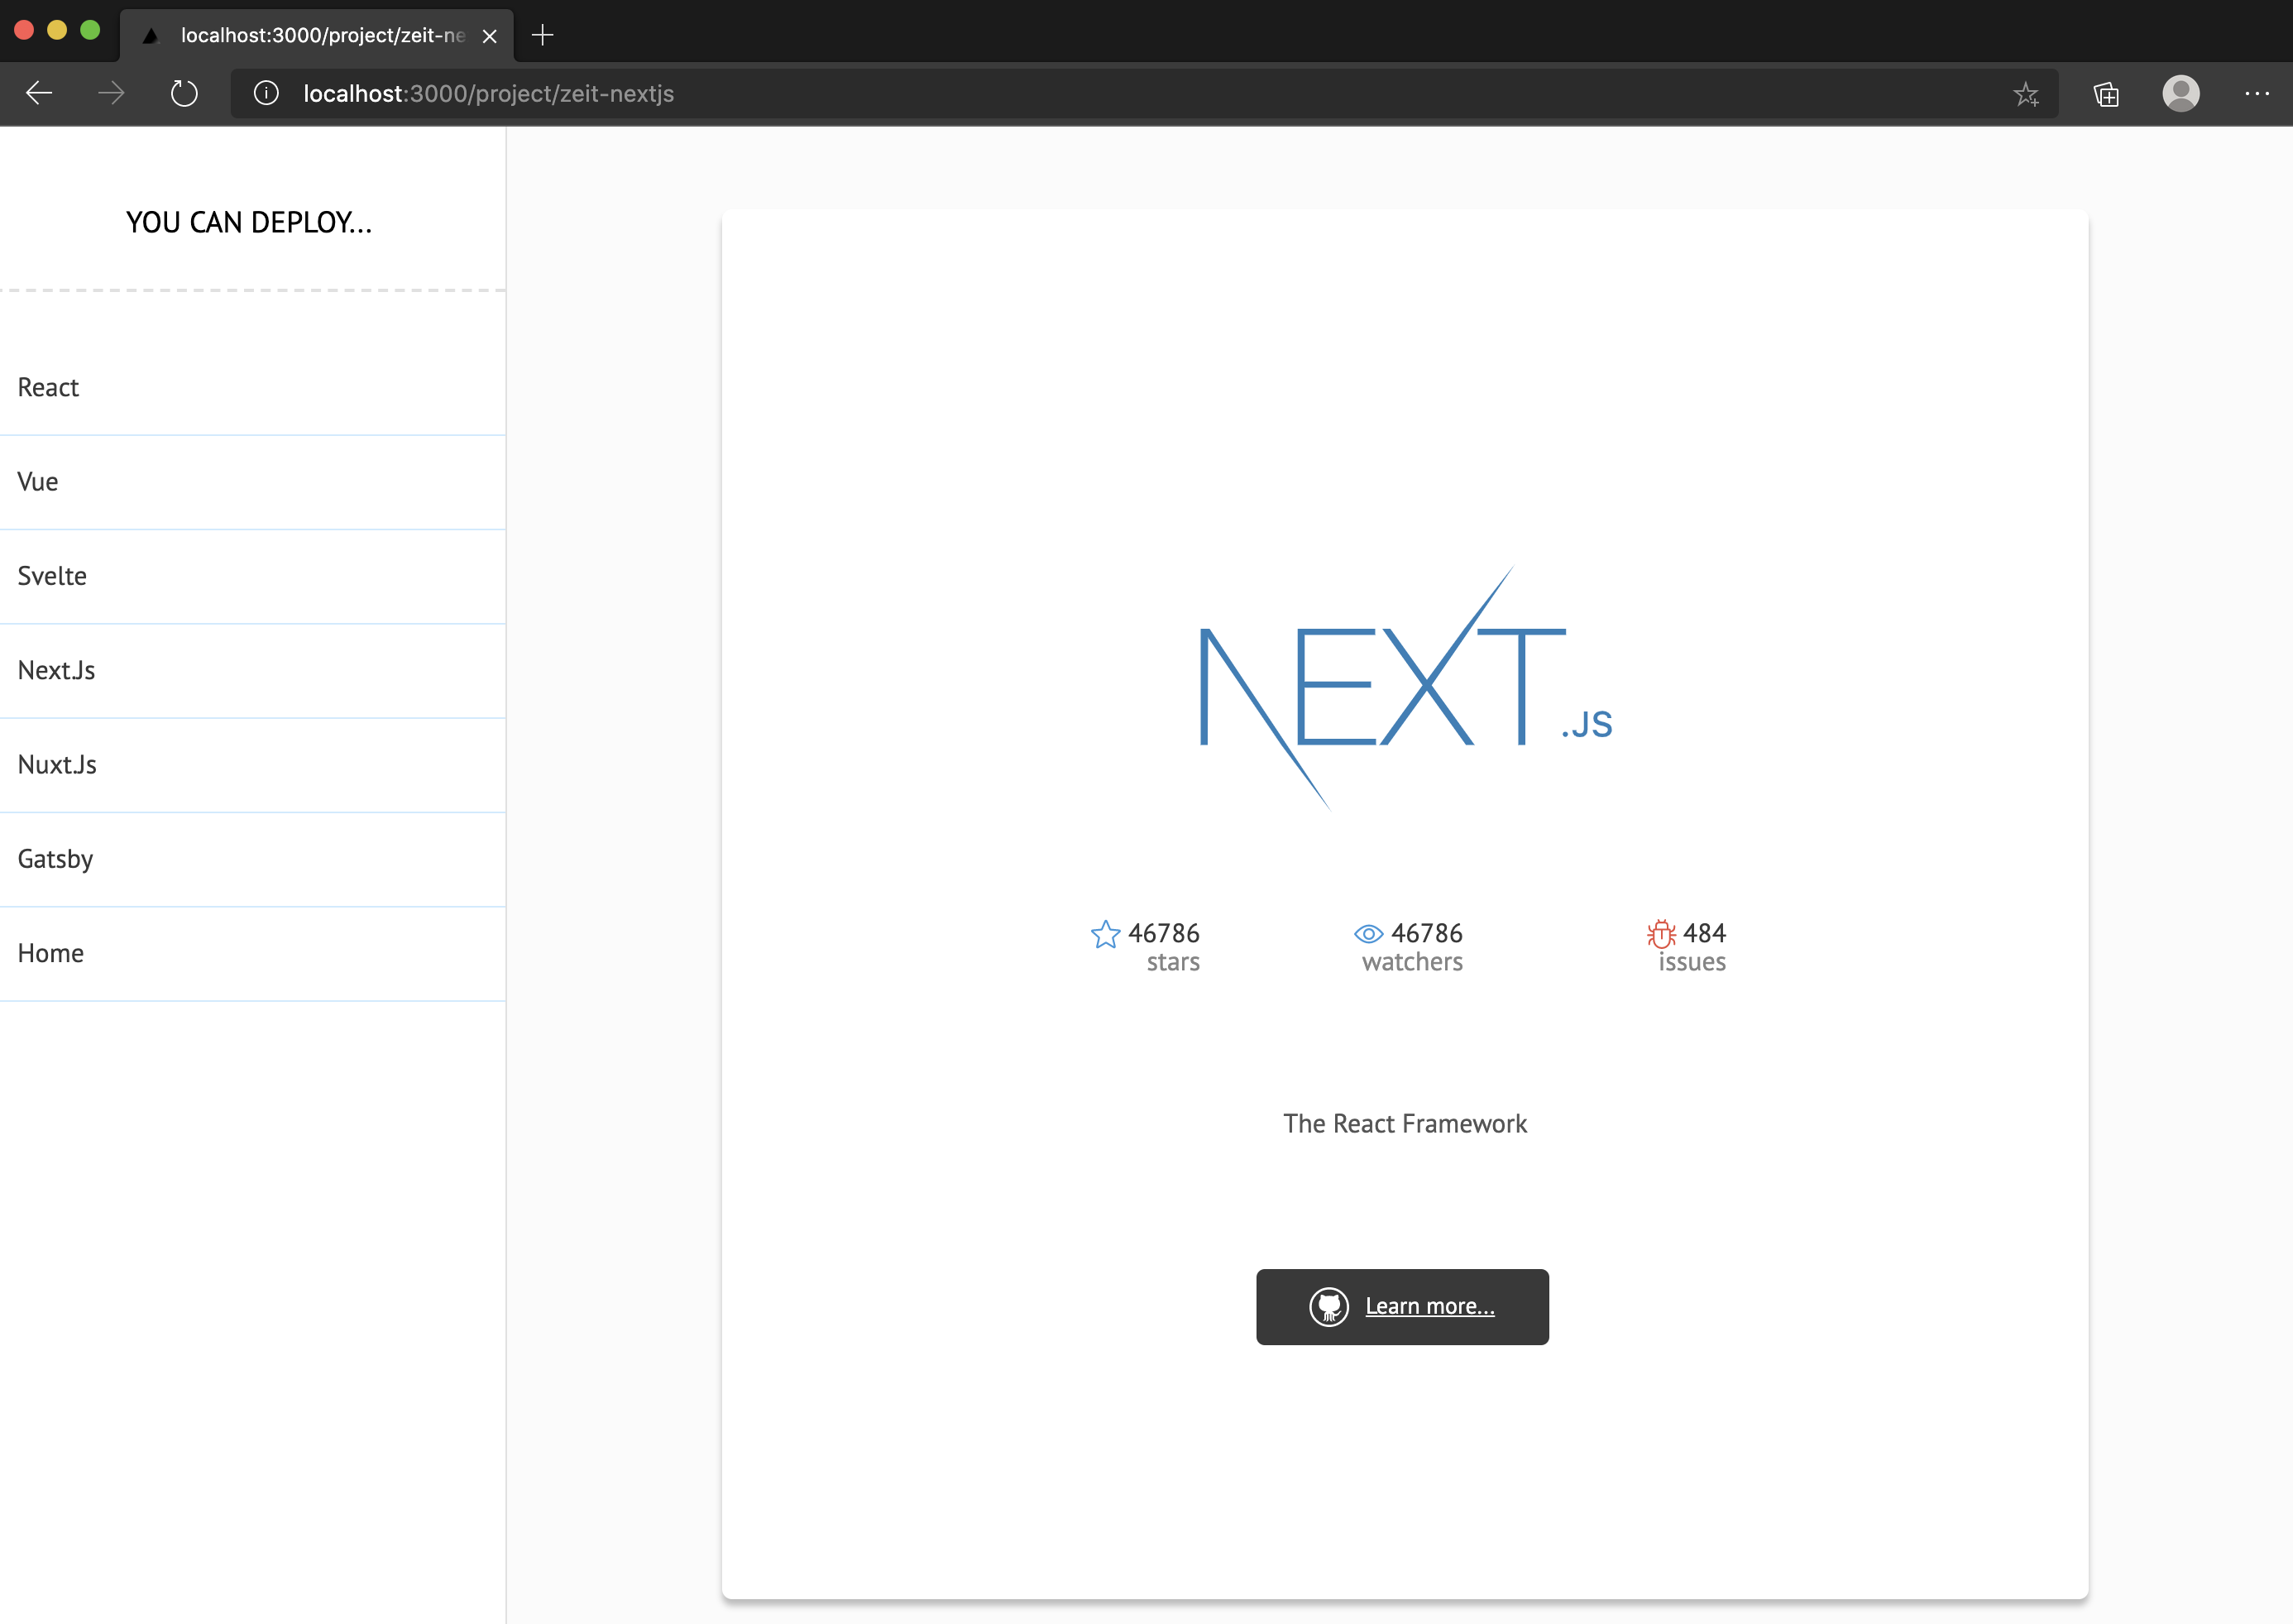
When you select a framework or library, you see a details page about the selected item:
2. Create a static app
The following steps show how to link your app to Azure Static Web Apps. Once in Azure, you can deploy the application to a production environment.
Go to the Azure portal.
Select Create a Resource.
Search for Static Web Apps.
Select Static Web App.
Select Create.
On the Basics tab, enter the following values.
Property Value Subscription Your Azure subscription name. Resource group my-nextjs-group Name my-nextjs-app Plan type Free Region for Azure Functions API and staging environments Select a region closest to you. Source GitHub Select Sign in with GitHub and authenticate with GitHub, if prompted.
Enter the following GitHub values.
Property Value Organization Select the appropriate GitHub organization. Repository Select nextjs-starter. Branch Select main. In the Build Details section, select Custom from the Build Presets. Add the following values as for the build configuration.
Property Value App location Enter / in the box. Api location Leave this box empty. Output location Enter out in the box.
3. Review and create
Select Review + Create to verify the details are all correct.
Select Create to start the creation of the App Service Static Web App and provision a GitHub Actions for deployment.
Once the deployment completes select, Go to resource.
On the Overview window, select the URL link to open your deployed application.
If the website doesn't load immediately, then the build is still running. To check the status of the Actions workflow, navigate to the Actions dashboard for your repository:
https://github.com/<YOUR_GITHUB_USERNAME>/nextjs-starter/actions
Once the workflow is complete, you can refresh the browser to view your web app.
Now any changes made to the main branch start a new build and deployment of your website.
4. Sync changes
When you created the app, Azure Static Web Apps created a GitHub Actions file in your repository. Synchronize with the server by pulling down the latest to your local repository.
Return to the terminal and run the following command git pull origin main.
Configuring Static Rendering
By default, the application is treated as a hybrid rendered Next.js application, but to continue using it as a static site generator, you need to update the deployment task.
Open the repository in Visual Studio Code.
Navigate to the GitHub Actions file that Azure Static Web Apps added to your repository at
.github/workflows/azure-static-web-apps-<your site ID>.ymlUpdate the Build and Deploy job to have an environment variable of
IS_STATIC_EXPORTset totrue:- name: Build And Deploy id: swa uses: azure/static-web-apps-deploy@latest with: azure_static_web_apps_api_token: ${{ secrets.AZURE_STATIC_WEB_APPS_TOKEN }} repo_token: ${{ secrets.GITHUB_TOKEN }} # Used for GitHub integrations (i.e. PR comments) action: "upload" app_location: "/" # App source code path api_location: "" # Api source code path - optional output_location: "" # Built app content directory - optional env: # Add environment variables here IS_STATIC_EXPORT: trueCommit the changes to git and push them to GitHub.
git commit -am "Configuring static site generation" && git push
Once the build has completed, the site will be statically rendered.
Clean up resources
If you're not going to continue to use this app, you can delete the Azure Static Web Apps instance through the following steps.
- Open the Azure portal.
- Search for my-nextjs-group from the top search bar.
- Select on the group name.
- Select Delete.
- Select Yes to confirm the delete action.