Note
Access to this page requires authorization. You can try signing in or changing directories.
Access to this page requires authorization. You can try changing directories.
When configuring custom authentication providers, you may want to store connection secrets in Azure Key Vault. This article demonstrates how to use a managed identity to grant Azure Static Web Apps access to Key Vault for custom authentication secrets.
Note
Azure Serverless Functions do not support direct Key Vault integration. If you require Key Vault integration with your managed Function app, you will need to implement Key Vault access into your app's code.
Security secrets require the following items to be in place.
- Create a system-assigned identity in your static web app.
- Grant the identity access to a Key Vault secret.
- Reference the Key Vault secret from the Static Web Apps application settings.
This article demonstrates how to set up each of these items in production for bring your own functions applications.
Key Vault integration is not available for:
- Staging versions of your static web app. Key Vault integration is only supported in the production environment.
- Static web apps using managed functions.
Note
Using managed identity is only available in the Azure Static Web Apps Standard plan.
Prerequisites
- Existing Azure Static Web Apps site using bring your own functions.
- Existing Key Vault resource with a secret value.
Create identity
Open your static web apps in the Azure portal.
Under Settings, select Identity.
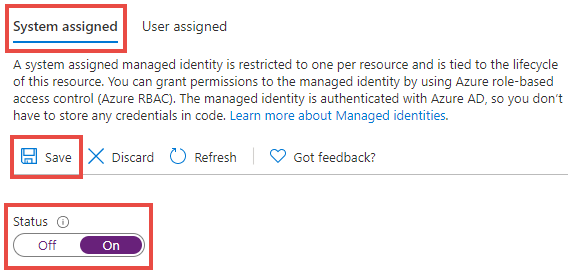
Select the System assigned tab.
Under the Status label, select On.
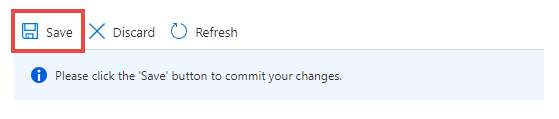
Select Save.
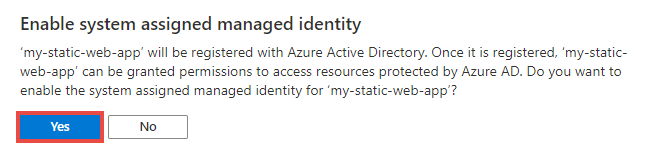
When the confirmation dialog appears, select Yes.
You can now add an access policy to allow your static web app to read Key Vault secrets.
Add a Key Vault access policy
Open your Key Vault resource in the Azure portal.
Under the Settings menu, select Access policies.
Select the link, Add Access Policy.
From the Secret permissions drop down, select Get.
Next to the Select principal label, select the None selected link.
In search box, search for your static web app name.
Select the list item that matches your application name.
Select Select.
Select Add.
Select Save.
The access policy is now saved to Key Vault. Next, access the secret's URI to use when associating your static web app to the Key Vault resource.
Under the Settings menu, select Secrets.
Select your desired secret from the list.
Select your desired secret version from the list.
Select copy at end of Secret Identifier text box to copy the secret URI value to the clipboard.
Paste this value into a text editor for later use.
Add application setting
Open your Static Web Apps site in the Azure portal.
Under the Settings menu, select Configuration.
Under the Application settings section, select Add.
Enter a name in the text box for the Name field.
Determine the secret value in text box for the Value field.
The secret value is a composite of a few different values. The following template shows how the final string is built.
@Microsoft.KeyVault(SecretUri=<YOUR_KEY_VAULT_SECRET_URI>)For example, a final string would look like the following sample:
@Microsoft.KeyVault(SecretUri=https://myvault.vault.azure.net/secrets/mysecret/)Alternatively:
@Microsoft.KeyVault(VaultName=myvault;SecretName=mysecret)Use the following steps to build the full secret value.
Copy the template from above and paste it into a text editor.
Replace
<YOUR_KEY_VAULT_SECRET_URI>with the Key Vault URI value you set aside earlier.Copy the new full string value.
Paste the value into the text box for the Value field.
Select OK.
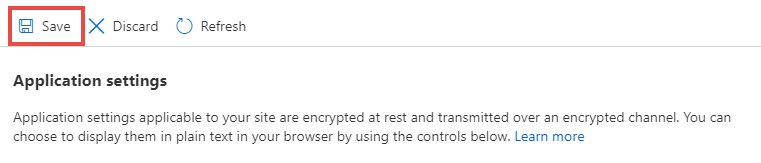
Select Save at the top of the Application settings toolbar.
Now when your custom authentication configuration references your newly created application setting, the value is extracted from Azure Key Vault using your static web app's identity.