Quickstart: Create, assign, and run a storage task
In this quickstart, you learn how to use the Azure portal to create a storage task and assign it to an Azure Storage account. Then, you'll review the results of the run. The storage task applies a time-based immutability policy any Microsoft Word documents that exist in the storage account.
Important
Azure Storage Actions is currently in PREVIEW and is available these regions. See the Supplemental Terms of Use for Microsoft Azure Previews for legal terms that apply to Azure features that are in beta, preview, or otherwise not yet released into general availability.
Prerequisites
An Azure subscription. See create an account for free.
An Azure storage account. See create a storage account. As you create the account, make sure to enable version-level immutability support and that you don't enable the hierarchical namespace feature.
During the public preview, you can target only storage accounts that are in the same region as the storage tasks.
The Storage Blob Data Owner role is assigned to your user identity in the context of the storage account or resource group.
A custom role assigned to your user identity in the context of the resource group which contains the RBAC actions necessary to assign a task to a storage account. See Permissions required to assign a task.
A blob container with one or more Microsoft Word documents stored in that container.
Create a task
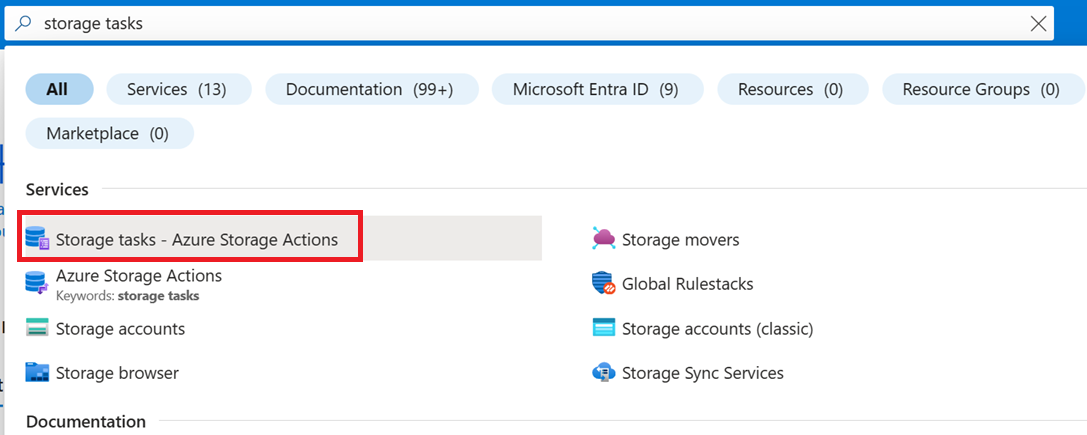
In the Azure portal, search for Storage tasks.
Under Services, select Storage tasks - Azure Storage Actions.
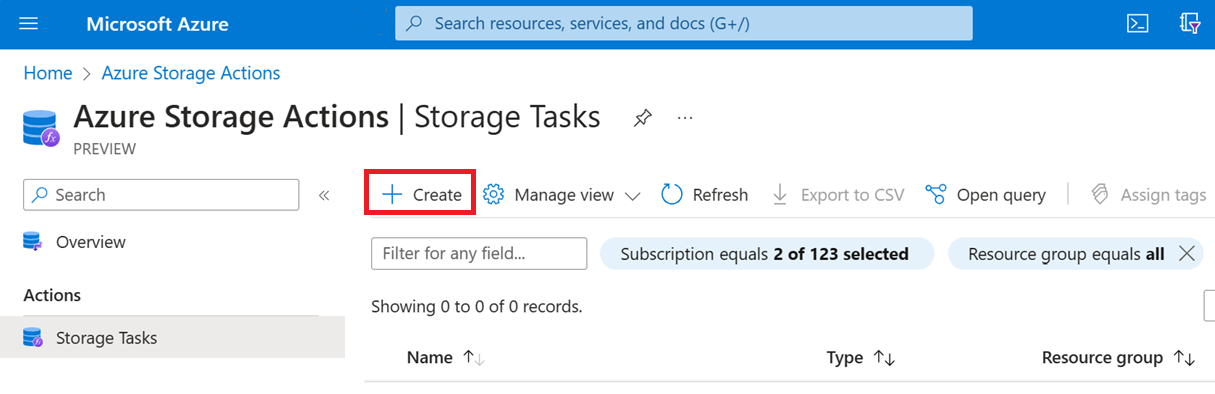
On the Azure Storage Actions | Storage Tasks page, select Create.
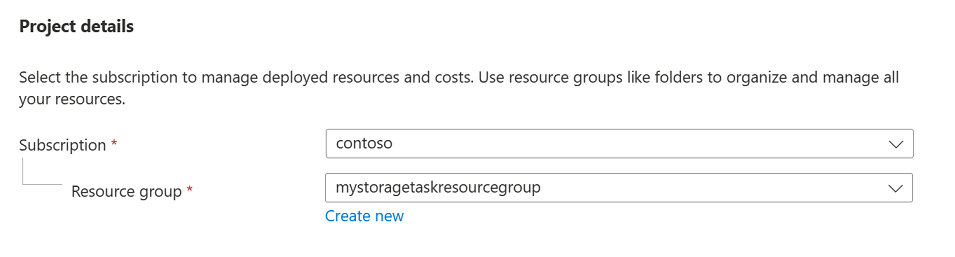
In the Basics page, under Project details, make sure that the correct subscription is selected. Then, select the same resource group that contains your new storage account.
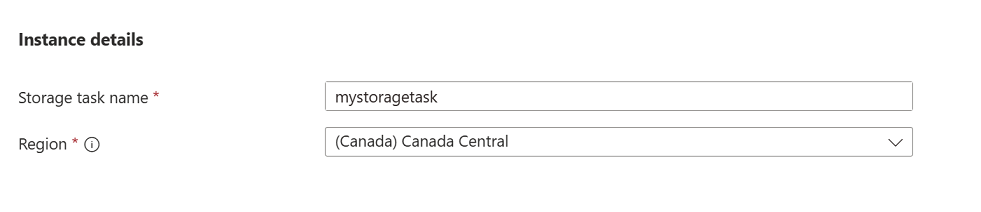
Under Instance details, enter mystoragetask for the Storage task name, and select any region that is supported by the preview of this service.
Select Next to open the Conditions page.
Add clauses to a condition
You can specify the conditions of a storage task by making selections in If section of the Visual Builder tab. Every storage task has at least one condition with one clause in that condition.
In the Select a property drop-down list of the If section, select Blob name.
For the Operator of that condition, select Ends with, and in the Enter a string box, enter .docx.

This condition allows operations only on Word documents.
Add operations
You can specify the operations that a storage task performs by making selections in Then section of the Visual Builder tab. Every storage task has at least one operation to perform when a blob or container meets the specified condition.
In the Select an operation drop-down list of the Then section, select Set blob immutability policy.
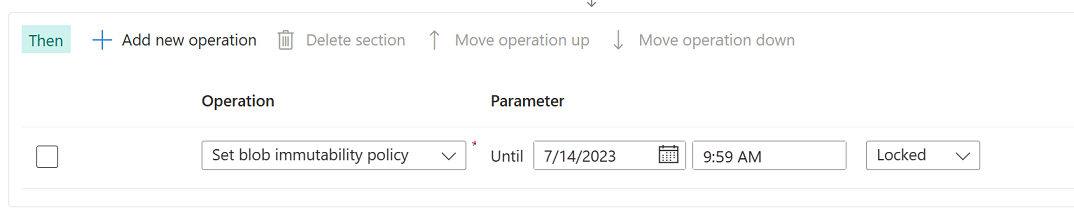
This operation applies a time-based immutability policy to Microsoft Word documents.
Select Add new operation, and then in the Select a operation drop-down list, select Set blob tags.
In the Enter a tag name box, Enter ImmutabilityUpdatedBy, and in the Enter a tag value box, enter StorageTaskQuickstart.

This operation adds a blob index tag to each Word document in that container.
Select Next to open the Assignments page.
Add an assignment
A storage task assignment specifies a storage account. After you enable the storage task, the conditions and operations of your task will be applied to that storage account. The assignment also contains configuration properties which help you target specific blobs, or specify when and how often the task runs. You can add an assignment for each account you want to target.
Select Add assignment.
The Add assignment pane appears.
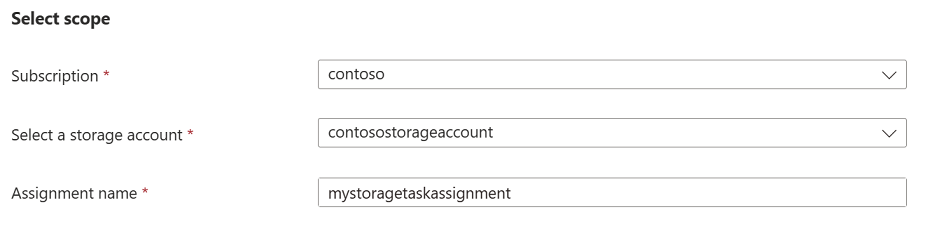
In the Select scope section, select your subscription and storage account and name the assignment mystoragetaskassignment.
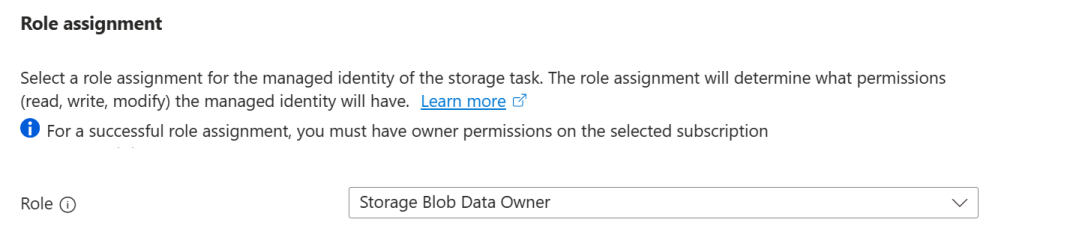
In the Role assignment section, in the Role drop-down list, select the Storage Blob Data Owner to assign that role to the system-assigned managed identity of the storage task.
In the Filter objects section, make sure that the Blob prefix option is selected. Then, in the Blob prefixes box, enter the prefix of the container that you are using to complete this quickstart followed by the
/character. For example, if your test container is namedmycontainer, then entermycontainer/.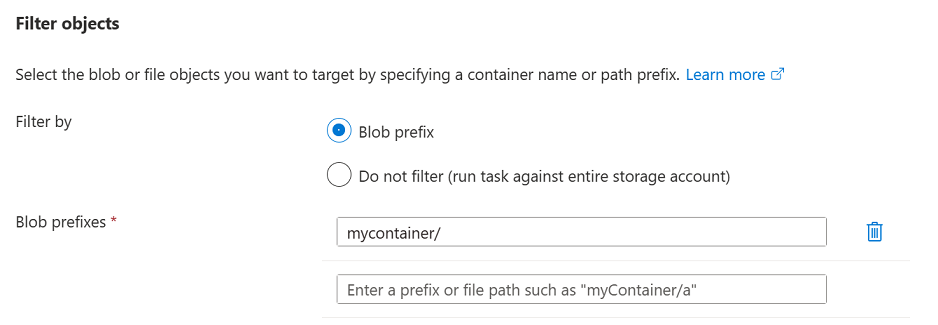
Filters help you narrow the scope of execution. If you want the task to evaluate all of the containers and blobs in an account, then you can select the Do not filter option instead.
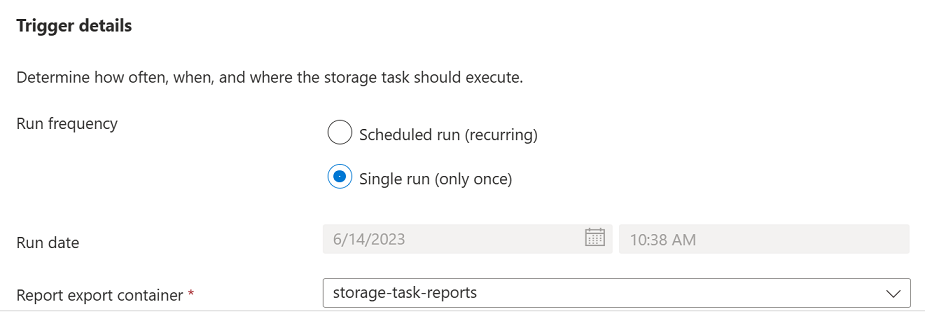
In the Trigger details section, select Single run (only once) and then select the container where you'd like to store the execution reports.
Select Add.
In the Tags tab, select Next.
In the Review + Create tab, select Review + create.
When the task is deployed, the Your deployment is complete page appears.
Select Go to resource to open the Overview page of the storage task.
Enable the task assignment
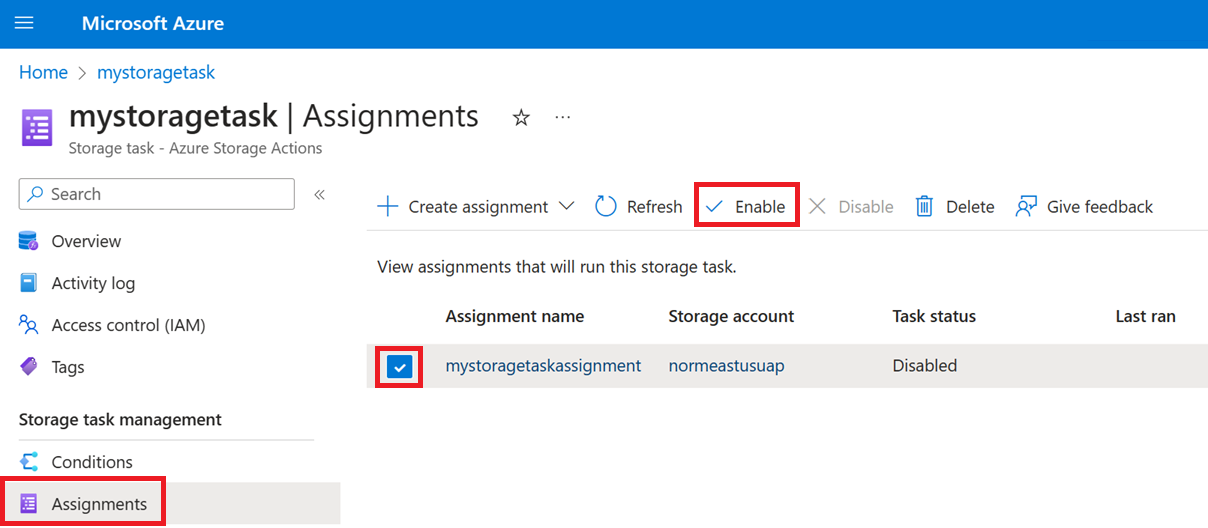
Storage task assignments are disabled by default. Enable assignments from the Assignments page.
Select Assignments, select the mystoragetaskassignment assignment, and then select Enable.
The task assignment is queued to run.
Periodically select Refresh to view an updated status.
Until the task runs and then completes, the string In progress appears beneath the Last run status column. When the task completes, the string Completed appears in that column.

View results of the task run
After the task completes running, you can view the results of the run.
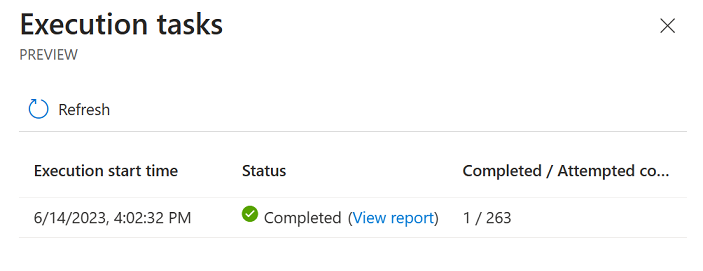
With the Assignments page still open, select View task runs.
The Execution tasks pane appears, and in that pane, a line item which describes the report appears.
Select the View report link to download a report.
The report appears as a comma-separated list of the container, the blob, and the operation performed along with a status. You can also view these comma-separated reports in the container that you specified when you configured the assignment.