Note
Access to this page requires authorization. You can try signing in or changing directories.
Access to this page requires authorization. You can try changing directories.
Get started with GitHub Actions by using a workflow to deploy a static site to an Azure storage account. Once you have set up a GitHub Actions workflow, you will be able to automatically deploy your site to Azure from GitHub when you make changes to your site's code.
Note
If you are using Azure Static Web Apps, then you do not need to manually set up a GitHub Actions workflow. Azure Static Web Apps automatically creates a GitHub Actions workflow for you.
Prerequisites
An Azure subscription and GitHub account.
- An Azure account with an active subscription. Create an account for free.
- A GitHub repository with your static website code. If you do not have a GitHub account, sign up for free.
- A working static website hosted in Azure Storage. Learn how to host a static website in Azure Storage. To follow this example, you should also deploy Azure CDN.
Note
It's common to use a content delivery network (CDN) to reduce latency to your users around the globe and to reduce the number of transactions to your storage account. Deploying static content to a cloud-based storage service can reduce the need for potentially expensive compute instance. For more information, see Static Content Hosting pattern.
Generate deployment credentials
To use Azure Login action with OIDC, you need to configure a federated identity credential on a Microsoft Entra application or a user-assigned managed identity.
Option 1: Microsoft Entra application
- Create a Microsoft Entra application with a service principal by Azure portal, Azure CLI, or Azure PowerShell.
- Copy the values for Client ID, Subscription ID, and Directory (tenant) ID to use later in your GitHub Actions workflow.
- Assign an appropriate role to your service principal by Azure portal, Azure CLI, or Azure PowerShell.
- Configure a federated identity credential on a Microsoft Entra application to trust tokens issued by GitHub Actions to your GitHub repository.
Option 2: User-assigned managed identity
- Create a user-assigned managed identity.
- Copy the values for Client ID, Subscription ID, and Directory (tenant) ID to use later in your GitHub Actions workflow.
- Assign an appropriate role to your user-assigned managed identity.
- Configure a federated identity credential on a user-assigned managed identity to trust tokens issued by GitHub Actions to your GitHub repository.
Configure GitHub secrets
You need to provide your application's Client ID, Directory (tenant) ID, and Subscription ID to the login action. These values can either be provided directly in the workflow or can be stored in GitHub secrets and referenced in your workflow. Saving the values as GitHub secrets is the more secure option.
In GitHub, go to your repository.
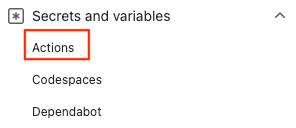
Select Security > Secrets and variables > Actions.
Select New repository secret.
Note
To enhance workflow security in public repositories, use environment secrets instead of repository secrets. If the environment requires approval, a job cannot access environment secrets until one of the required reviewers approves it.
Create secrets for
AZURE_CLIENT_ID,AZURE_TENANT_ID, andAZURE_SUBSCRIPTION_ID. Copy these values from your Microsoft Entra application or user-assigned managed identity for your GitHub secrets:GitHub secret Microsoft Entra application or user-assigned managed identity AZURE_CLIENT_ID Client ID AZURE_SUBSCRIPTION_ID Subscription ID AZURE_TENANT_ID Directory (tenant) ID Note
For security reasons, we recommend using GitHub Secrets rather than passing values directly to the workflow.
Add your workflow
Go to Actions for your GitHub repository.

Select Set up your workflow yourself.
Delete everything after the
on:section of your workflow file. For example, your remaining workflow may look like this.name: CI with OpenID Connect on: push: branches: [ main ]Add a permissions section.
name: CI with OpenID Connect on: push: branches: [ main ] permissions: id-token: write contents: readAdd checkout and login actions. These actions will check out your site code and authenticate with Azure using the GitHub secrets you created earlier.
name: CI with OpenID Connect on: push: branches: [ main ] permissions: id-token: write contents: read jobs: build: runs-on: ubuntu-latest steps: - uses: actions/checkout@v3 - uses: azure/login@v2 with: client-id: ${{ secrets.AZURE_CLIENT_ID }} tenant-id: ${{ secrets.AZURE_TENANT_ID }} subscription-id: ${{ secrets.AZURE_SUBSCRIPTION_ID }}Use the Azure CLI action to upload your code to blob storage and to purge your CDN endpoint. For
az storage blob upload-batch, replace the placeholder with your storage account name. The script will upload to the$webcontainer. Foraz cdn endpoint purge, replace the placeholders with your CDN profile name, CDN endpoint name, and resource group. To speed up your CDN purge, you can add the--no-waitoption toaz cdn endpoint purge. To enhance security, you can also add the--account-keyoption with your storage account key.- name: Upload to blob storage uses: azure/CLI@v1 with: inlineScript: | az storage blob upload-batch --account-name <STORAGE_ACCOUNT_NAME> --auth-mode key -d '$web' -s . - name: Purge CDN endpoint uses: azure/CLI@v1 with: inlineScript: | az cdn endpoint purge --content-paths "/*" --profile-name "CDN_PROFILE_NAME" --name "CDN_ENDPOINT" --resource-group "RESOURCE_GROUP"Complete your workflow by adding an action to logout of Azure. Here is the completed workflow. The file will appear in the
.github/workflowsfolder of your repository.name: CI with OpenID Connect on: push: branches: [ main ] permissions: id-token: write contents: read jobs: build: runs-on: ubuntu-latest steps: - uses: actions/checkout@v3 - uses: azure/login@v2 with: client-id: ${{ secrets.AZURE_CLIENT_ID }} tenant-id: ${{ secrets.AZURE_TENANT_ID }} subscription-id: ${{ secrets.AZURE_SUBSCRIPTION_ID }} - name: Upload to blob storage uses: azure/CLI@v1 with: inlineScript: | az storage blob upload-batch --account-name <STORAGE_ACCOUNT_NAME> --auth-mode key -d '$web' -s . - name: Purge CDN endpoint uses: azure/CLI@v1 with: inlineScript: | az cdn endpoint purge --content-paths "/*" --profile-name "CDN_PROFILE_NAME" --name "CDN_ENDPOINT" --resource-group "RESOURCE_GROUP" # Azure logout - name: logout run: | az logout if: always()
Review your deployment
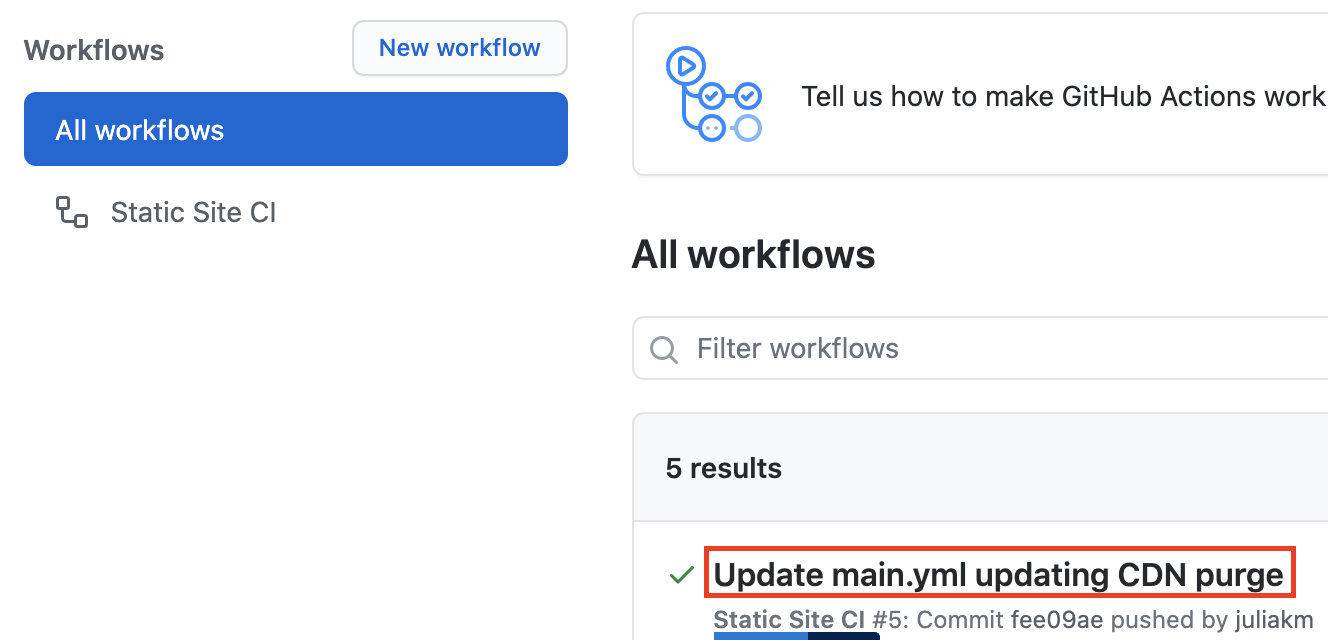
Go to Actions for your GitHub repository.
Open the first result to see detailed logs of your workflow's run.
Clean up resources
When your static website and GitHub repository are no longer needed, clean up the resources you deployed by deleting the resource group and your GitHub repository.