Note
Access to this page requires authorization. You can try signing in or changing directories.
Access to this page requires authorization. You can try changing directories.
The Azure CLI is Azure's command-line experience for managing Azure resources. You can use it in your browser with Azure Cloud Shell. You can also install it on macOS, Linux, or Windows and run it from the command line.
In this quickstart, you learn how to create an Azure Synapse Analytics workspace by using the Azure CLI.
If you don't have an Azure account, create a free account before you begin.
Prerequisites
Download and install jq, a lightweight and flexible command-line JSON processor.
Azure Data Lake Storage Gen2 storage account.
Important
An Azure Synapse Analytics workspace needs to be able to read and write to the selected Data Lake Storage Gen2 account. In addition, for any storage account that you link as the primary storage account, you must have enabled hierarchical namespace at the creation of the storage account, as described in Create a storage account.
Use the Bash environment in Azure Cloud Shell. For more information, see Get started with Azure Cloud Shell.
If you prefer to run CLI reference commands locally, install the Azure CLI. If you're running on Windows or macOS, consider running Azure CLI in a Docker container. For more information, see How to run the Azure CLI in a Docker container.
If you're using a local installation, sign in to the Azure CLI by using the az login command. To finish the authentication process, follow the steps displayed in your terminal. For other sign-in options, see Authenticate to Azure using Azure CLI.
When you're prompted, install the Azure CLI extension on first use. For more information about extensions, see Use and manage extensions with the Azure CLI.
Run az version to find the version and dependent libraries that are installed. To upgrade to the latest version, run az upgrade.
Create an Azure Synapse Analytics workspace by using the Azure CLI
Define necessary environment variables to create resources for an Azure Synapse Analytics workspace.
Environment Variable name Description StorageAccountName Name for your existing Data Lake Storage Gen2 storage account. StorageAccountResourceGroup Name of your existing Data Lake Storage Gen2 storage account resource group. FileShareName Name of your existing storage file system. SynapseResourceGroup Choose a new name for your Azure Synapse Analytics resource group. Region Choose one of the Azure regions. SynapseWorkspaceName Choose a unique name for your new Azure Synapse Analytics workspace. SqlUser Choose a value for a new username. SqlPassword Choose a secure password. Create a resource group as a container for your Azure Synapse Analytics workspace:
az group create --name $SynapseResourceGroup --location $RegionCreate an Azure Synapse Analytics workspace:
az synapse workspace create \
  --name $SynapseWorkspaceName \
  --resource-group $SynapseResourceGroup \
  --storage-account $StorageAccountName \
  --file-system $FileShareName \
  --sql-admin-login-user $SqlUser \
  --sql-admin-login-password $SqlPassword \
  --location $Region
Get the web and dev URLs for the Azure Synapse Analytics workspace:
WorkspaceWeb=$(az synapse workspace show --name $SynapseWorkspaceName --resource-group $SynapseResourceGroup | jq -r '.connectivityEndpoints | .web')

WorkspaceDev=$(az synapse workspace show --name $SynapseWorkspaceName --resource-group $SynapseResourceGroup | jq -r '.connectivityEndpoints | .dev')
Create a firewall rule to allow access to your Azure Synapse Analytics workspace from your machine:
ClientIP=$(curl -sb -H "Accept: application/json" "$WorkspaceDev" | jq -r '.message')
ClientIP=${ClientIP##'Client Ip address : '}
echo "Creating a firewall rule to enable access for IP address: $ClientIP"

az synapse workspace firewall-rule create --end-ip-address $ClientIP --start-ip-address $ClientIP --name "Allow Client IP" --resource-group $SynapseResourceGroup --workspace-name $SynapseWorkspaceName
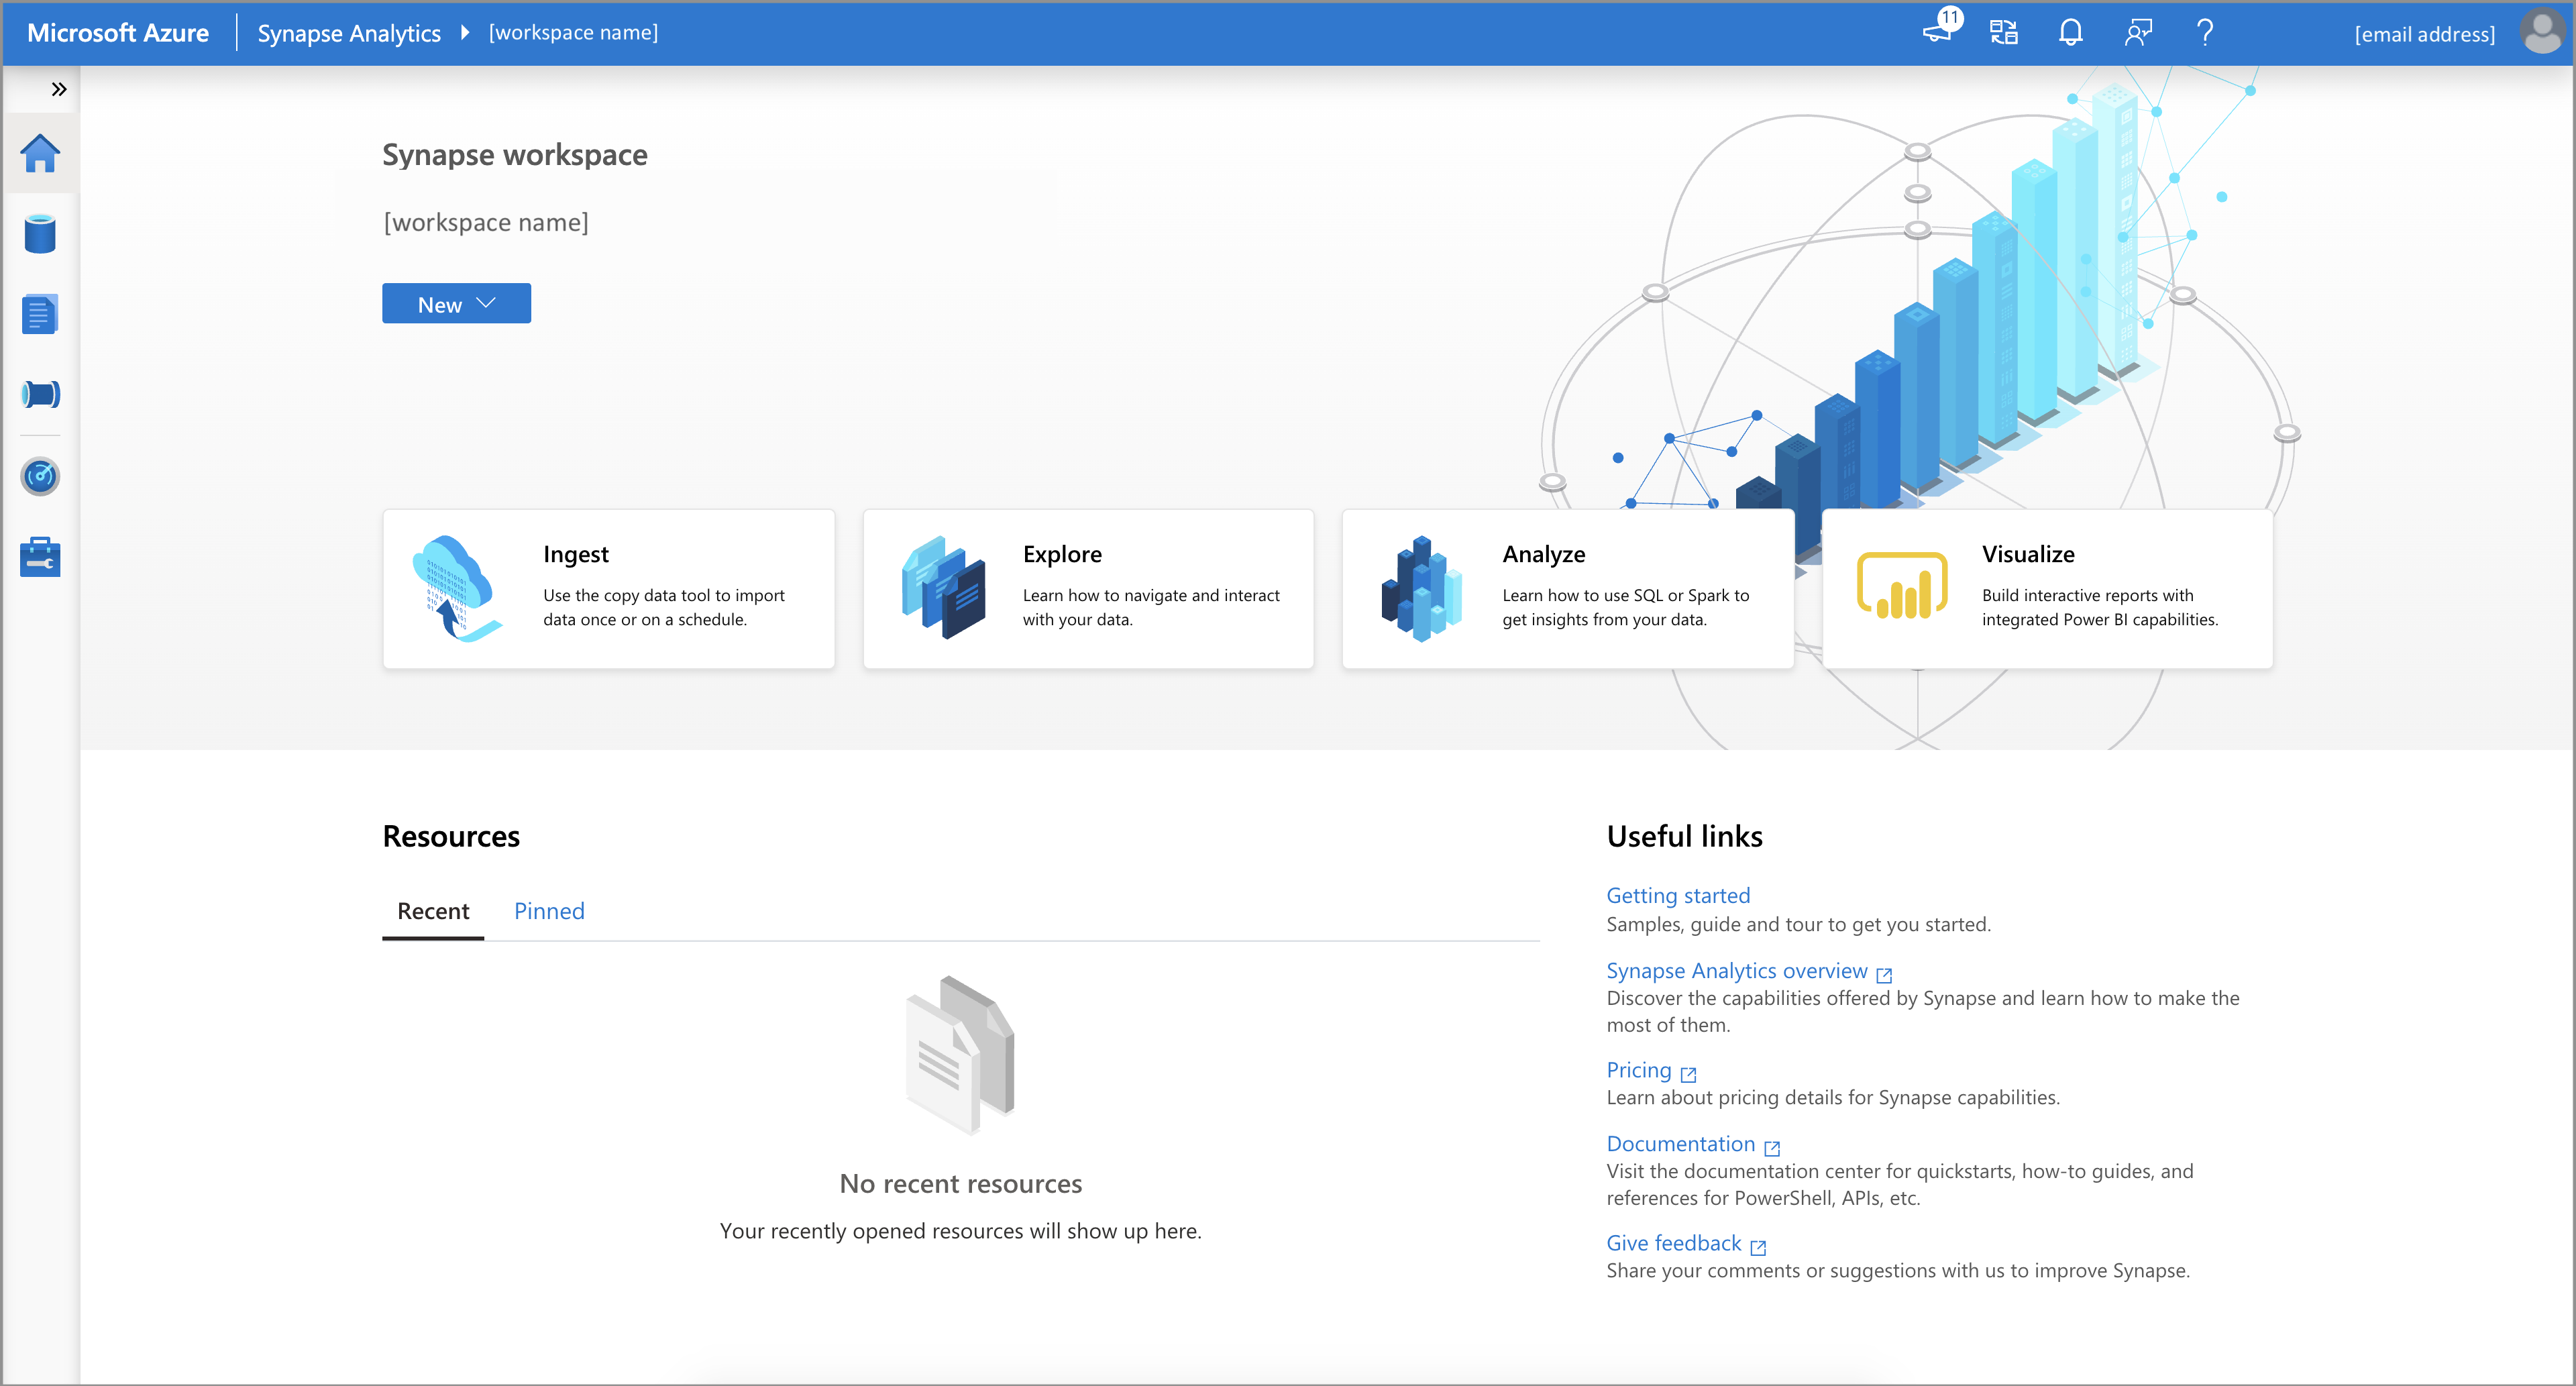
Open the Azure Synapse Analytics workspace web URL address stored in the environment variable
WorkspaceWebto access your workspace:echo "Open your Azure Synapse Workspace Web URL in the browser: $WorkspaceWeb"After it's deployed, more permissions are required:
- In the Azure portal, assign other users of the workspace to the Contributor role in the workspace. For more information, see Assign Azure roles using the Azure portal.
- Assign other users the appropriate Azure Synapse Analytics role-based access control roles by using Synapse Studio.
- A member of the Owner role of the Azure Storage account must assign the Storage Blob Data Contributor role to the Azure Synapse Analytics workspace managed service identity and other users.
Clean up resources
Follow these steps to delete the Azure Synapse Analytics workspace.
Warning
Deleting an Azure Synapse Analytics workspace removes the analytics engines and the data stored in the database of the contained SQL pools and workspace metadata. It will no longer be possible to connect to the SQL or Apache Spark endpoints. All code artifacts will be deleted (queries, notebooks, job definitions, and pipelines).
Deleting the workspace won't affect the data in the Data Lake Storage Gen2 account linked to the workspace.
If you want to delete the Azure Synapse Analytics workspace, complete the following command:
az synapse workspace delete --name $SynapseWorkspaceName --resource-group $SynapseResourceGroup
Related content
Next, you can create SQL pools or create Apache Spark pools to start analyzing and exploring your data.

