Note
Access to this page requires authorization. You can try signing in or changing directories.
Access to this page requires authorization. You can try changing directories.
Azure PowerShell is a set of cmdlets for managing Azure resources directly from PowerShell. You can use it in your browser with Azure Cloud Shell. You can also install it on macOS, Linux, or Windows.
In this quickstart, you learn to create an Azure Synapse Analytics workspace by using Azure PowerShell.
If you don't have an Azure subscription, create a free Azure account before you begin.
Prerequisites
Azure Data Lake Storage Gen2 storage account
Important
An Azure Synapse Analytics workspace needs to be able to read and write to the selected Azure Data Lake Storage Gen2 account. For any storage account that you link as the primary storage account, you must enable hierarchical namespace at the creation of the storage account as described in Create a storage account.
If you choose to use Cloud Shell, see Overview of Azure Cloud Shell for more information.
Install the Azure PowerShell module locally
If you choose to use PowerShell locally, this article requires that you install the Az PowerShell module and connect to your Azure account by using the Connect-AzAccount cmdlet. For more information about installing the Az PowerShell module, see Install Azure PowerShell.
For more information about authentication with Azure PowerShell, see Sign in with Azure PowerShell.
Install the Azure Synapse PowerShell module
Important
While the Az.Synapse PowerShell module is in preview, you must install it separately by using the Install-Module cmdlet. After this PowerShell module becomes generally available, it will be part of future Az PowerShell module releases and available by default from within Cloud Shell.
Install-Module -Name Az.Synapse
Create an Azure Synapse Analytics workspace by using Azure PowerShell
Define necessary environment variables to create resources for an Azure Synapse Analytics workspace.
Variable name Description StorageAccountName Name for your existing Azure Data Lake Storage Gen2 storage account. StorageAccountResourceGroup Name of your existing Azure Data Lake Storage Gen2 storage account resource group. FileShareName Name of your existing storage file system. SynapseResourceGroup Choose a new name for your Azure Synapse Analytics resource group. Region Choose one of the Azure regions. SynapseWorkspaceName Choose a unique name for your new Azure Synapse Analytics workspace. SqlUser Choose a value for a new username. SqlPassword Choose a secure password. ClientIP Public IP address of the system you're running PowerShell from. Create a resource group as a container for your Azure Synapse Analytics workspace:
New-AzResourceGroup -Name $SynapseResourceGroup -Location $RegionCreate an Azure Synapse Analytics workspace:
$Cred = New-Object -TypeName System.Management.Automation.PSCredential ($SqlUser, (ConvertTo-SecureString $SqlPassword -AsPlainText -Force))

$WorkspaceParams = @{
  Name = $SynapseWorkspaceName
  ResourceGroupName = $SynapseResourceGroup
  DefaultDataLakeStorageAccountName = $StorageAccountName
  DefaultDataLakeStorageFilesystem = $FileShareName
  SqlAdministratorLoginCredential = $Cred
  Location = $Region
}
New-AzSynapseWorkspace @WorkspaceParams
Get the web and dev URLs for Azure Synapse Analytics workspace:
$WorkspaceWeb = (Get-AzSynapseWorkspace -Name $SynapseWorkspaceName -ResourceGroupName $StorageAccountResourceGroup).ConnectivityEndpoints.web
$WorkspaceDev = (Get-AzSynapseWorkspace -Name $SynapseWorkspaceName -ResourceGroupName $StorageAccountResourceGroup).ConnectivityEndpoints.dev
Create a firewall rule to allow access to your Azure Synapse Analytics workspace from your machine:
$FirewallParams = @{
  WorkspaceName = $SynapseWorkspaceName
  Name = 'Allow Client IP'
  ResourceGroupName = $StorageAccountResourceGroup
  StartIpAddress = $ClientIP
  EndIpAddress = $ClientIP
}
New-AzSynapseFirewallRule @FirewallParams
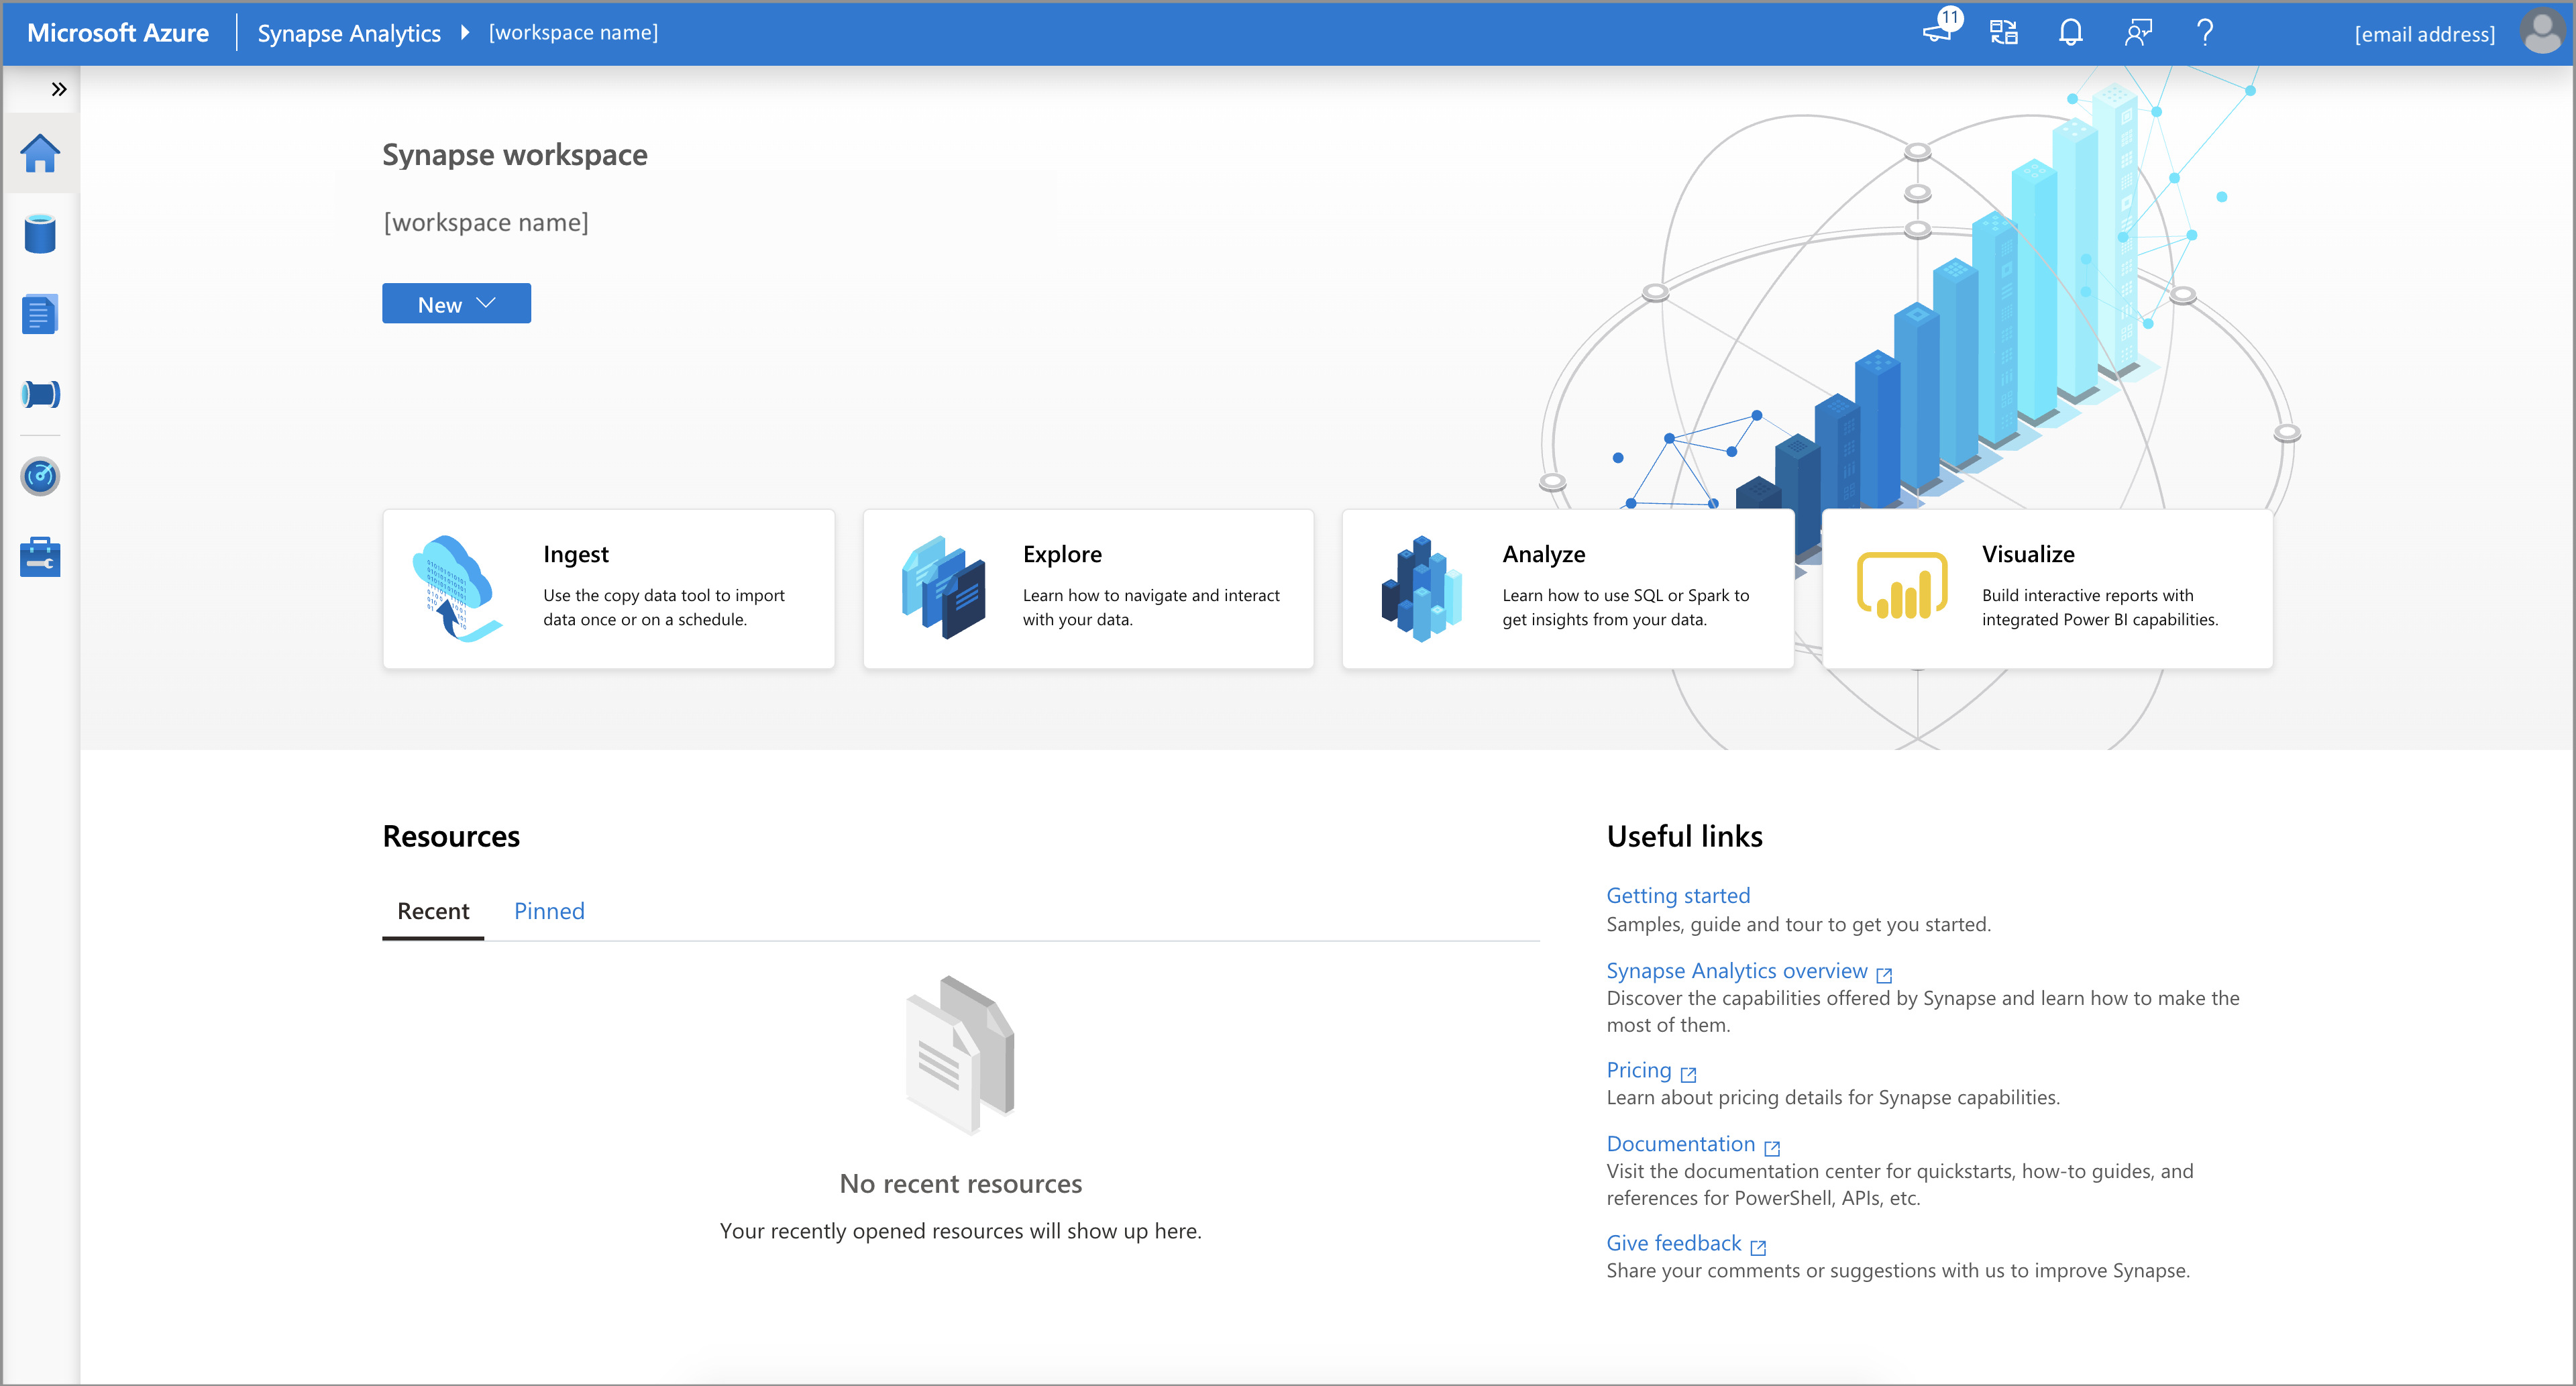
Open the Azure Synapse Analytics workspace web URL address stored in the environment variable
WorkspaceWebto access your workspace:Start-Process $WorkspaceWeb
After it's deployed, more permissions are required.
- In the Azure portal, assign other users of the workspace to the Contributor role in the workspace. For instructions, see Assign Azure roles by using the Azure portal.
- Assign other users the appropriate Azure Synapse Analytics role-based access control roles by using Synapse Studio.
- A member of the Owner role of the Azure Storage account must assign the Storage Blob Data Contributor role to the Azure Synapse Analytics workspace managed service identity and other users.
Clean up resources
Follow these steps to delete the Azure Synapse Analytics workspace.
Warning
Deleting an Azure Synapse Analytics workspace removes the analytics engines and the data stored in the database of the contained SQL pools and workspace metadata. It will no longer be possible to connect to the SQL or Apache Spark endpoints. All code artifacts will be deleted (queries, notebooks, job definitions, and pipelines).
Deleting the workspace won't affect the data in the Azure Data Lake Storage Gen2 account linked to the workspace.
If the Azure Synapse Analytics workspace created in this article isn't needed, you can delete it by running the following example:
Remove-AzSynapseWorkspace -Name $SynapseWorkspaceNam -ResourceGroupName $SynapseResourceGroup
Related content
Next, you can create SQL pools or create Apache Spark pools to start analyzing and exploring your data.