Note
Access to this page requires authorization. You can try signing in or changing directories.
Access to this page requires authorization. You can try changing directories.
Tip
Microsoft Fabric Data Warehouse is an enterprise scale relational warehouse on a data lake foundation, with a future-ready architecture, built-in AI, and new features. If you're new to data warehousing, start with Fabric Data Warehouse. Existing dedicated SQL pool workloads can upgrade to Fabric to access new capabilities across data science, real-time analytics, and reporting.
This quickstart assumes that you already have a preexisting instance of Azure Synapse Analytics.
Search for Striim in the Azure Marketplace, and select the "Striim for Data Integration to Azure Synapse Analytics (Staged)" option.
Configure the Striim Azure Virtual Machine (VM) with specified properties, noting down the Striim cluster name, password, and admin password.
Once deployed, select
<VM Name>-masternodein the Azure portal, select Connect, and copy the sign in using VM local account.Download the Microsoft JDBC Driver for SQL Server. Use the latest supported version specified by Striim. Install to your local machine.
Open a command-line window, and change directories to where you downloaded the JDBC driver. SCP the driver file to your Striim VM, getting the address and password from the Azure portal.
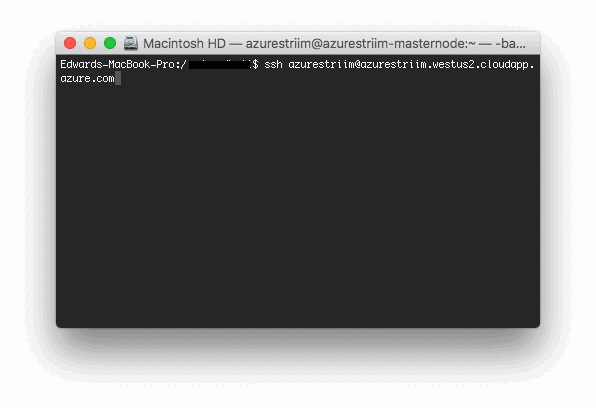
Open another command-line window, or use an ssh utility to ssh into the Striim cluster.
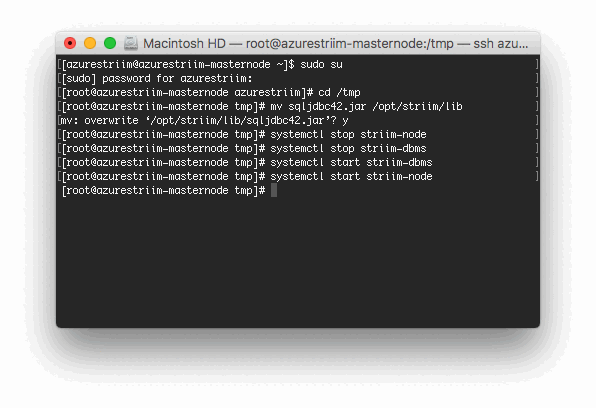
Execute the following commands to move the file into Striim's lib directory, and start and stop the server.
sudo sucd /tmpmv sqljdbc42.jar /opt/striim/libsystemctl stop striim-nodesystemctl stop striim-dbmssystemctl start striim-dbmssystemctl start striim-node
Now, open your favorite browser and navigate to
<DNS Name>:9080.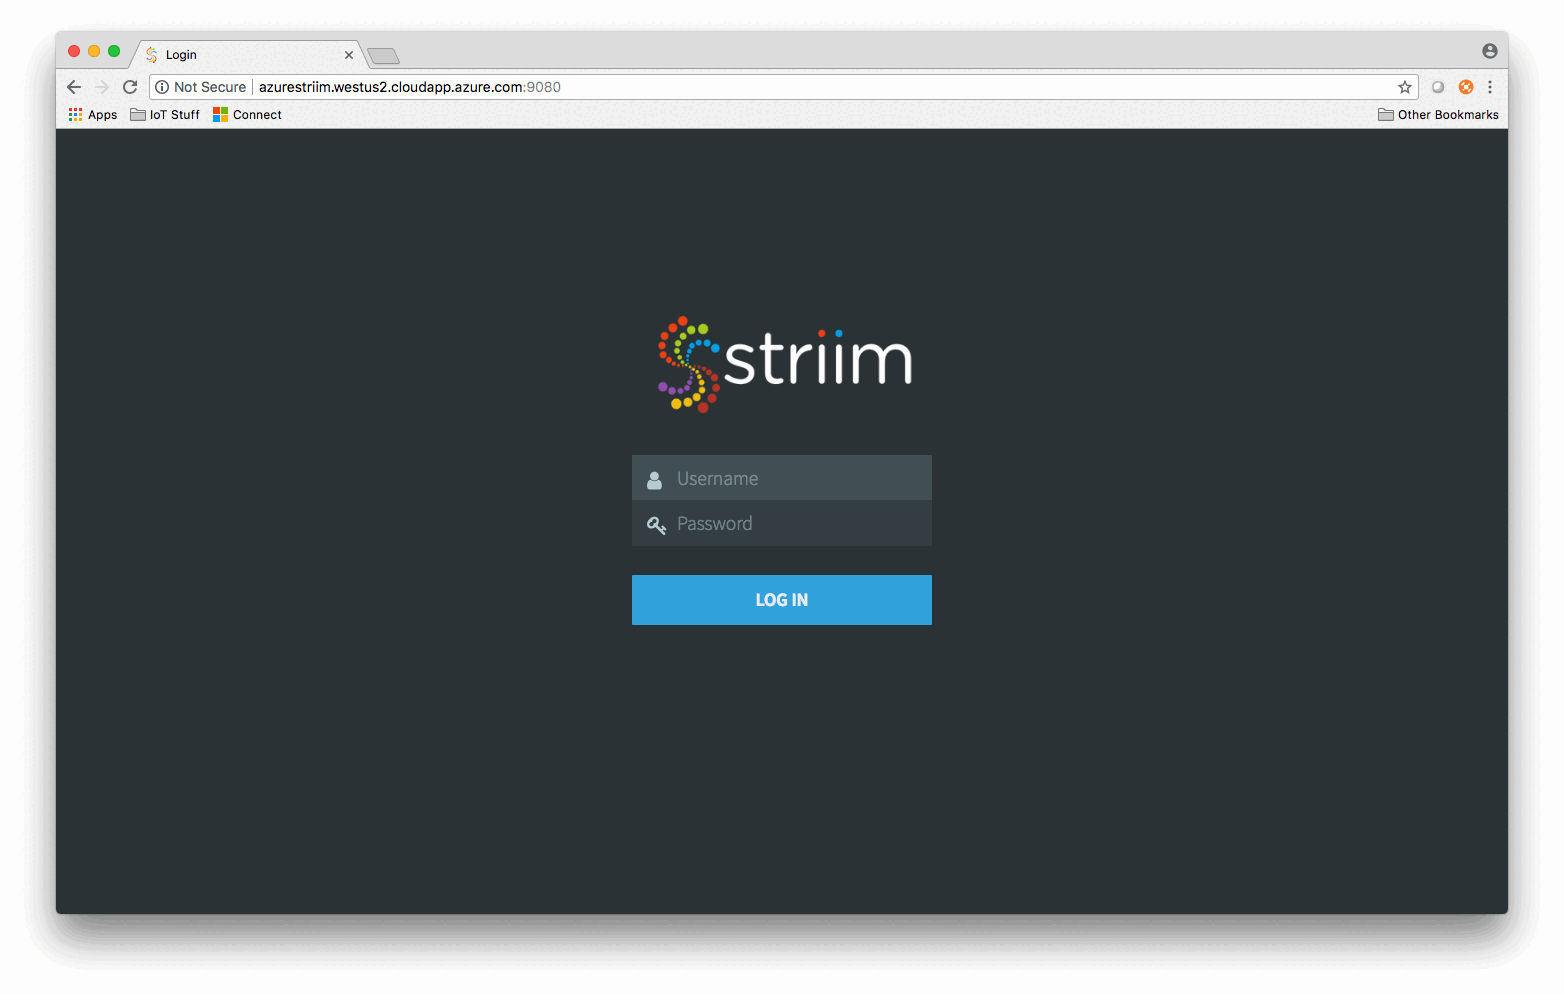
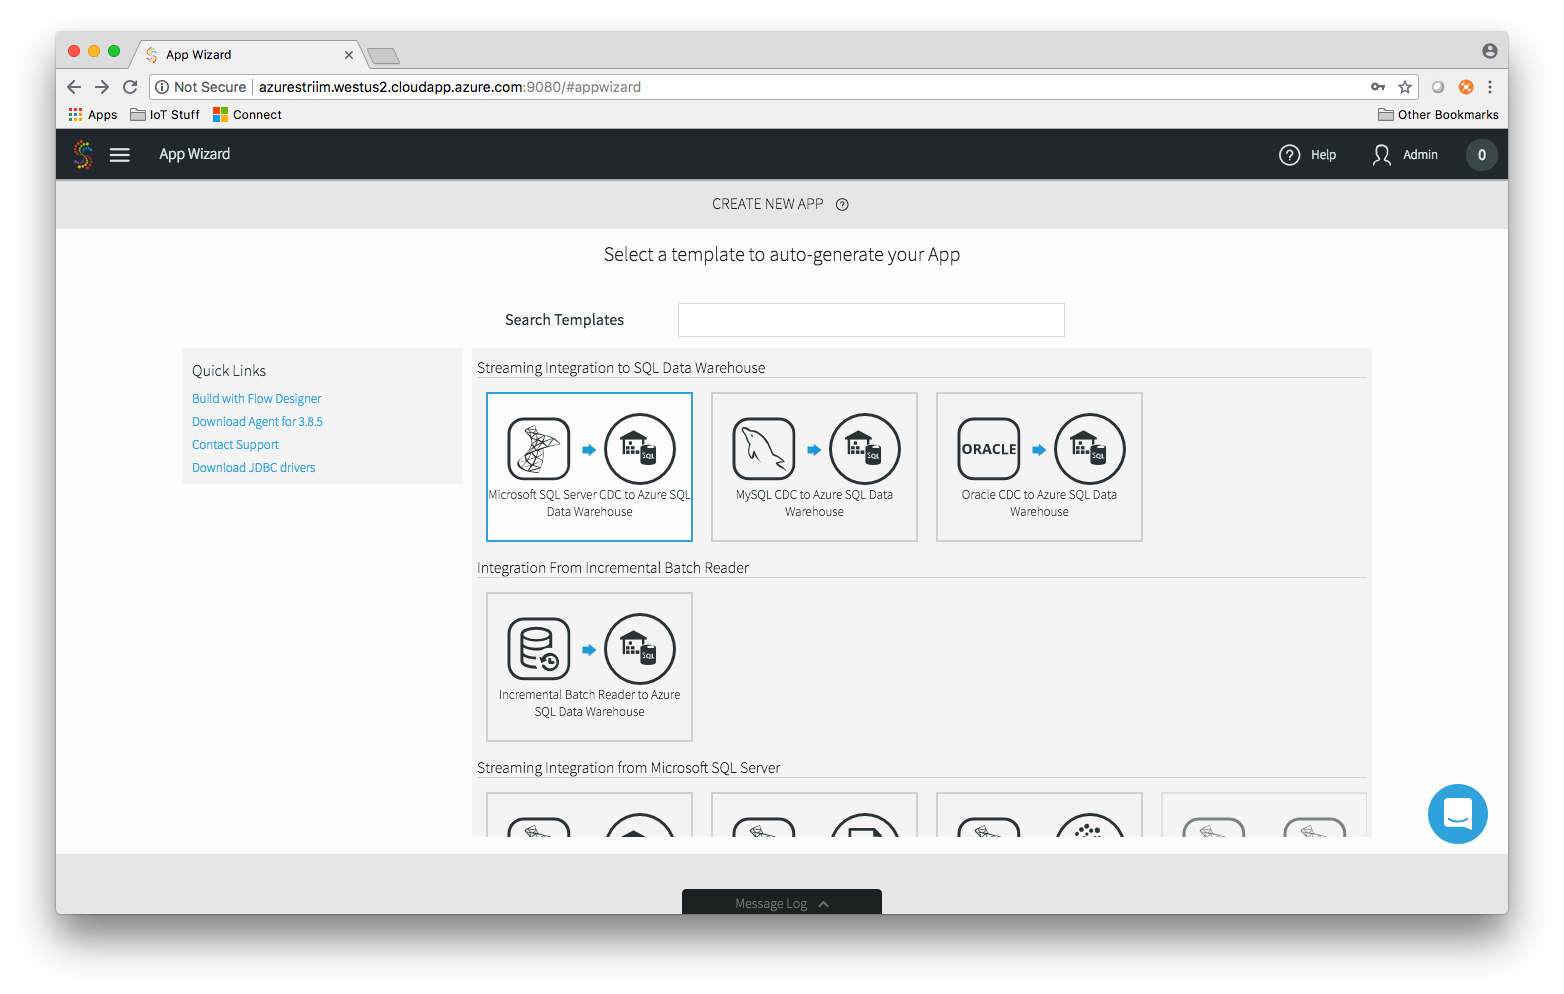
Sign in with the username and the password you set up in the Azure portal, and select your preferred wizard to get started, or go to the Apps page to start using the drag and drop UI.