Note
Access to this page requires authorization. You can try signing in or changing directories.
Access to this page requires authorization. You can try changing directories.
Applies to: ✔️ Linux VMs ✔️ Windows VMs ✔️ Flexible scale sets ✔️ Uniform scale sets
In this article, you create a disk access resource and use private endpoints to restrict the export and import of managed disks over a private link from clients on your Azure virtual network. This configuration ensures that import/export operations on disks with this configuration occurs within your Azure virtual network.
Following the steps in this article only affects the import and export of your disks, it doesn't affect the ability of your VMs to access disks directly attached to them.
Prerequisites
None
Limitations
- You can't import or export more than 100 disks or snapshots at the same time with the same disk access resource
- You can't upload to a disk with both a disk access resource and a disk encryption set
- In addition to the scale targets that apply to individual disks, disk access resources have more scale targets that are centered around ingress/egress of data. These limits apply cumulatively to all disks associated with a disk access resource. For details see here
Create a disk access resource
To use Private Link to export and import managed disks, create a disk access resource and link it to a virtual network in the same subscription by creating a private endpoint. Then, associate a disk or a snapshot with a disk access instance.
Sign in to the Azure portal and navigate to Disk Accesses.
Select + Create to create a new disk access resource.
On the Create a disk accesses pane, select your subscription and a resource group. Under Instance details, enter a name and select a region.

Select Review + create.
When your resource has been created, navigate directly to it.

Create a private endpoint
Next, you'll need to create a private endpoint and configure it for disk access.
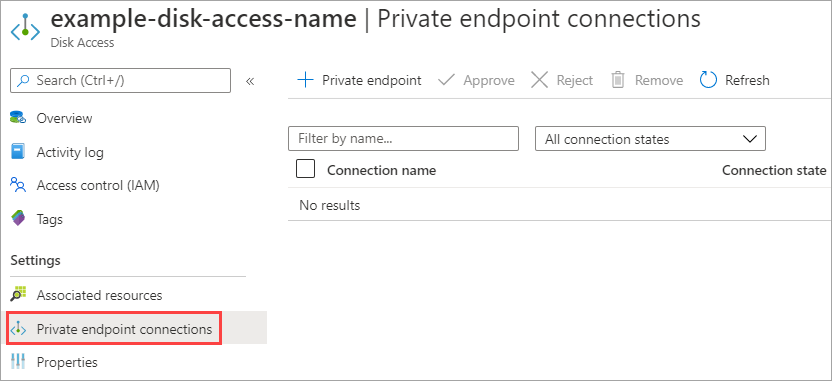
From your disk access resource, under Settings, select Private endpoint connections.
Select + Private endpoint.
In the Create a private endpoint pane, select a resource group.
Provide a name and select the same region in which your disk access resource was created.

Select Next: Resource.
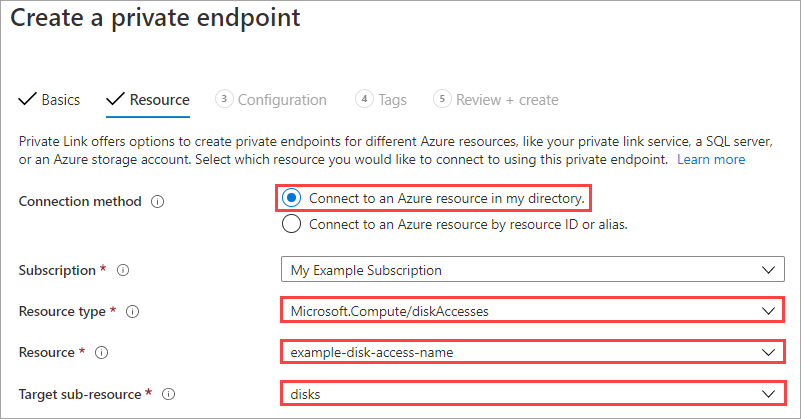
On the Resource pane, select Connect to an Azure resource in my directory.
For Resource type, select Microsoft.Compute/diskAccesses.
For Resource, select the disk access resource you created earlier.
Leave the Target sub-resource as disks.
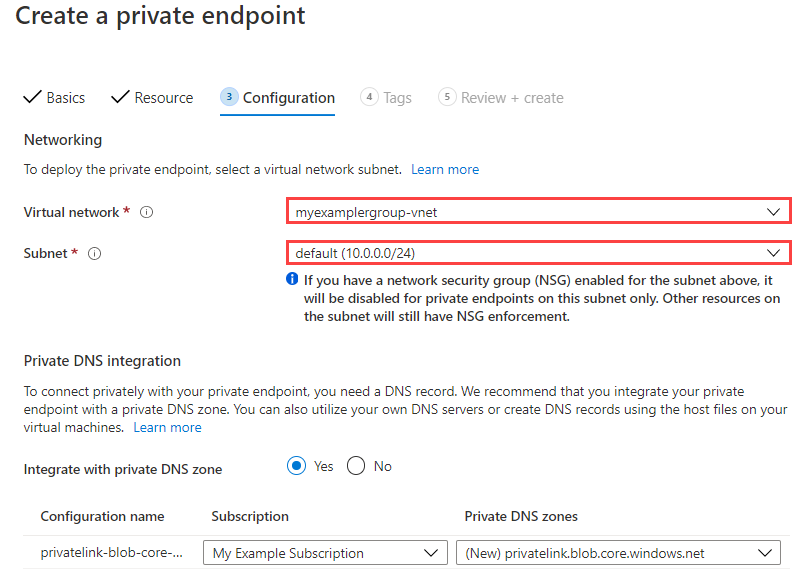
Select Next : Configuration.
Select the virtual network to which you will limit disk import and export. This prevents the import and export of your disk to other virtual networks.
Note
If you have a network security group enabled for the selected subnet, it will be disabled for private endpoints on this subnet only. Other resources on this subnet will retain network security group enforcement.
Select the appropriate subnet.
Select Review + create.
Enable private endpoint on your disk
Follow these steps:
Navigate to the disk you'd like to configure.
Under Settings, select Networking.
Select Private endpoint (through disk access) and select the disk access you created earlier.

Select Save.
You've now configured a private link that you can use to import and export your managed disk. You can import using the Azure CLI or the Azure PowerShell module. You can export either Windows or Linux VHDs.