Microsoft Entra authentication: Configure VPN clients for P2S OpenVPN protocol connections - macOS
This article helps you configure a VPN client for a computer running macOS 10.15 and later to connect to a virtual network using Point-to-Site VPN and Microsoft Entra authentication. Before you can connect and authenticate using Microsoft Entra ID, you must first configure your Microsoft Entra tenant. For more information, see Configure a Microsoft Entra tenant.
Note
- The Azure VPN Client might not be available in all regions due to local regulations.
- Microsoft Entra authentication is supported only for OpenVPN® protocol connections and requires the Azure VPN client.
For every computer that you want to connect to a VNet using a Point-to-Site VPN connection, you need to do the following:
- Download the Azure VPN Client to the computer.
- Configure a client profile that contains the VPN settings.
If you want to configure multiple computers, you can create a client profile on one computer, export it, and then import it to other computers.
Prerequisites
Make sure you have the following prerequisites before you proceed with the steps in this article:
- Before you can connect and authenticate using Microsoft Entra ID, you must first configure your Microsoft Entra tenant. For more information, see Configure a Microsoft Entra tenant.
Verify the client computer is running a supported OS on a supported processor.
- Supported macOS releases: 15 (Sequoia), 14 (Sonoma), 13 (Ventura), 12 (Monterey)
- Supported processors: x64, Arm64
If your device has an M-series chip and VPN client release earlier 2.7.101, you must install Rosetta software. For more information, see the Apple support article
If you’re using Azure VPN Client version 2.7.101 or later, you don’t need to install Rosetta software.
To download the Azure VPN client
- Download the Azure VPN Client from the Apple Store.
- Install the client on your computer.
To import a connection profile
Download and extract the profile files. For steps, see Working with VPN client profile files.
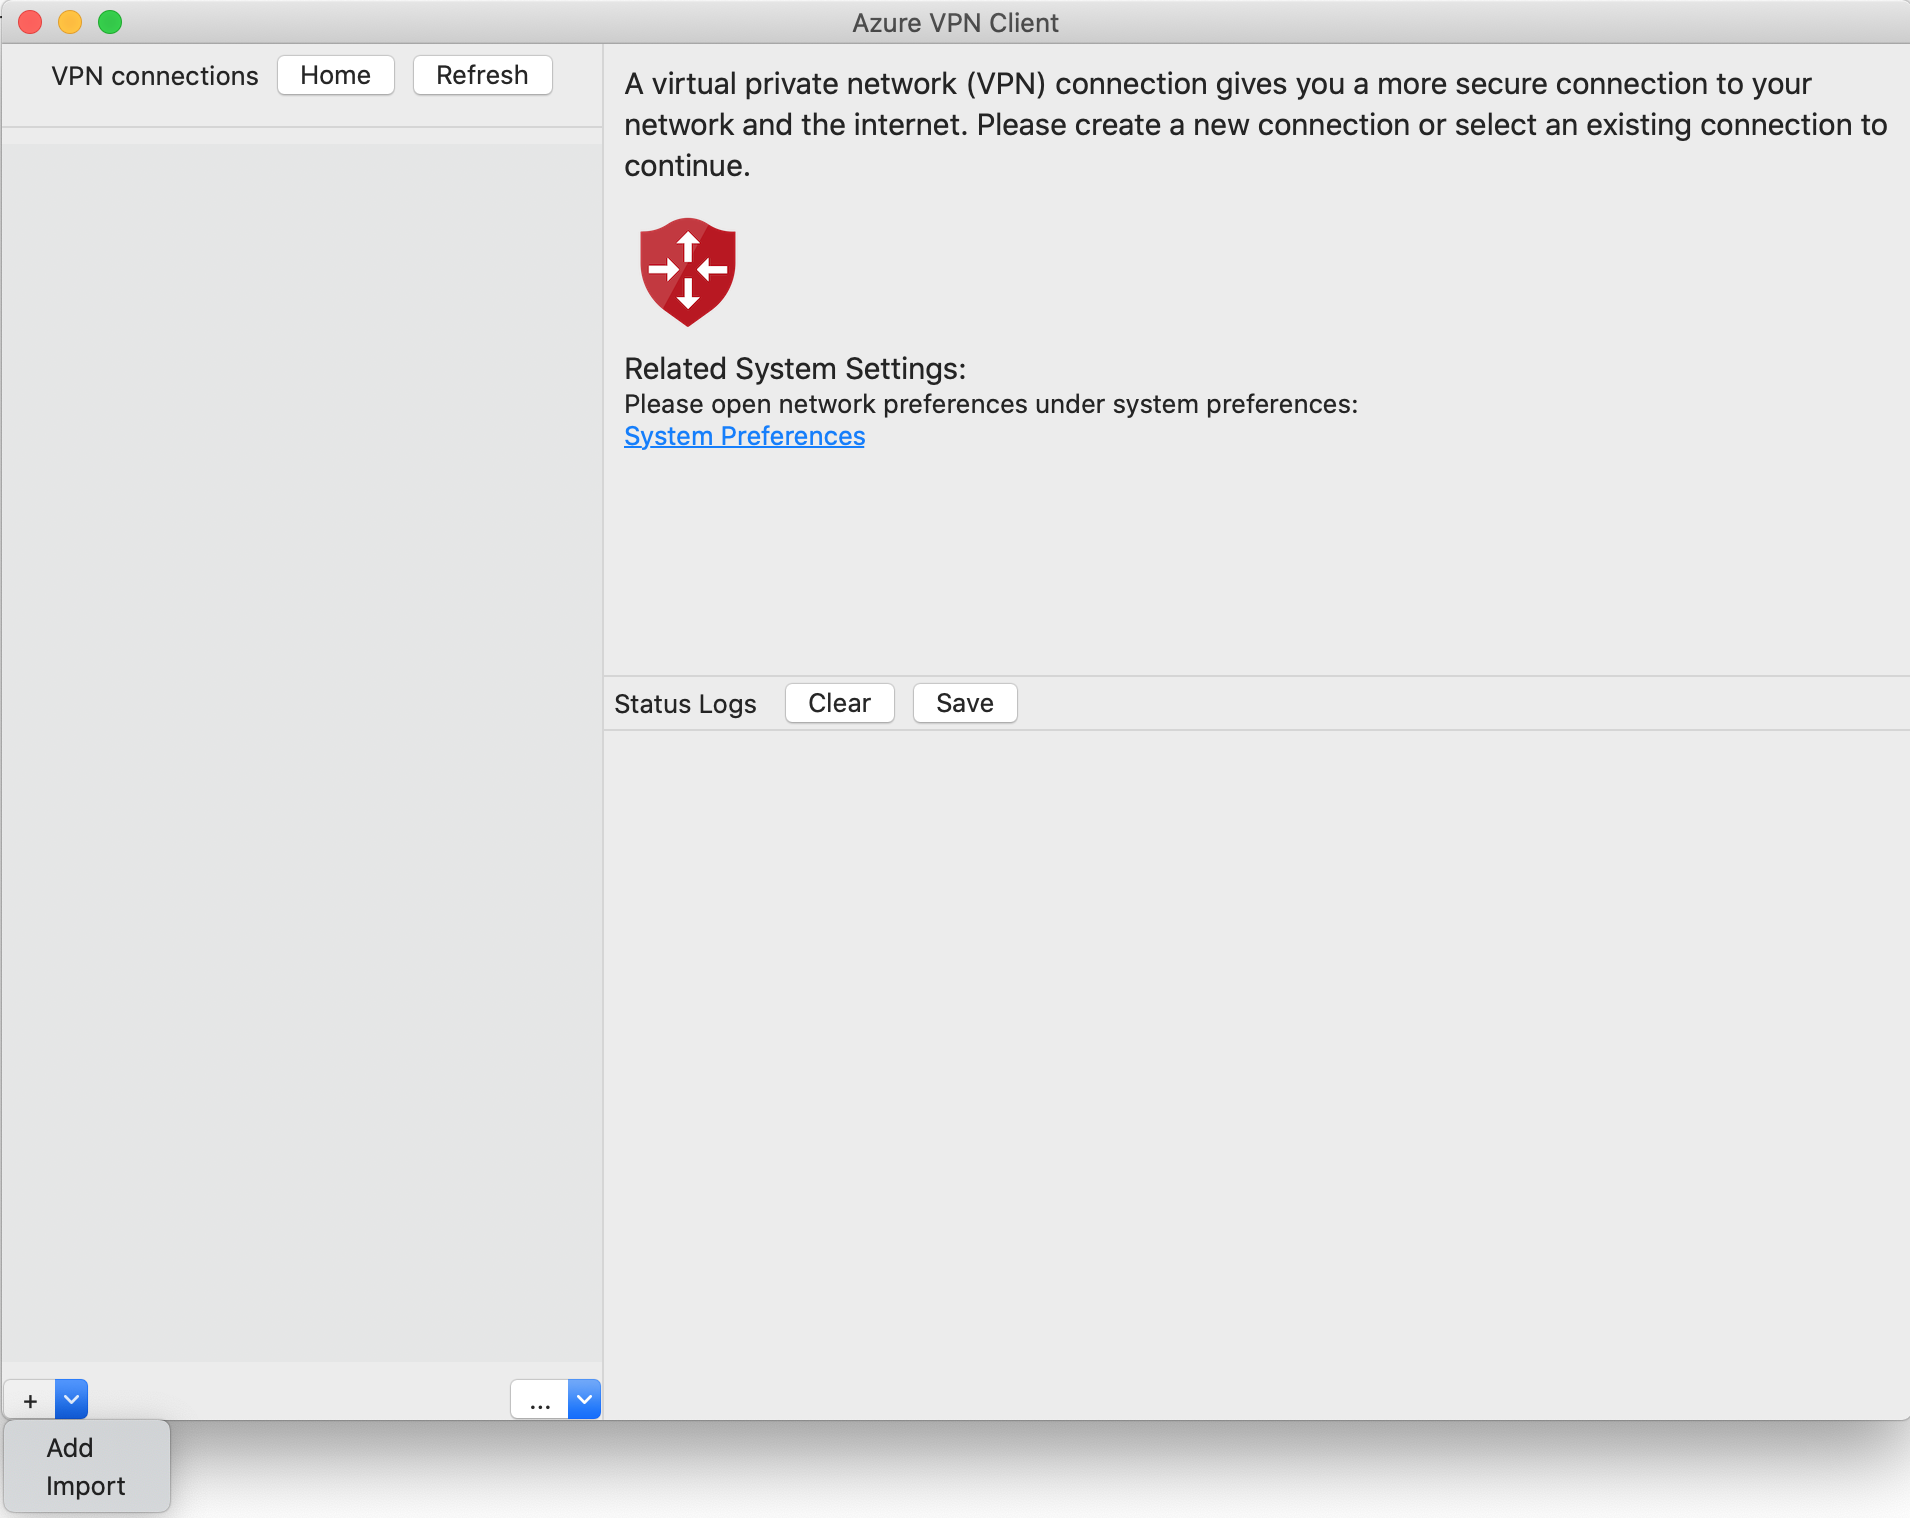
On the Azure VPN Client page, select Import.
Navigate to the profile file that you want to import, select it, then click Open.

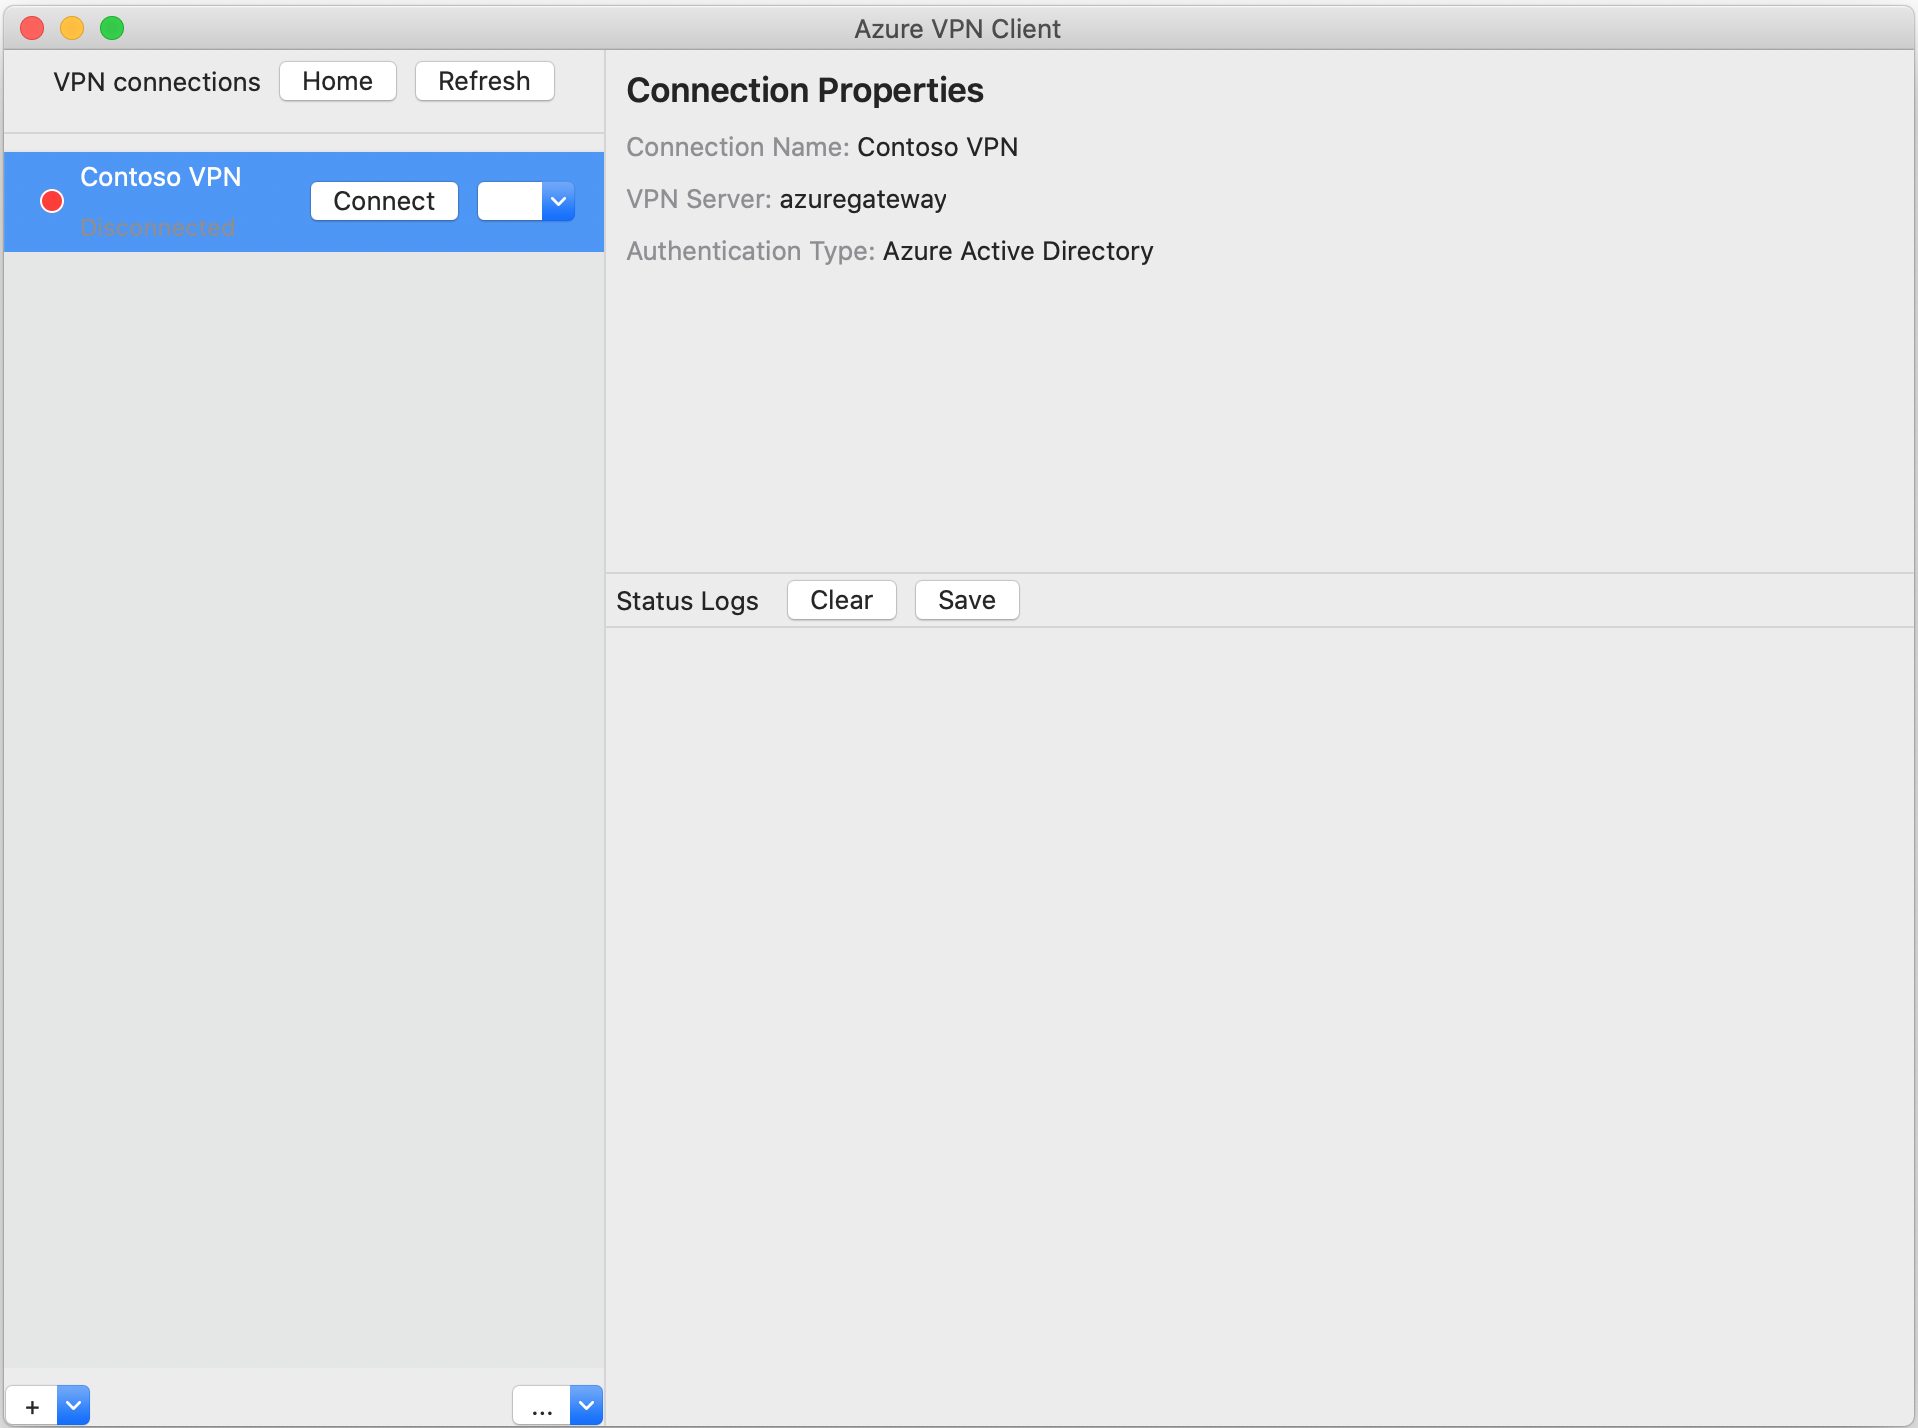
View the connection profile information, then click Save.

In the VPN connections pane, select the connection profile that you saved. Then, click Connect.
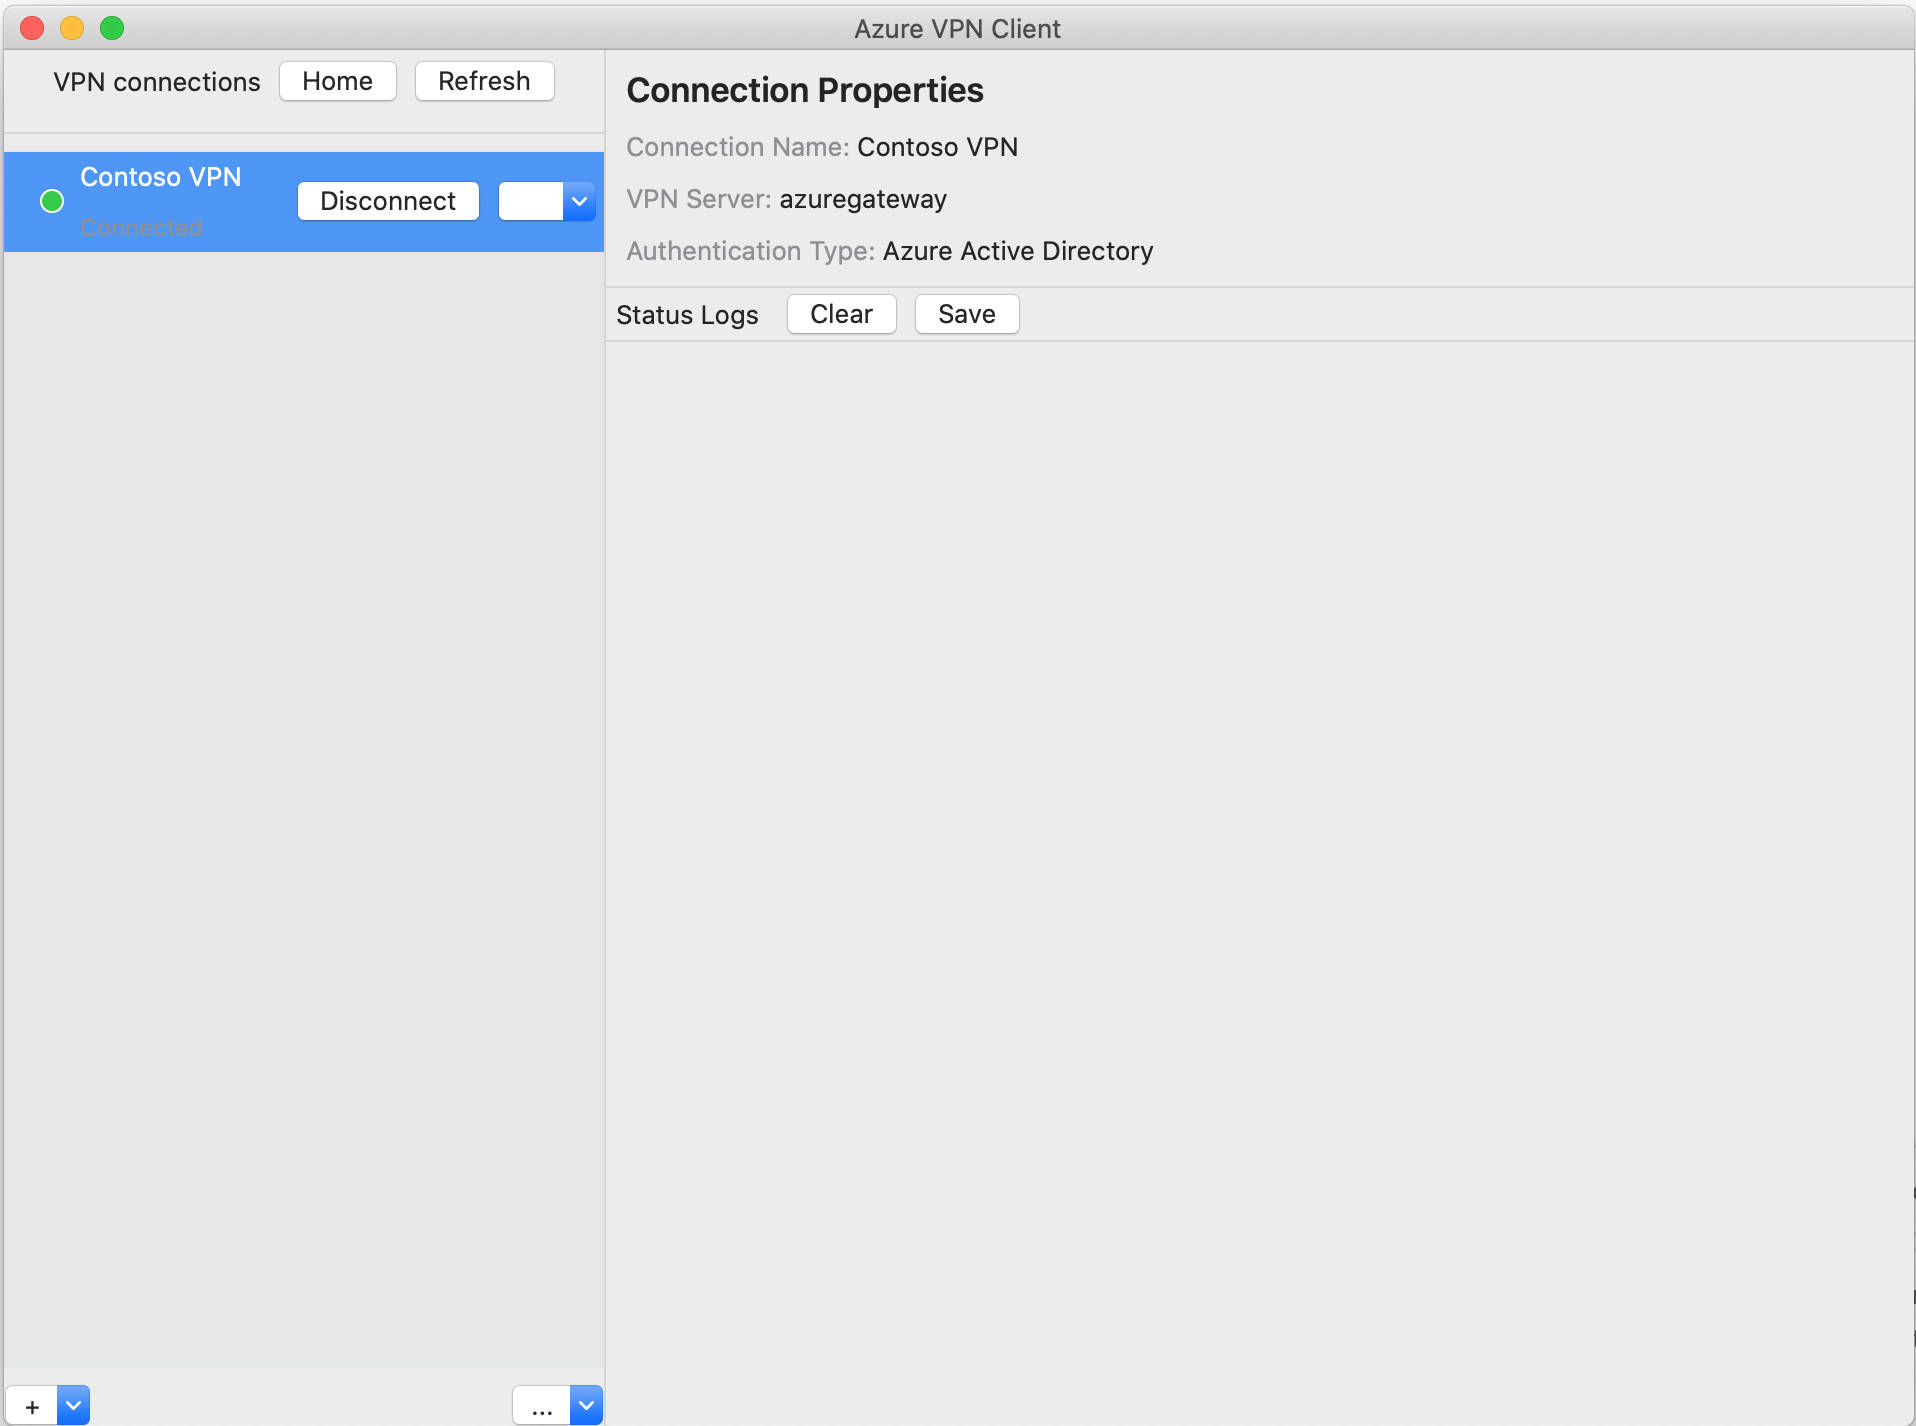
Once connected, the status will change to Connected. To disconnect from the session, click Disconnect.
To create a connection manually
Open the Azure VPN Client. Select Add to create a new connection.
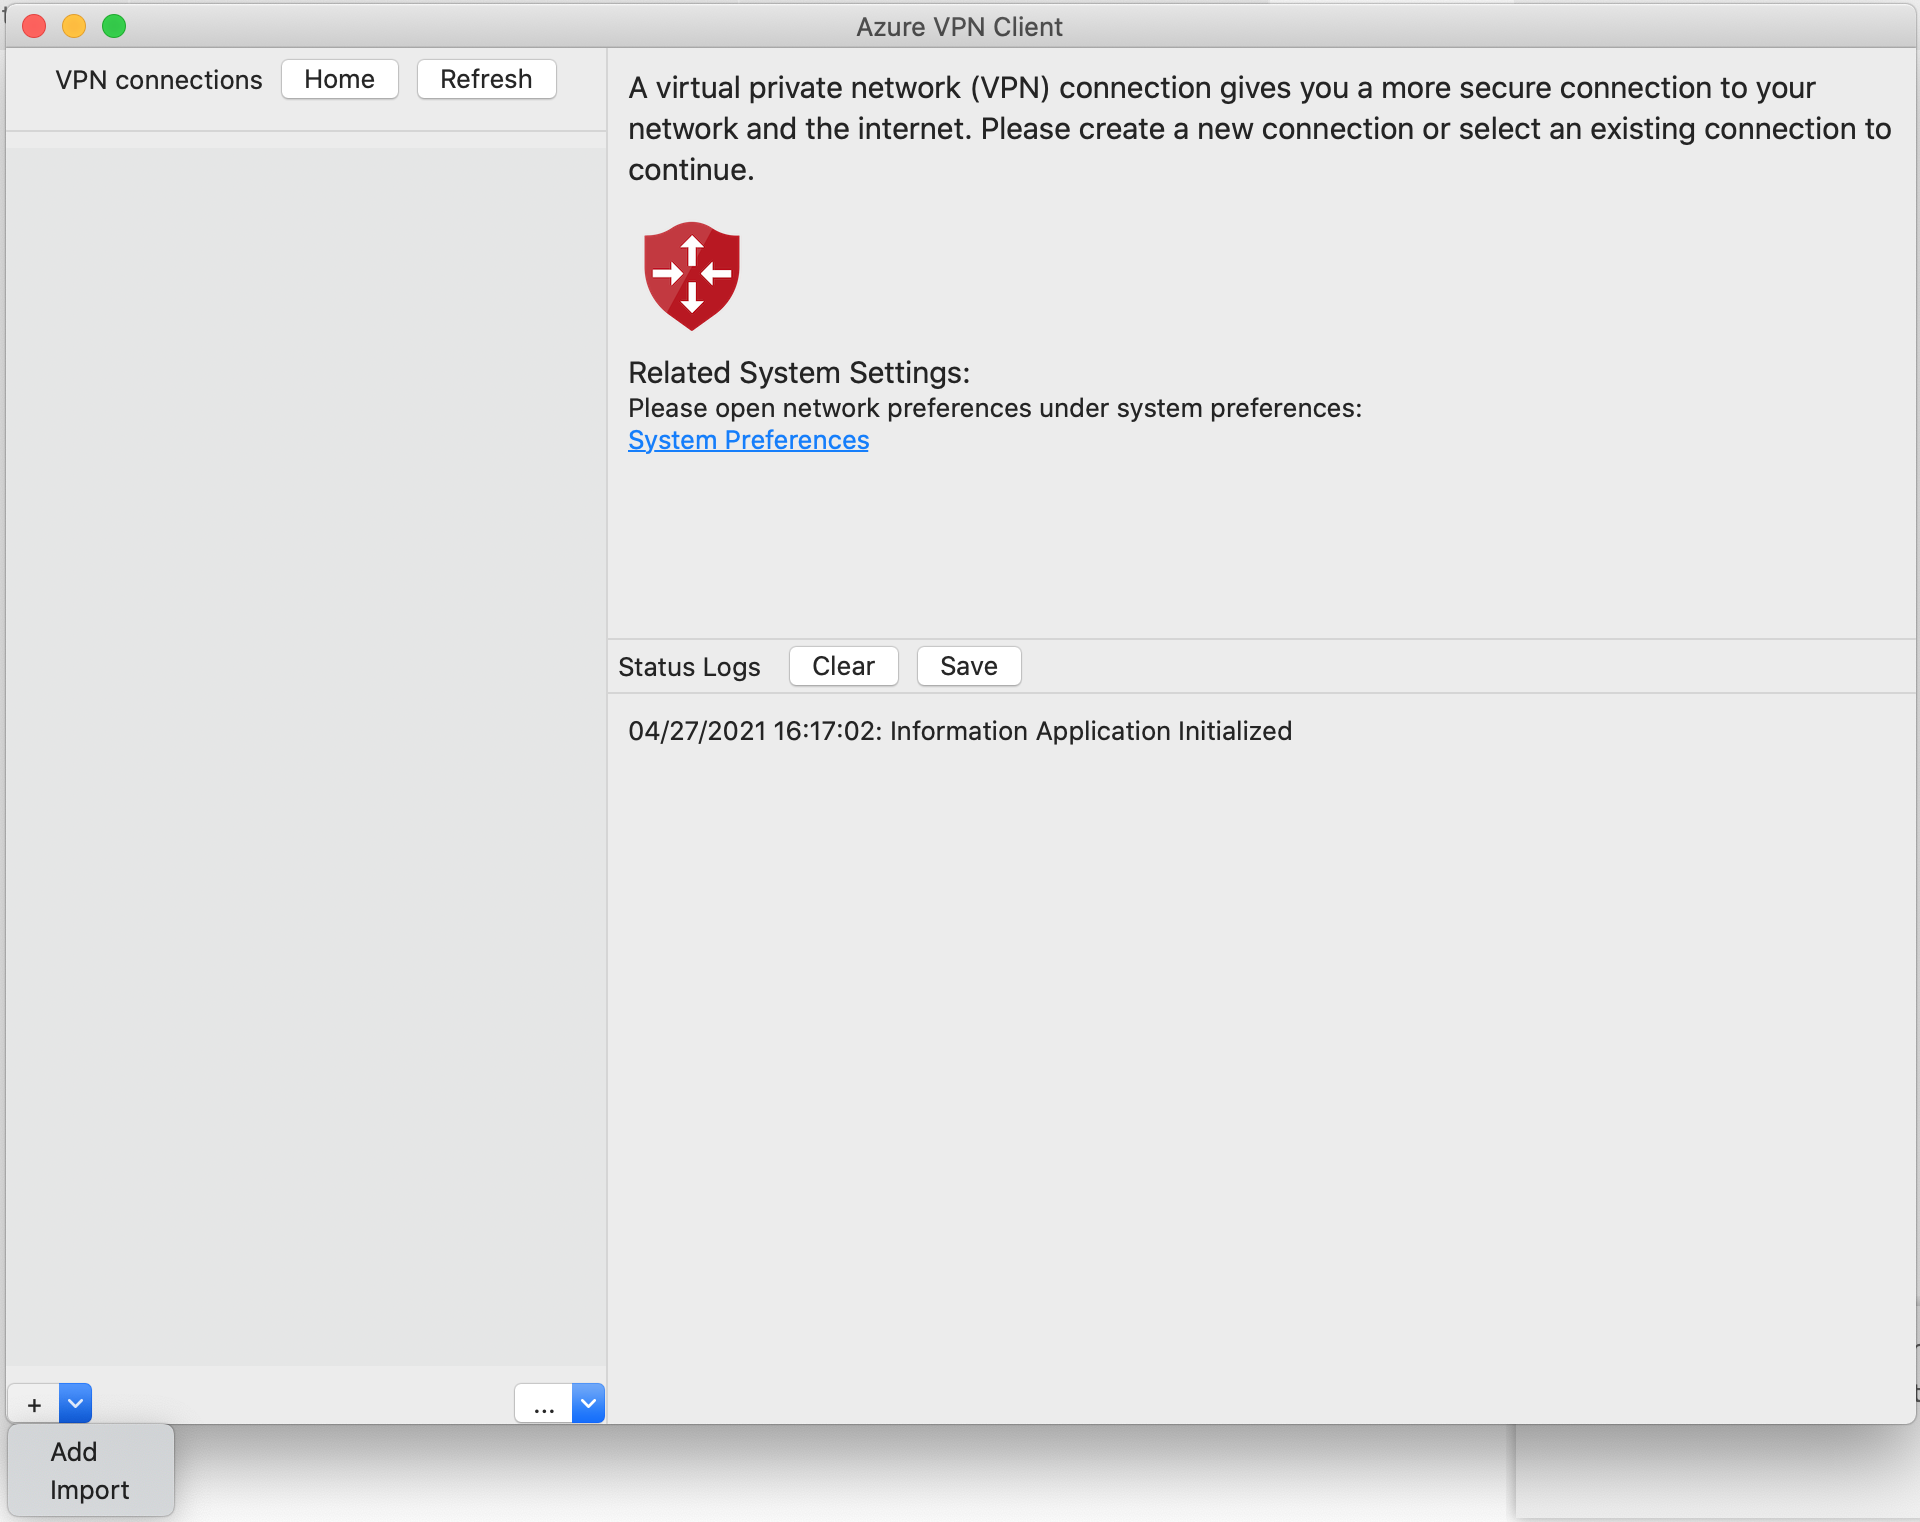
On the Azure VPN Client page, you can configure the profile settings.
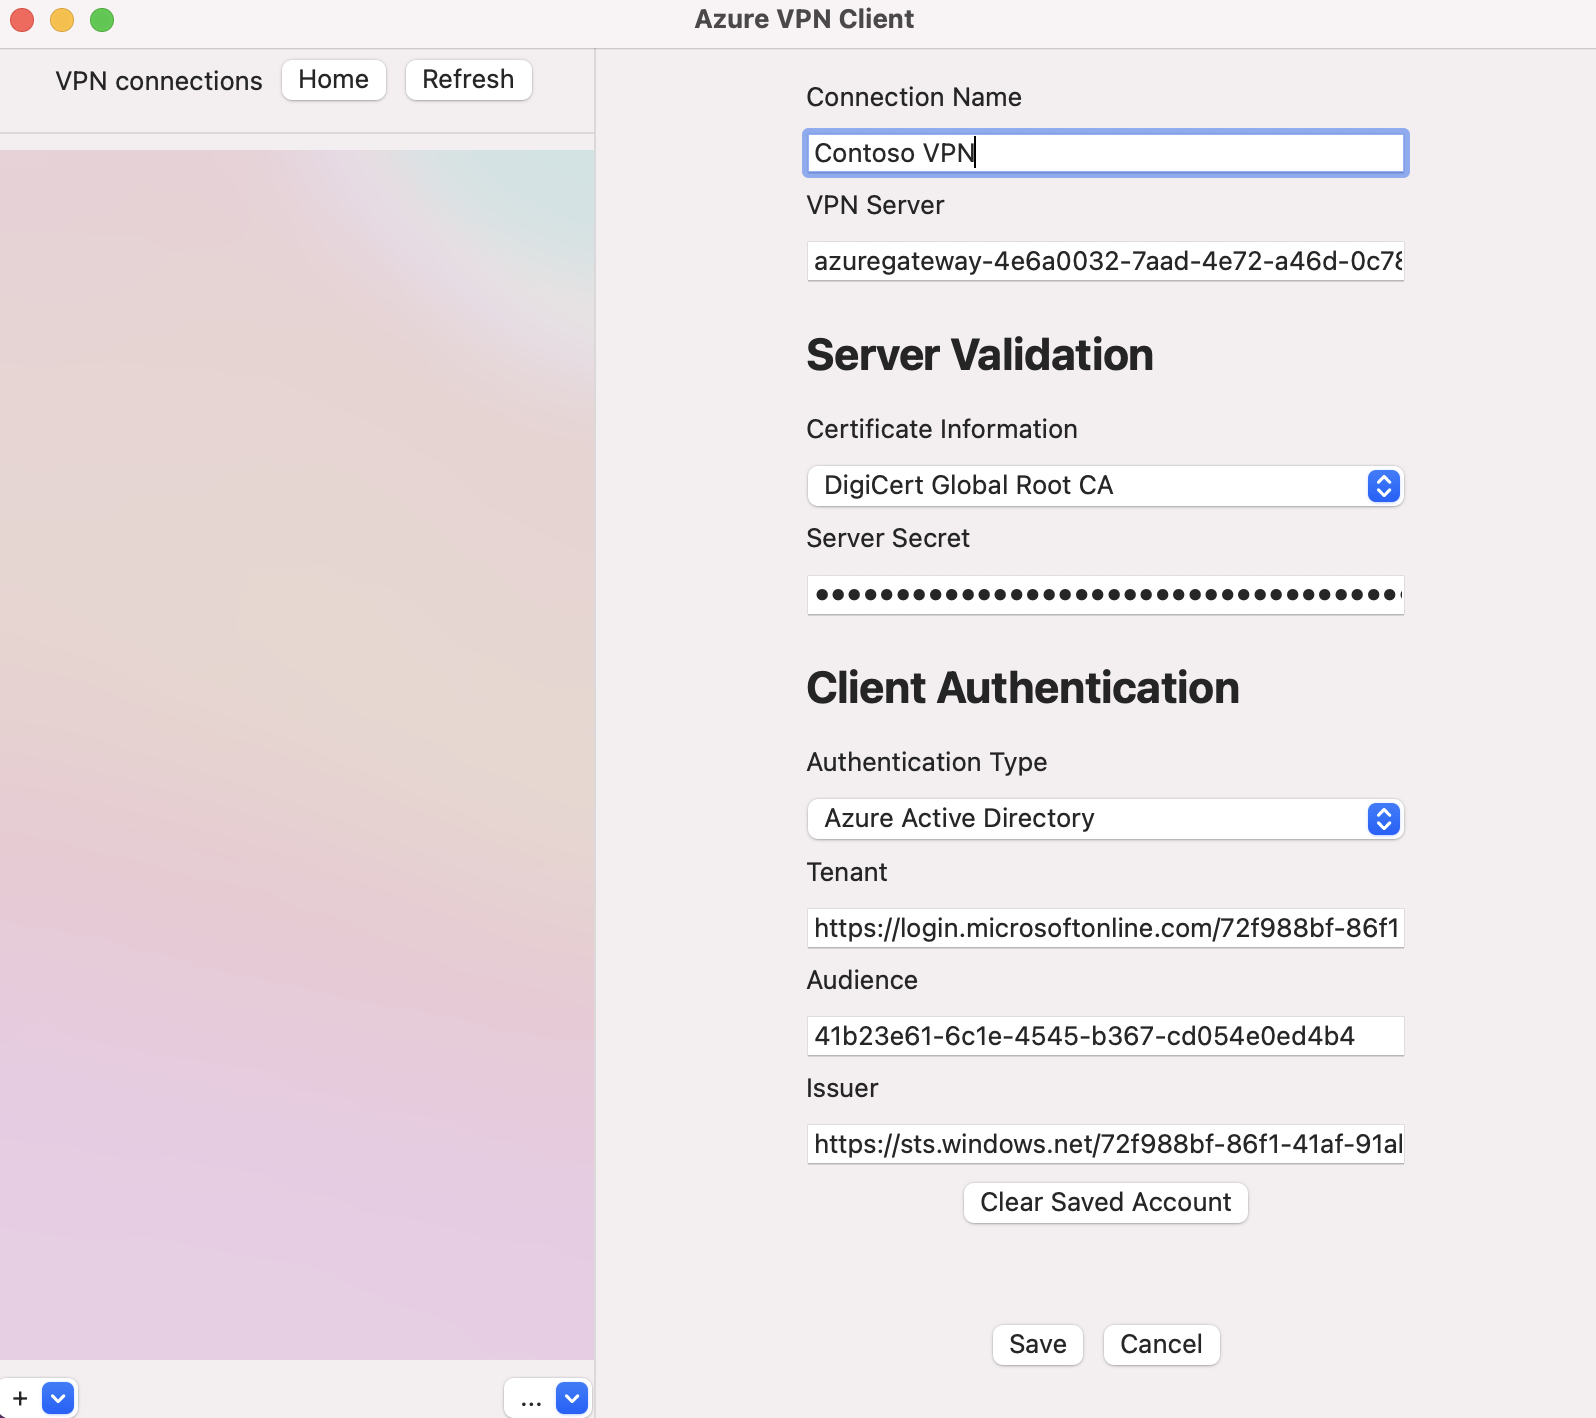
Configure the following settings:
- Connection Name: The name by which you want to refer to the connection profile.
- VPN Server: This name is the name that you want to use to refer to the server. The name you choose here doesn't need to be the formal name of a server.
- Server Validation
- Certificate Information: The certificate CA.
- Server Secret: The server secret.
- Client Authentication
- Authentication Type: Microsoft Entra ID
- Tenant: Name of the tenant.
- Issuer: Name of the issuer.
After filling in the fields, click Save.
In the VPN connections pane, select the connection profile that you configured. Then, click Connect.
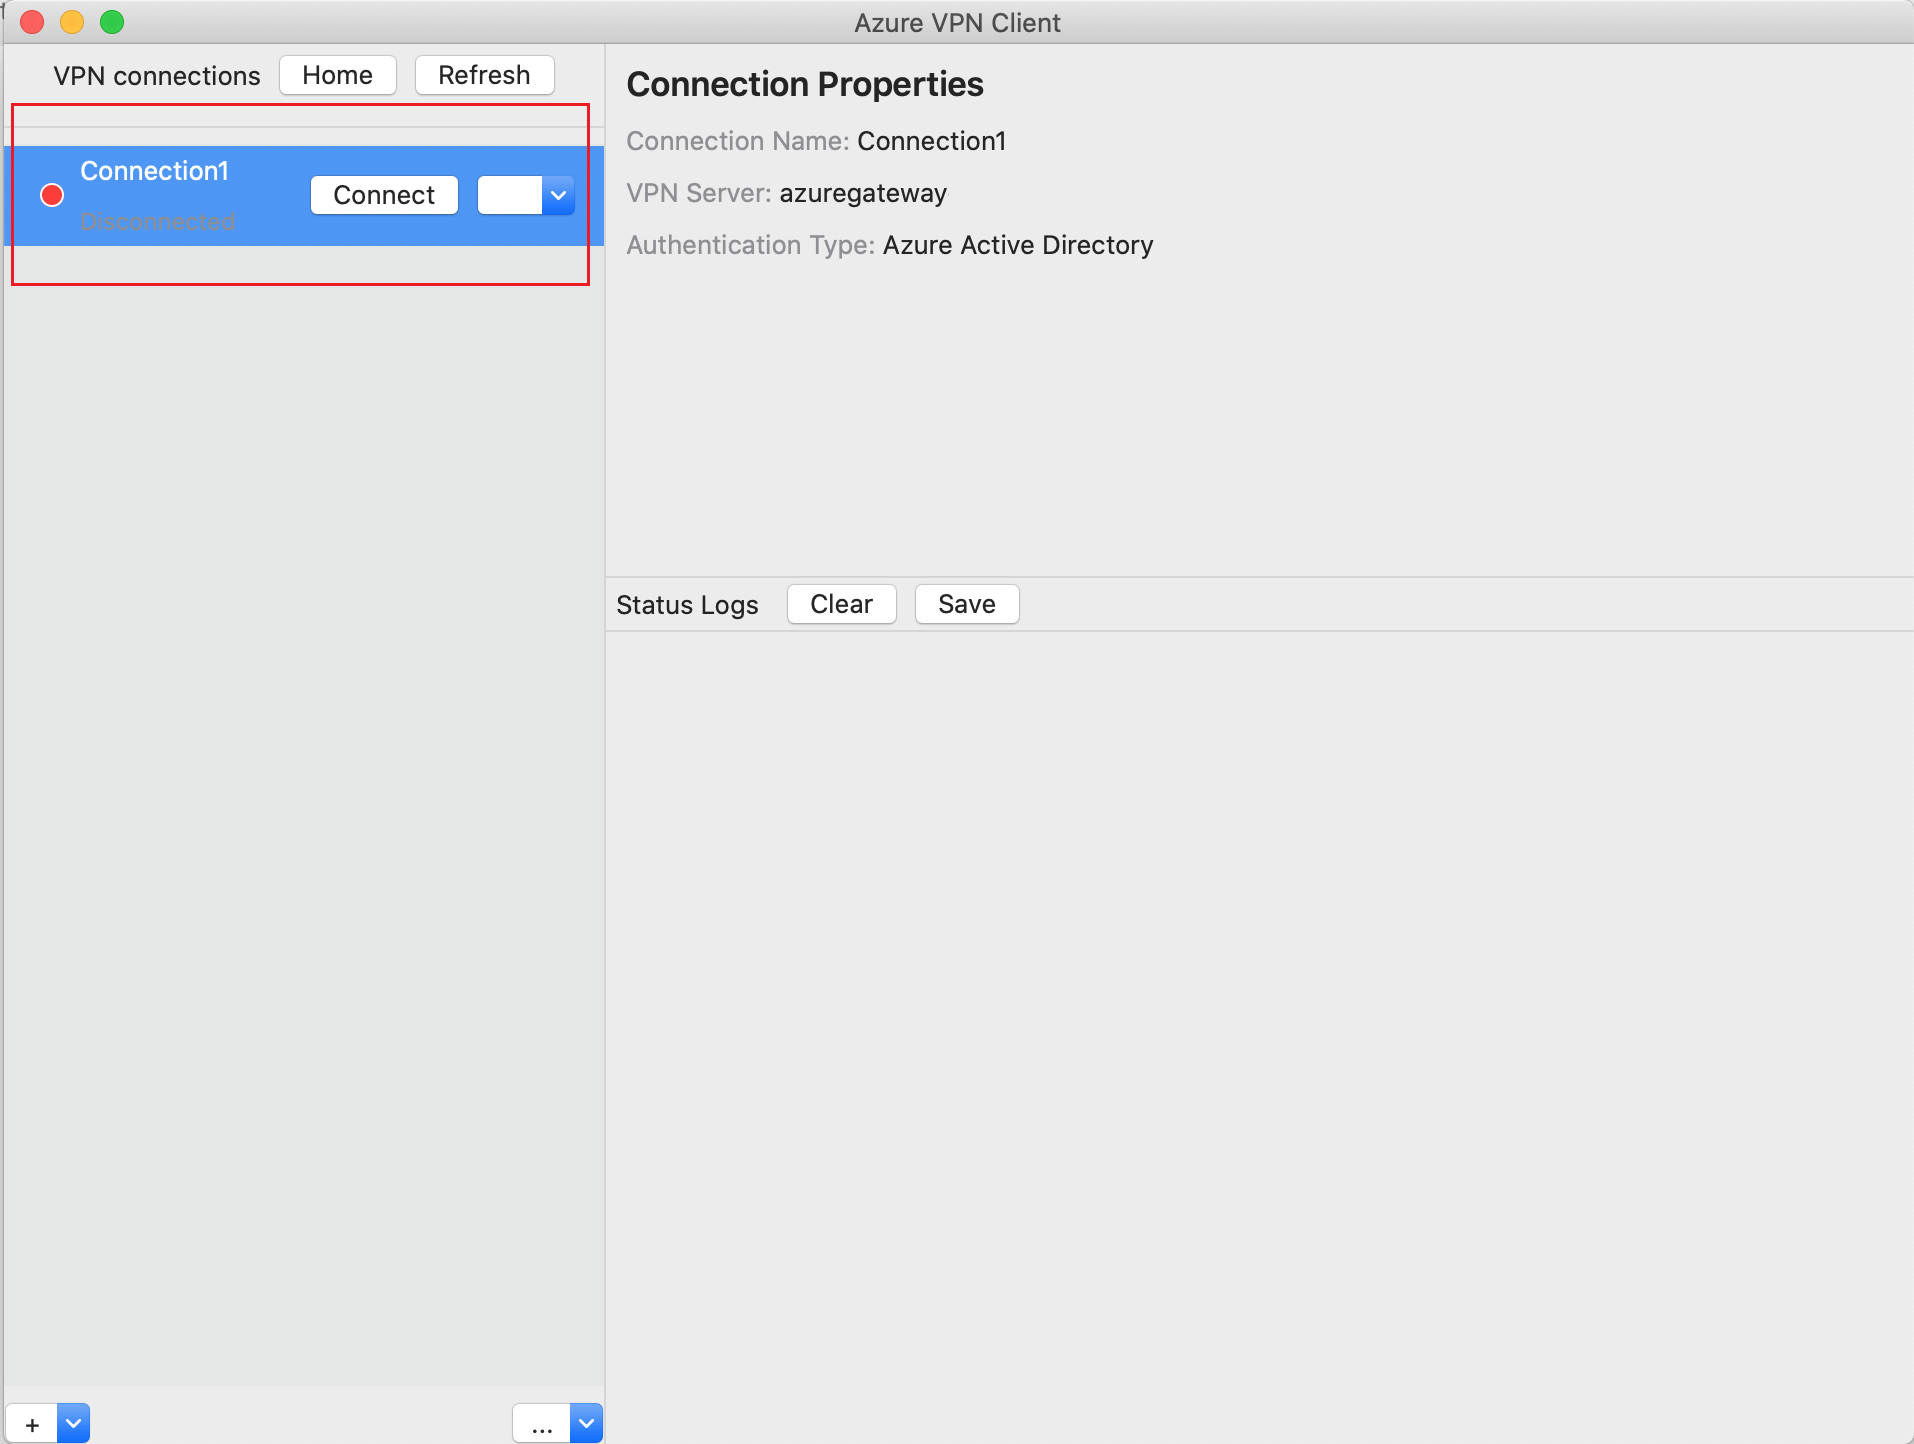
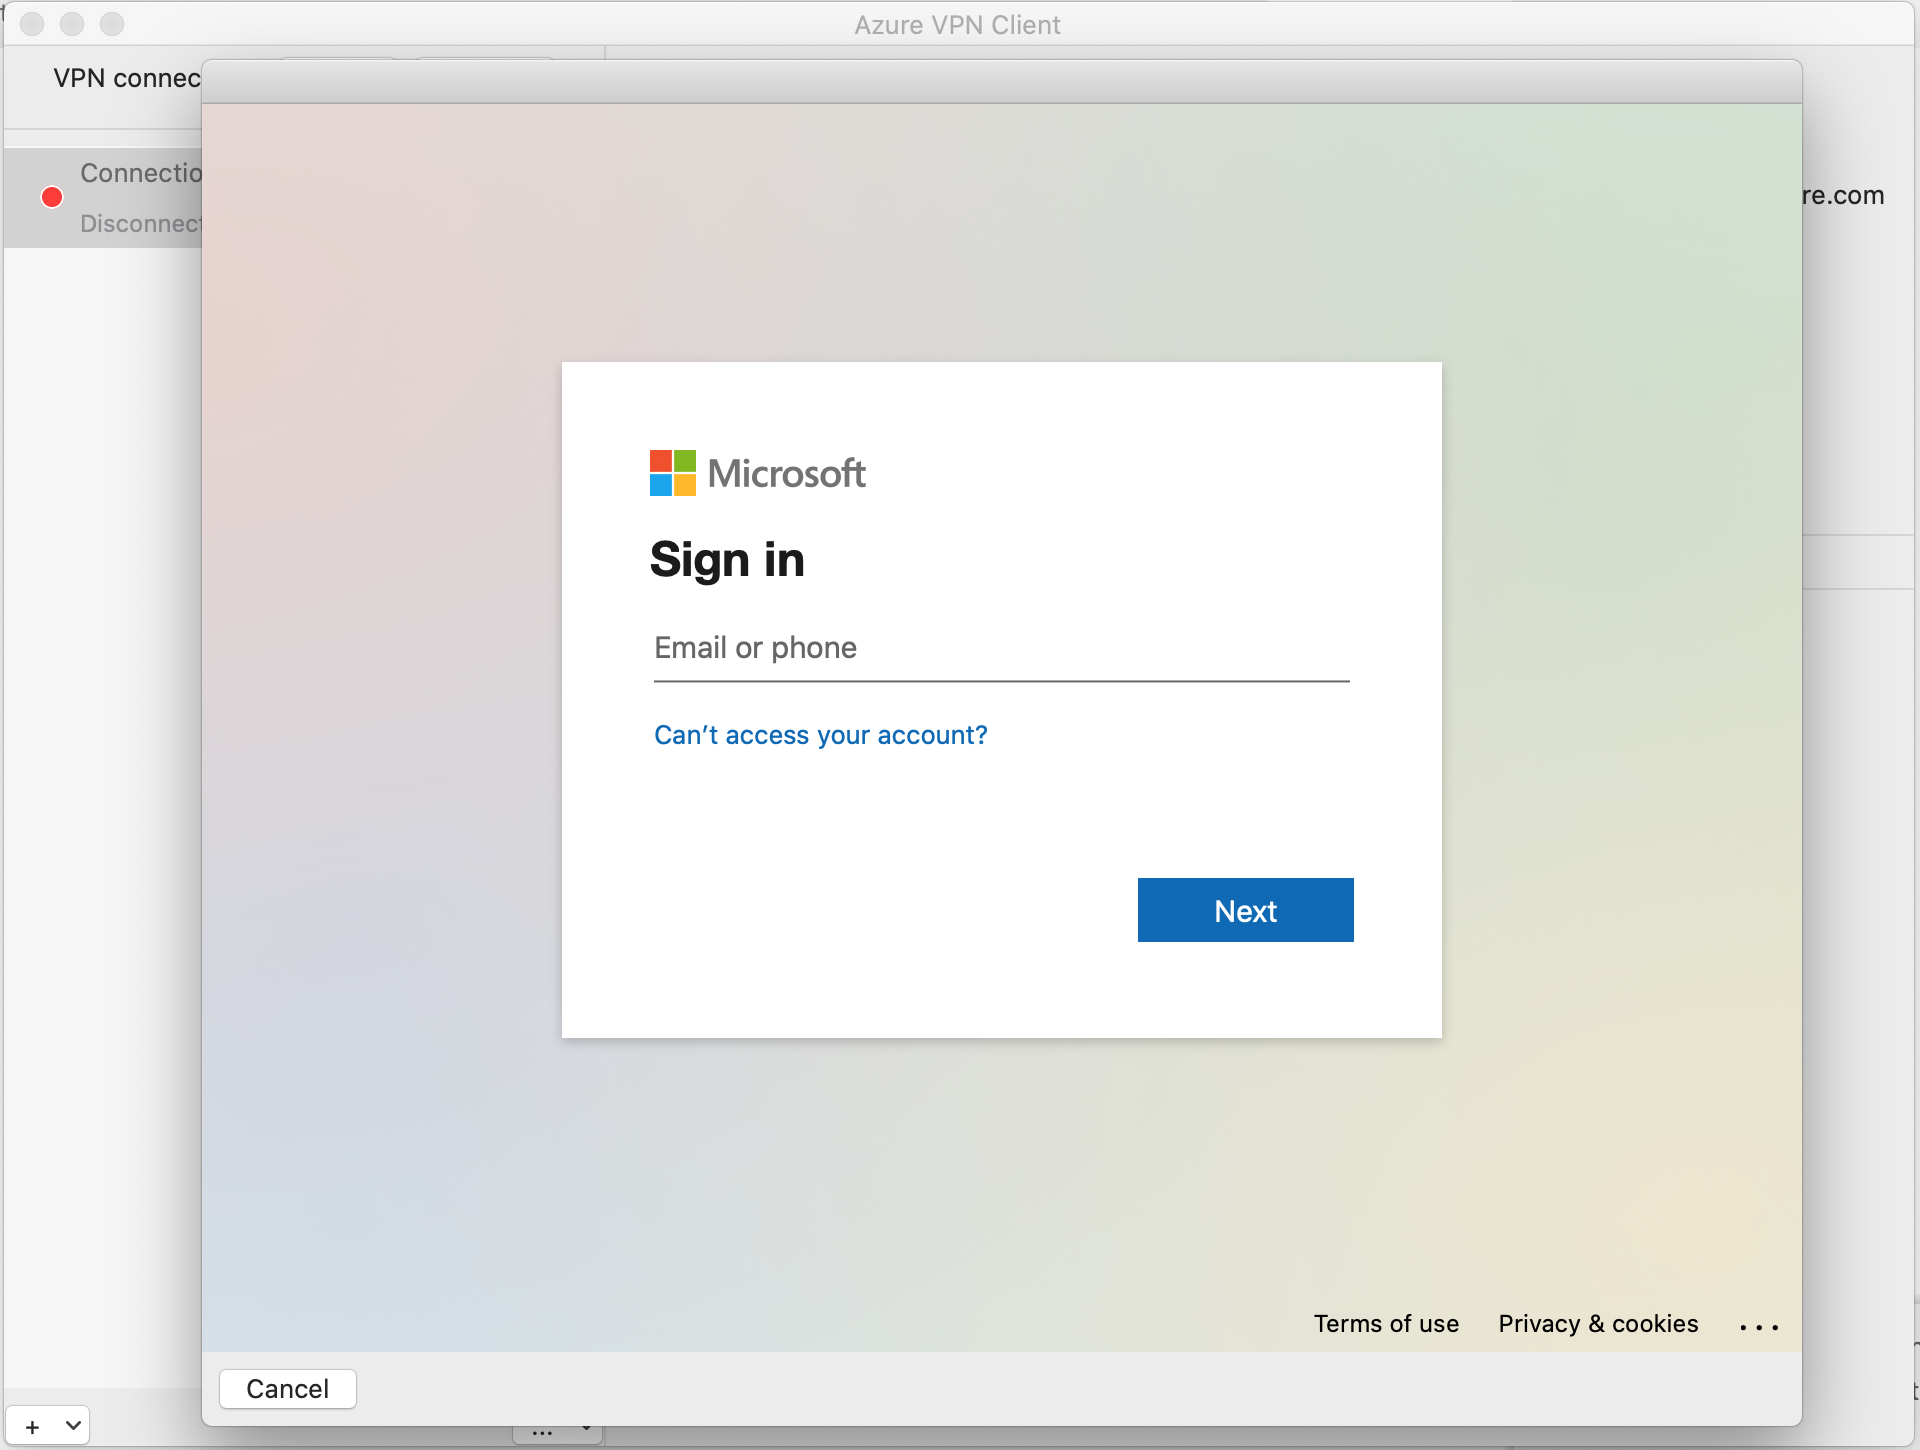
Using your credentials, sign in to connect.
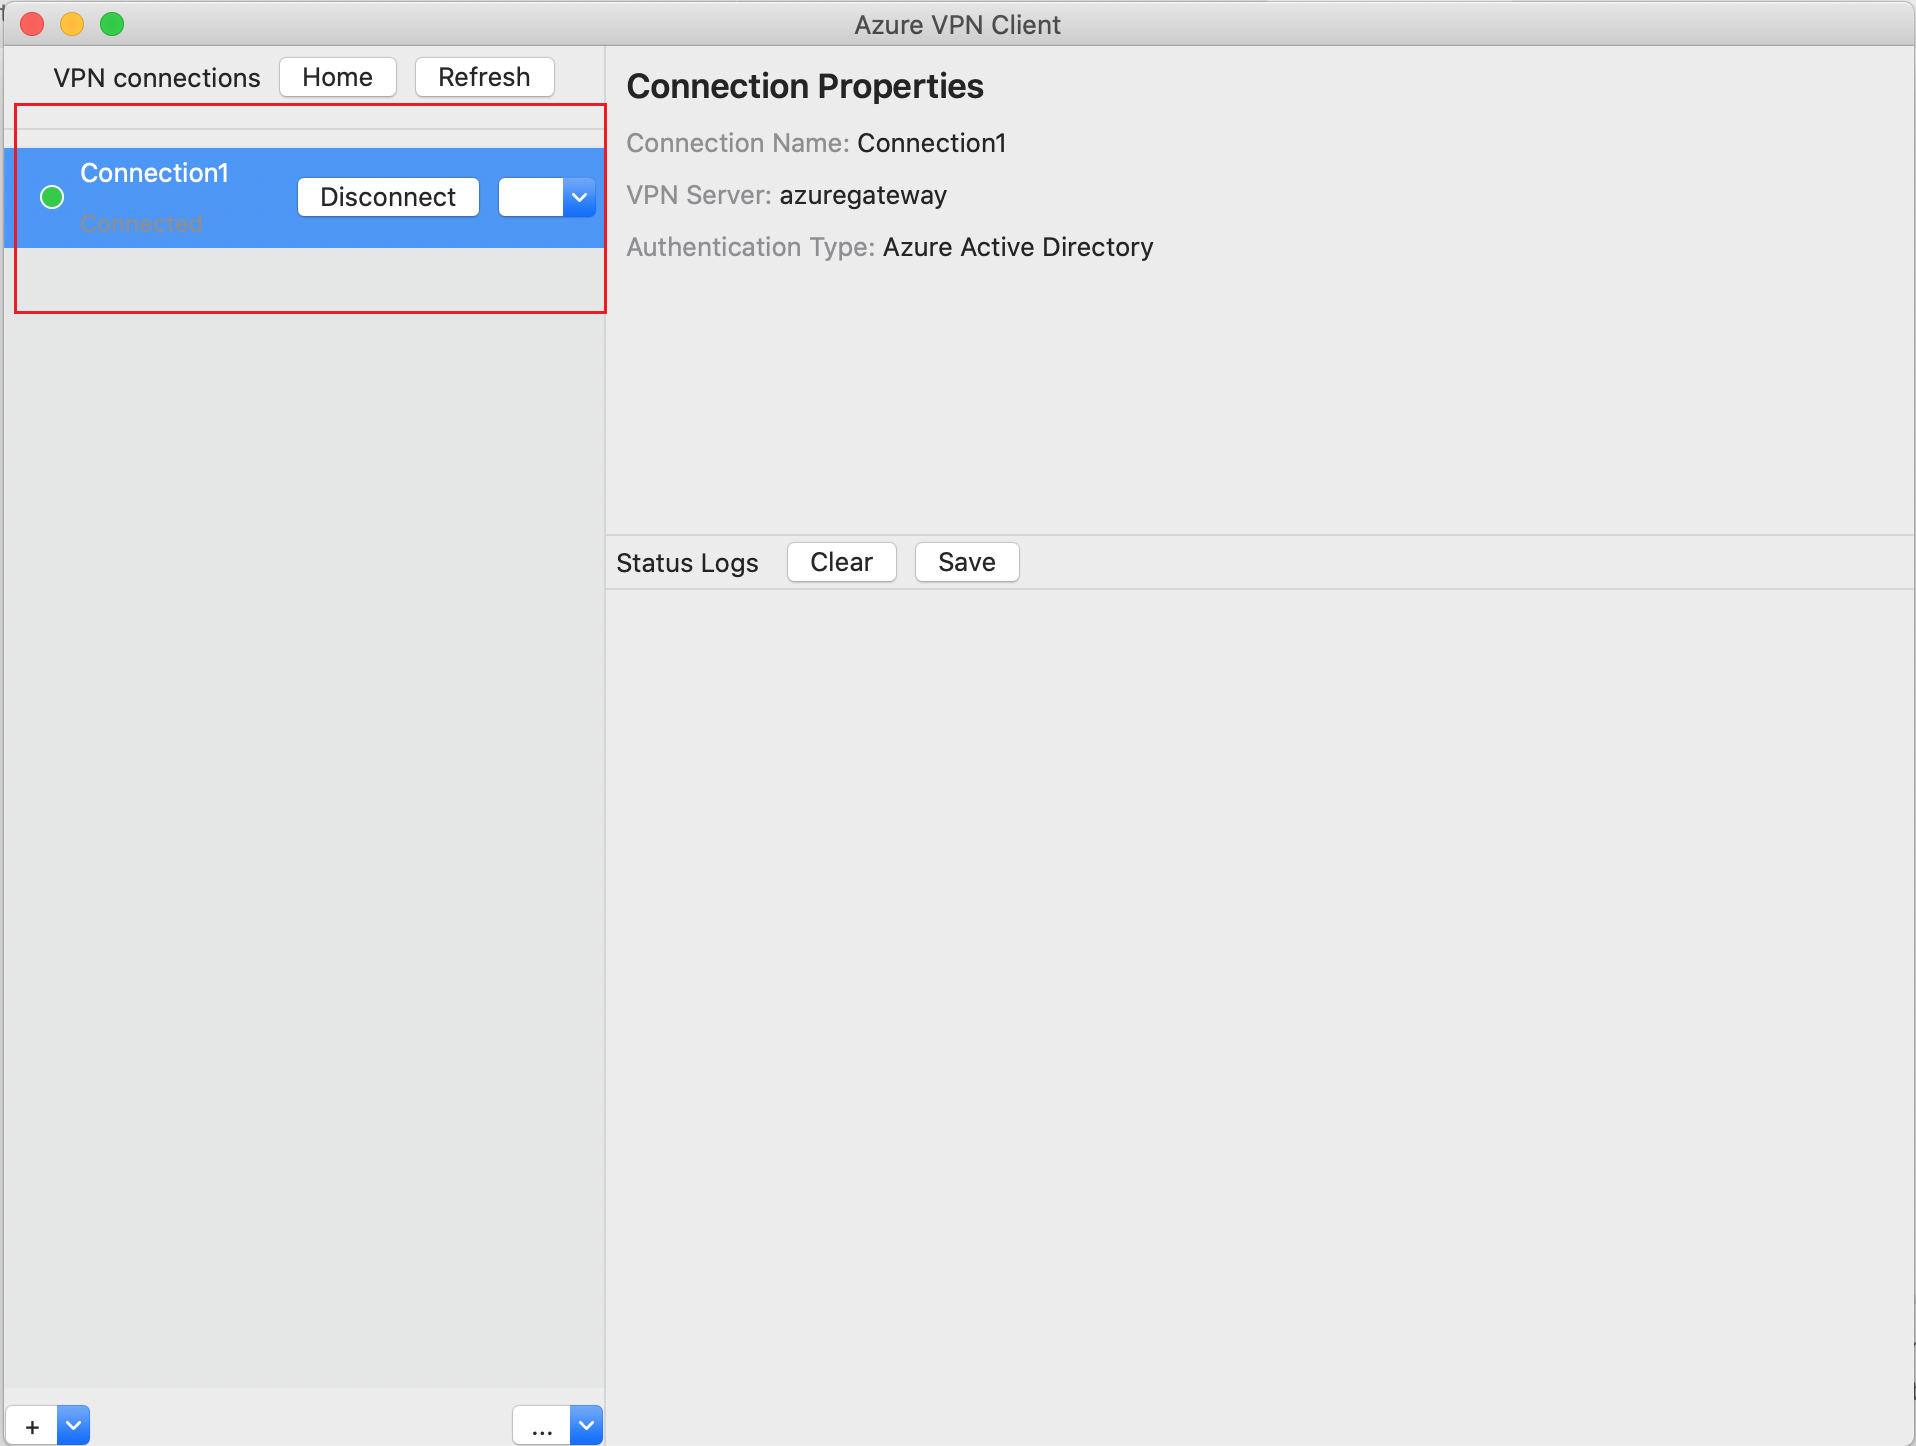
Once connected, you'll see the Connected status. When you want to disconnect, click Disconnect to disconnect the connection.
To remove a connection profile
You can remove the VPN connection profile from your computer.
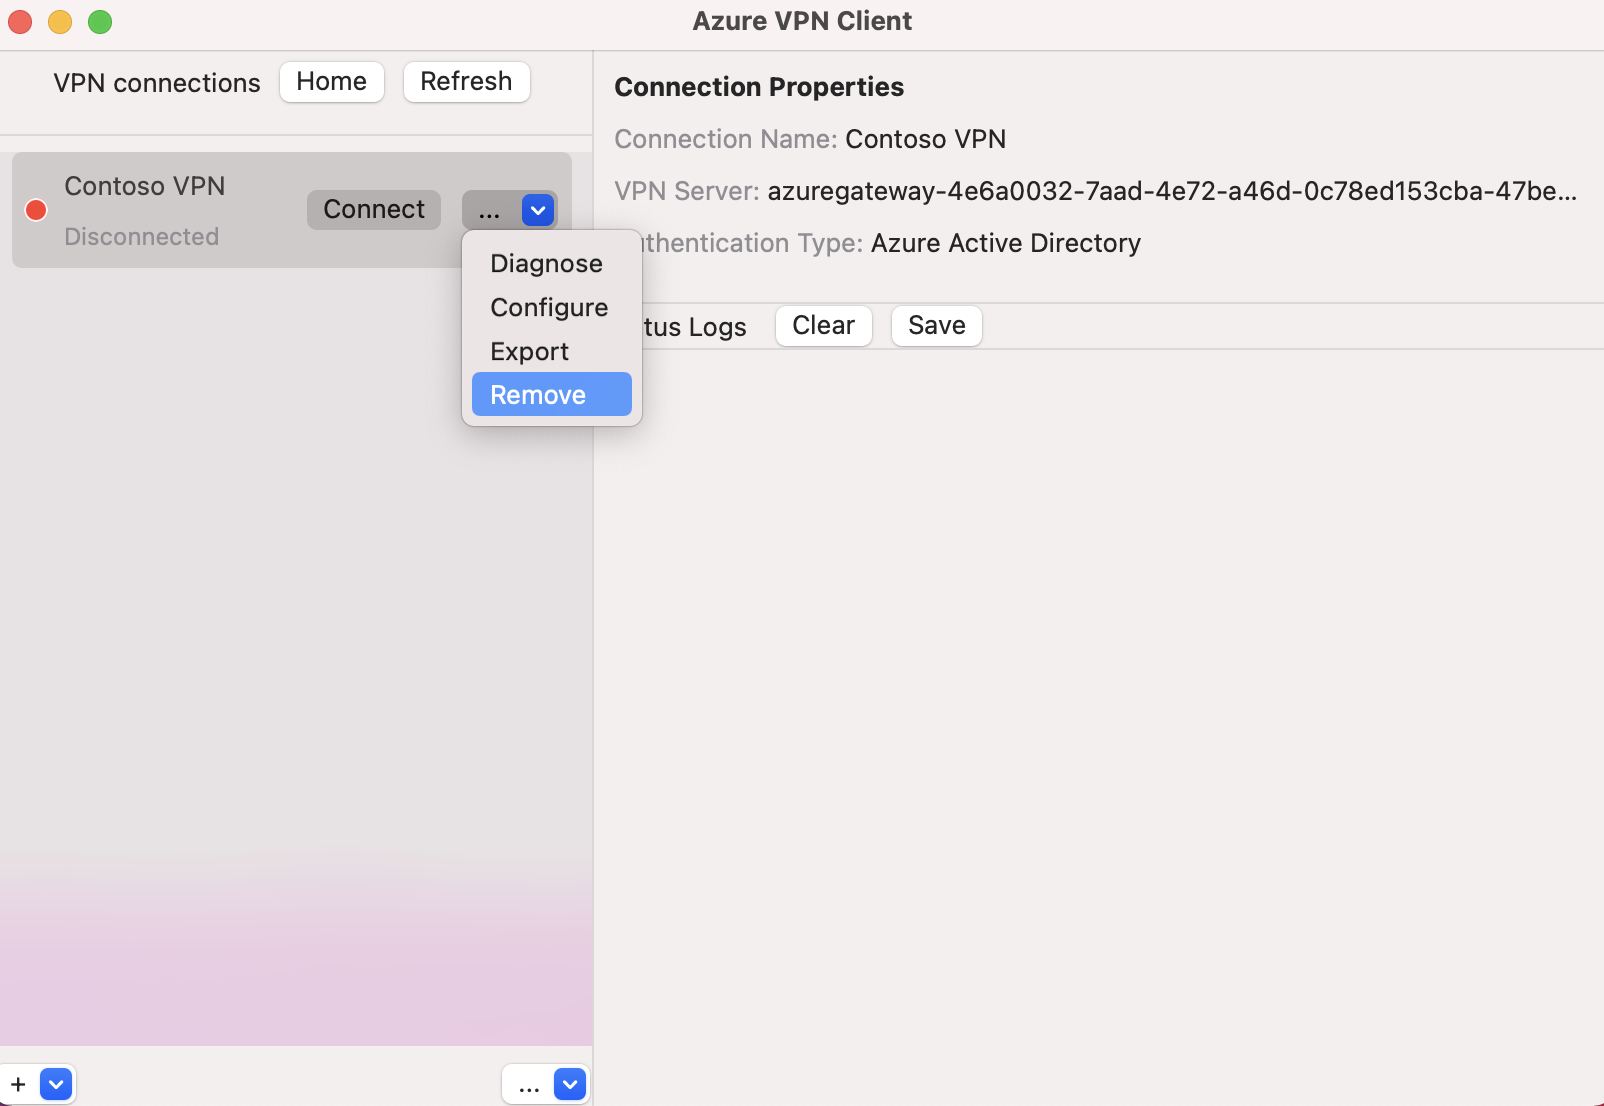
Navigate to the Azure VPN Client.
Select the VPN connection that you want to remove, click the dropdown, and select Remove.
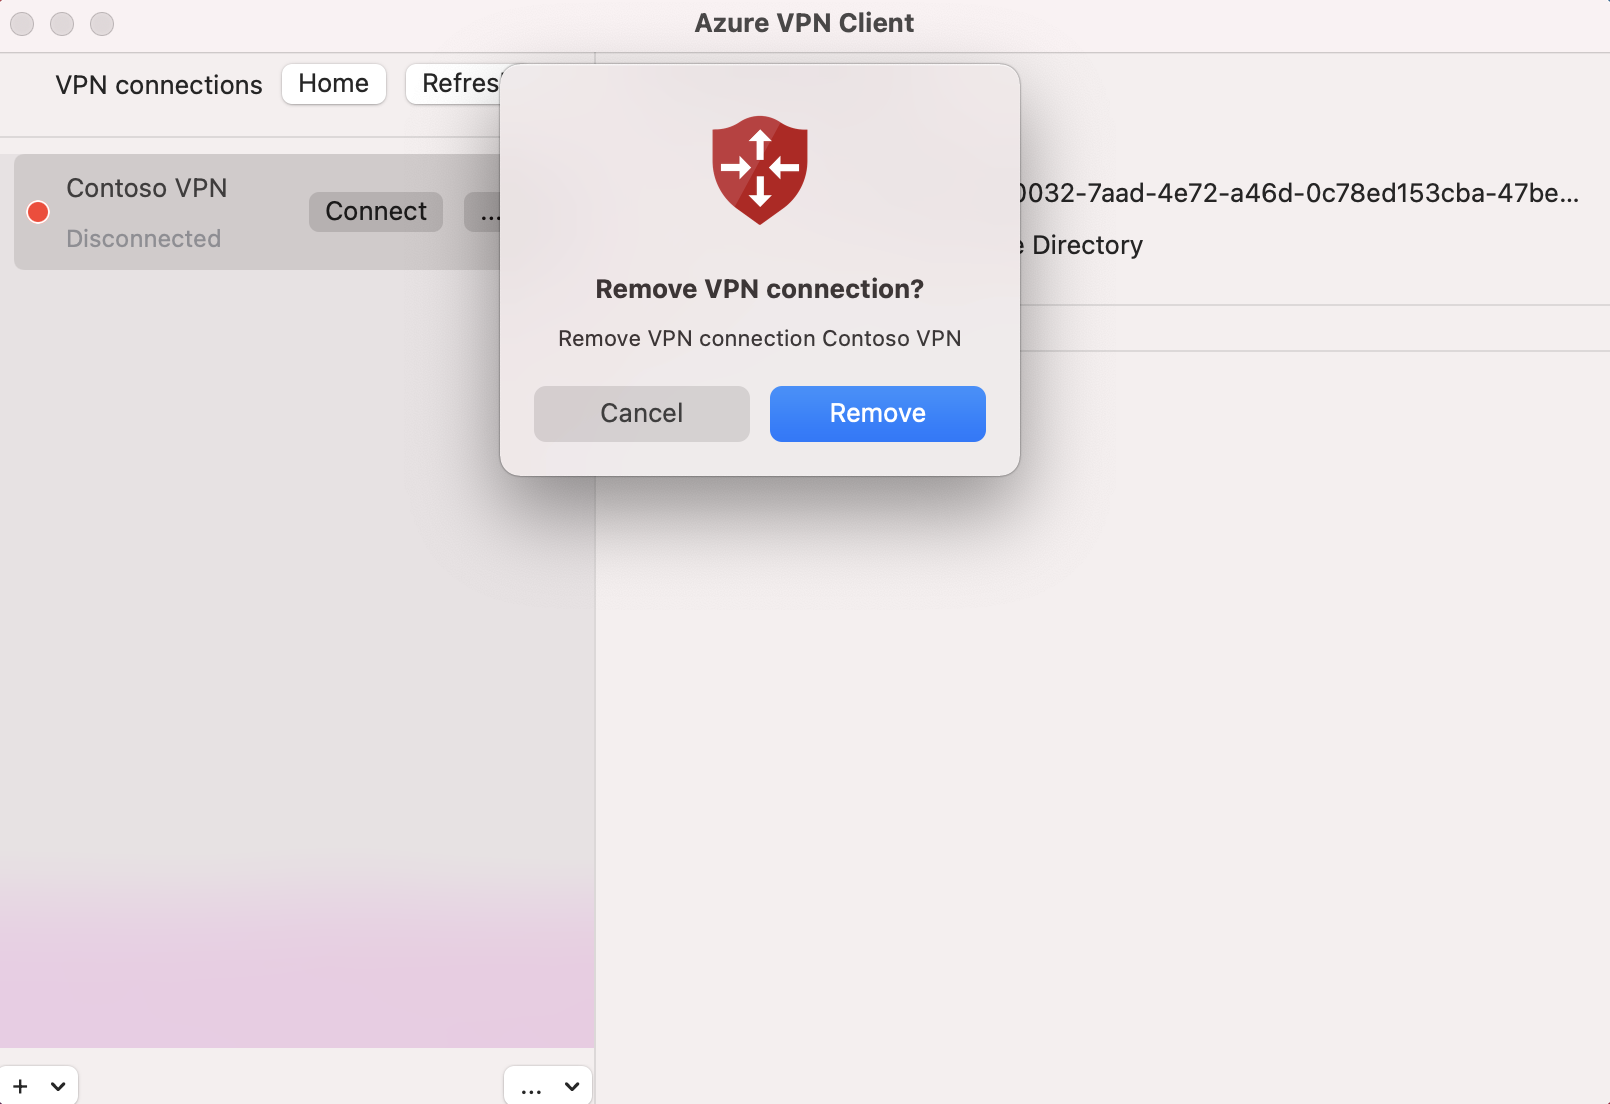
On the Remove VPN connection? box, click Remove.
Next steps
For more information, see Create a Microsoft Entra tenant for P2S Open VPN connections that use Microsoft Entra authentication.