Note
Access to this page requires authorization. You can try signing in or changing directories.
Access to this page requires authorization. You can try changing directories.
Bing Custom Search enables you to create tailored search experiences for topics that you care about. For example, if you own a martial arts website that provides a search experience, you can specify the domains, sub-sites, and webpages that Bing searches. Your users see search results tailored to the content they care about instead of paging through general search results that may contain irrelevant content.
This tutorial demonstrates how to configure a custom search instance and integrate it into a new web page.
The tasks covered are:
- Create a custom search instance
- Add active entries
- Add blocked entries
- Add pinned entries
- Integrate custom search into a web page
Prerequisites
- To follow along with the tutorial, you need a subscription key for the Bing Custom Search API. To get a key, Create a Bing Custom Search resource in the Azure portal.
- If you don't already have Visual Studio 2017 or later installed, you can download and use the free Visual Studio 2019 Community Edition.
Create a custom search instance
To create a Bing Custom Search instance:
Open an internet browser.
Navigate to the custom search portal.
Sign in to the portal using a Microsoft account (MSA). If you don't have an MSA, click Create a Microsoft account. If it's your first time using the portal, it will ask for permissions to access your data. Click Yes.
After signing in, click New custom search. In the Create a new custom search instance window, enter a name that's meaningful and describes the type of content the search returns. You can change the name at any time.
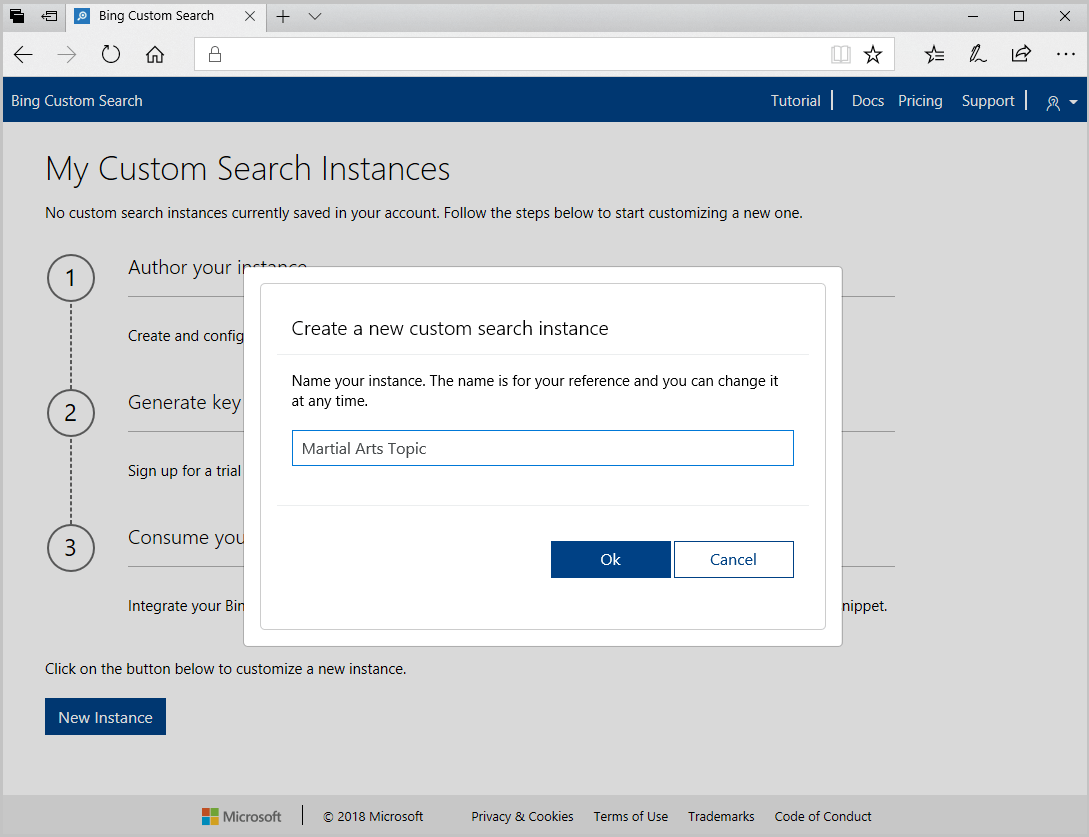
Click OK, specify a URL and whether to include subpages of the URL.
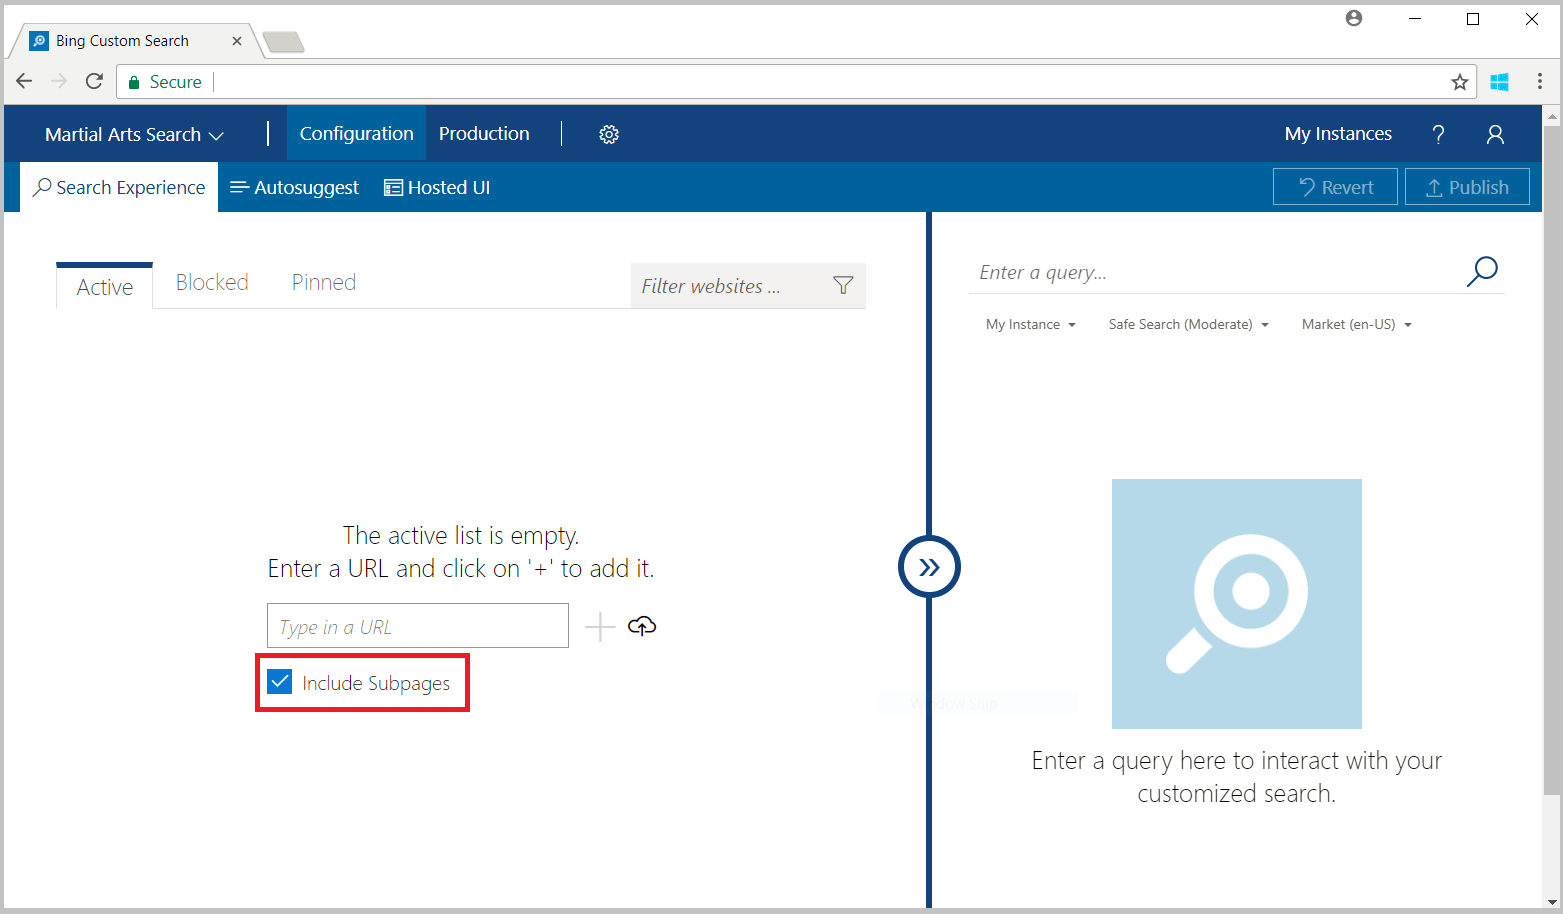
Add active entries
To include results from specific websites or URLs, add them to the Active tab.
On the Configuration page, click the Active tab and enter the URL of one or more websites you want to include in your search.
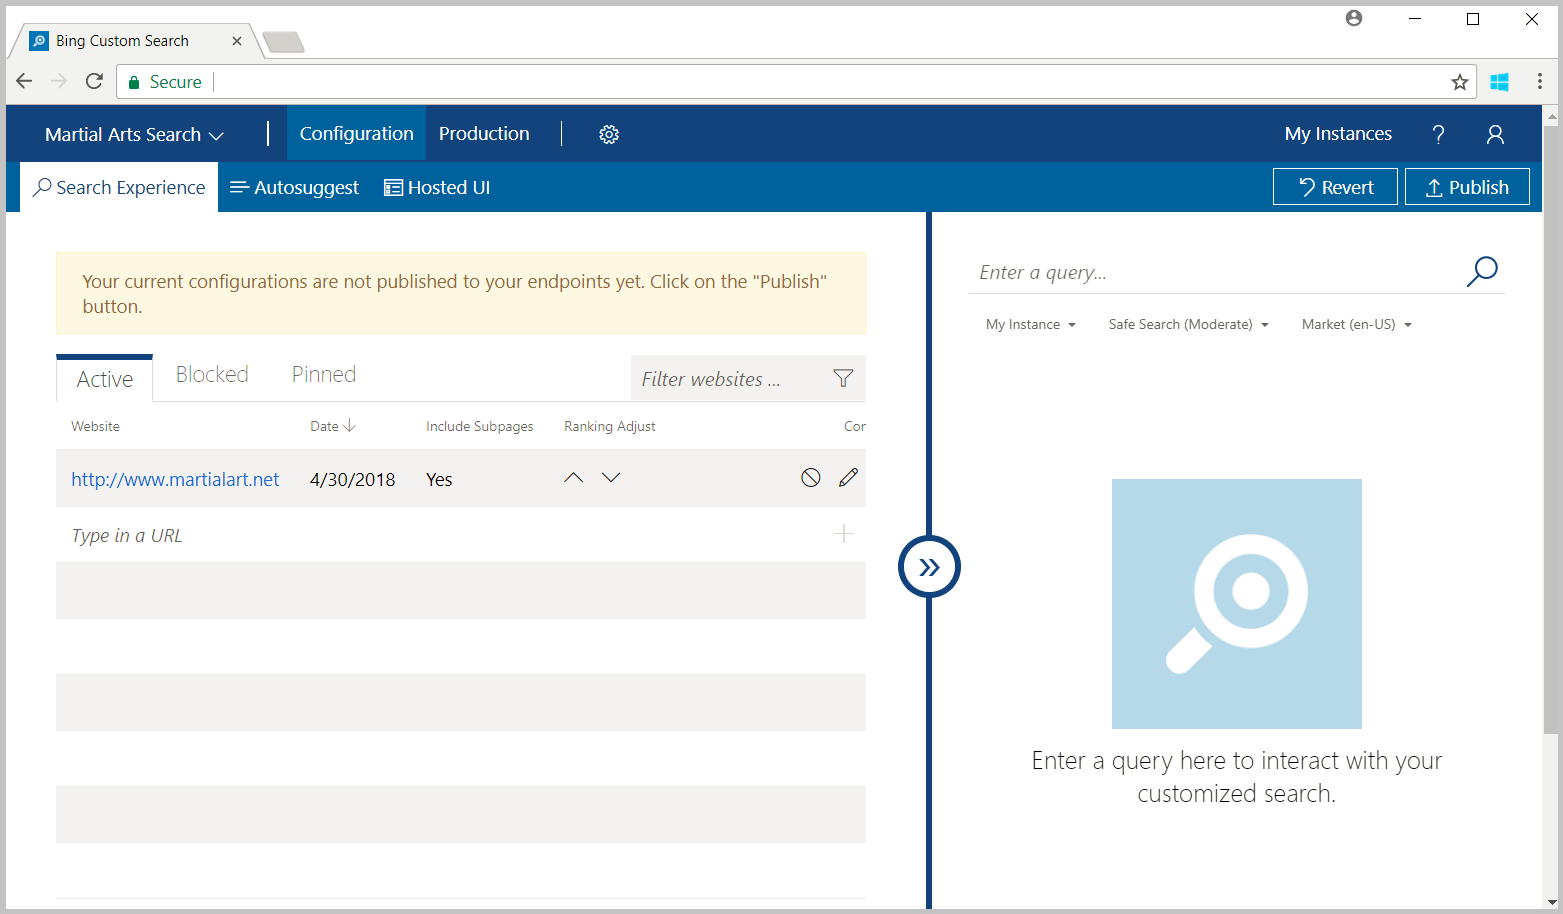
To confirm that your instance returns results, enter a query in the preview pane on the right. Bing returns only results for public websites that it has indexed.
Add blocked entries
To exclude results from specific websites or URLs, add them to the Blocked tab.
On the Configuration page, click the Blocked tab and enter the URL of one or more websites you want to exclude from your search.

To confirm that your instance doesn't return results from the blocked websites, enter a query in the preview pane on the right.
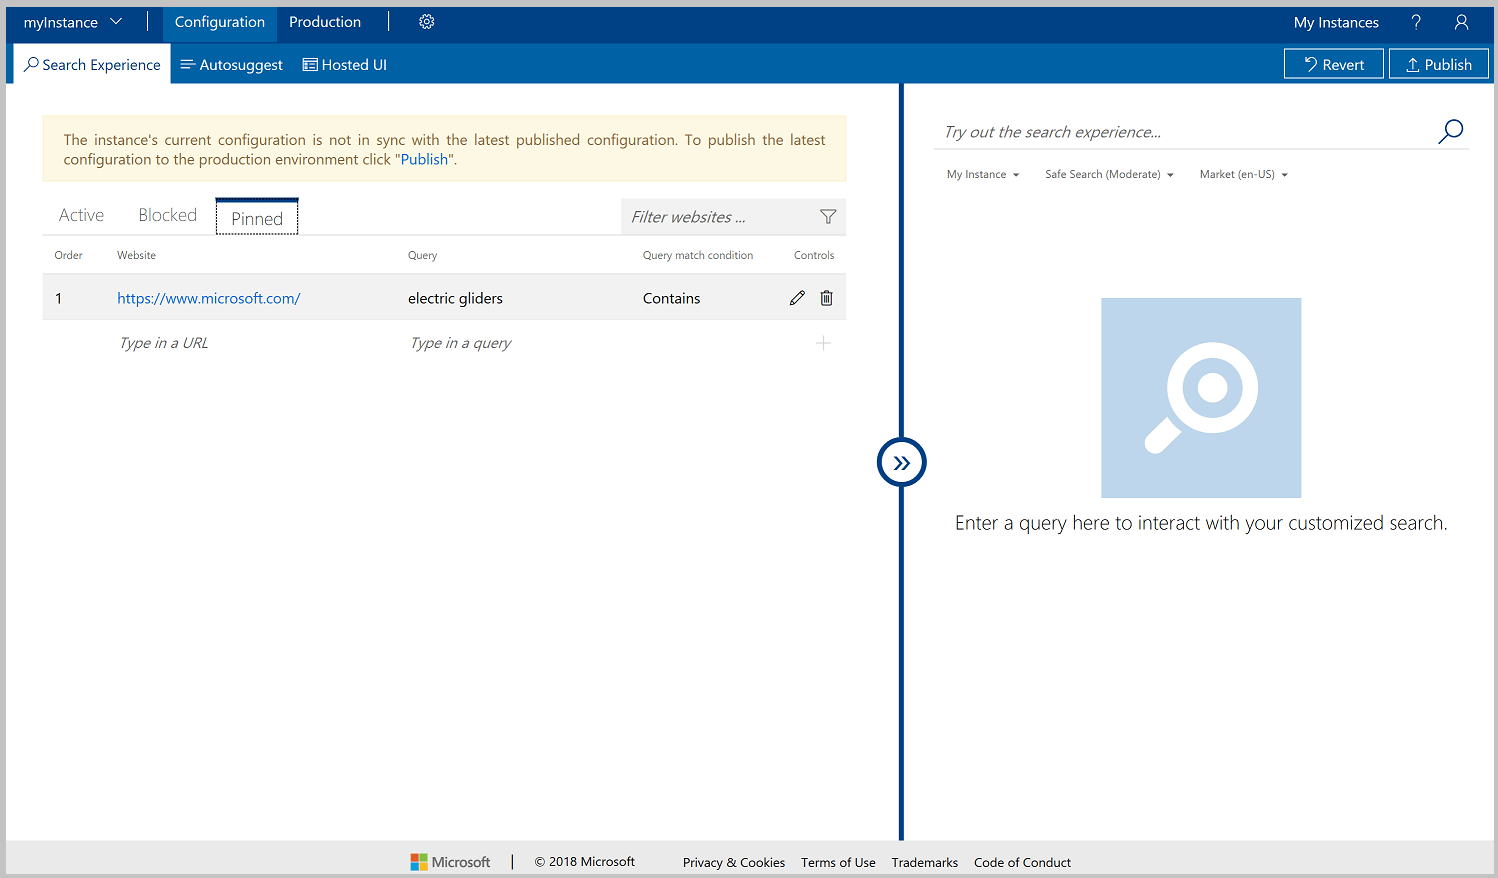
Add pinned entries
To pin a specific webpage to the top of the search results, add the webpage and query term to the Pinned tab. The Pinned tab contains a list of webpage and query term pairs that specify the webpage that appears as the top result for a specific query. The webpage is pinned only if the user's query string matches the pin's query string based on pin's match condition. Only indexed webpages will be displayed in searches. For more information, see Define your custom view.
On the Configuration page, click the Pinned tab and enter the webpage and query term of the webpage that you want returned as the top result.
By default, the user's query string must exactly match your pin's query string for Bing to return the webpage as the top result. To change the match condition, edit the pin (click the pencil icon), click Exact in the Query match condition column, and select the match condition that's right for your application.
To confirm that your instance returns the specified webpage as the top result, enter the query term you pinned in the preview pane on the right.
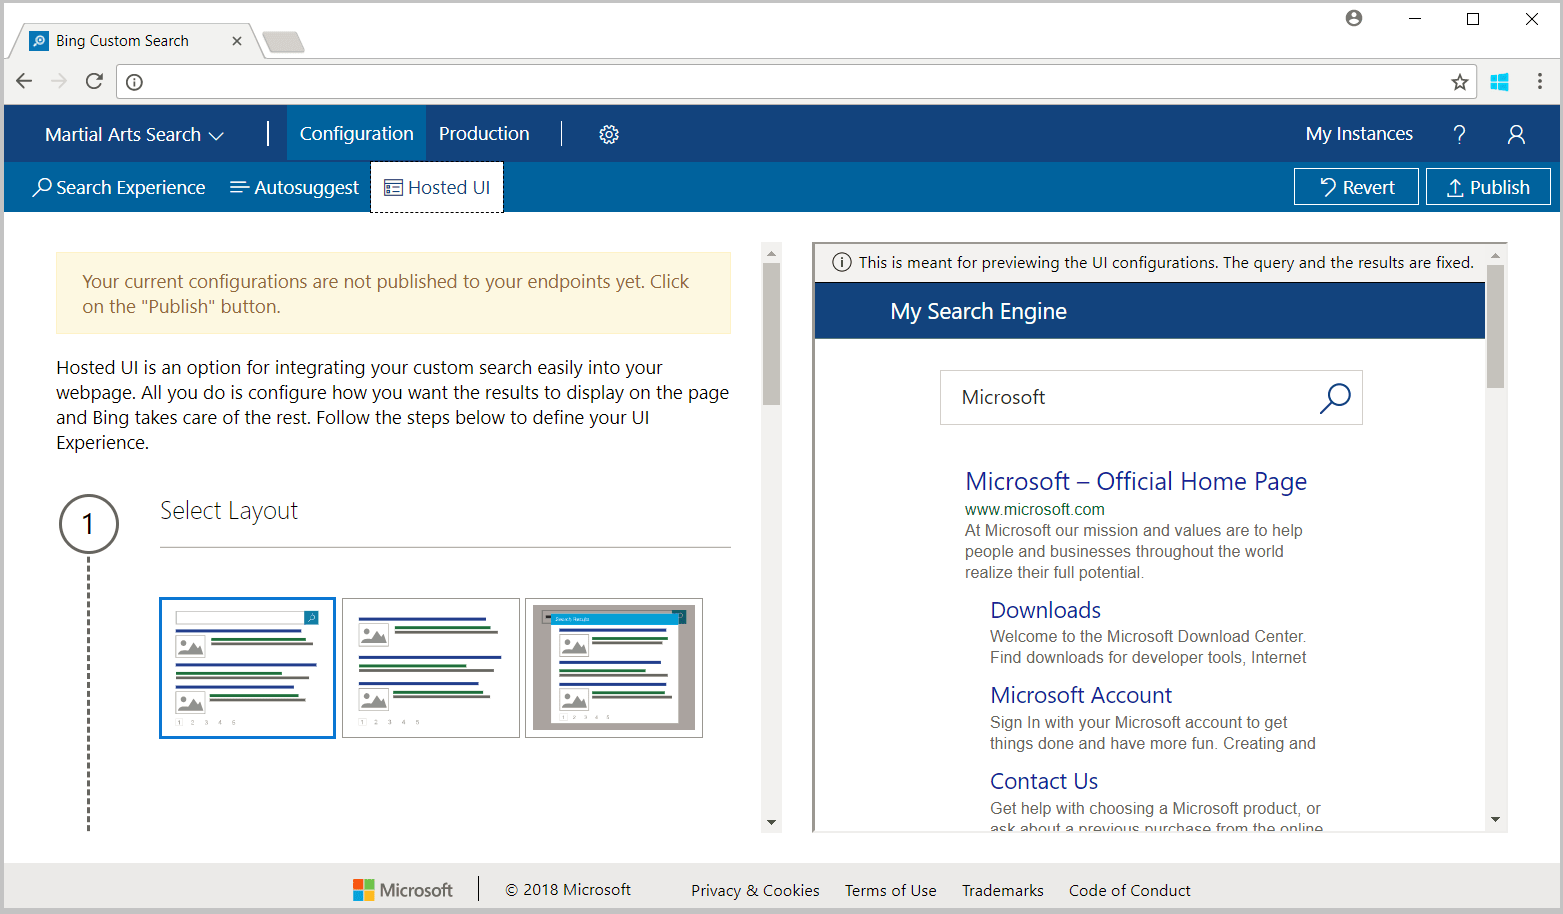
Configure Hosted UI
Custom Search provides a hosted UI to render the JSON response of your custom search instance. To define your UI experience:
Click the Hosted UI tab.
Select a layout.
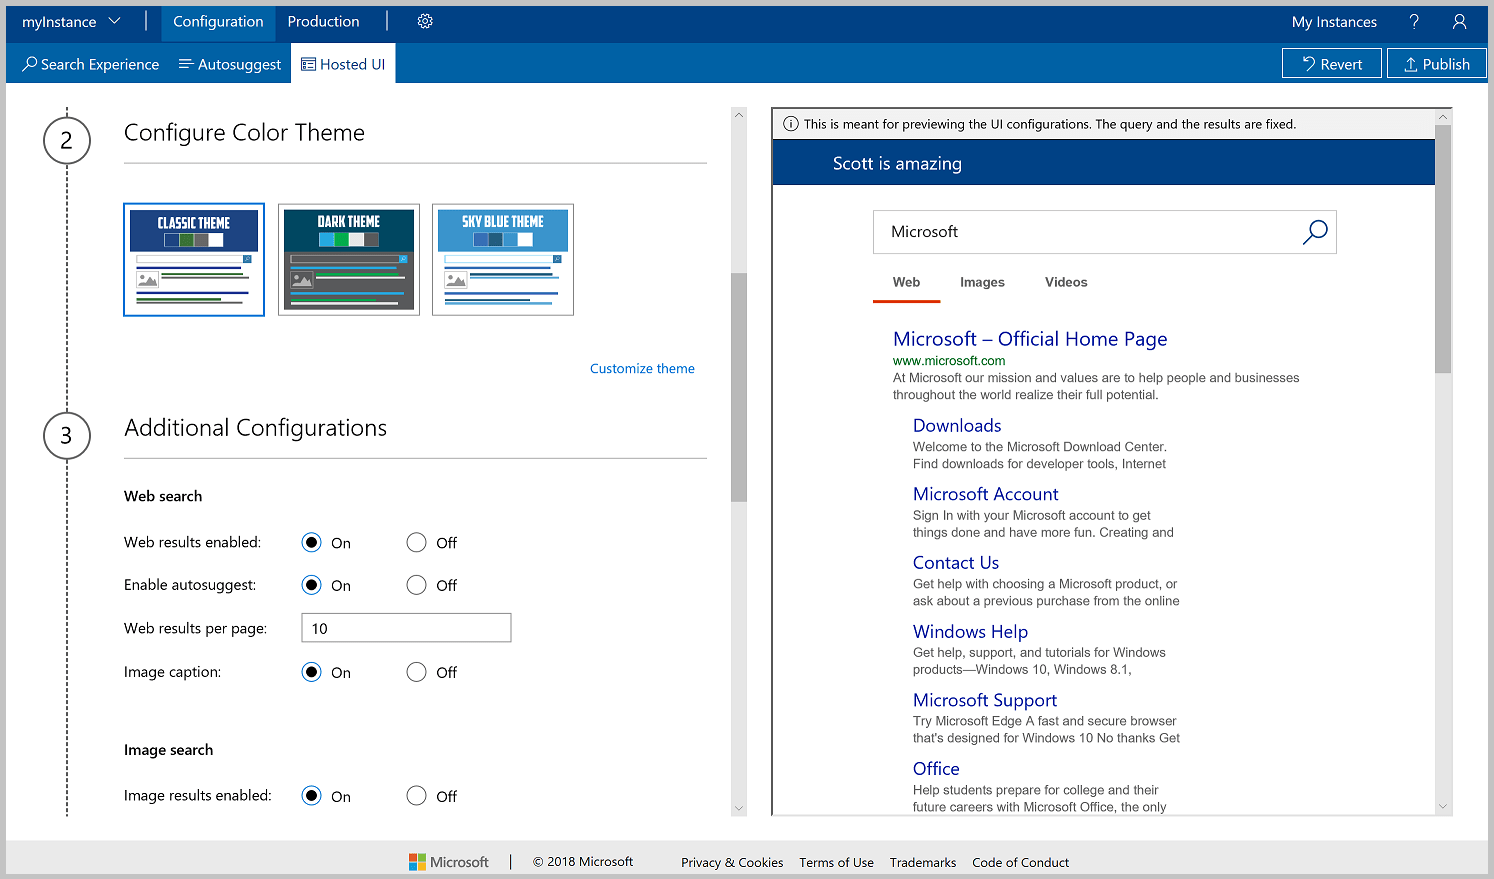
Select a color theme.
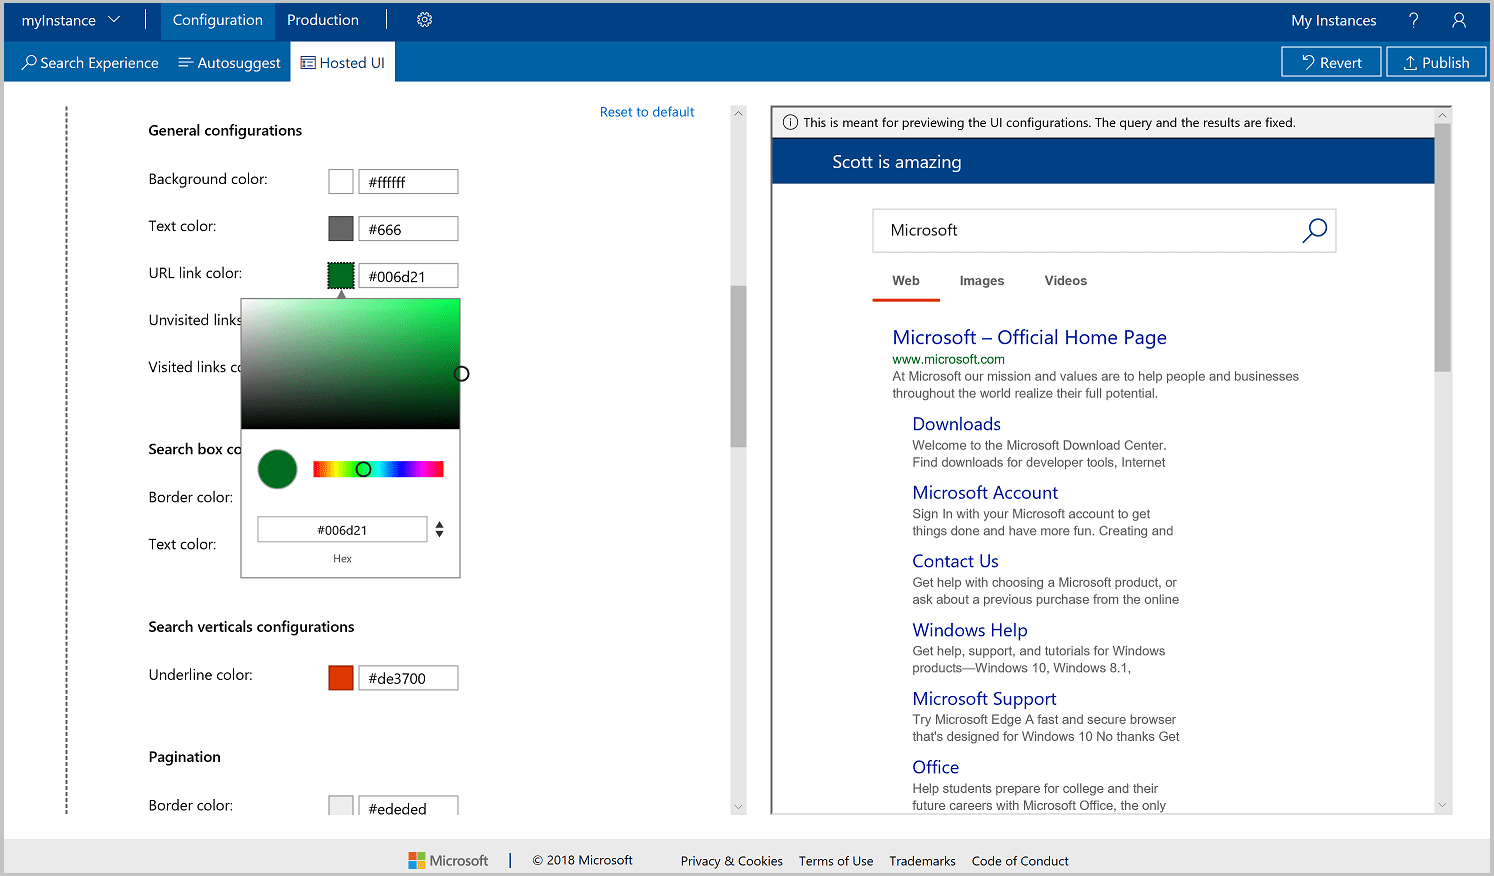
If you need to fine-tune the color theme to better integrate with your web app, click Customize theme. Not all color configurations apply to all layout themes. To change a color, enter the color's RGB HEX value (for example, #366eb8) in the corresponding text box. Or, click the color button and then click the shade that works for you. Always think about accessibility when selecting colors.
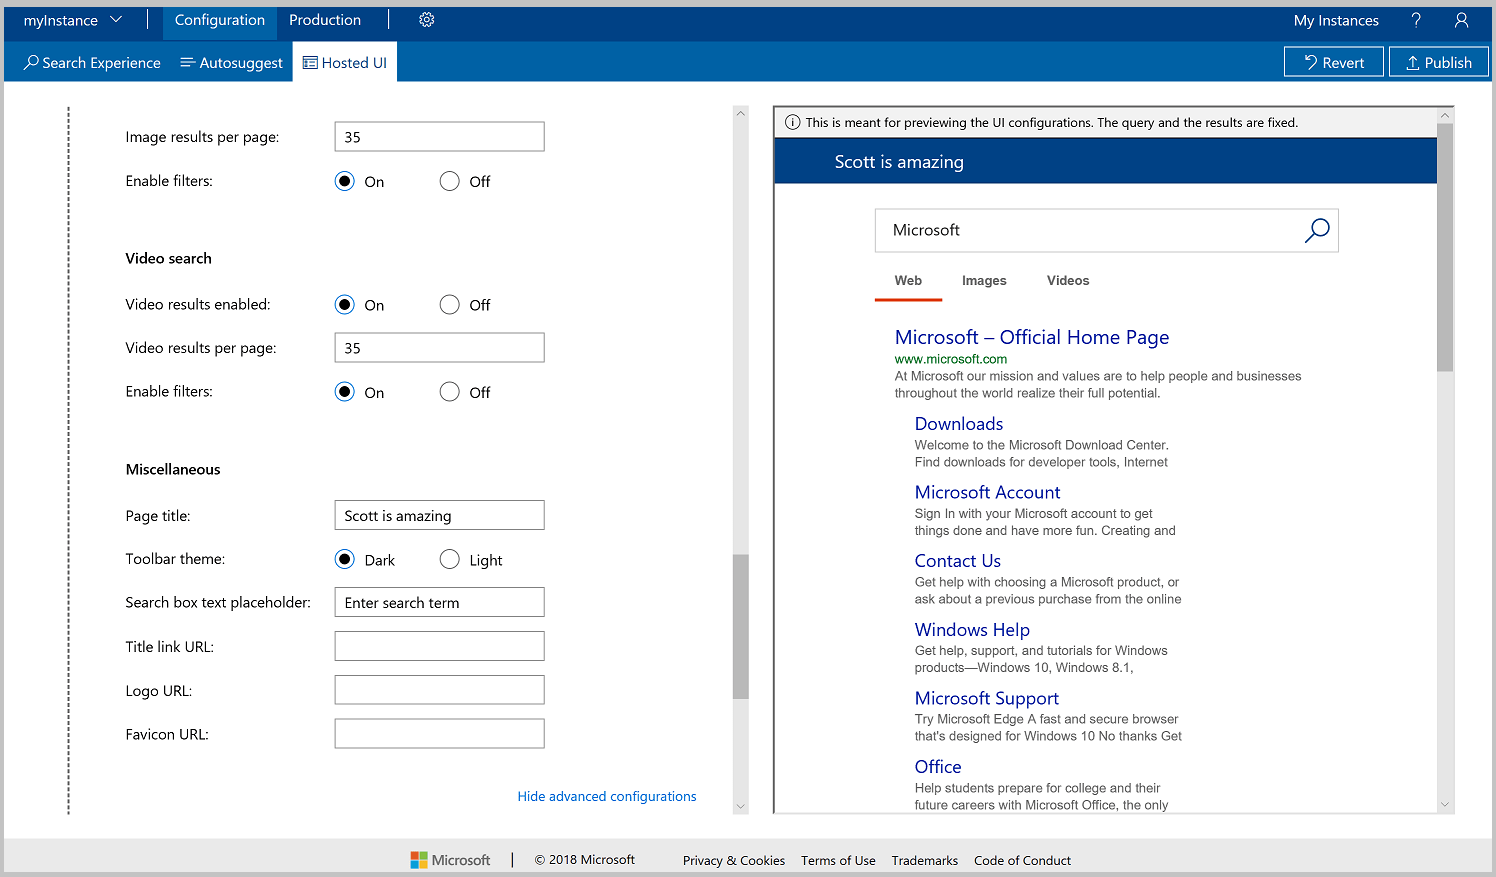
Specify additional configuration options.
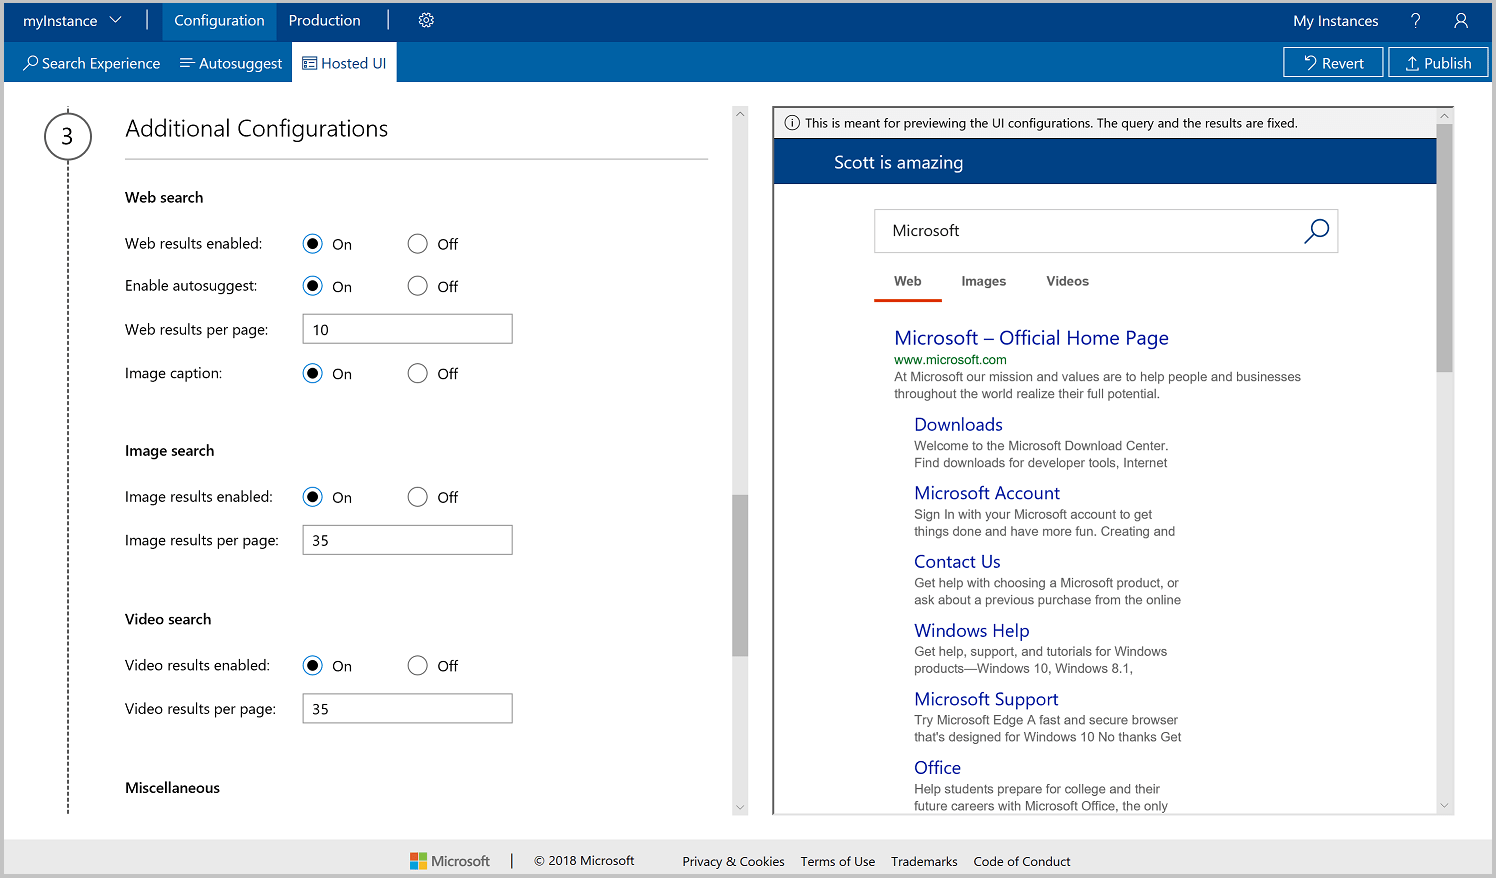
To get advanced configurations, click Show advanced configurations. This adds configurations such as Link target to Web search options, Enable filters to Image and Video options, and Search box text placeholder to Miscellaneous options.
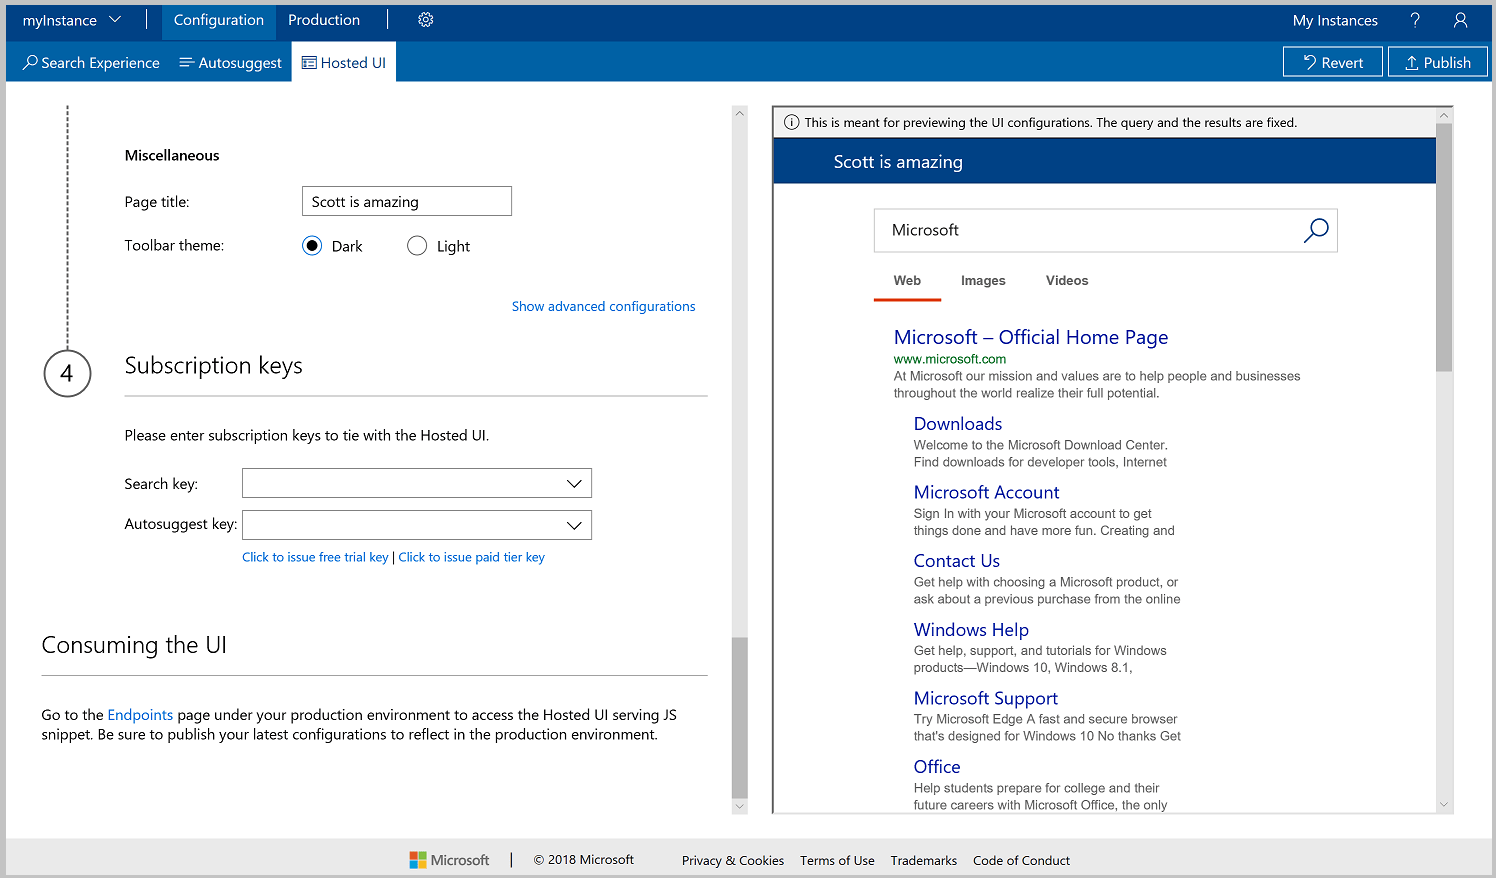
Select your subscription keys from the dropdown lists. Or, you can enter the subscription key manually.
Publish or revert a search instance
Custom search has two environments: staging/testing (see the Configuration tab) and production (see the Production tab). When you create a new instance or make changes to an existing instance, those changes occur in the testing environment.
After configuring and validating your changes, click Publish to make your hosted UI configuration live. Changes are not reflected against your production endpoints until you publish.
Before publishing, if you decide that you don't want to keep the changes you've made, click Revert. When you revert your changes, the Published version remains unchanged and the Configuration version is reverted to match the Published version.
Consuming Hosted UI
There are two ways to consume the hosted UI.
- Option 1: Integrate the provided JavaScript snippet into your application.
- Option 2: Use the HTML Endpoint provided.
The remainder of this tutorial illustrates Option 1: JavaScript snippet.
Set up your Visual Studio solution
Open Visual Studio on your computer.
On the File menu, select New, and then choose Project.
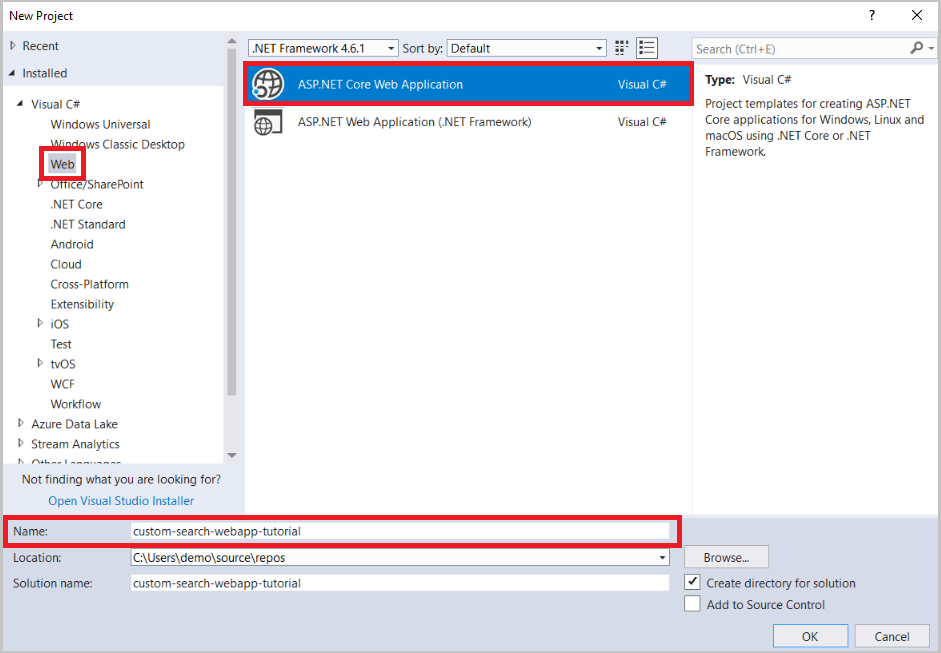
In the New Project window, select Visual C# / Web / ASP.NET Core Web Application, name your project, and then click OK.
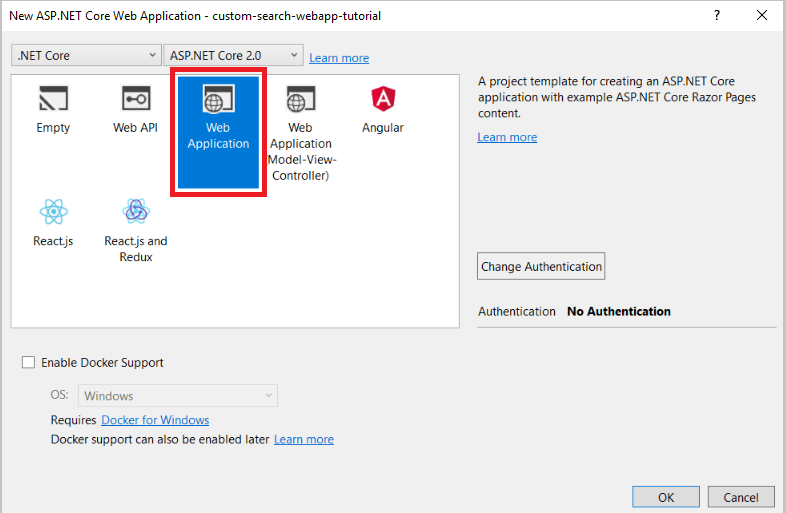
In the New ASP.NET Core Web Application window, select Web Application and click OK.
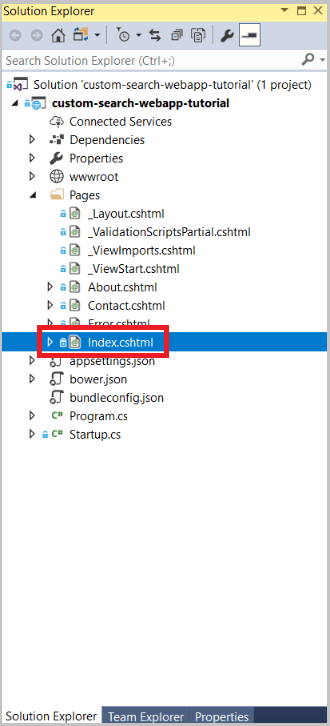
Edit index.cshtml
In the Solution Explorer, expand Pages and double-click index.cshtml to open the file.
In index.cshtml, delete everything starting from line 7 and below.
@page
@model IndexModel
@{
   ViewData["Title"] = "Home page";
}
Add a line break element and a div to act as a container.
@page
@model IndexModel
@{
   ViewData["Title"] = "Home page";
}
<br />
<div id="customSearch"></div>
In the Hosted UI page, scroll down to the section titled Consuming the UI. Click the Endpoints to access the JavaScript snippet. You can also get to the snippet by clicking Production and then the Hosted UI tab.
Paste the script element into the container you added.
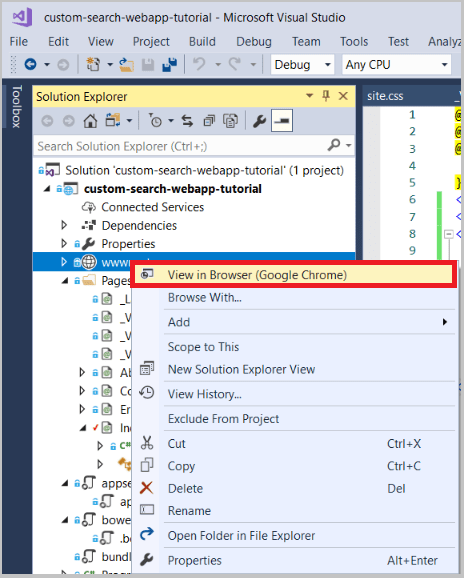
@page
@model IndexModel
@{
   ViewData["Title"] = "Home page";
}
<br />
<div id="customSearch">
   <script type="text/javascript"
       id="bcs_js_snippet"
       src="https://ui.customsearch.ai/api/ux/rendering-js?customConfig=<YOUR-CUSTOM-CONFIG-ID>&market=en-US&safeSearch=Moderate&version=latest&q=">
   </script>
</div>
In the Solution Explorer, right click on wwwroot and click View in Browser.
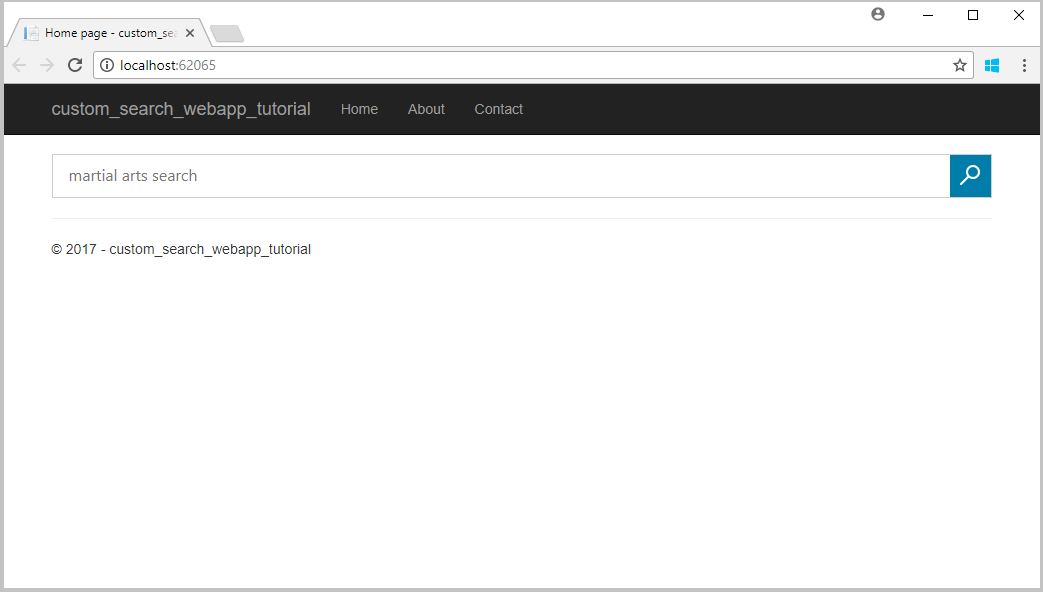
Your new custom search web page should look similar to this:
Performing a search renders results like this:
