Note
Access to this page requires authorization. You can try signing in or changing directories.
Access to this page requires authorization. You can try changing directories.
In this quick post, I will try to create a bearer token and use it to authenticate on Azure REST API.
Prerequisites
- An Active Azure Subscription
- Azure CLI or Cloud Shell
- Postman
Create the bearer token
For the demo purposes, we are going to use Azure CLI to create the Bearer Token.
Step 1. az-login command
Open elevated CMD, type az loginand press Enter.
Microsoft Windows [Version 10.0.18362.476]
(c) 2019 Microsoft Corporation. All rights reserved.

C:\WINDOWS\system32> az login --tenant "########-####-####-####-############" --use-device-code
To sign in, use a web browser to open the page https://microsoft.com/devicelogin and enter the code **#########** to authenticate.
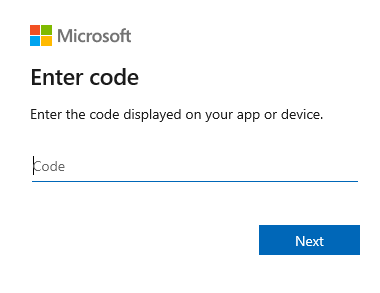
Step 2. Authenticate to Azure
Open in a web browser the page https://microsoft.com/devicelogin, enter the code ######## to authenticate the device on azure.
Step 3. Set the Azure subscription
After we authenticate the device to connect Azure we can continue with the next commands and the first is used to set the default subscription.
az account set --subscription "########-####-####-####-############"
Step 4. Create Azure service principal
Type the following commands to create the Azure Service Principal,****
C:\WINDOWS\system32>az ad sp create-for-rbac -n "Azure_Service_Principal_Name"
Retrying role assignment creation: 1/36
Retrying role assignment creation: 2/36
{
  "appId": "########-#####-####-####-############",
  "displayName": "test_aztable_spn",
  "name": "http://test_aztable_spn",
  "password": "########-#####-####-####-############",
  "tenant": "########-#####-####-####-############",
}
Info: Copy the values for the appId, password, and tenant into a text file, because it will be used to next steps.
Create Azure REST API collection
Following the steps below we'll be able to create a new collection in Postman called Azure REST API.
Step 1. Manage environments
Open Postman, and click the button Manage Environments.

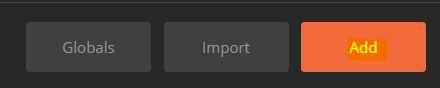
Step 2. Add new manage environment
Select Add to add a new Manage Environment.
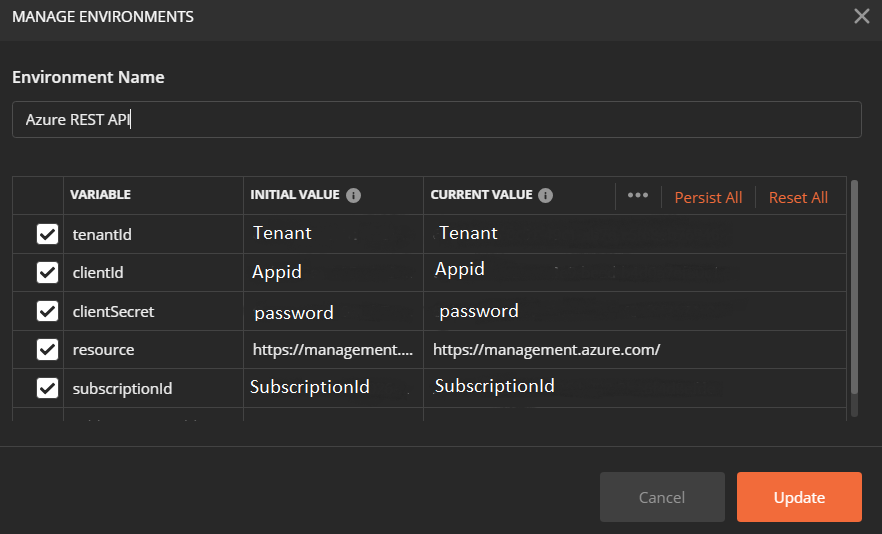
Step 3. Add the variables, initial and current values
At the next step, we have to add the variables (tenantId, clientId, clientSecret, resource, subscriptionId) with the initial and current values.
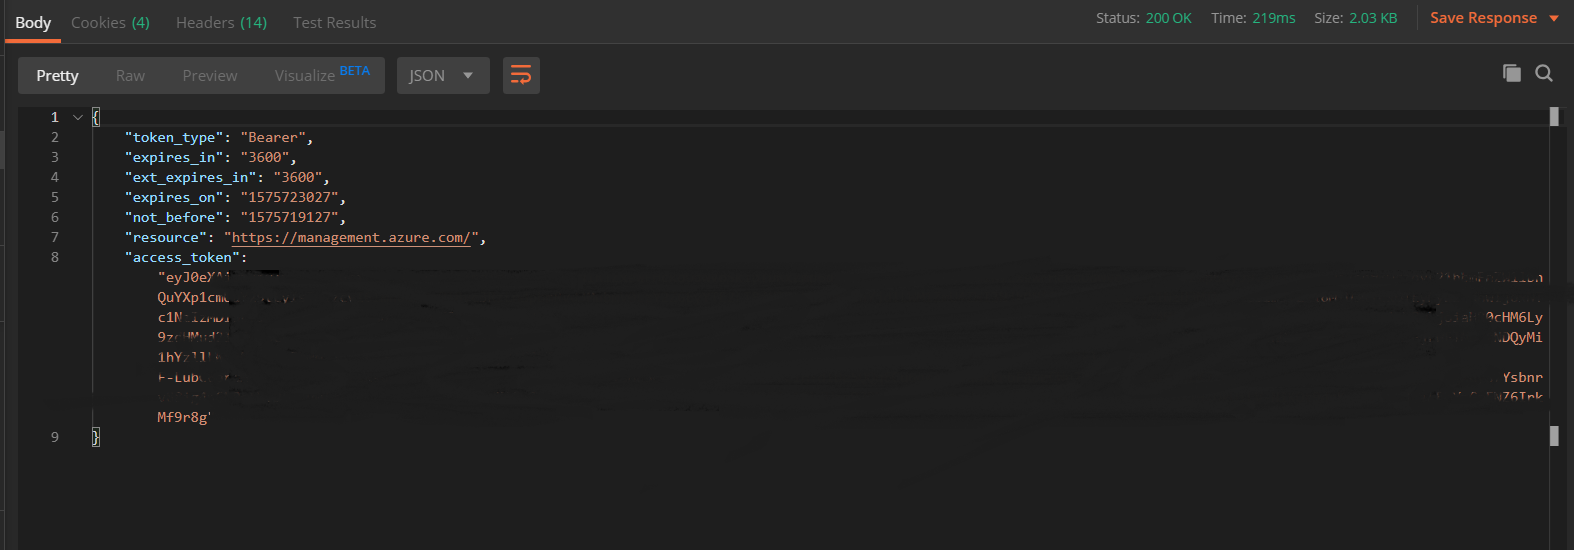
Get the Azure Active Directory token
To get the Azure Active Directory token we have to follow the steps below:
- Select the "Azure REST API" manage environment
- Select the POST method
- Type the request https://login.microsoftonline.com/{{tenantId}}/oauth2/token
and click the button Send.
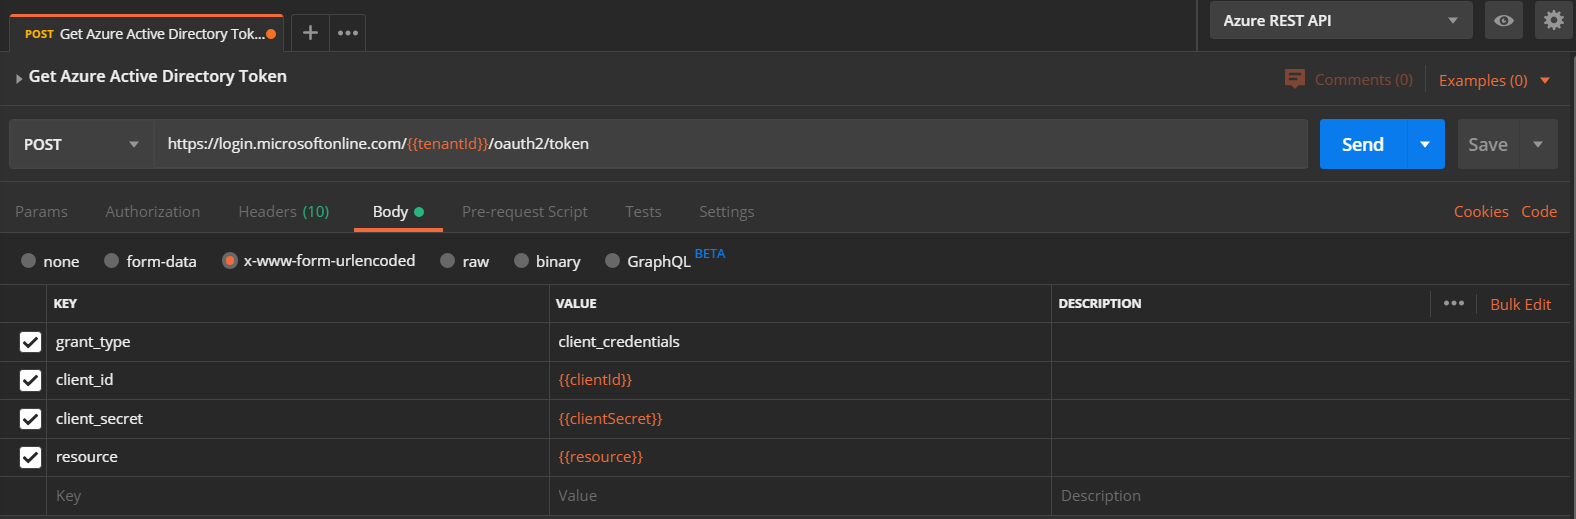
As we can see below the Bearer Token has been created and we can use it to execute requests using Azure REST API.
Using the Azure REST API
In the final step, we can execute a request using Azure REST API to get the Resource Groups.
To get the Azure Active Directory token we have to do:
- Select the GET method
- Type the request
https://management.azure.com/subscriptions/{{subscriptionId}}/resourcegroups?api-version=2017-05-10 - Select Authorization Type "Bearer Token", and paste the token that we have been created on the previous step

Conclusion
In conclusion, this brief exploration into creating and utilizing a bearer token for authentication with Azure REST API highlights the straightforward process of establishing secure access to cloud resources. By following the outlined steps, users can confidently navigate the complexities of authentication protocols, ensuring seamless integration with Azure services. As technology continues to evolve, mastering such fundamental concepts becomes increasingly essential for effective cloud management and application development. Embracing these practices empowers individuals and organizations to leverage Azure's capabilities with confidence, unlocking the full potential of cloud computing in their endeavors.
See also
Collaborate with us on GitHub
The source for this content can be found on GitHub, where you can also create and review issues and pull requests. For more information, see our contributor guide.
Community Content