Note
Access to this page requires authorization. You can try signing in or changing directories.
Access to this page requires authorization. You can try changing directories.
This post describes one of two sign-in options provided by Azure AD B2C tenant, which is custom policies (the other is user flows). With Custom Policies, we can build customized authentication flows based on our needs.
Getting started
We should ensure the following before getting started:
- An active Azure AD B2C tenant
- A registered web application
- The necessary policy keys and register the Identity Experience Framework Apps
- Download the Azure AD B2C policy starter pack from GitHub, make the configurations and upload it to the tenant
Add signing/encryption keys
Sign in to the Azure Portal, search for the Azure AD B2C tenant, and click Open B2C Tenant.
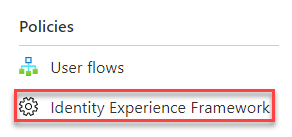
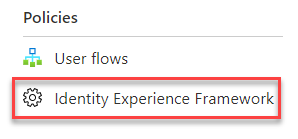
From the overview page, under the Policies section, select Identity Experience Framework.
Create the signing key
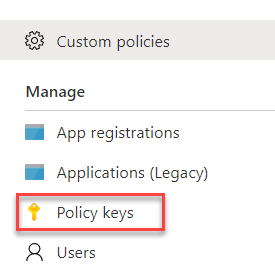
Select Manage - Policy Keys
Select Add

- From the Options section, select from the drop-down menu Generate.
- In the filed Name, type TokenSigningKeyContainer.
- In the Key type, choose RSA.
- In the Key usage, select Signature.
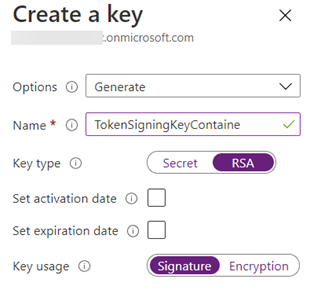
Select Create.
Create the encryption key
- Select Policy Keys and then select Add.
- From the Options section, select from the drop-down menu Generate.
- In the field Name, type TokenEncryptionKeyContainer.
- In the Key type, choose RSA.
- In the Key usage, select Encryption.
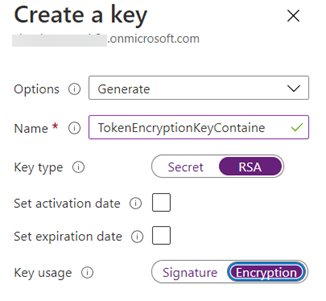
Select Create.
Register the IdentityExperienceFramework application
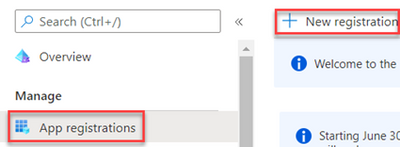
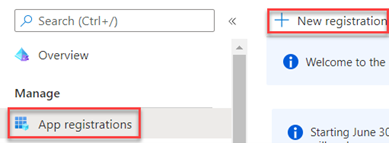
In the next step, we have to register the IdentityExperienceFramework application. From the left-hand side blade select Manage - App registrations and then select + New registration.
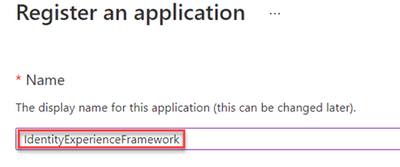
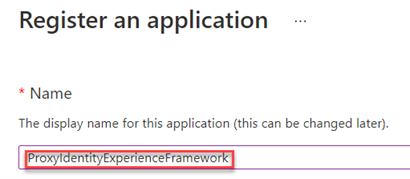
In the field name, type IdentityExperienceFramework.
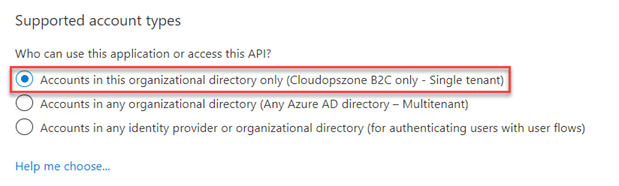
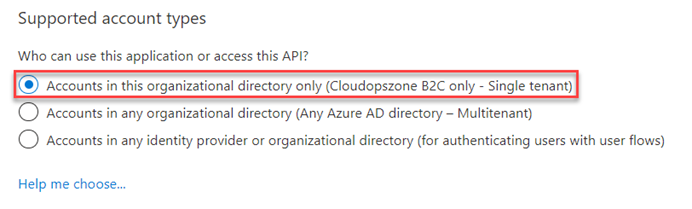
Under Supported account types, select Accounts in this organizational directory only (tenant name B2C only - Single tenant).
Under the Redirect URI section, select Web, and then type https://<tenant-name>.b2clogin.com/<tenant-name>.onmicrosoft.com.

Under the Permissions section, select the Grant admin consent to openid and offline_access permissions check box.

And click Register.
Expose the API by adding a scope
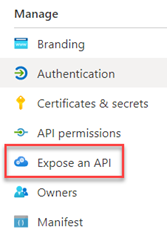
On the left-hand side blade, under the Manage section, select Expose an API,
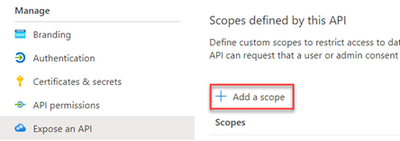
and then select + Add a scope,
finally, select Save and continue
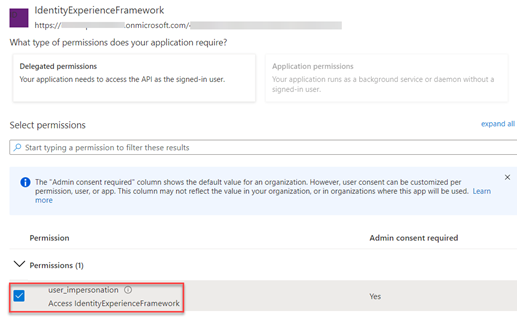
Now, we have to type the values as shown in the image below to create a scope that allows custom policy execution in the Azure AD B2C tenant:
- Scope name: user_impersonation
- Admin consent display name: Access IdentityExperienceFramework
- Admin consent description: Allow the application to access IdentityExperienceFramework on behalf of the signed-in user.

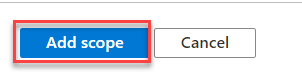
Click Add scope
Register the ProxyIdentityExperienceFramework application
Go to Manage - App registrations, and then click + New registration.
In the Name field, type ProxyIdentityExperienceFramework.
Under Supported account types, select the Accounts in this organizational directory only radio button.
Under the Redirect URI section, use the drop-down to select Public client/native (mobile & desktop), and for Redirect URI type myapp://auth.

Under the Permissions section, select the Grant admin consent to openid and offline_access permissions check box.

And click the Register button.
Specify that the application should be treated as a public client
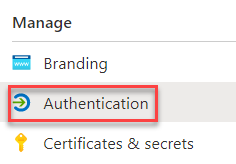
On the left-hand side menu, select Manage - Authentication
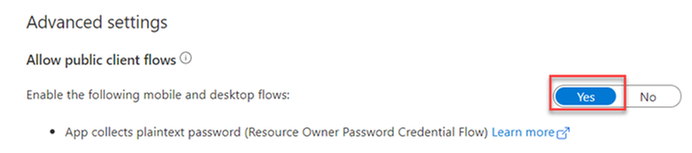
Under the Advanced settings section, in the Allow public client flows, set the Enable the following mobile and desktop flows to Yes.
Note
Make user that "allowPublicClient": true is set in the application manifest.
And select Save

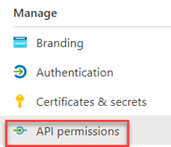
Now, grant permissions to the API scope we exposed earlier in the IdentityExperienceFramework registration: In the left menu, select Manage - API permissions.
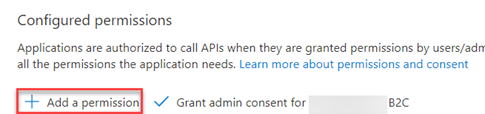
Under Configured permissions, select Add a permission.
Under the Request API permissions section, click on the My APIs tab, and select the IdentityExperienceFramework application.
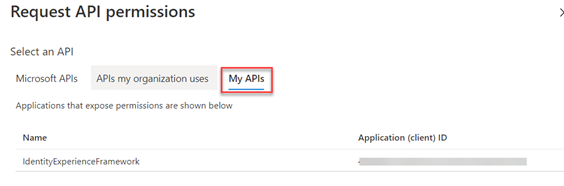
Under the Select Permissions section, select the user_impersonation scope.
press the Add permissions button
and select Grant admin consent for (tenant name).
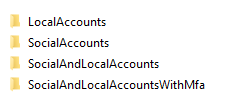
Working with the custom policy starter pack
After unzipping the custom policy starter pack, zip file, we will see the folders as the image below.
| Folder Name | Description |
|---|---|
| LocalAccounts | Includes custom policies XML files for local accounts |
| SocialAccounts | Includes custom policies XML files for social accounts |
| SocialAndLocalAccounts | Includes custom policies XML files for both local and social accounts |
| SocialAndLocalAccountsWithMfa | Includes custom policies XML files for both local and social accounts with multi-factor authentication (Mfa) |
Configure the Custom Policies
Before we upload the custom policy XML files we must make some changes to the TrustFrameworkExtensions.xml.
| ProxyIdentityExperienceFramework | Item Key="client_id" | Application (client) ID | IdentityExperienceFrameworkAppId |
|---|---|---|---|
| IdentityExperienceFramework | Item Key="IdTokenAudience" | Application (client) ID | IdentityExperienceFramework |
Find, open the LocalAccounts/TrustFrameworkExtensions.xml, search for the
<TechnicalProfile Id="login-NonInteractive">
element and replace the values as the examples below, and save the files.
<DisplayName>Local Account SignIn</DisplayName>

<TechnicalProfiles> <TechnicalProfile Id="login-NonInteractive">

<Metadata>

<Item Key="client_id">ProxyIdentityExperienceFrameworkAppId</Item>

<Item Key="IdTokenAudience">IdentityExperienceFrameworkAppId</Item>

</Metadata>

<InputClaims>

<InputClaim ClaimTypeReferenceId="client_id" DefaultValue="ProxyIdentityExperienceFrameworkAppId" />

<InputClaim ClaimTypeReferenceId="resource_id" PartnerClaimType="resource" DefaultValue="IdentityExperienceFrameworkAppId" />

</InputClaims>
    <DisplayName>Local Account SignIn</DisplayName>
      <TechnicalProfiles>
         <TechnicalProfile Id="login-NonInteractive">
          <Metadata>
            <Item Key="client_id">########-####-####-####-############</Item>
            <Item Key="IdTokenAudience">########-####-####-####-############</Item>
          </Metadata>
          <InputClaims>
            <InputClaim ClaimTypeReferenceId="client_id" DefaultValue="########-####-####-####-############" />
            <InputClaim ClaimTypeReferenceId="resource_id" PartnerClaimType="resource" DefaultValue="########-####-####-####-############" />
          </InputClaims>
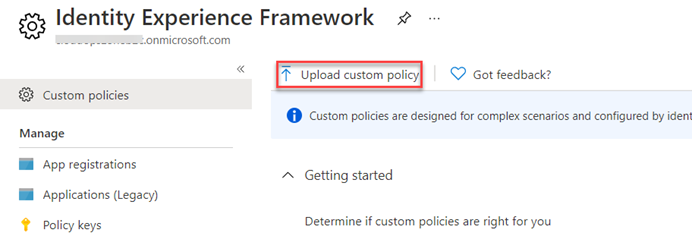
Upload the Policies
The last step is to upload the custom policies to the Azure B2C tenant. Under the Policies section, select the Identity Experience Framework menu item in the B2C tenant in the Azure portal.
Select Upload custom policy
Upload the policy files, in the following order:
- TrustFrameworkBase.xml
- TrustFrameworkExtensions.xml
- SignUpOrSignin.xml
- ProfileEdit.xml
- PasswordReset.xml
- Every policy file we upload will add the B2C_1A_ prefix.
Useful Links
Collaborate with us on GitHub
The source for this content can be found on GitHub, where you can also create and review issues and pull requests. For more information, see our contributor guide.
Community Content