Note
Access to this page requires authorization. You can try signing in or changing directories.
Access to this page requires authorization. You can try changing directories.
The Copilot Studio connector enables you to access Security Copilot. This topic provides an introduction to the connector action and its properties to get started integrating Security Copilot in your automation workflows.
The connector exposes the following connector actions:
- Submit a Security Copilot prompt - Submit a natural language prompt to create a new Security Copilot investigation. After completion, the evaluation result will then be returned to your workflow.
- Fetch a Security Copilot prompt status - Submit a natural language prompt to pull the status of a Security Copilot evaluation. After completion, the evaluation result will then be returned to your workflow.
Tip
This connector is also available in all the Microsoft Power Platform experiences such as Microsoft Power Automate and Power Apps.
For more information, see Power Platform Connector Page.
Prerequisites
Tenant - Ensure that your tenant administrator sets up access to Microsoft Security Copilot before using the connector.
Ensure the following authentication type is met:
- User Authentication - This connector only supports delegated permissions via OAuth Authorization Code flow. The user that establishes connection to the connector when designing the Copilot Studio workflow must have access to Microsoft Security Copilot. Learn more about Microsoft Security Copilot Authentication.
Data access for enhanced interaction - It's important that the authenticated user can access data from various remote security products, including tasks like reading Defender incident reports and gathering multifactor authentication (MFA) details, among others.
Create a connection in Power Apps - You'll need to create a connection in Power Apps for the Copilot Studio action to connect to Security Copilot. Ensure that you create the connection under same Power Apps environment as Copilot Studio on which you are creating the agent. For more information, see Manage connections.
Submit a Security Copilot prompt
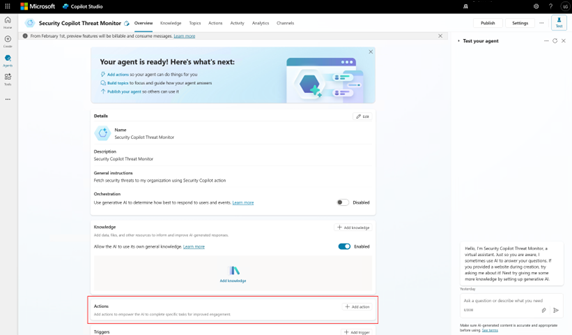
Create and set up a new agent in Copilot Studio.
Select Add action to configure the initial trigger steps.
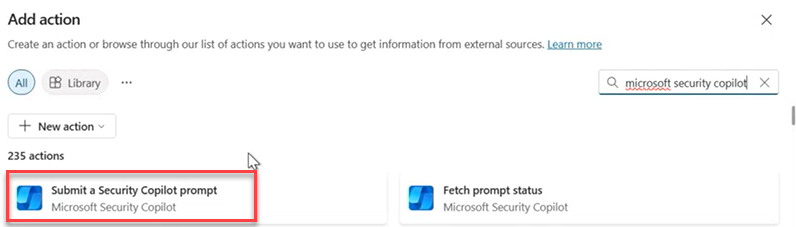
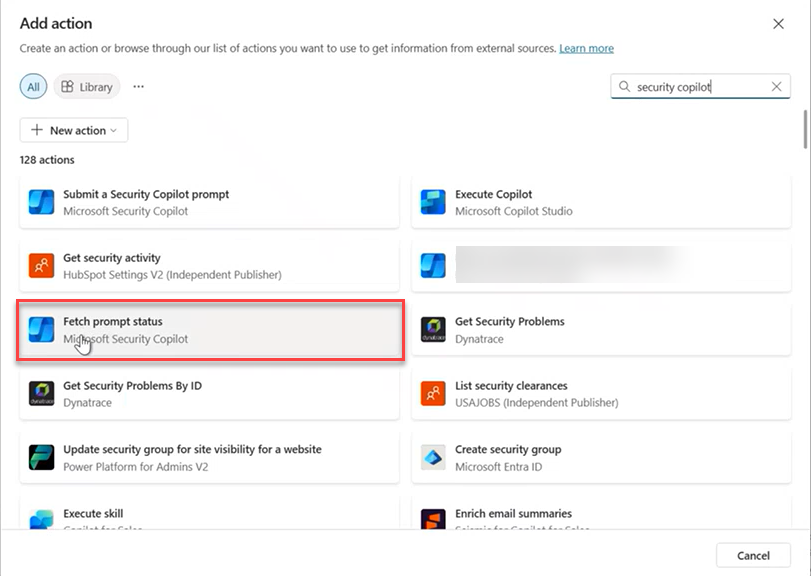
Search for Microsoft Security Copilot to see the related actions you can use.
Select Submit a Security Copilot prompt.
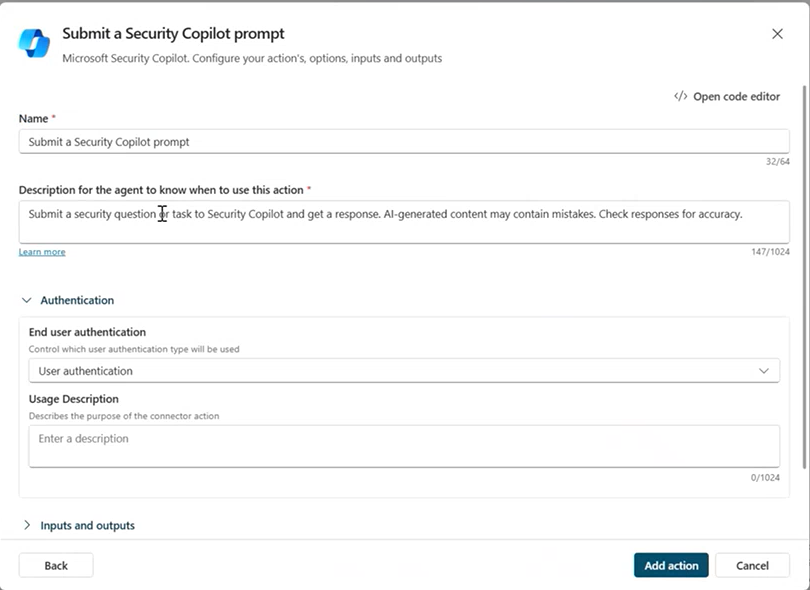
Configure the action's connections, then select Next.
Configure your action's options, inputs, and outputs, then select Add action.

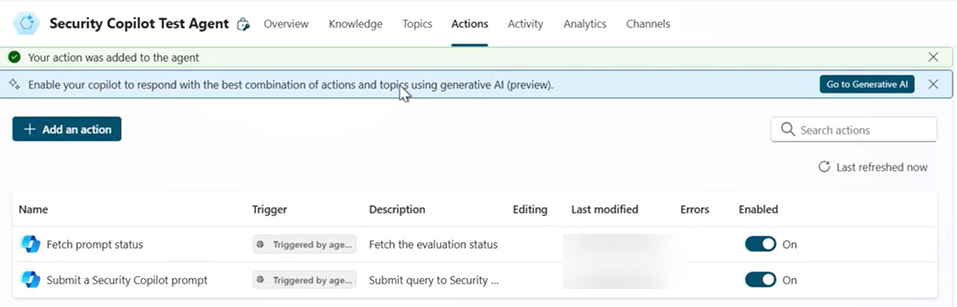
Proceed with adding the Fetch prompt status action to the agent.
Fetch a Security Copilot prompt status
Using the same agent, select Add action to configure the initial trigger steps.
Search for Microsoft Security Copilot to see the related actions you can use.
Select Fetch prompt status.
Configure your action's options, inputs, and outputs, then select Add action.


The two actions are now added to the agent.
Test the agent
To test the agent, you'll need to turn on the Generative option in the settings page. For more information, see Turn on generative orchestration for an agent.
- Navigate to Settings > Generative AI > Generative.

You'll need to configure this setting otherwise you won't be able to test out the action from the natural language chat experience.
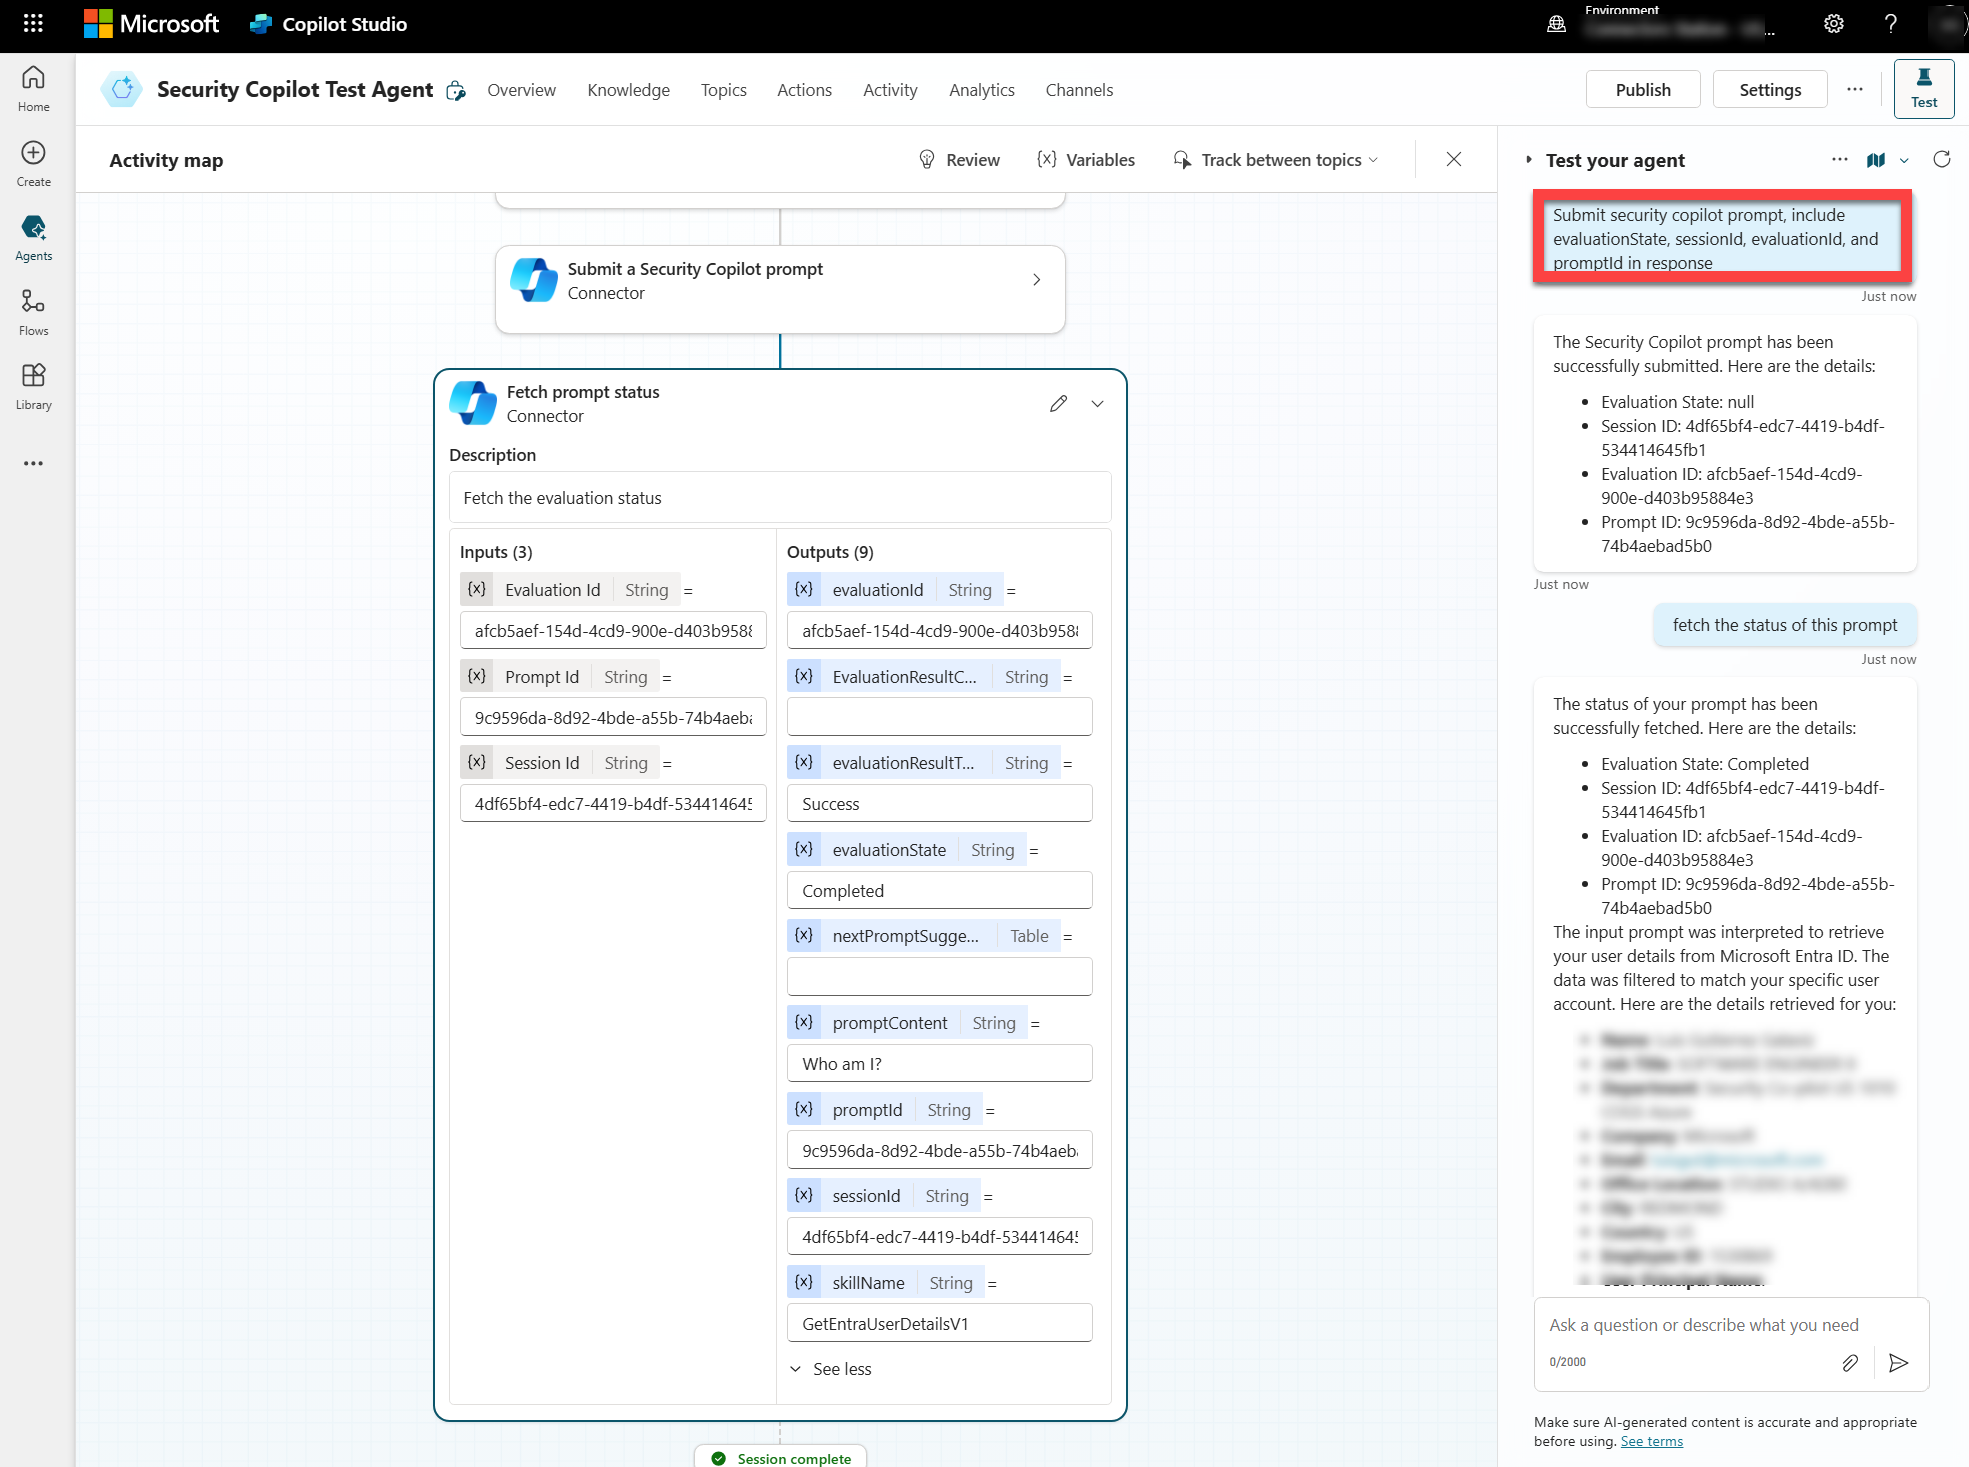
You can test your agent in Copilot Studio by entering the prompt *Submit a Security Copilot, include the Session Id, Evaluation Id, and Prompt Id in the response.
Important
Make sure to include Session Id, Evaluation Id, and Prompt Id in the prompt.
You can also test Fetch the status of the prompt and you should receive the responses with the details.