Note
Access to this page requires authorization. You can try signing in or changing directories.
Access to this page requires authorization. You can try changing directories.
Linux projects are available in Visual Studio 2017 and later.
First, make sure you have the Linux Development Workload for Visual Studio installed. For more information, see Download, install, and setup the Linux workload.
For cross-platform compilation, we recommend using CMake. CMake support is more complete in Visual Studio 2019. If CMake isn't an option, and you have an existing Windows Visual Studio solution that you would like to extend to compile for Linux, you can add a Visual Studio Linux project to the Windows solution, along with a Shared Items project. Put the code that is shared between both platforms in the Shared Items project, and add a reference to that project from the Windows and Linux projects.
To create a new Linux project
To create a new Linux project in Visual Studio 2017, follow these steps:
- Select File > New Project in Visual Studio, or press Ctrl + Shift + N.
- Select the Visual C++ > Cross Platform > Linux node, and then select the project type to create. Enter a Name and Location, and choose OK.

| Project Type | Description |
|---|---|
| Blink (Raspberry) | Project targeted for a Raspberry Pi device, with sample code that blinks an LED |
| Console Application (Linux) | Project targeted for any Linux computer, with sample code that outputs text to the console |
| Empty Project (Linux) | Project targeted for any Linux computer, with no sample code |
| Makefile Project (Linux) | Project targeted for any Linux computer, built using a standard Makefile build system |
First, make sure you have the Linux Development Workload for Visual Studio installed. For more information, see Download, install, and set up the Linux workload.
When you create a new C++ project for Linux in Visual Studio, you can choose to create a Visual Studio project or a CMake project. This article describes how to create a Visual Studio project. In general, for new projects that might include open-source code or you intend to compile for cross-platform development, we recommend you use CMake with Visual Studio. With a CMake project, you can build and debug the same project on both Windows and Linux. For more information, see Create and configure a Linux CMake Project.
If you have an existing Windows Visual Studio solution that you would like to extend to compile for Linux, and CMake isn't an option, then you can add a Visual Studio Linux project to the Windows solution, along with a Shared Items project. Put the code that is shared between both platforms in the Shared Items project, and add a reference to that project from the Windows and Linux projects.
Create a new Linux project
To create a new Linux project in Visual Studio, follow these steps:
Select File > New Project in Visual Studio, or press Ctrl + Shift + N. The Create a new project dialog appears.
In the Search for templates textbox, enter Linux to list the available templates for Linux projects.
Select the project type to create, for example Console Application, and then choose Next. Enter a Name and Location, and choose Create.
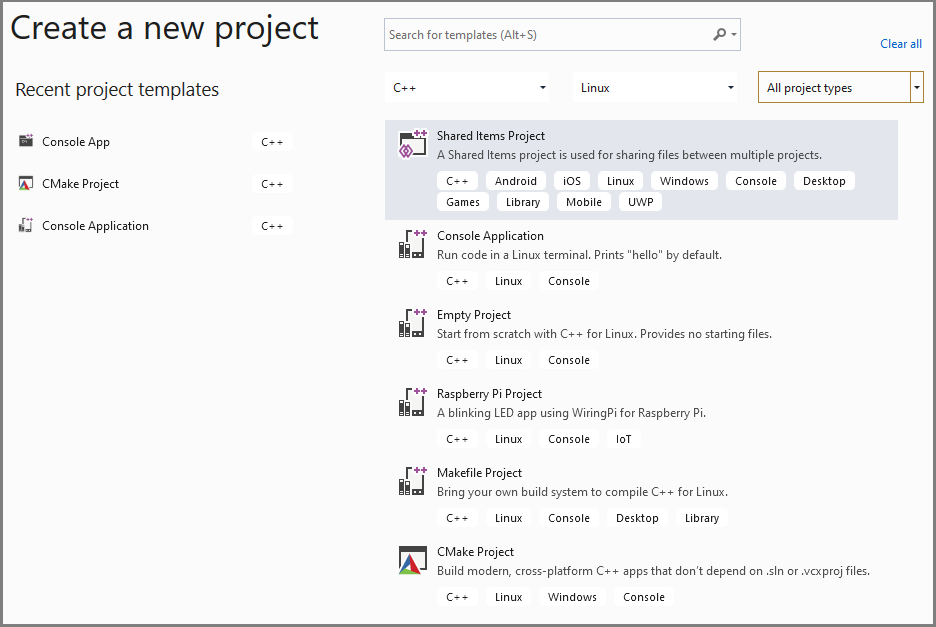
Project Type Description Raspberry Pi project Project targeted for a Raspberry Pi device, with sample code that blinks an LED Console Application Project targeted for any Linux computer, with sample code that outputs text to the console Empty Project Project targeted for any Linux computer, with no sample code Makefile Project Project targeted for any Linux computer, built using a standard Makefile build system CMake Project Project targeted for any Linux computer, built using the CMake build system