Note
Access to this page requires authorization. You can try signing in or changing directories.
Access to this page requires authorization. You can try changing directories.
Amazon Web Services is an IaaS provider that enables your organization to host and manage their entire workloads in the cloud. Along with the benefits of using infrastructure in the cloud, your organization's most critical assets might be exposed to threats. Exposed assets include storage instances with potentially sensitive information, compute resources that operate some of your most critical applications, ports, and virtual private networks that enable access to your organization.
Connecting AWS to Defender for Cloud Apps helps you secure your assets and detect potential threats by monitoring administrative and sign-in activities, notifying on possible brute force attacks, malicious use of a privileged user account, unusual deletions of virtual machines (VMs), and publicly exposed storage buckets.
Main threats
Connecting AWS to Defender for Cloud Apps helps you detect and respond to the following threats:
- Abuse of cloud resources
- Compromised accounts and insider threats
- Data leakage
- Resource misconfiguration and insufficient access control
How Defender for Cloud Apps helps to protect your environment
Defender for Cloud Apps helps protect your AWS environment in the following ways:
- Detect cloud threats, compromised accounts, and malicious insiders
- Limit exposure of shared data and enforce collaboration policies
- Use the audit trail of activities for forensic investigations
Control AWS with built-in policies and policy templates
You can use the following built-in policy templates to detect and notify you about potential threats:
Important
File policies retire on January 6, 2027. To maintain file-based data protection for this app, migrate to Microsoft Purview DLP or auto-labeling policies.
| Type | Name |
|---|---|
| Activity policy template | Admin console sign-in failures EC2 instance configuration changes IAM policy changes Logon from a risky IP address Network access control list (ACL) changes Network gateway changes S3 Bucket Activity Security group configuration changes Virtual private network changes |
| Built-in anomaly detection policy | Activity from anonymous IP addresses Activity from infrequent country Activity from suspicious IP addresses Impossible travel Activity performed by terminated user (requires Microsoft Entra ID as IdP) Multiple failed login attempts Unusual administrative activities |
| File policy template | S3 bucket is publicly accessible |
For more information about creating policies, see Create a policy.
Automate governance controls
In addition to monitoring for potential threats, you can apply and automate the following AWS governance actions to remediate detected threats:
| Type | Action |
|---|---|
| User governance | - Notify user on alert (via Microsoft Entra ID) - Require user to sign in again (via Microsoft Entra ID) - Suspend user (via Microsoft Entra ID) |
| Data governance | - Make an S3 bucket private - Remove a collaborator for an S3 bucket |
For more information about remediating threats from apps, see Governing connected apps.
Protect AWS in real time
Review our best practices for blocking and protecting the download of sensitive data to unmanaged or risky devices.
Connect Amazon Web Services to Microsoft Defender for Cloud Apps
Use the connector APIs to connect your existing Amazon Web Services (AWS) account to Microsoft Defender for Cloud Apps. For information about how Defender for Cloud Apps protects AWS, see Protect AWS.
You can connect AWS Security auditing to Defender for Cloud Apps connections to gain visibility into and control over AWS app use.
Step 1: Configure Amazon Web Services auditing
To configure AWS auditing for Defender for Cloud Apps, perform the following steps:
Sign in to the Amazon Web Services console
Add a new user for Defender for Cloud Apps, and give the user Programmatic access.
Select Create policy and enter a name for your new policy.
Select the JSON tab and paste the following script:
{
  "Version" : "2012-10-17",
  "Statement" : [{
      "Action" : [
        "cloudtrail:DescribeTrails",
        "cloudtrail:LookupEvents",
        "cloudtrail:GetTrailStatus",
        "cloudwatch:Describe*",
        "cloudwatch:Get*",
        "cloudwatch:List*",
        "iam:List*",
        "iam:Get*",
        "s3:ListAllMyBuckets",
        "s3:PutBucketAcl",
        "s3:GetBucketAcl",
        "s3:GetBucketLocation"
      ],
      "Effect" : "Allow",
      "Resource" : "*"
    }
  ]
 }
Select Download .csv to save a copy of the new user's credentials. You'll need them later.
Note
After connecting AWS, you'll receive events for seven days prior to connection. If you just enabled CloudTrail, you receive events from the time you enabled CloudTrail.
Step 2: Connect Amazon Web Services auditing to Defender for Cloud Apps
To connect AWS auditing to Defender for Cloud Apps, complete the following steps:
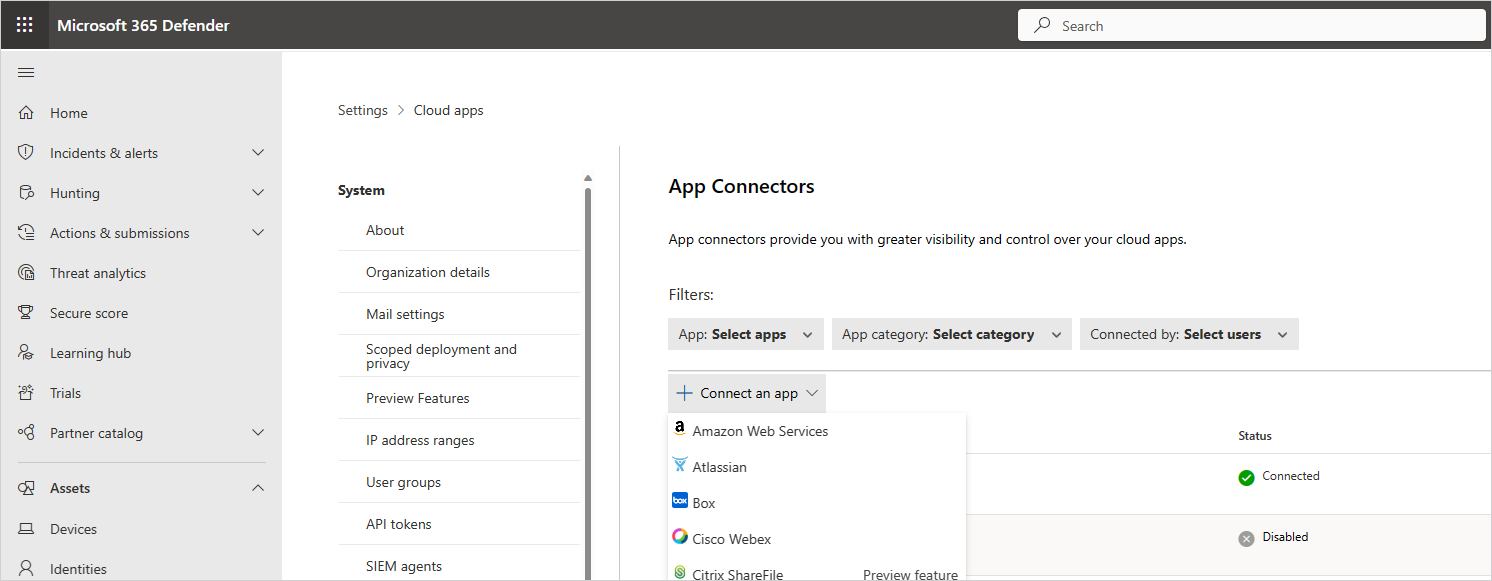
In the Microsoft Defender Portal, select Settings. Then choose Cloud Apps. Under Connected apps, select App Connectors.
In the App connectors page, to provide the AWS connector credentials, do one of the following:
For a new connector
Select the +Connect an app, followed by Amazon Web Services.
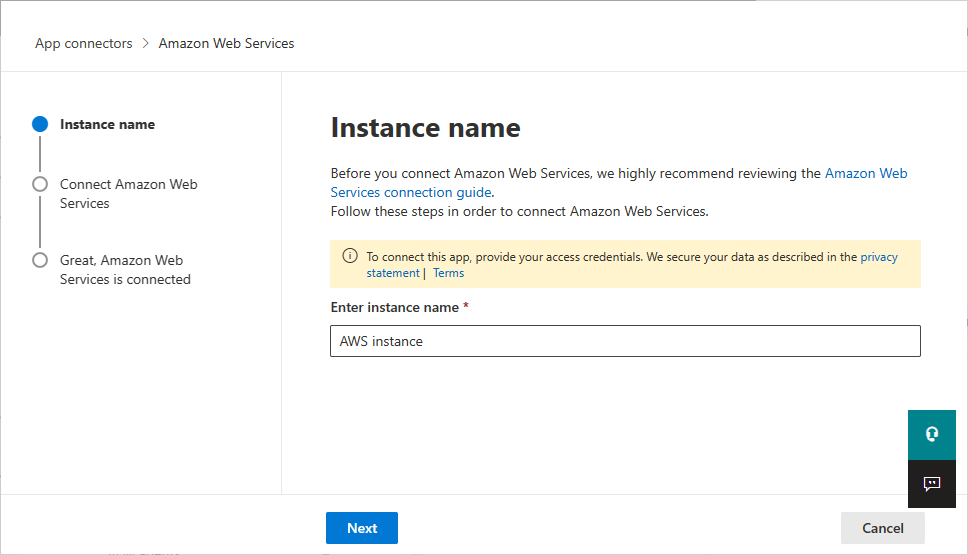
In the next window, provide a name for the connector, and then select Next.
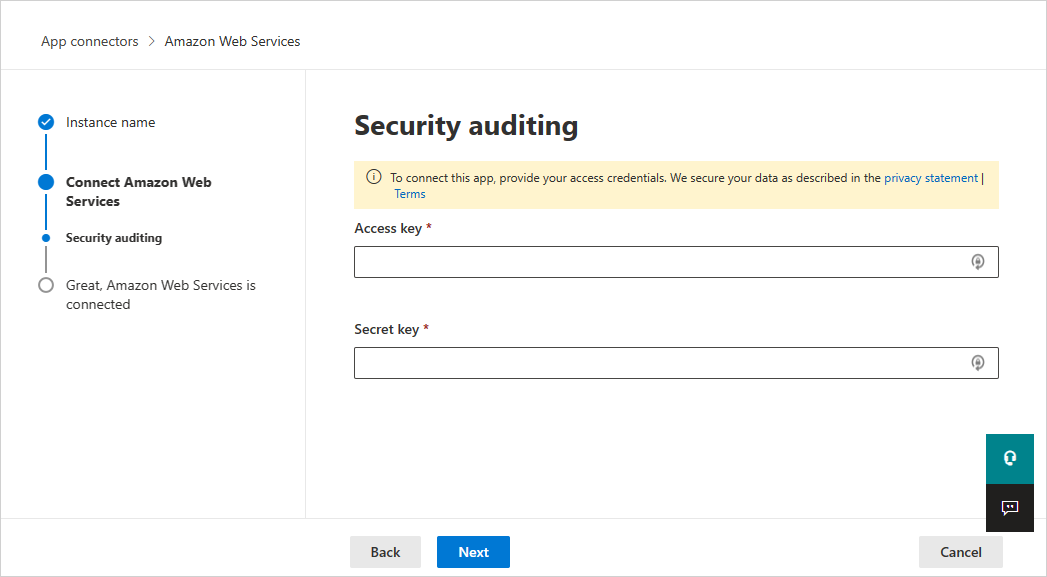
On the Connect Amazon Web Services page, select Security auditing, and then select Next.
On the Security auditing page, paste the Access key and Secret key from the .csv file into the relevant fields, and select Next.


For an existing connector
In the list of connectors, on the row in which the AWS connector appears, select Edit settings.
On the Instance name and Connect Amazon Web Services pages, select Next. On the Security auditing page, paste the Access key and Secret key from the .csv file into the relevant fields, and select Next.
In the Microsoft Defender Portal, select Settings. Then choose Cloud Apps. Under Connected apps, select App Connectors. Make sure the status of the connected App Connector is Connected.