How Defender for Cloud Apps helps protect your Zendesk
As a customer service software solution, Zendesk holds the sensitive information to your organization. Any abuse of Zendesk by a malicious actor or any human error may expose your most critical assets and services to potential attacks.
Connecting Zendesk to Defender for Cloud Apps gives you improved insights into your Zendesk admin activities and provides threat detection for anomalous behavior.
Main threats
Compromised accounts and insider threats
Data leakage
Insufficient security awareness
Unmanaged bring your own device (BYOD)
How Defender for Cloud Apps helps to protect your environment
Detect cloud threats, compromised accounts, and malicious insiders
Use the audit trail of activities for forensic investigations
Control Zendesk with policies
| Type | Name |
|---|---|
| Built-in anomaly detection policy | Activity from anonymous IP addresses Activity from infrequent country Activity from suspicious IP addresses Impossible travel Activity performed by terminated user (requires Microsoft Entra ID as IdP) Multiple failed login attempts Unusual administrative activities Unusual impersonated activities |
| Activity policy | Built a customized policy by the Zendesk audit log |
For more information about creating policies, see Create a policy.
Automate governance controls
In addition to monitoring for potential threats, you can apply and automate the following Zendesk governance actions to remediate detected threats:
| Type | Action |
|---|---|
| User governance | Notify user on alert (via Microsoft Entra ID) Require user to sign in again (via Microsoft Entra ID) Suspend user (via Microsoft Entra ID) |
For more information about remediating threats from apps, see Governing connected apps.
Protect Zendesk in real time
Review our best practices for securing and collaborating with external users and blocking and protecting the download of sensitive data to unmanaged or risky devices.
SaaS security posture management
Connect Zendesk to automatically get security posture recommendations for Zendesk in Microsoft Secure Score. In Secure Score, select Recommended actions and filter by Product = Zendesk. For example, recommendations for Zendesk include:
- Enable multi-factor authentication (MFA)
- Enable session timeout for users
- Enable IP restrictions
- Block admins to set passwords.
For more information, see:
Connect Zendesk to Microsoft Defender for Cloud Apps
This section provides instructions for connecting Microsoft Defender for Cloud Apps to your existing Zendesk using the App Connector APIs. This connection gives you visibility into and control over your organization's Zendesk use.
Prerequisites
- The Zendesk user used for logging into Zendesk must be an admin.
- Supported Zendesk licenses:
- Enterprise
- Enterprise Plus
Note
Connecting Zendesk to Defender for Cloud Apps with a Zendesk user that is not an admin will result in a connection error.
Configure Zendesk
Navigate to Admin -> Apps and integrations -> APIs -> Zendesk API -> OAuth Client and select Add OAuth client.

Select New Credential.
Fill out the following fields:
Client name: Microsoft Defender for Cloud Apps (you can also choose another name).
Description: Microsoft Defender for Cloud Apps API Connector (you can also choose another description).
Company: Microsoft Defender for Cloud Apps (you can also choose another company).
Unique identifier: microsoft_cloud_app_security (you can also choose another unique identifier).
Redirect URL:
https://portal.cloudappsecurity.com/api/oauth/sagaNote
- For US Government GCC customers, enter the following value:
https://portal.cloudappsecuritygov.com/api/oauth/saga - For US Government GCC High customers, enter the following value:
https://portal.cloudappsecurity.us/api/oauth/saga
- For US Government GCC customers, enter the following value:
Select Save, and then select OK.
Copy the Secret that was generated. You'll need it in the upcoming steps.
Configure Defender for Cloud Apps
Note
The Zendesk user that is configuring the integration must always remain a Zendesk admin, even after the connector is installed.
In the Microsoft Defender Portal, select Settings. Then choose Cloud Apps. Under Connected apps, select App Connectors.
In the App connectors page, select +Connect an app, followed by Zendesk.
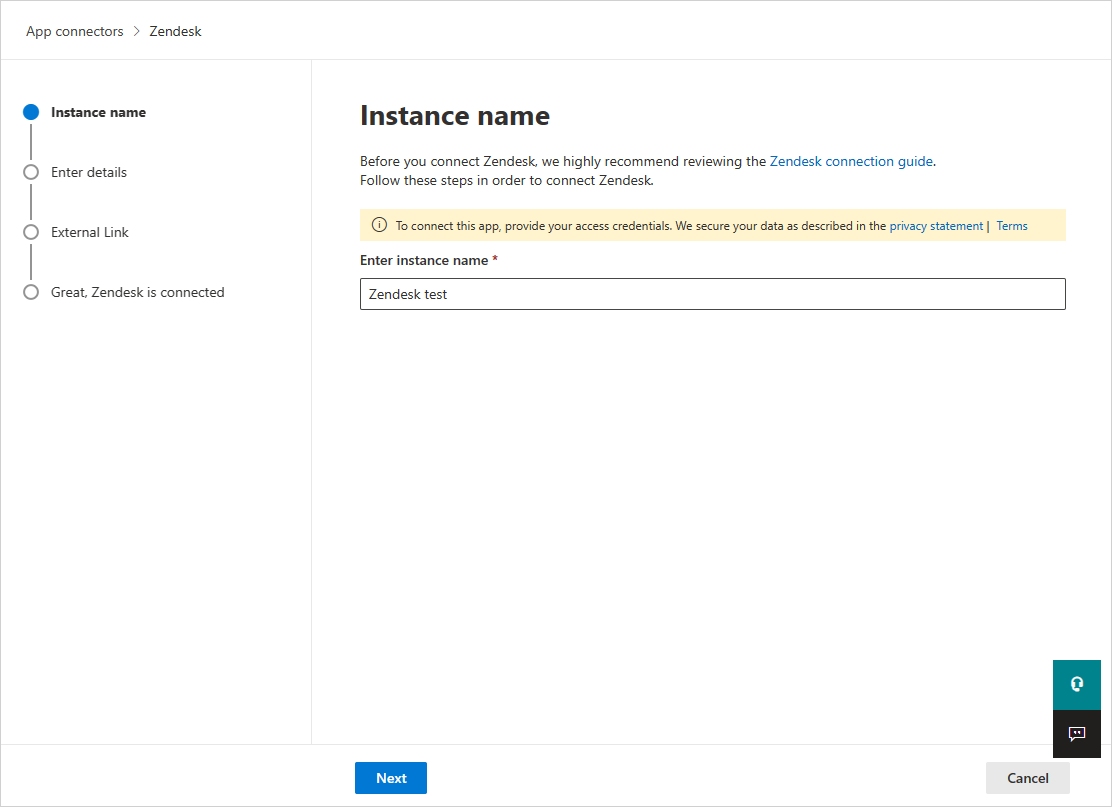
In the next window, give the connector a descriptive name, and select Next.
In the Enter details page, enter the following fields and then select Next.
- Client ID: the Unique identifier you used when you created the OAuth app in the Zendesk admin portal.
- Client Secret: your saved secret.
- Client endpoint: Zendesk URL. It should be
<account_name>.zendesk.com.
In the External link page, select Connect Zendesk.
In the Microsoft Defender Portal, select Settings. Then choose Cloud Apps. Under Connected apps, select App Connectors. Make sure the status of the connected App Connector is Connected.
The first connection can take up to four hours to get all users and their activities in the seven days before the connection.
After the connector's Status is marked as Connected, the connector is live and works.
Note
Microsoft recommends using a short lived access token. Zendesk doesn't currently support short lived tokens. We recommend our customers refresh the token every 6 months as a security best practice. To refresh the access token, revoke the old token by following Revoke Token. Once the old token is revoked, create a new secret and reconnect the Zendesk connector as documented above.
Note
System activities will be shown with the Zendesk account name.
Rate limits
The default rate limit is 200 requests per minute. To increase the rate limit, open a support ticket.
Note
The maximum rate limit for every subscription is described here.
Next steps
If you run into any problems, we're here to help. To get assistance or support for your product issue, please open a support ticket.