Link query results to an incident
Applies to:
- Microsoft Defender XDR
You can use the link to incident feature to add advanced hunting query results to a new or existing incident under investigation. This feature helps you easily capture records from advanced hunting activities, which enables you to create a richer timeline or context of events regarding an incident.
Link results to new or existing incidents
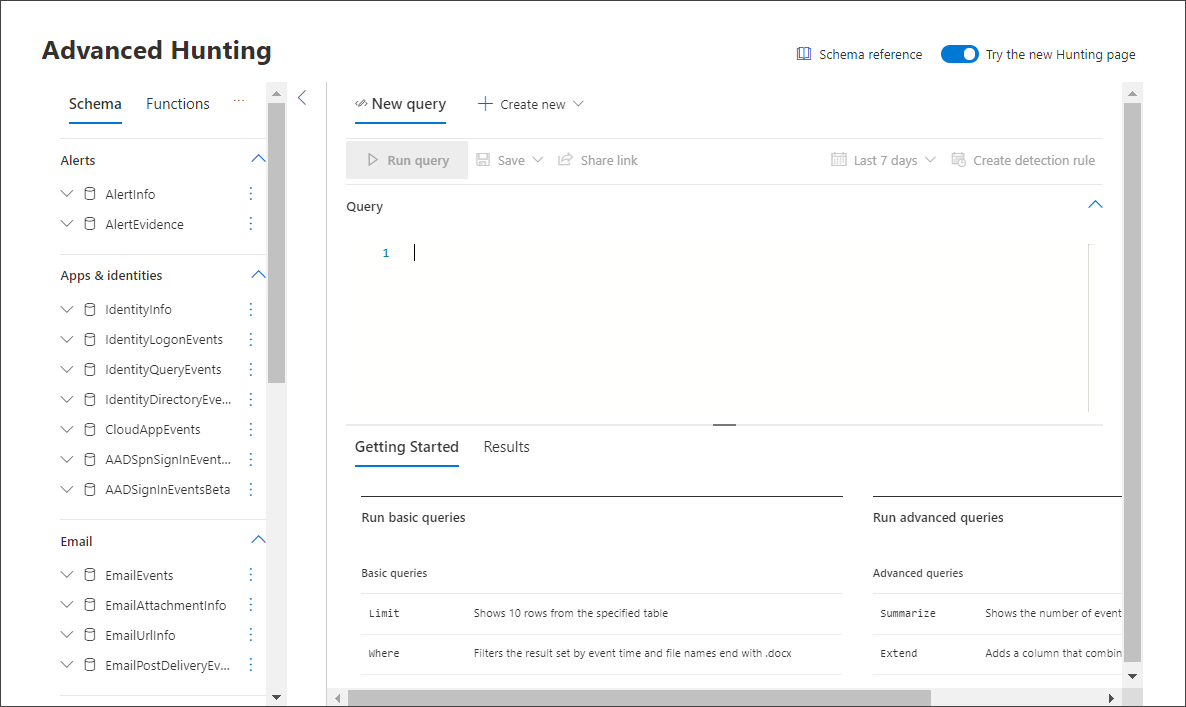
In the advanced hunting query page, first enter your query in the query field provided then select Run query to get your results.
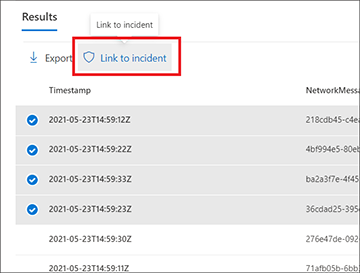
In the Results page, select the events or records that are related to a new or current investigation you're working on, then select Link to incident.
Find the Alert details section in the Link to incident pane, then select Create new incident to convert the events to alerts and group them to a new incident:
Or select Link to an existing incident to add the selected records to an existing one. Choose the related incident from the dropdown list of existing incidents. You can also enter the first few characters of the incident name or ID to find the existing incident.
For either selection, provide the following details, then select Next:
- Alert title - Provide a descriptive title for the results that your incident responders can understand. This descriptive title becomes the alert title.
- Severity - Choose the severity applicable to the group of alerts.
- Category - Choose the appropriate threat category for the alerts.
- Description - Give a helpful description for the grouped alerts.
- Recommended actions - Provide remediation actions.
In the Entities section, you can find which entities are used to correlate other alerts to the linked incident. They also appear in the incident page. You can review the preselected entities categorized as follows:
a. Impacted assets – Assets impacted by the selected events, can be:
- Account
- Device
- Mailbox
- Cloud application
- Azure resource
- Amazon Web Services resource
- Google Cloud Platform resource
b. Related evidence – Non-assets that appear in the selected events. The supported entity types are:
- Process
- File
- Registry value
- IP
- OAuth application
- DNS
- Security group
- URL
- Mail cluster
- Mail message
After an entity type is selected, select an identifier type that exists in the selected records so that it can be used to identify this entity. Each entity type has a list of supported identifiers, as can be seen in the relevant drop down. Read the description displayed when hovering on each identifier to better understand it.
After selecting the identifier, select a column from the query results that contain the selected identifier. You can select Explore query and results to open the advanced hunting context panel. This allows you to explore your query and results to make sure you chose the right column for the selected identifier.

In our example, we used a query to find events related to a possible email exfiltration incident, therefore the recipient's mailbox and recipient's account are the impacted entities, and the sender's IP as well as email message are related evidence.A different alert is created for each record with a unique combination of impacted entities. In our example, if there are three different recipient mailboxes and recipient object ID combinations, for instance, then three alerts are created and linked to the chosen incident.
Select Next.
Review the details you've provided in the Summary section.
Select Done.
View linked records in the incident
You can select the generated link from the summary step of the wizard or select the incident name from the incident queue, to view the incident to which the events are linked.
In our example, the three alerts, representing the three selected events, were linked successfully to a new incident. In each of the alert pages, you can find the complete information on the event or events in timeline view (if available) and the query results view.
You can also select the event from the timeline view or from the query results view to open the Inspect record pane.
Filter for events added using advanced hunting
You can view which alerts were generated from advanced hunting by filtering incidents and alerts by Manual detection source.


